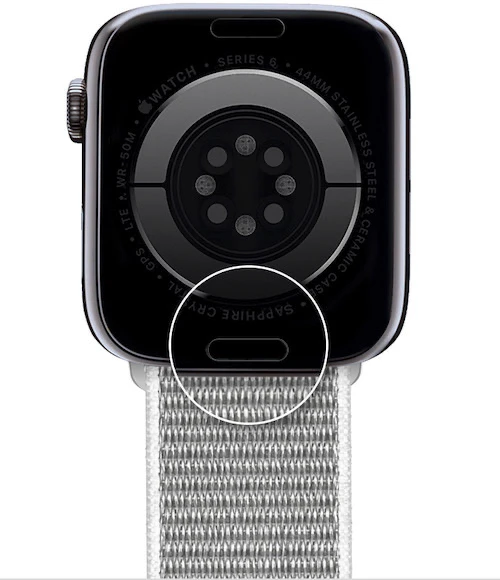

# Before you begin, place your Apple Watch face down on a clean, soft cloth to prevent the watch face from possible scratches.
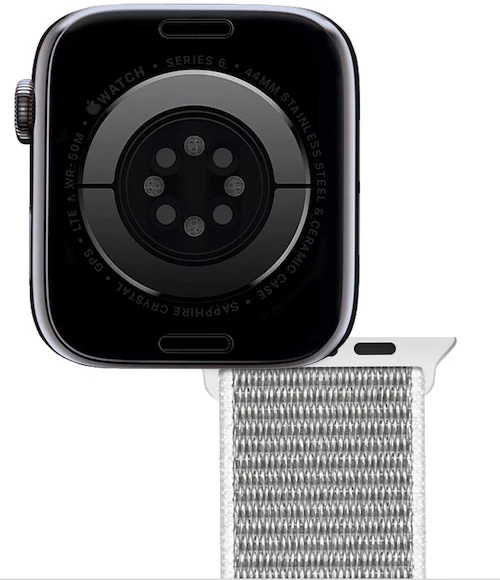
Press and hold the strap release button located on the back of the watch. The pusher is a small oval, flush with the watch body, where the two strap components join. While holding this button, slide the band over to remove it. You may need to apply a little force, but it should slide out relatively easily. Remember to remove both parts of the band.
Before installing a new band, make sure it is compatible with your Apple Watch model and size. Not all straps will fit all watches, so check carefully before proceeding.

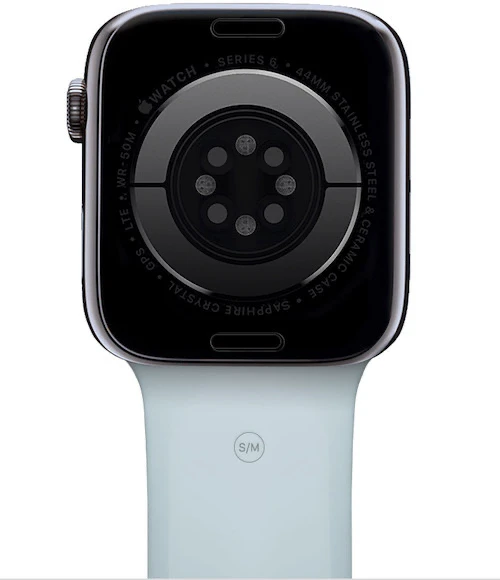
Once you are sure that the new strap is the correct match, it is time to attach it. Take a section of the watch strap and align it with the corresponding slot on the watch. You'll notice a small button on one side of the band, which should be facing outward when attached.
Slide the band into the groove until you feel it click into place. If the band does not lock, remove it and try again. Never force the band into the slot. If you have trouble, make sure not to insert it backwards.
Repeat this step with the other half of the band.

Finally, once both parts of the band are in place, put on your Apple Watch. It should fit snugly but comfortably on your wrist. If the band is too loose or tight, you may need to adjust the band or consider changing the size.
The above is the detailed content of How to change your Apple Watch. For more information, please follow other related articles on the PHP Chinese website!


