
When a system failure occurs, we often use an image copy of the Ghost system to restore the installation system. However, direct installation will cause system instability. Using deepin ghost to install the system can greatly improve this problem. Let's take a look at how to install it.
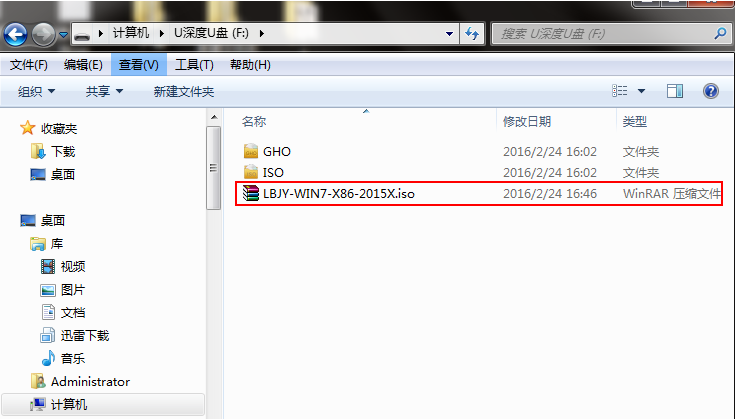
1. Store the prepared win7 system image package in the root directory of the prepared u deepin u disk boot disk.
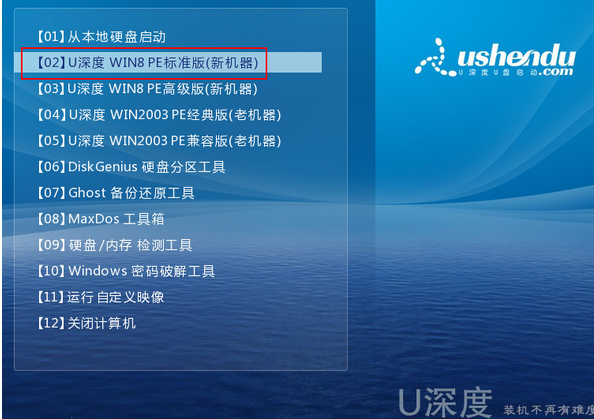
#2. First, connect the u deepin USB boot disk to the computer, restart the computer and wait for the startup screen to appear. Press the startup shortcut key, and use the u deep disk boot disk to enter u deepin. From the main menu, select [02]uDinwin8PE Standard Edition (new machine) and press the Enter key to enter.
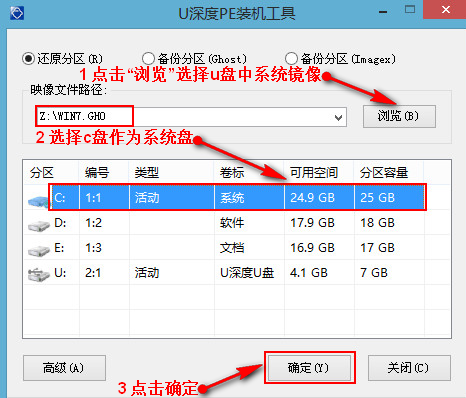
3. After entering pe, the u deepin pe installation tool will automatically start. First, click "Browse" to add the system image saved in the u disk, and then select the c disk as the Store the image in the system disk and click "OK".
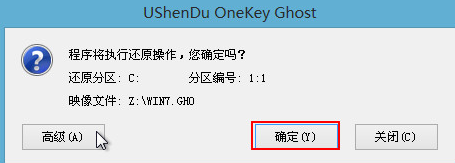
#4. Do not modify the pop-up prompt window, just press "OK".
#5. After the disk is formatted, the win7 image file will be installed.
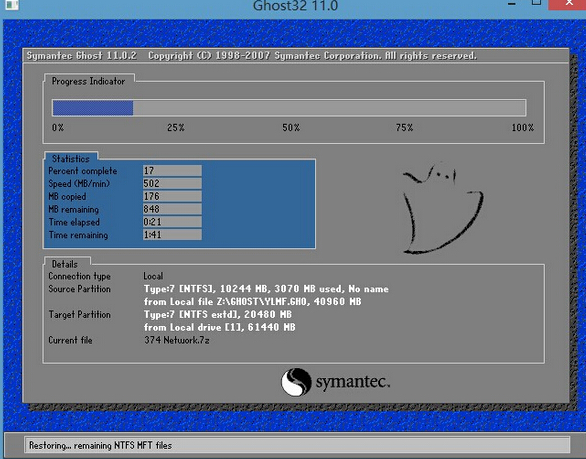
#6. At this time, you can remove the USB disk and restart the system to start the installation. We do not need to perform any operations. We can just wait for the installation to complete. There will be a message before finally entering the system desktop. Reboot once.

#After completing the above steps, we can complete the installation of Deepin Technology win7 system. I hope it will be helpful to everyone.
The above is the detailed content of Deep ghost win7 installation tutorial. For more information, please follow other related articles on the PHP Chinese website!


