
1. First turn on the computer, enter the startup screen and press "delete" to enter bios and find "Storage Settings".
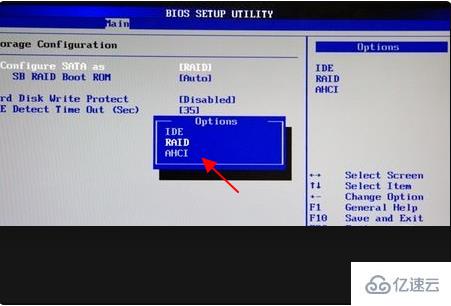
2. Then press enter to enter this option, open the raid option in the configuration section, and then press F10 to save.
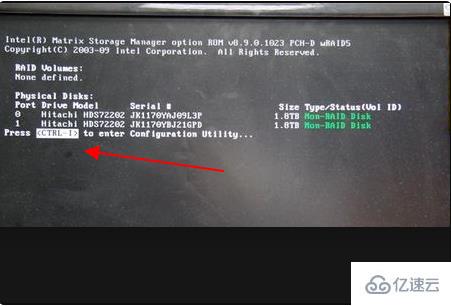
3. After the system restarts, press ctrl i to enter the raid interface.
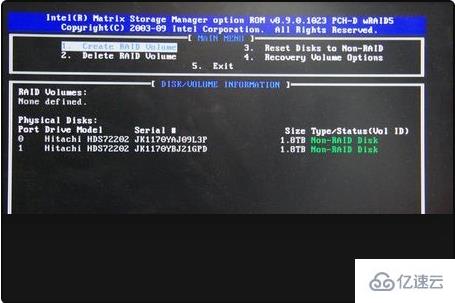
4. Click option 1 among the four options that appear, and then press tab or enter to enter the next area.
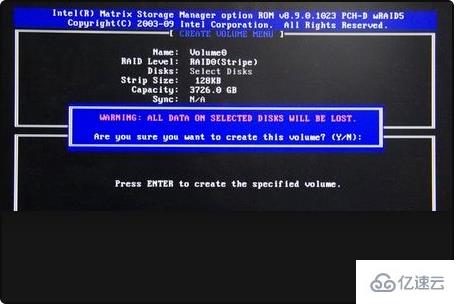
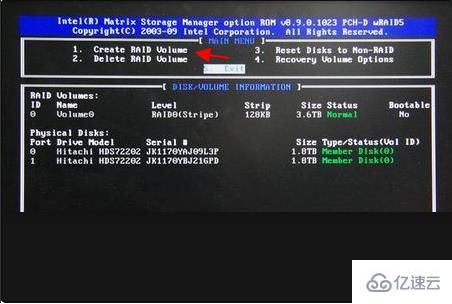
5. Next select the string optional value for the raid layout. Optional values range from 4kb~128kb.
Different modes correspond to different ranges: raid0–128kb, raid10–64kb and raid5–64kb.
Select the capacity of the volume in the capacity area. The initial minimum value is the maximum capacity of the replaced disk. After all expansion, press Y to save.
6. After setting the target information and content of raid0, press esc to exit the interface.
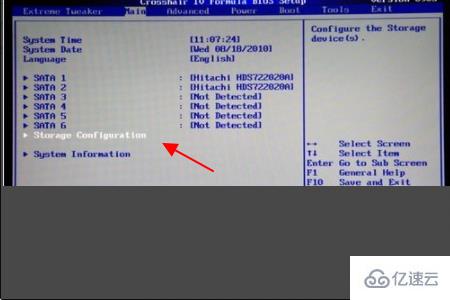
7. After the boot screen, press delete to enter the bios settings and continue to find "Storage Settings".
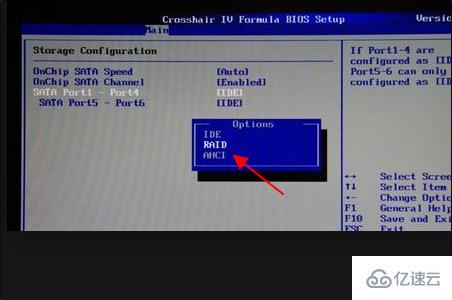
8. Then press enter to enter the "StorageConfiguratlon" option and turn on RAID on SATAPort1-Port4 and SATAPort5-Port6,
Finally press F10 to save and restart.
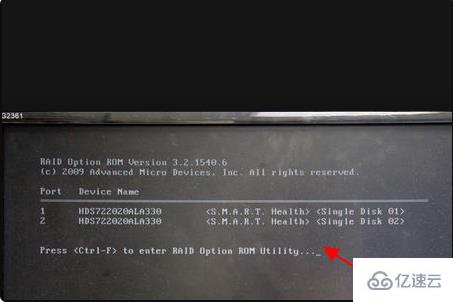
9. After restarting, press ctrl f to enter the raid interface.
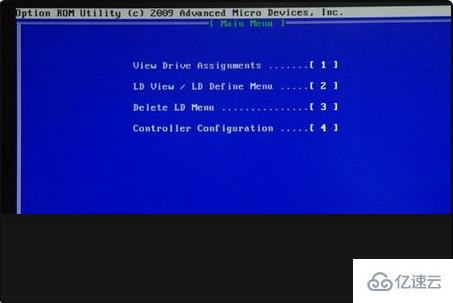
10. Select the second option among the four options above and below to enter.
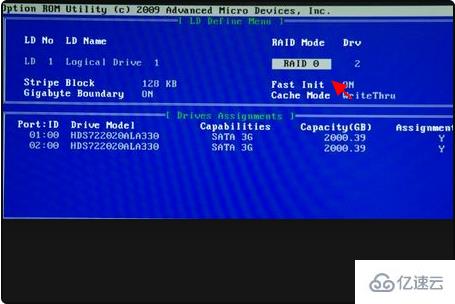
11. After entering option 2, press ctrl c to create.
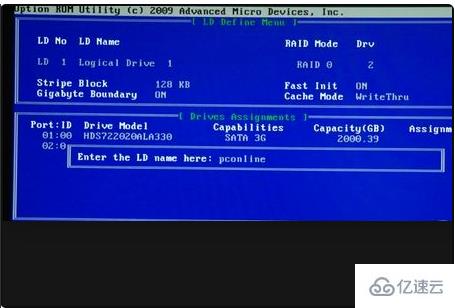
12. Then press ctrl y to save.
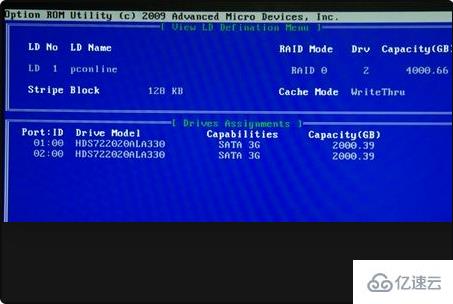
13. Confirm again and then restart the computer.
The above is the detailed content of How to configure Linux raid0. For more information, please follow other related articles on the PHP Chinese website!


