
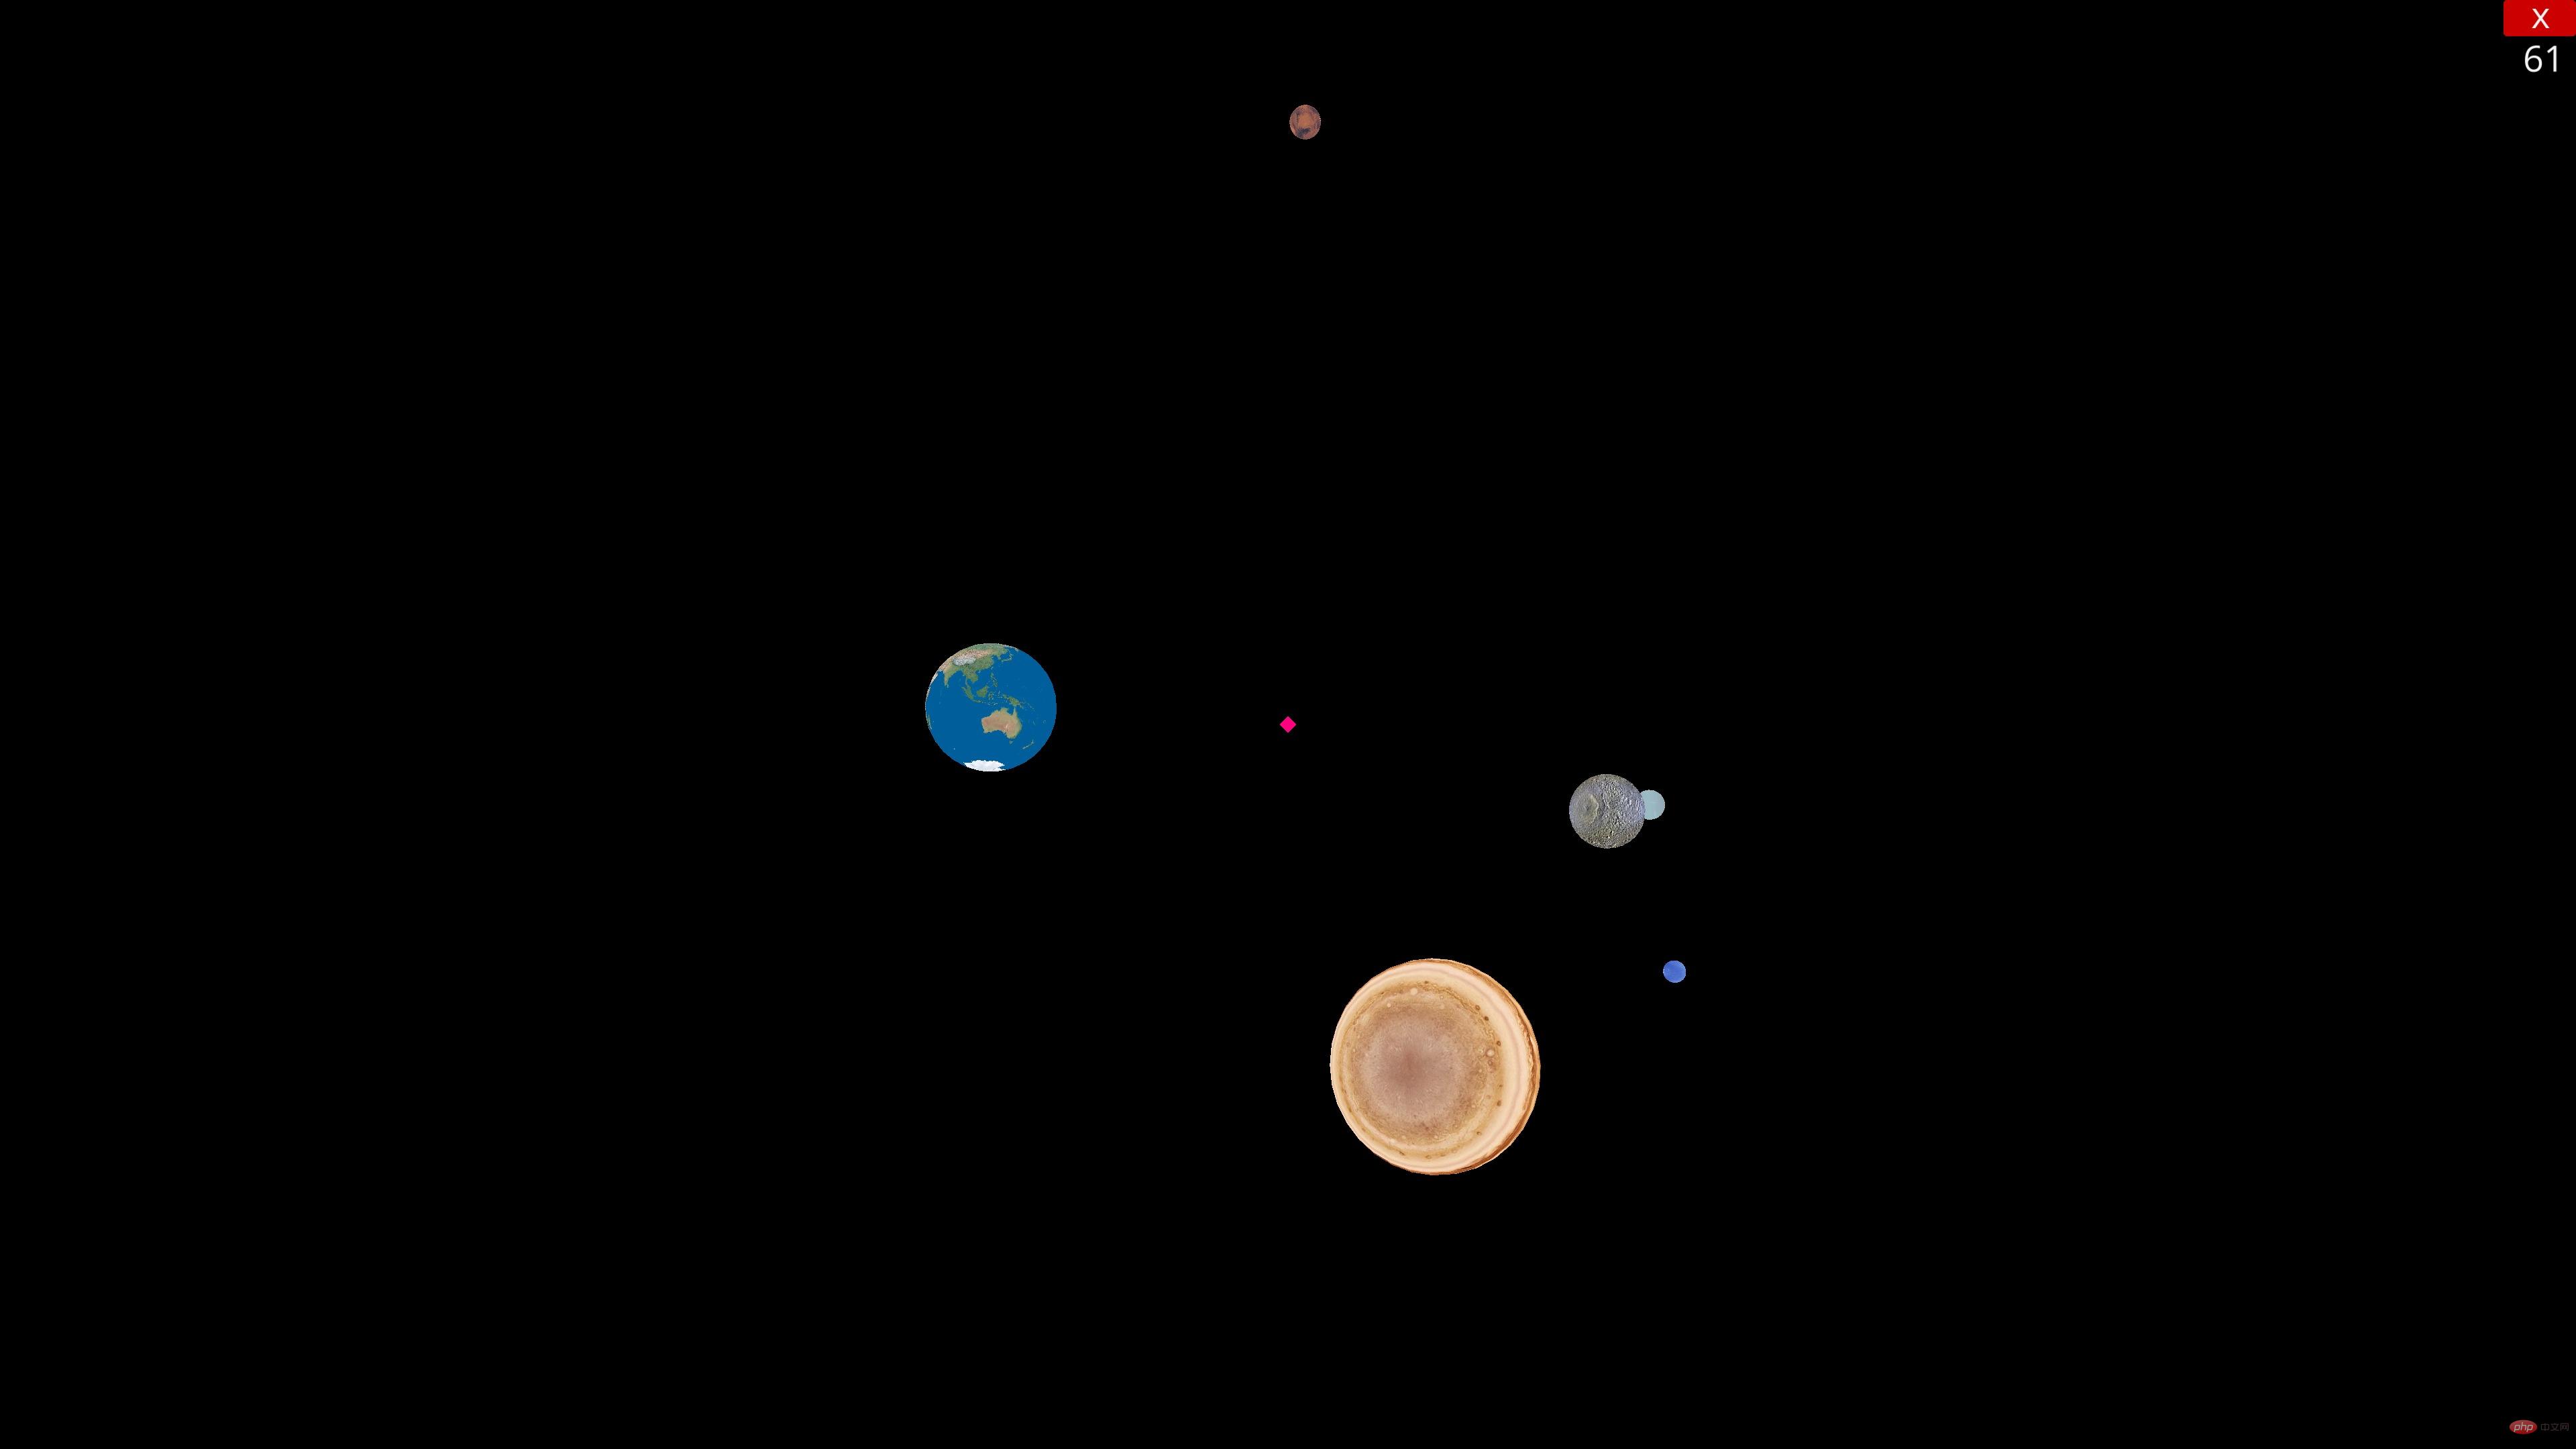
This time, the effect we want to achieve is as follows
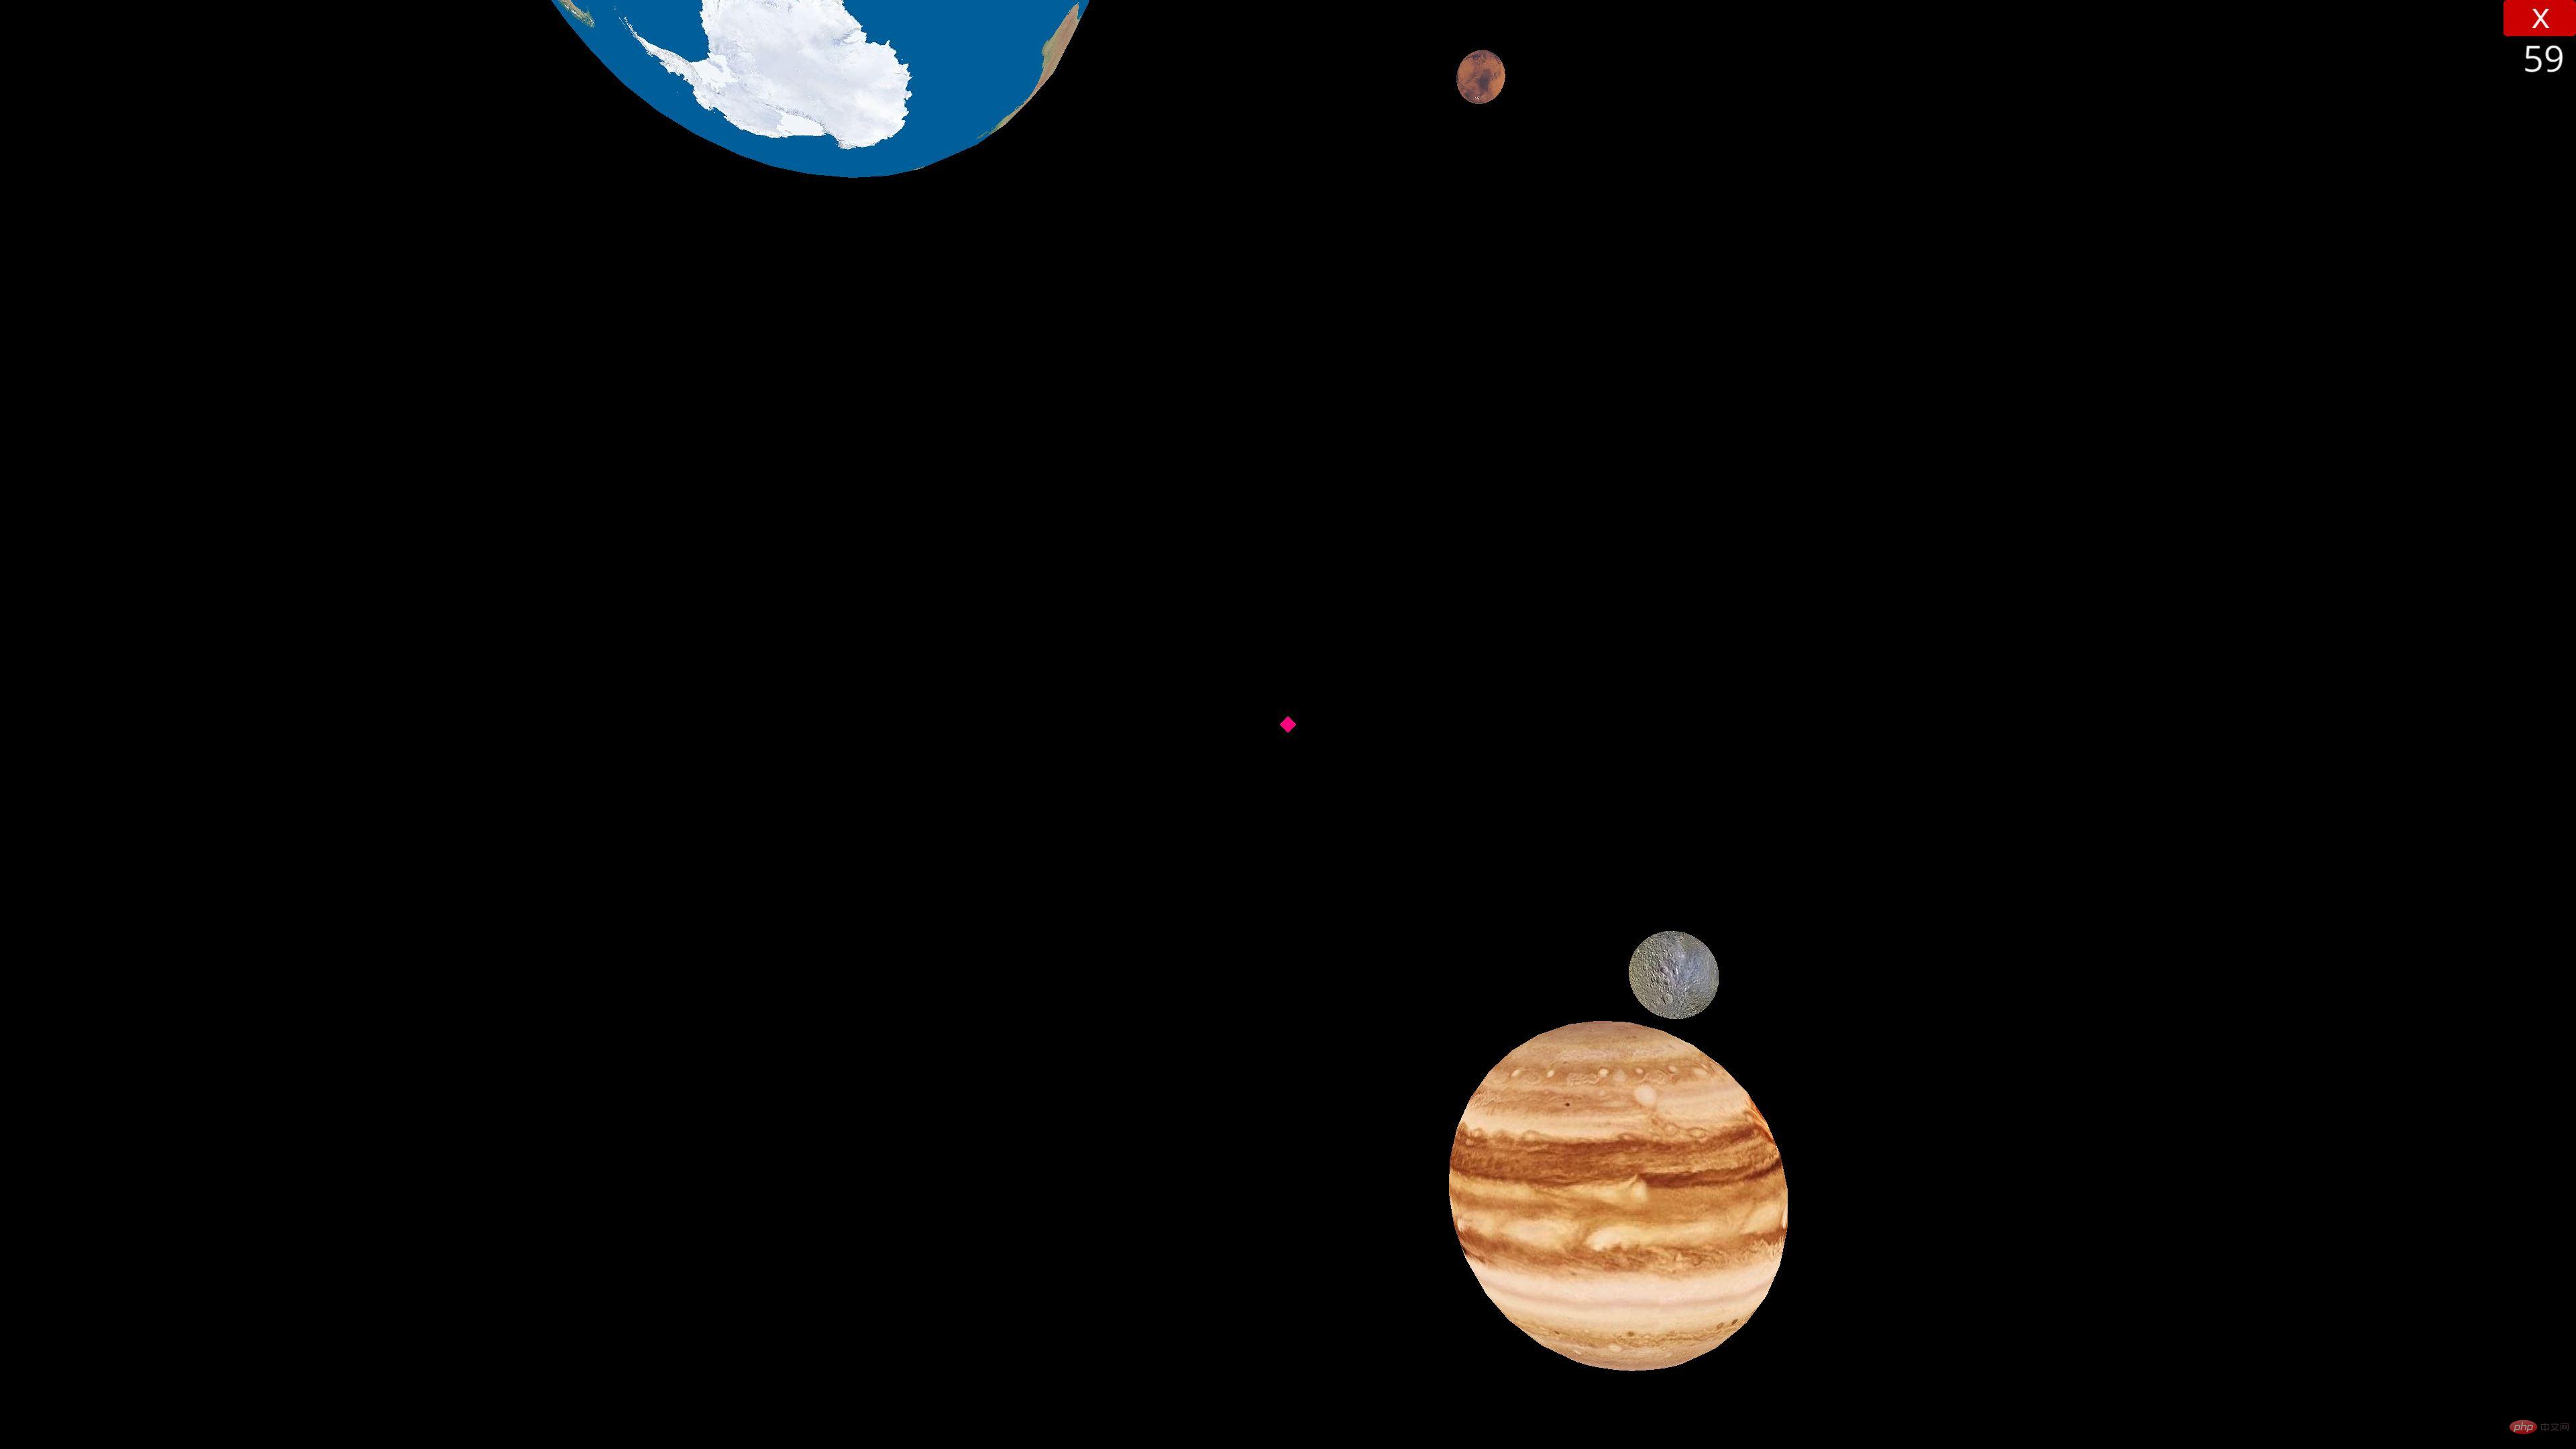
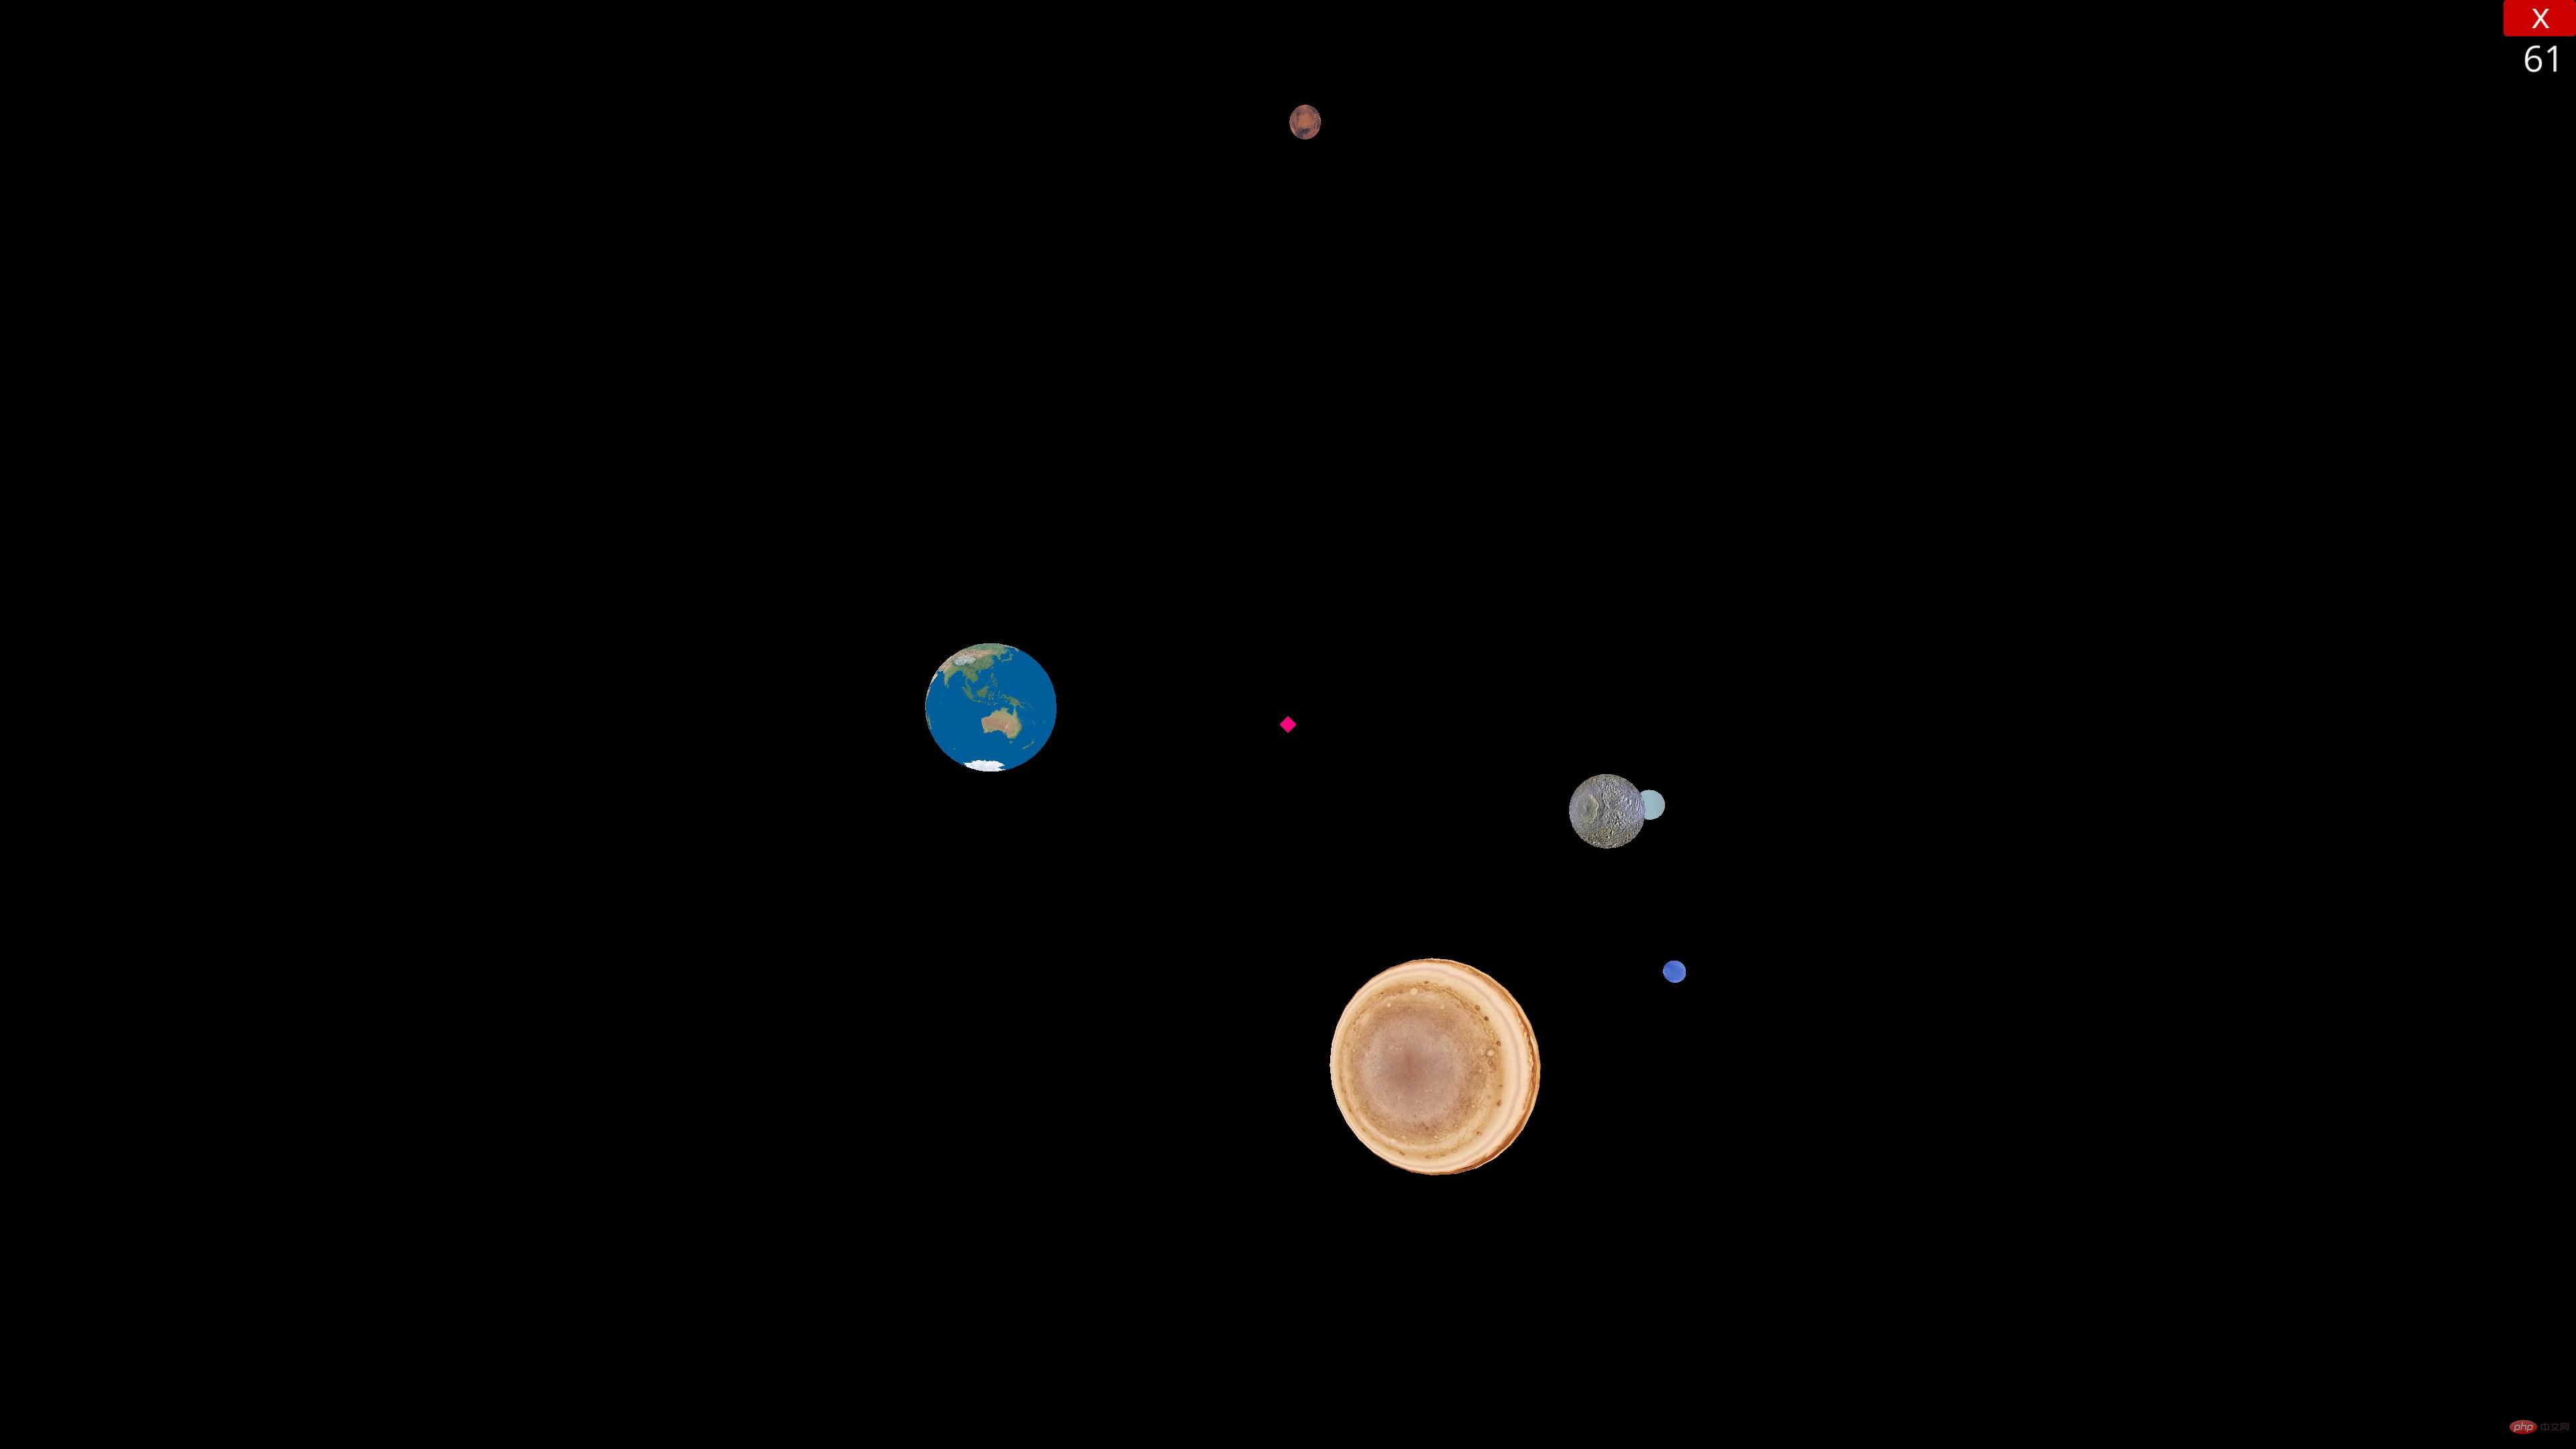
First of all, send the resources we need this time
Earth.jpg
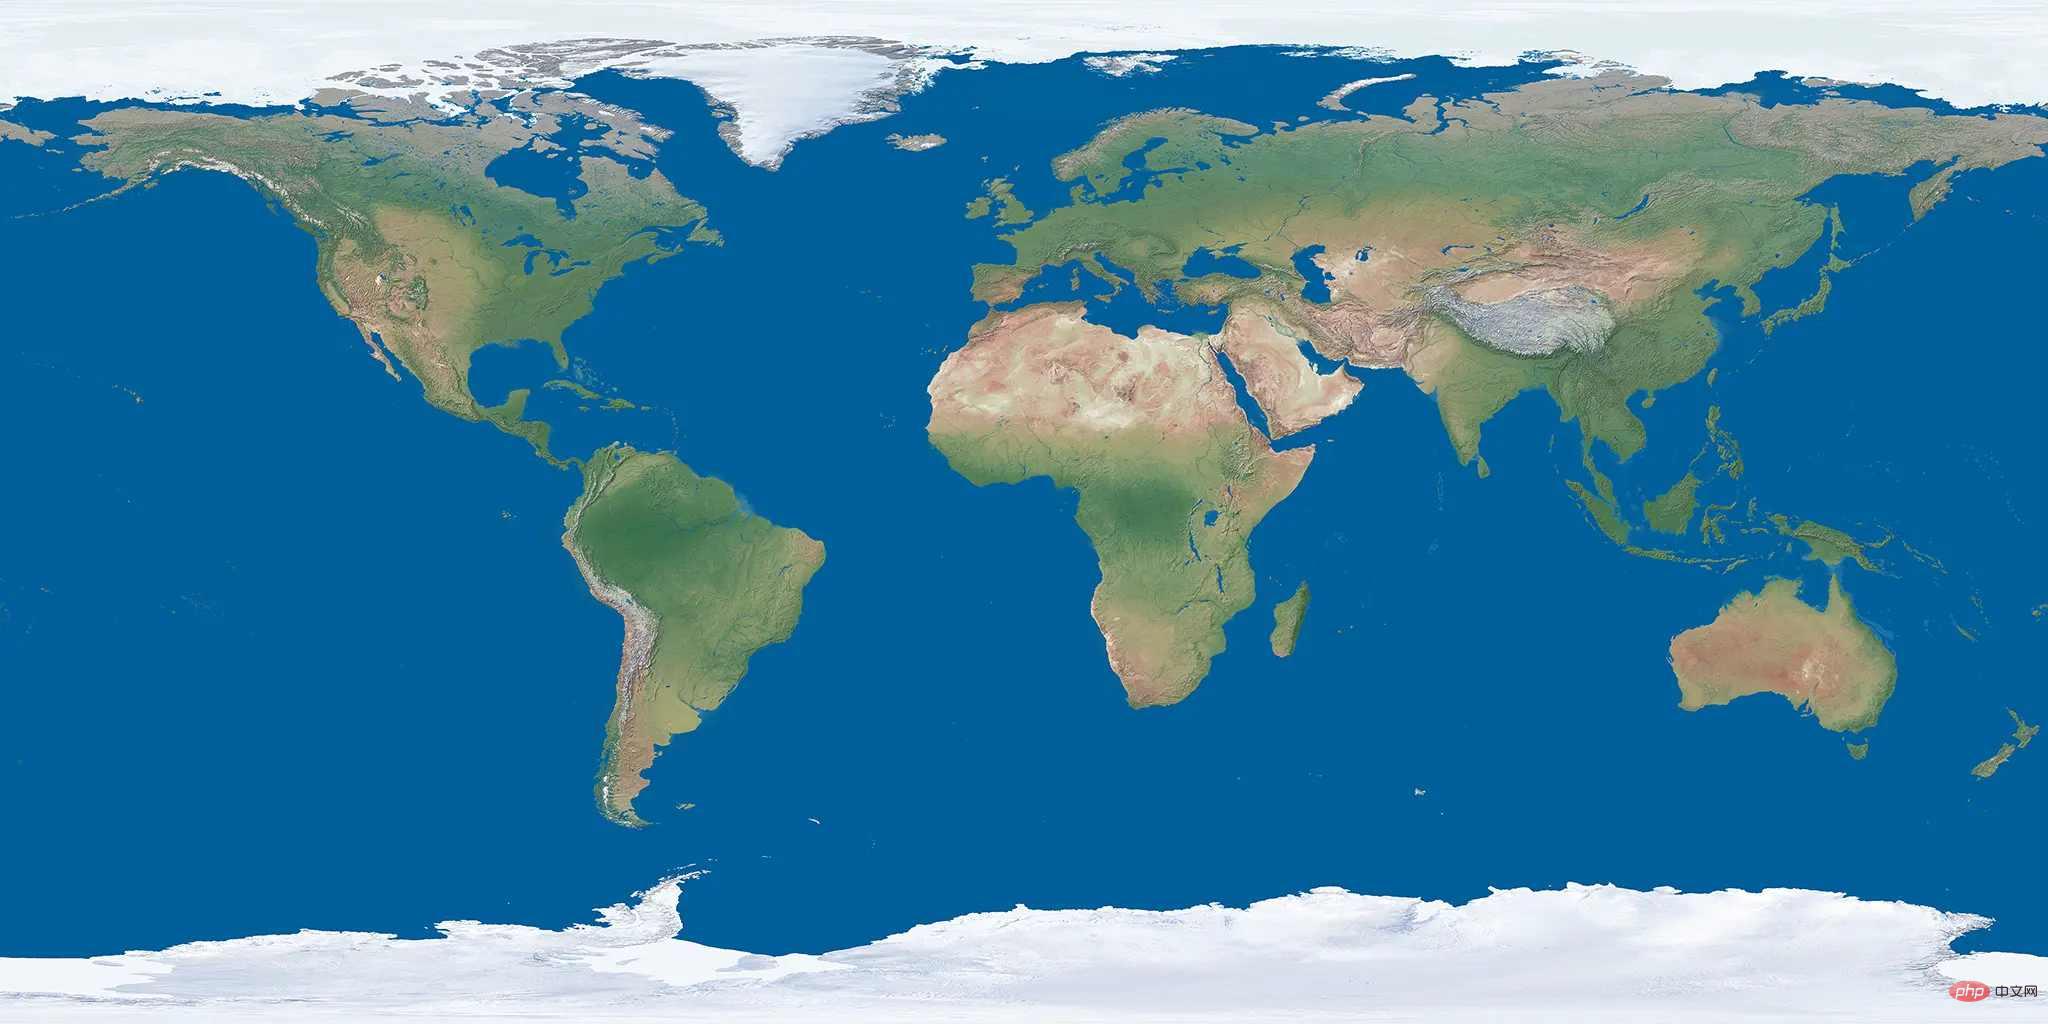
Jupiter.jpg
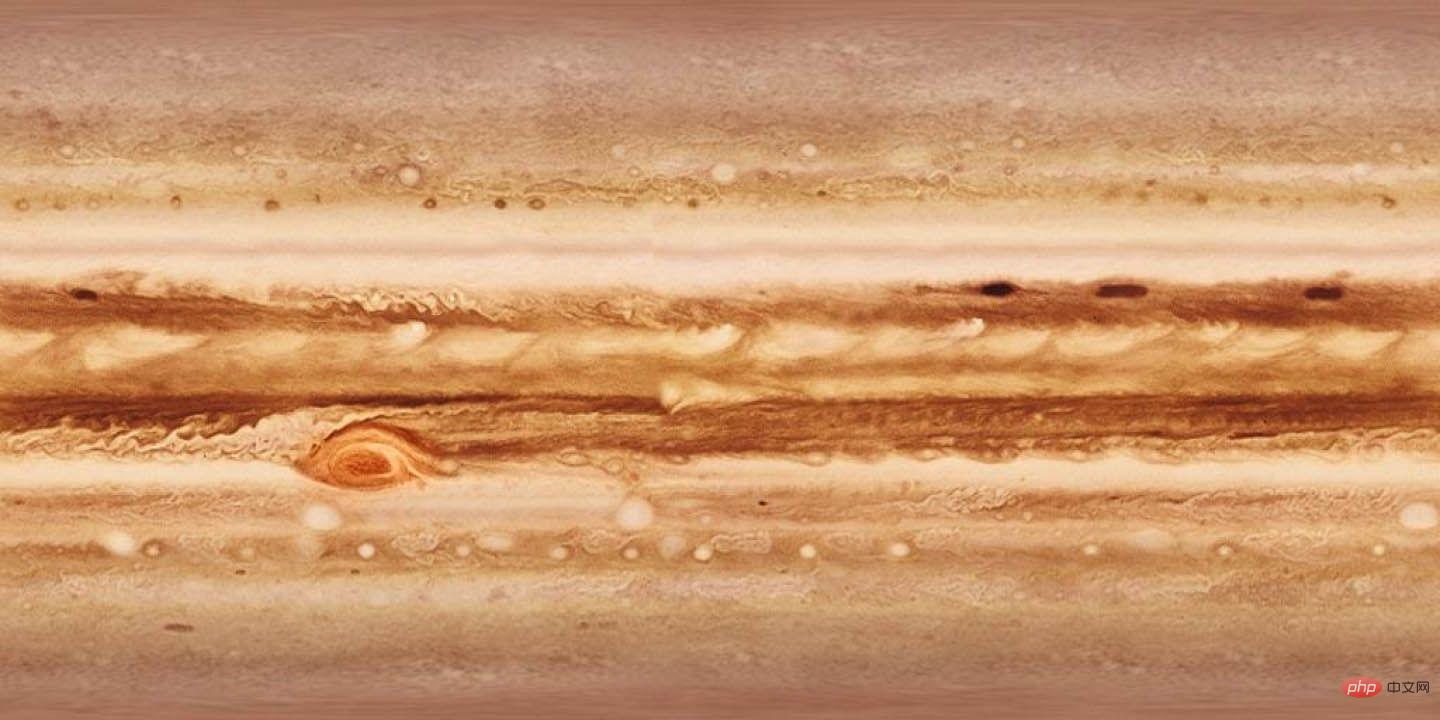
Mars.jpg
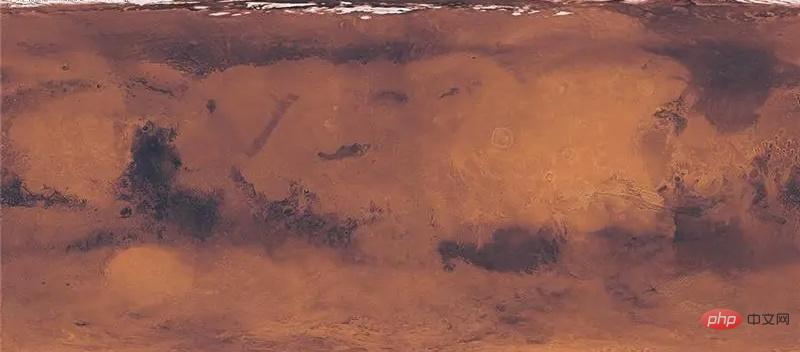
Mercury.jpg
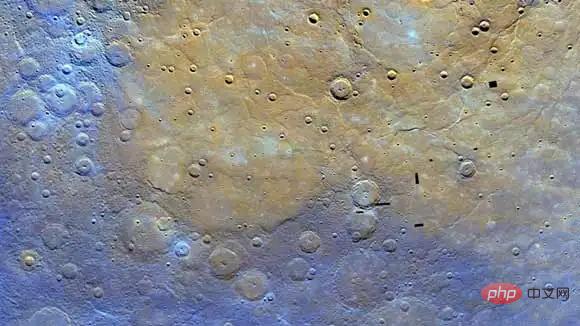
Neptune.jpg
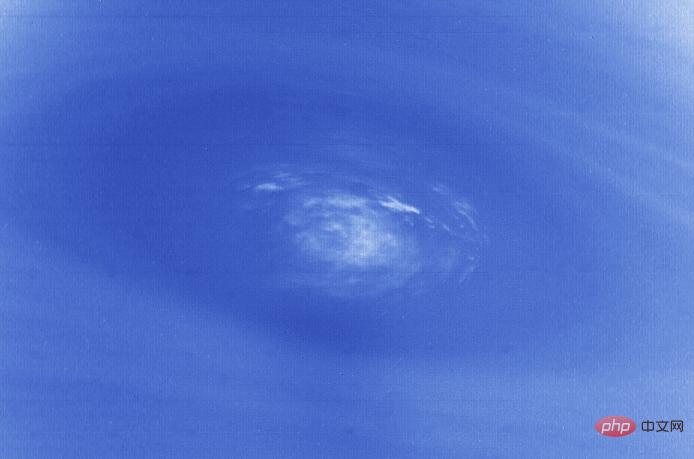
Saturn.jpg
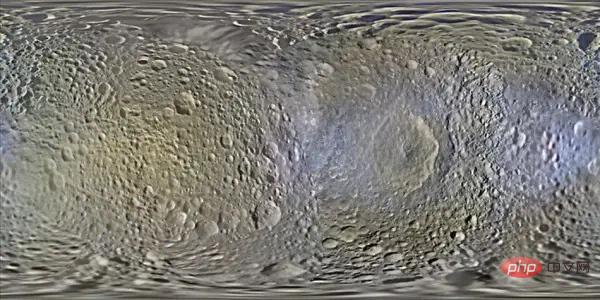
Sun.jpg
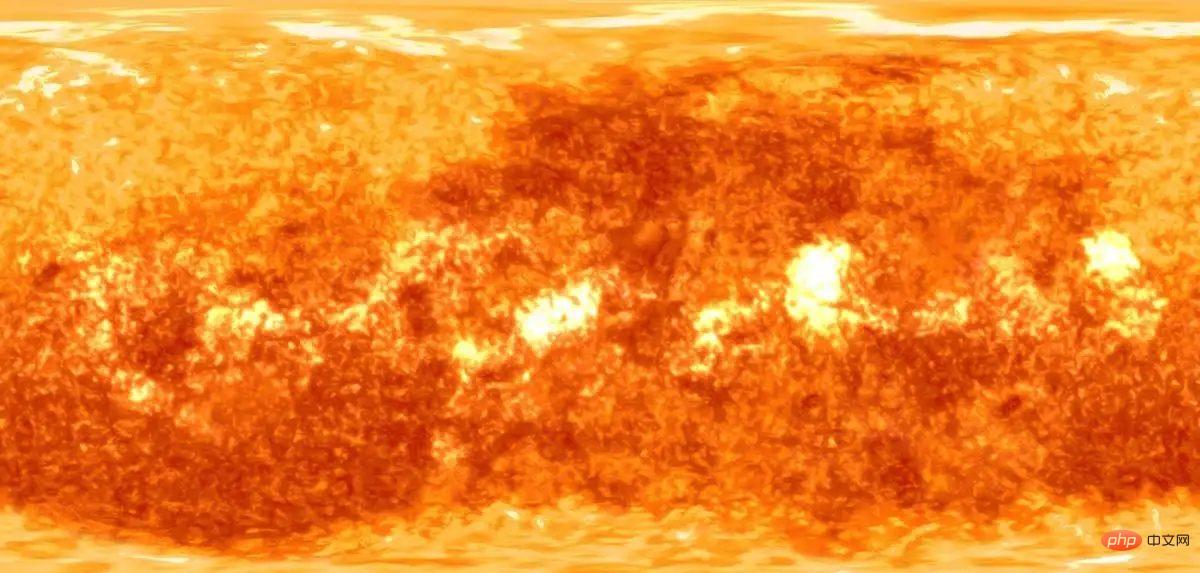
Uranus.jpg
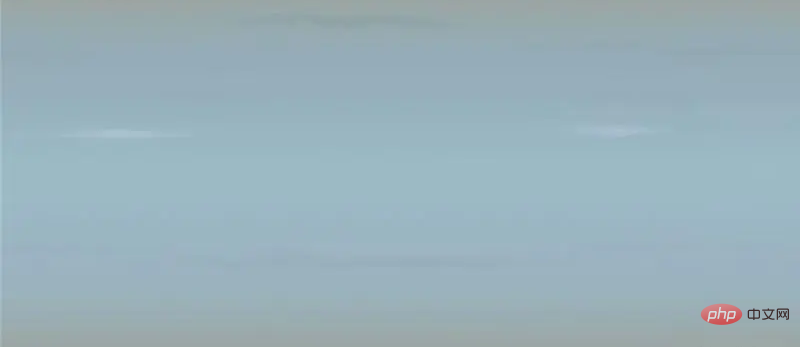
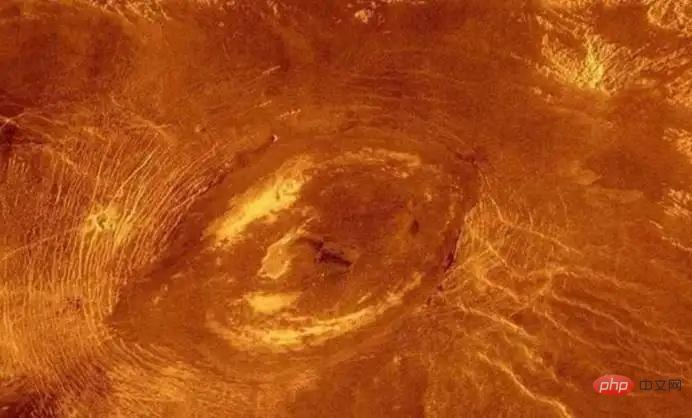
from ursina import * from math import * from ursina.prefabs.first_person_controller import FirstPersonController import sys import random as rd
app=Ursina()
window.fullscreen=True window.color=color.black
planets=[]
sun_texture=load_texture("texture/Sun.png") mercury_texture=load_texture("texture/Mercury.png") venus_texture=load_texture("texture/Venus.png") earth_texture=load_texture("texture/Earth.png") mars_texture=load_texture("texture/Mars.png") jupiter_texture=load_texture("texture/Jupiter.png") saturn_texture=load_texture("texture/Saturn.png") uranus_texture=load_texture("texture/Uranus.png") neptune_texture=load_texture("texture/Neptune.png")
class Planet(Entity): def __init__(self,_type,pos,scale=2): self.angle=rd.uniform(0.0005,0.01) self.fastMode=0 self.rotation=(rd.randint(0,360) for i in range(3)) self.rotspeed=rd.uniform(0.25,1.5) self.rotMode=rd.choice(["x","y","z"]) self._type=_type texture=eval(f"{_type}_texture") super().__init__(model="sphere", scale=scale, texture=texture, color=color.white, position=pos) def turn(self,angle): if self._type!="sun": if self.fastMode: angle*=200 self.x=self.x*cos(radians(angle))-self.y*sin(radians(angle)) self.y=self.x*sin(radians(angle))+self.y*cos(radians(angle)) exec(f"self.rotation_{self.rotMode}+=self.rotspeed") def input(self,key): if key=="enter": self.fastMode=1-self.fastMode
这里讲一下input和update中进行按键事件监听操作的不同,input每次只接收一个按键,而且,如果我们一个按键一直按下,它不会一直触发,只会触发一次,然后等到该按键释放,才会重新对该按键进行监听;update相当于主循环,在任何于ursina有关的地方(比如继承自Entity、Button这样的类,或者是主程序)写update方法,ursina都会进行自动调用,我们不需要手动调用它,在update方法中监听事件,我们用到了held_keys,不难发现,held_keys有多个元素,只要按下就为True,所以每次运行到这里,只要按键按下,就执行,而input传入的key本身就是一个元素,所以只有一个,我们按下esc的操作不能连续调用,所以用input,其它移动玩家的代码时可以重复执行的,所以写在update(应该说是用held_keys)中。
class Player(FirstPersonController): def __init__(self): global planets super().__init__() camera.fov=90 self.position=planets[3].position self.gravity=0 self.vspeed=2 self.speed=600 self.mouse_sensitivity=Vec2(160,160) self.on_enable() def input(self,key): if key=="escape": if mouse.locked: self.on_disable() else: sys.exit() def _update(self): if held_keys["left mouse"]: self.on_enable() if held_keys["left shift"]: self.y-=self.vspeed if held_keys["space"]: self.y+=self.vspeed
然后在主程序中写update方法,并在其中调用我们刚刚写的player中的_update方法,再对星球进行自转公转操作
def update(): global planets,player for planet in planets: planet.turn(planet.angle) player._update()
接下来,我们定义两个列表,分别表示星球名称和星球的大小,其实在实际的大小比例中,和这个相差很多,如果地球是1,太阳则大约为130000,木星和图形分别为1500多和700多,这样相差太大,做在程序里看起来很不寻常,所以我们这里对大多数星球的大小进行放大缩小,把它们大小的相差拉近点。然后遍历并绘制,每颗星球的间隔为前一个的10倍
ps=["sun","mercury","venus","earth","mars","jupiter","saturn","uranus","neptune"] cp=[200,15,35,42,20,160,145,90,80] x,y,z=0,0,0 for i,p in enumerate(ps): newPlanet=Planet(p,(x,y,z),cp[i]) planets.append(newPlanet) x+=cp[i]*10
最后实例化player,并运行app
player=Player() if __name__ == '__main__': app.run()
然后就能实现文章前面展示的效果啦~
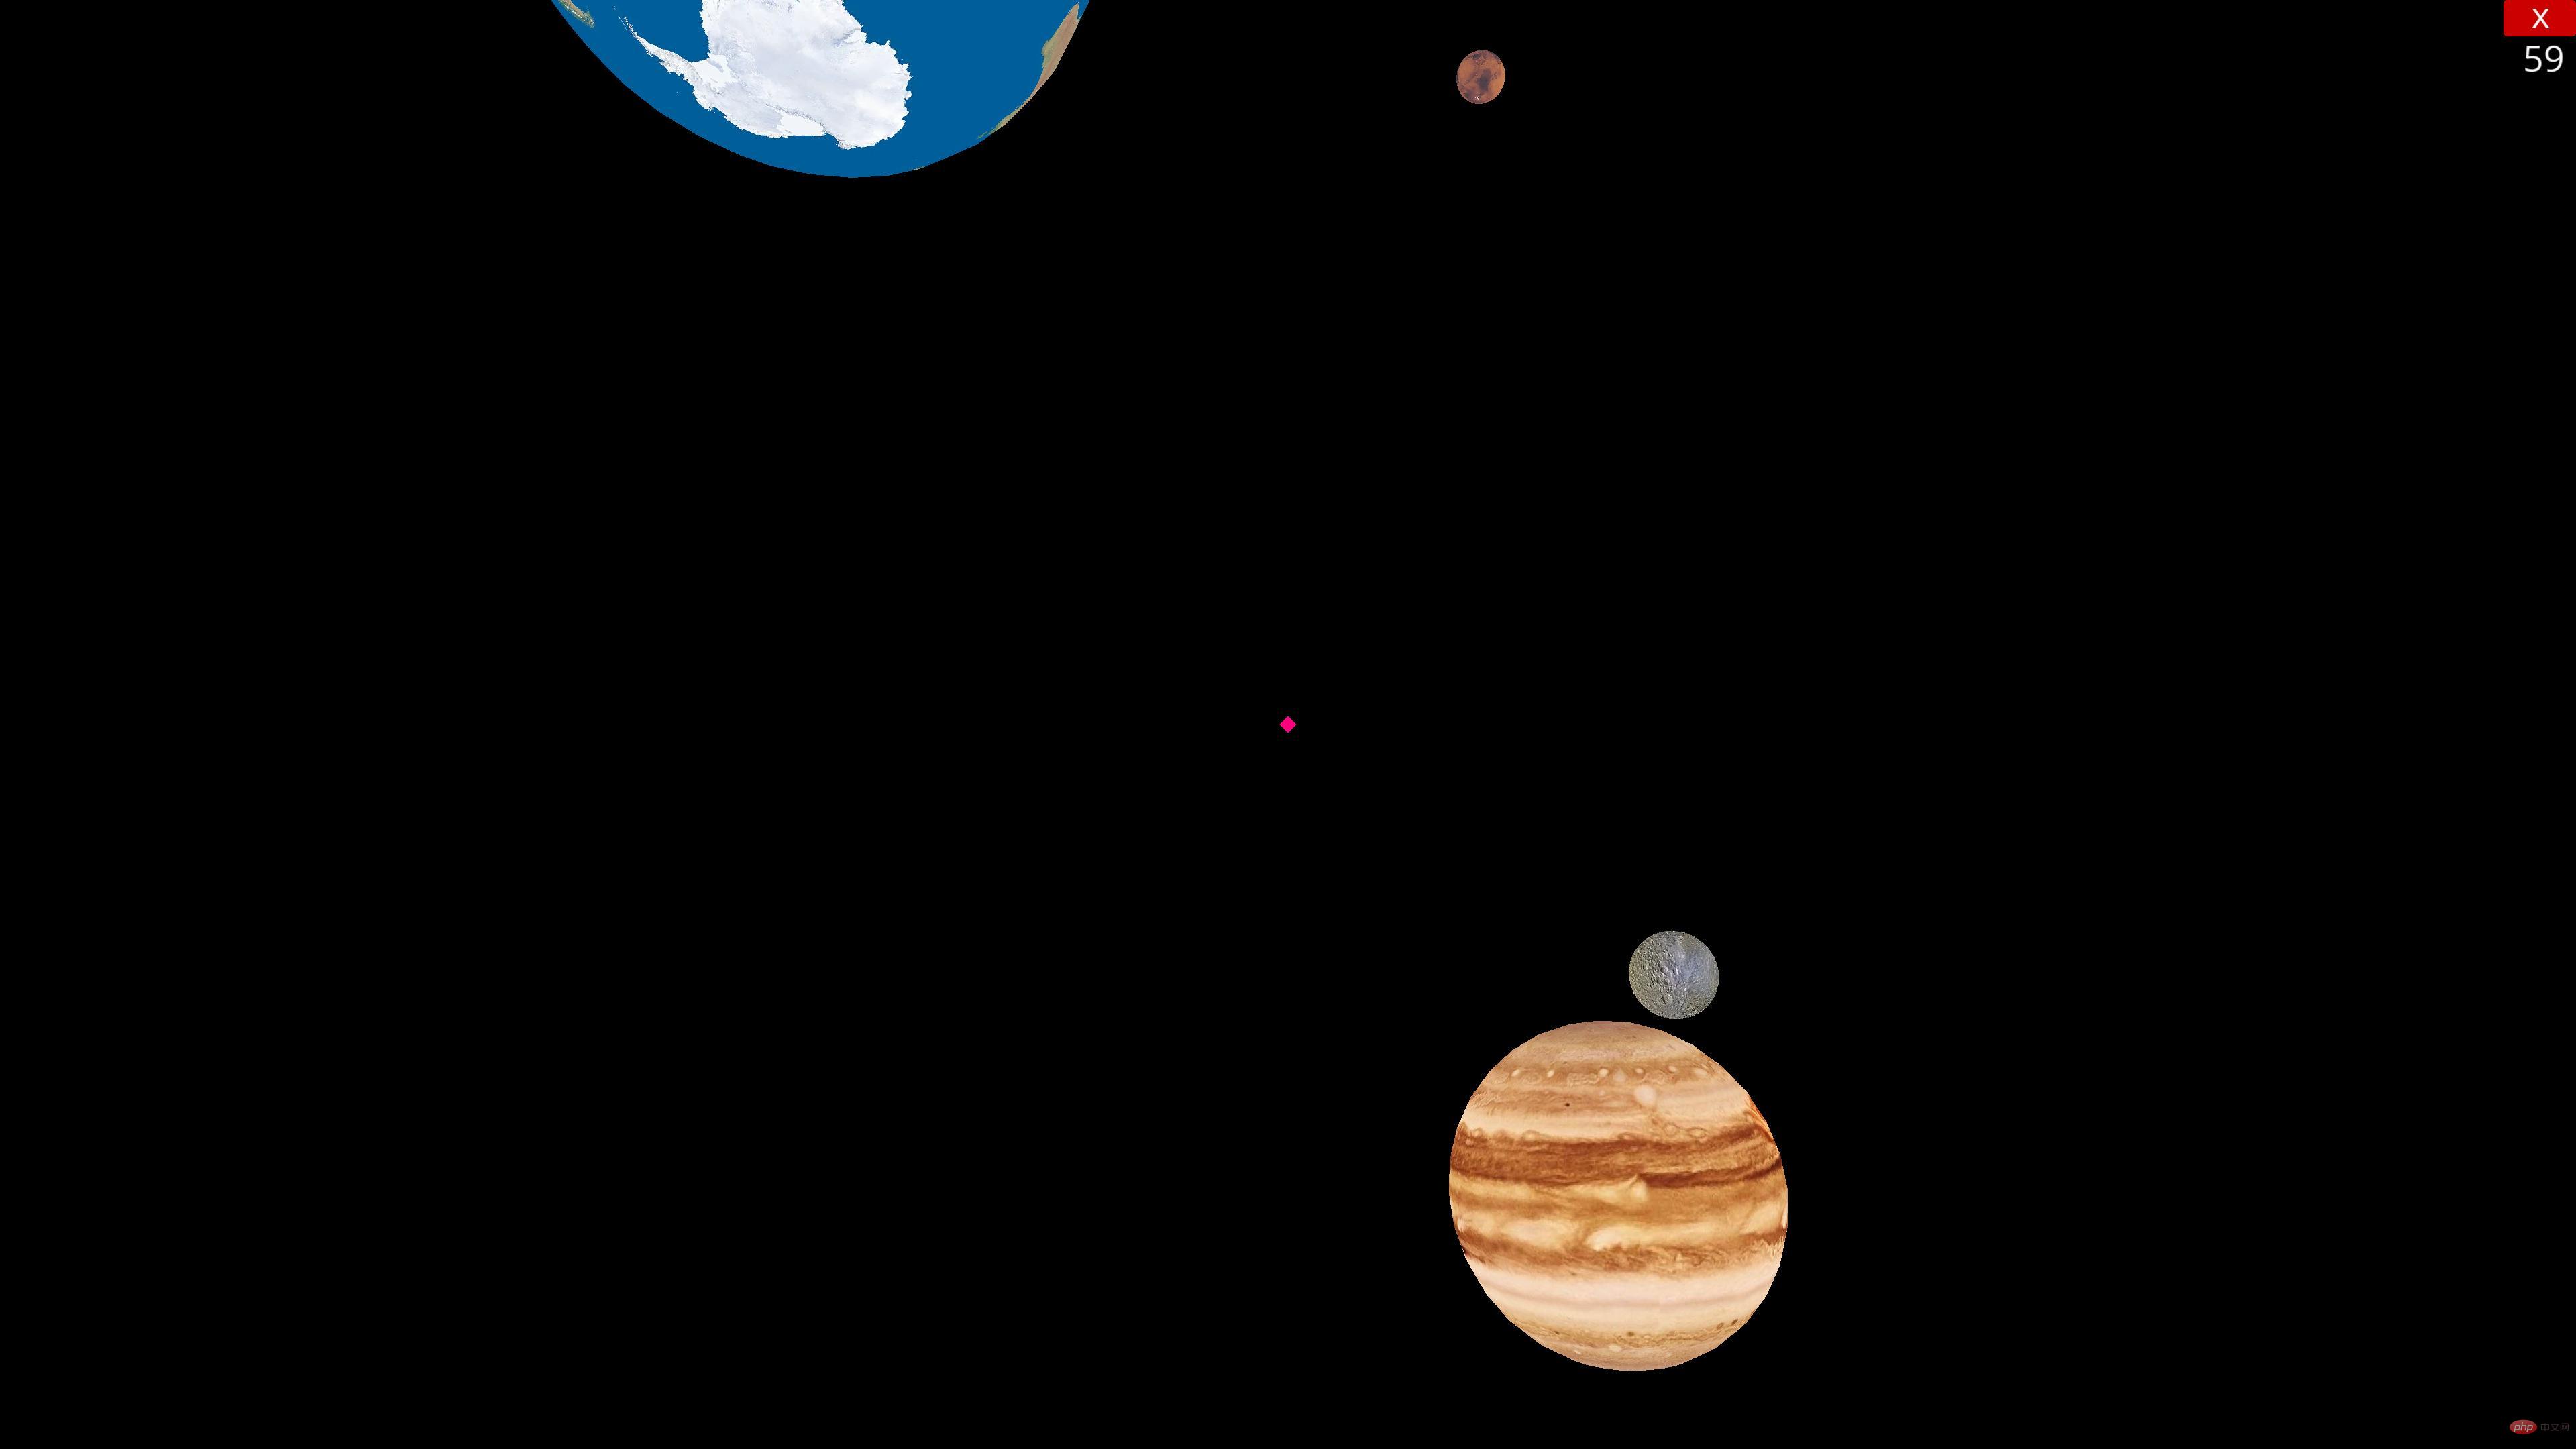
最后,附上代码
from ursina import * from math import * from ursina.prefabs.first_person_controller import FirstPersonController import sys import random as rd app=Ursina() window.fullscreen=True window.color=color.black planets=[] class Planet(Entity): def __init__(self,_type,pos,scale=2): self.angle=rd.uniform(0.0005,0.01) self.fastMode=0 self.rotation=(rd.randint(0,360) for i in range(3)) self.rotspeed=rd.uniform(0.25,1.5) self.rotMode=rd.choice(["x","y","z"]) self._type=_type texture=eval(f"{_type}_texture") super().__init__(model="sphere", scale=scale, texture=texture, color=color.white, position=pos) def turn(self,angle): if self._type!="sun": if self.fastMode: angle*=200 self.x=self.x*cos(radians(angle))-self.y*sin(radians(angle)) self.y=self.x*sin(radians(angle))+self.y*cos(radians(angle)) exec(f"self.rotation_{self.rotMode}+=self.rotspeed") def input(self,key): if key=="enter": self.fastMode=1-self.fastMode class Player(FirstPersonController): def __init__(self): global planets super().__init__() camera.fov=90 self.position=planets[3].position self.gravity=0 self.vspeed=2 self.speed=600 self.mouse_sensitivity=Vec2(160,160) self.on_enable() def input(self,key): if key=="escape": if mouse.locked: self.on_disable() else: sys.exit() def _update(self): if held_keys["left mouse"]: self.on_enable() if held_keys["left shift"]: self.y-=self.vspeed if held_keys["space"]: self.y+=self.vspeed def update(): global planets,player for planet in planets: planet.turn(planet.angle) player._update() sun_texture=load_texture("texture/Sun.png") mercury_texture=load_texture("texture/Mercury.png") venus_texture=load_texture("texture/Venus.png") earth_texture=load_texture("texture/Earth.png") mars_texture=load_texture("texture/Mars.png") jupiter_texture=load_texture("texture/Jupiter.png") saturn_texture=load_texture("texture/Saturn.png") uranus_texture=load_texture("texture/Uranus.png") neptune_texture=load_texture("texture/Neptune.png") ps=["sun","mercury","venus","earth","mars","jupiter","saturn","uranus","neptune"] cp=[200,15,35,42,20,160,145,90,80] x,y,z=0,0,0 for i,p in enumerate(ps): newPlanet=Planet(p,(x,y,z),cp[i]) planets.append(newPlanet) x+=cp[i]*10 player=Player() if __name__ == '__main__': app.run()
The above is the detailed content of How to use 3D engine to create a solar system planet simulator in Python. For more information, please follow other related articles on the PHP Chinese website!


