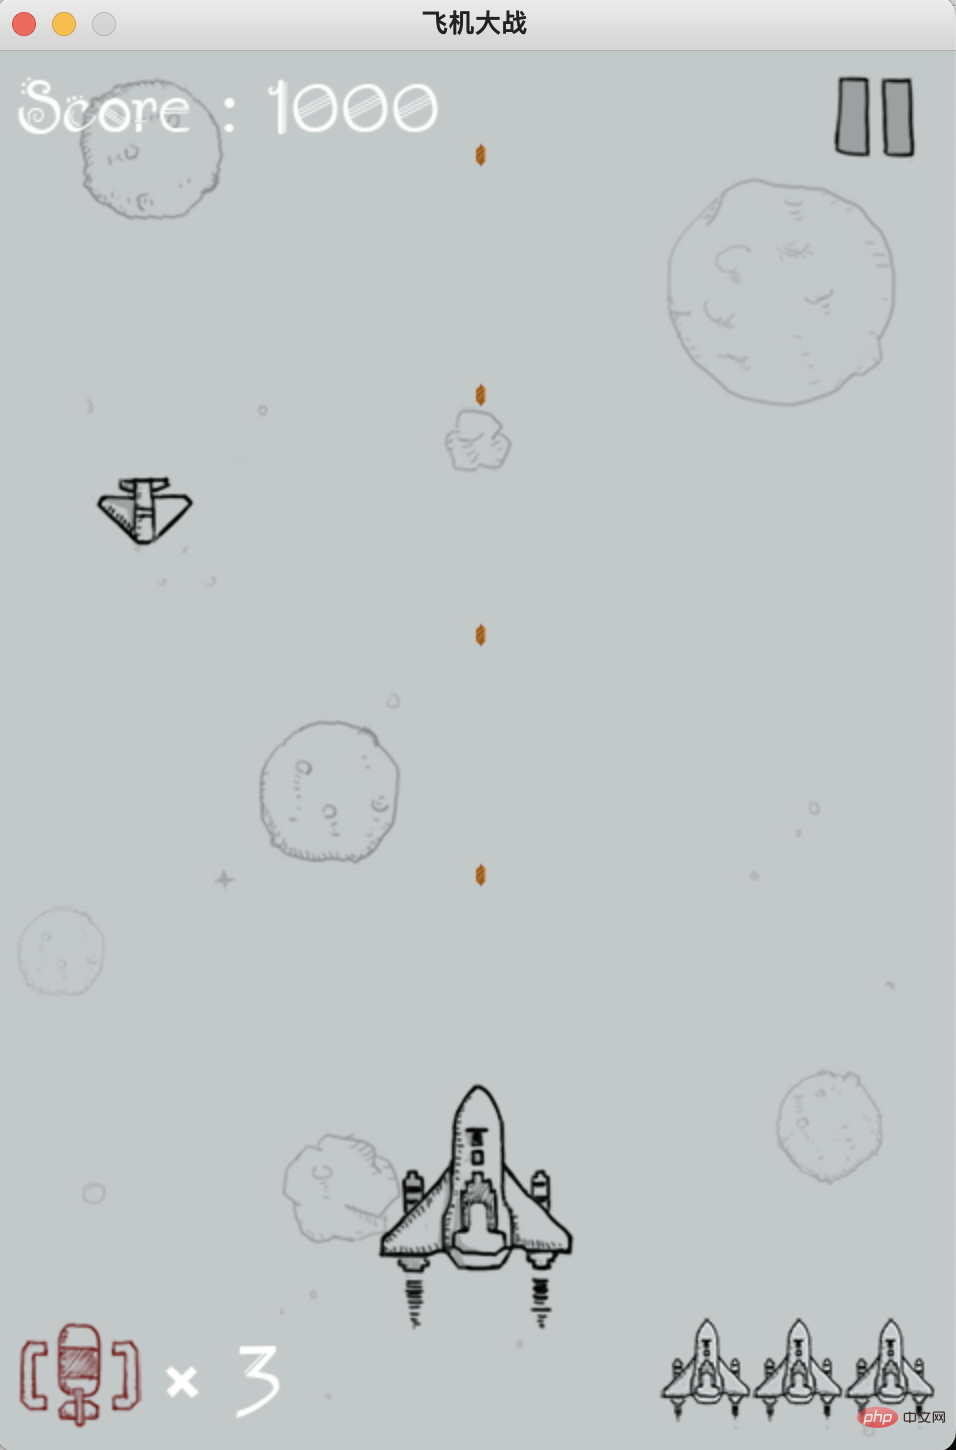
Today we will expand it and play airplane battles with human faces. Although the idea is similar to gesture recognition, the amount of code is slightly more than the gesture recognition version.
The face algorithm used is millisecond-level, the frame rate can reach 30, and it runs very smoothly on a computer CPU.
Below I will share the project implementation process, and obtain the complete source code of the project at the end of the article.
Find a Python version of the Plane War program on Github, install Pygame and run it.

Use the A, D, W, and S keys on the keyboard to control the movement direction of the aircraft, which correspond to left, right, up, and down respectively.
So, what we have to do next is to recognize the face, estimate the face pose, and map the estimated results to left, right, up, and down to control the operation of the aircraft.
Here, we use opencv to read the video stream from the camera.
Send each frame in the video stream to the face recognition model in mediapipe for recognition.

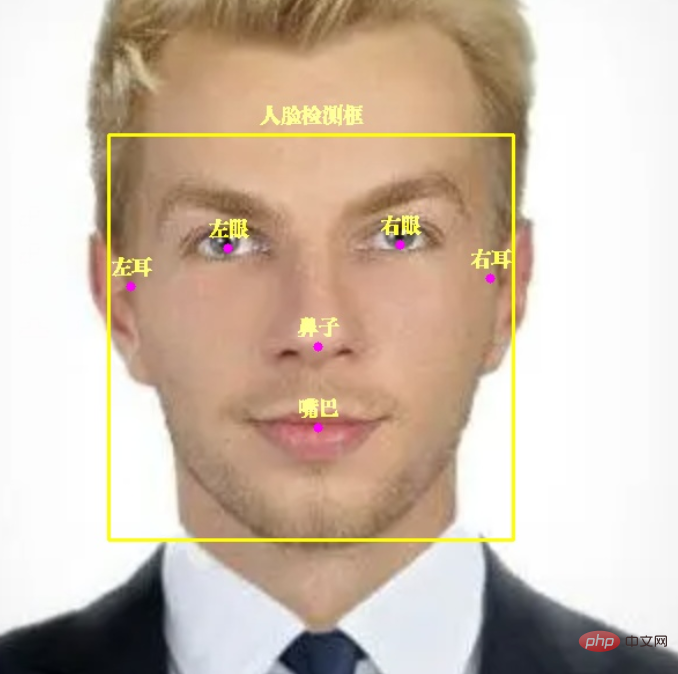
Picture mediapipe can not only recognize faces, but also mark 6 key points on faces: left eye, right eye, left ear, right ear, nose, and mouth.
Core code:
with self.mp_face_detection.FaceDetection(
model_selection=0, min_detection_confidence=0.9) as face_detection:
while cap.isOpened():
success, image = cap.read()
image = cv2.cvtColor(image, cv2.COLOR_BGR2RGB)
results = face_detection.process(image)
image = cv2.cvtColor(image, cv2.COLOR_RGB2BGR)
if results.detections:
for detection in results.detections:
# 获取人脸框坐标
face_box = detection.location_data.relative_bounding_box
face_w, face_h = int(face_box.width * frame_w), int(face_box.height * frame_h)
face_l = int(face_box.xmin * frame_w) + face_w
face_t = int(face_box.ymin * frame_h)
face_r, face_b = face_l - face_w, face_t + face_h
# 显示人脸框
cv2.rectangle(image, (face_l, face_t), (face_r, face_b), (0, 255, 255), 2)
self.draw_zh_img(image, self.face_box_name_img, (face_r + face_l) // 2, face_t - 5)

pose_direct, pose_key_points = self.pose_estimate(detection)
# 显示人脸 6 个关键点
for point_name in FaceKeyPoint:
mp_point = self.mp_face_detection.get_key_point(detection, point_name)

point_x = int(mp_point.x * frame_w)
point_y = int(mp_point.y * frame_h)

point_color = (0, 255, 0) if point_name in pose_key_points else (255, 0, 255)
cv2.circle(image, (point_x, point_y), 4, point_color, -1)
# 显示关键点中文名称
point_name_img = self.face_key_point_name_img[point_name]
self.draw_zh_img(image, point_name_img, point_x, point_y-5)
There is a little knowledge point that everyone needs to pay attention to.
draw_zh_img is used in the code to display Chinese, because opencv does not support direct display of Chinese. Therefore, I use the Image method in the PIL module to draw Chinese pictures in advance and convert them to opencv format.

When needed, merge directly with the video stream, with high efficiency and no frame drop.
Before gesture recognition, we used adjacent frames to judge the movement of gestures. Face pose estimation only uses the current frame, which is relatively easy.
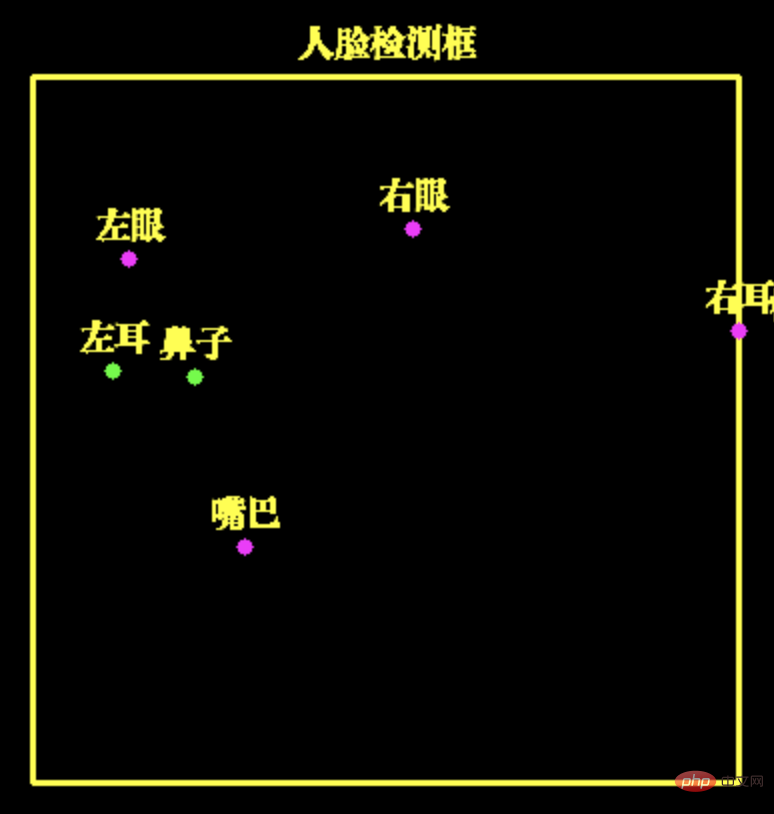
We can determine the posture of the face through the coordinate distance of the six key points of the face

Here, the horizontal distance between the left ear and the nose Very close, therefore, we can estimate that the face is turning to the left and thus can move the plane to the left.
Similarly, using other key points, we can estimate the face turning to the right, upward (head up) and downward (head down)
Core code:
# 左耳与鼻子水平距离,判断面部左转
left_ear_to_nose_dist = left_ear.x - nose_pos.x
# 右耳与鼻子水平距离,判断面部右转
nose_to_right_ear_dist = nose_pos.x - right_ear.x

# 鼻子与左眼垂直距离,判断面部向上
nose_to_left_eye_dist = nose_pos.y - left_eye.y
# 左耳与左眼垂直距离,判断面部向下
left_ear_to_left_eye_dist = left_ear.y - left_eye.y

if left_ear_to_nose_dist < 0.07:
# print('左转')
self.key_board.press_key('A')
time.sleep(0.07)
self.key_board.release_key('A')

return 'A', [FaceKeyPoint.NOSE_TIP, FaceKeyPoint.LEFT_EAR_TRAGION]
if nose_to_right_ear_dist < 0.07:
# print('右转')
self.key_board.press_key('D')
time.sleep(0.07)
self.key_board.release_key('D')
return 'D', [FaceKeyPoint.NOSE_TIP, FaceKeyPoint.RIGHT_EAR_TRAGION]After recognizing the face posture, we can use the program to control the keyboard to control the movement of the aircraft.
Here I use the PyKeyboard module to control keyboard keys.
self.key_board = PyKeyboard()
# print('左转')
self.key_board.press_key('A')
time.sleep(0.07)
self.key_board.release_key('A')The press_key and release_key functions are key press and release key respectively.
Between them, time.sleep(0.07) is called to control the duration of the button. If the button is pressed for a long time, the distance the aircraft will move will be long. On the contrary, if the button time is short, the distance the aircraft will move will be short. You can follow Adjust to your own needs.
The above is the detailed content of Face recognition can still work like this. For more information, please follow other related articles on the PHP Chinese website!


