


The taskbar on Windows systems is the most used feature by all Windows users around the world. You can easily pin your favorite and most used apps to the taskbar, customizing their size and color. In this article, we will discuss how to back up pinned items on the taskbar and restore them if needed.
There are two ways to back up and restore pinned items. There is a manual method where you have to create a backup of the pinned items and their associated registry files in a secure folder.
Besides this, there is another automated method that can be used to automate the entire process of backing up pinned items.
There are two different parts to this process.
1. First, press the Windows key and the R key simultaneously.
2. Then, paste the following into the Run window and press Enter.
%AppData%\Microsoft\Internet Explorer\Quick Launch\User Pinned\TaskBar
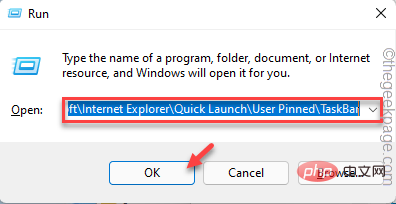
#This will open the taskbar folder.
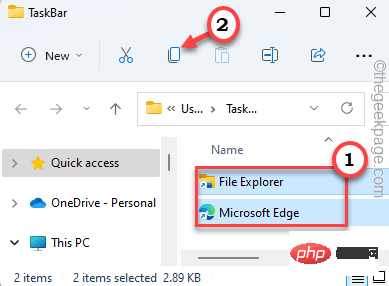
3. In the taskbar folder, select everything inside.
4. Then, click the "Copy" icon on the menu bar.
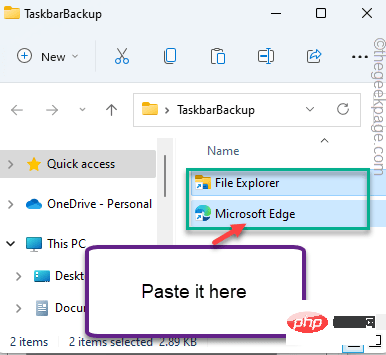
#4. Now, create a folder in any location (eg - Desktop) and paste these contents in it.
[
For example, we created a backup folder named "TaskbarBackup". The complete location of the folder is -
C:\Users\sambi\Desktop\TaskbarBackup
]
Now, you have to create Registry backup of taskbar.
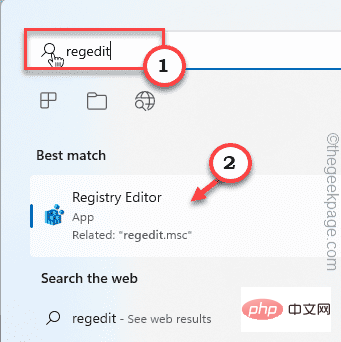
1. First, enter "regedit" in the search box.
2. Then, click on “Registry Editor” to access it.
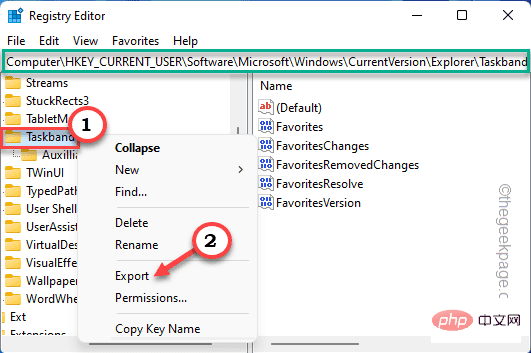
3. Now, navigate to this location –
HKEY_CURRENT_USER\Software\Microsoft\Windows\CurrentVersion\Explorer\Taskband
4. On the left side, right click on “TaskWith ” key, and then click “Export”.
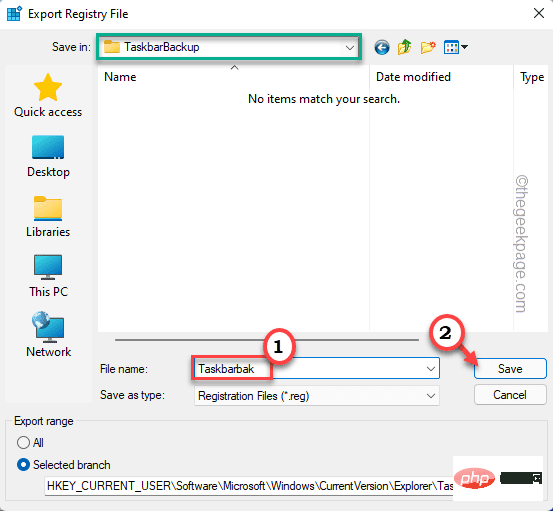
5. Now, navigate to the backup folder you used in Step 1.
[
In our case, it is the TaskbarBackup folder at this location -
C:\Users\sambi\Desktop\TaskbarBackup
]
6. Then, place the backup file Name it "Taskbarbak".
7. After that, click on "Save" to save the changes.
After that, close the Registry Editor window.
In this way, you have successfully created a backup of pinned items on the taskbar.
After creating a backup, you can manually restore pinned items on the taskbar at any time.
1. You must open the taskbar folder. So, press the Windows key and the R key simultaneously.
2. Then, paste the following into the Run window and press Enter.
%AppData%\Microsoft\Internet Explorer\Quick Launch\User Pinned\TaskBar
Keep it open.
3. Now, open the backup folder where you made the backup.
[In our system, the backup folder "TaskbarBackup" folder is located at -C:\Users\sambi\Desktop\TaskbarBackup
]
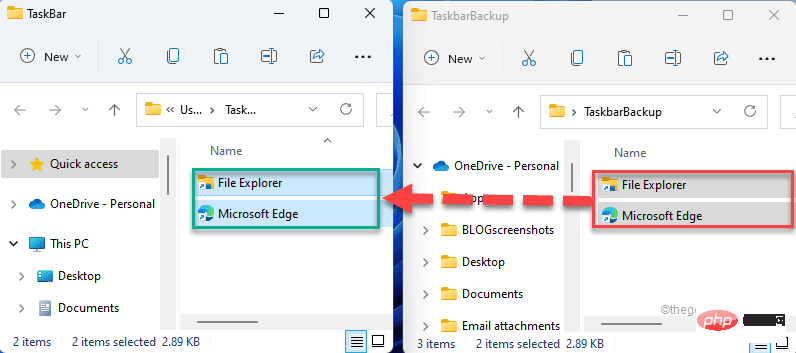
4. Then, copy all files and folders from the backup folder. Then, paste them into the taskbar folder.
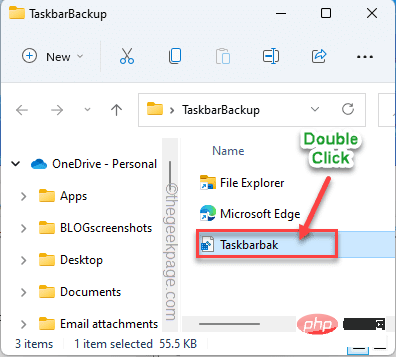
#5. After that, navigate to the folder where the registry backup is stored.
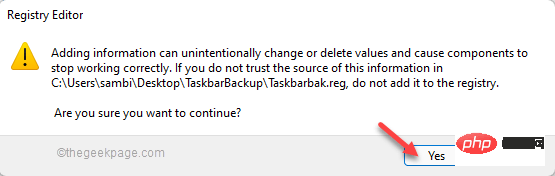
6. Once there, double-click on " Taskbarbak ".
7. You will receive a warning message. Just click " is " to merge the registry keys in the registry.
You won't notice any changes in the taskbar immediately. You must restart the system once for it to work properly.
However, there is another way to complete the process without restarting the system. You must restart File Explorer. Please follow the steps below -
1. First, open File Explorer. Minimize it.
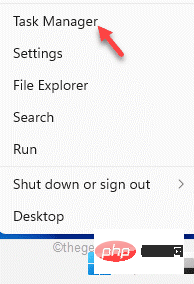
2. Then, press the Windows key and X key at the same time.
3. After that, click on “Task Manager” to access it.
4.当任务管理器打开时,右键单击“ Windows资源管理器”进程并点击“重新启动”。
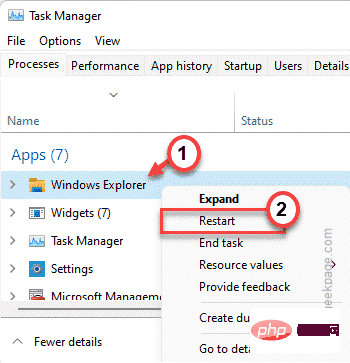
任务栏和文件资源管理器将重新启动。稍等片刻,您就会注意到任务栏的变化。
是否厌倦了手动定期备份任务栏上的固定项目?您可以创建一个批处理文件来自动备份固定的项目,并创建另一个批处理文件来恢复固定的任务栏项目。
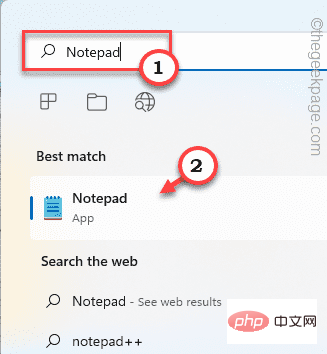
1. 首先,在搜索框中输入“记事本”。
2.然后,点击“记事本”打开它。
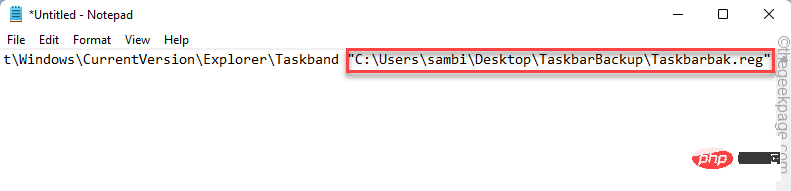
3. 在空白记事本页面中,复制粘贴并修改此行以创建注册表备份。
REG EXPORT HKEY_CURRENT_USER\Software\Microsoft\Windows\CurrentVersion\Explorer\Taskband " [DRIVE LETTER:\FOLDER NAME\FILE NAME.reg] "
[
将“ [DRIVE LETTER:\FOLDER NAME\FILE NAME.reg] ”替换为您的注册表备份文件的位置。
示例 - 在我们的例子中,注册表文件的位置是 – “ C:\Users\sambi\Desktop\TaskbarBackup\ Taskbarbak.reg ”
所以,替换注册表文件的位置后,代码会是这样的——
REG EXPORT HKEY_CURRENT_USER\Software\Microsoft\Windows\CurrentVersion\Explorer\Taskband " C:\Users\sambi\Desktop\TaskbarBackup\Taskbarbak.reg "
]
4. 现在,在记事本的下一行粘贴和修改此命令。
xcopy "%AppData%\Microsoft\Internet Explorer\Quick Launch\User Pinned\TaskBar" " [DRIVE LETTER:\FOLDER NAME\] " /E /C /H /R /K /Y
[再次,将代码中的“ [DRIVE LETTER:\FOLDER NAME\] ”替换为您创建的备份文件夹。
在我们的例子中,名为“ TaskbarBackup ”的备份文件夹位于此处 - C:\Users\sambi\Desktop\TaskbarBackup。所以,最终的命令将是——
xcopy "%AppData%\Microsoft\Internet Explorer\Quick Launch\User Pinned\TaskBar" "C:\Users\sambi\Desktop\TaskbarBackup" /E /C /H /R /K /Y
]

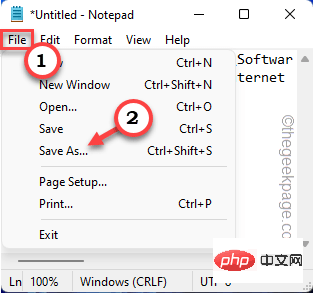
5. 现在,点击菜单栏上的“文件”,然后点击“另存为”。
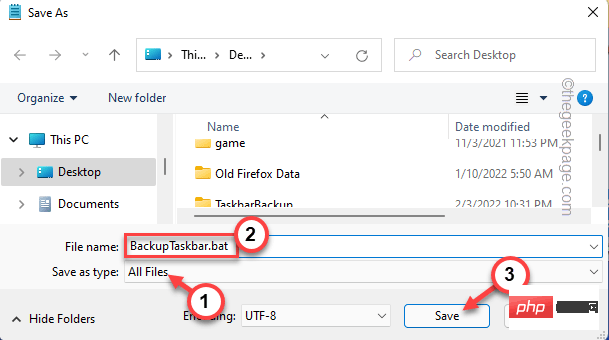
6. 现在,将“保存类型:”设置为“所有文件”。
7. 然后,将名称设置为“ BackupTaskbar.bat ”。
8. 最后,选择一个安全的位置保存文件,然后点击“保存”保存批处理文件。
您现在可以关闭记事本。
这样,您就创建了一个批处理文件。从现在开始,只要您想进行备份,只需执行以下步骤 -
1. 转到您保存批处理文件的位置。
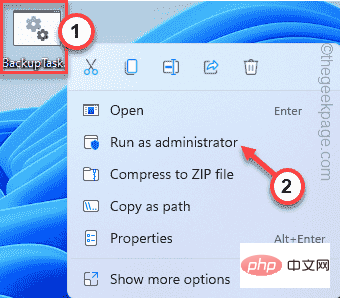
2.然后,右键单击“ BackupTaskbar.bat ”文件并点击“以管理员身份运行”以运行它以备份您的任务栏。
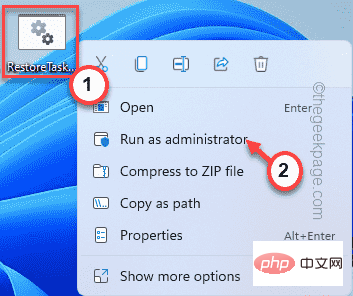
同样,您必须创建一个单独的批处理文件,您可以随时运行该批处理文件以自动恢复任务栏上的固定项目。
1. 打开记事本。
2. 然后,根据您的系统粘贴并修改此行。
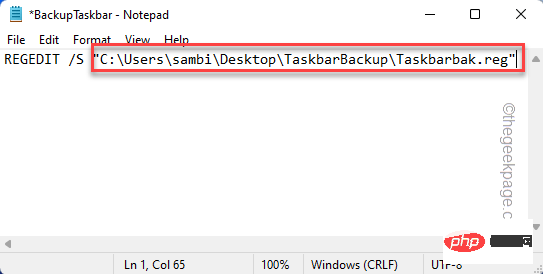
REGEDIT /S " [驱动器号:\文件夹名\文件名.reg] "
[同样,将“ [DRIVE LETTER:\FOLDER NAME\FILE NAME.reg] ”替换为备份注册表文件的位置和名称。
示例 – 在我们的例子中,Taskbarbak.reg是备份注册表文件,注册表文件的位置是 – “ C:\Users\sambi\Desktop\TaskbarBackup\ Taskbarbak.reg ”
所以,会是这样——
REGEDIT /S “ C:\Users\sambi\Desktop\TaskbarBackup\Taskbarbak.reg ”
]
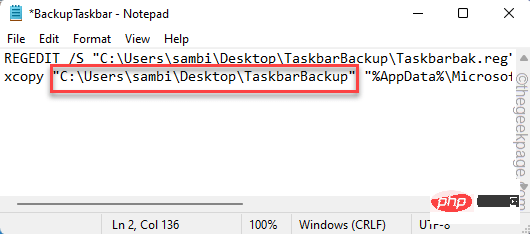
3. 之后,将最后一行命令粘贴到记事本中。
xcopy " [DRIVE LETTER:\FOLDER NAME\] " "%AppData%\Microsoft\Internet Explorer\Quick Launch\User Pinned\TaskBar" /E /C /H /R /K /Y
[
这次,将“ [DRIVE LETTER:\FOLDER NAME\] ”替换为备份文件夹的位置。
示例 – 备份文件夹“ TaskbarBackup ”的位置位于 –
C:\Users\sambi\Desktop\TaskbarBackup
所以,命令是——
xcopy " C:\Users\sambi\Desktop\TaskbarBackup " "%AppData%\Microsoft\Internet Explorer\Quick Launch\User Pinned\TaskBar" /E /C /H /R /K /Y
]
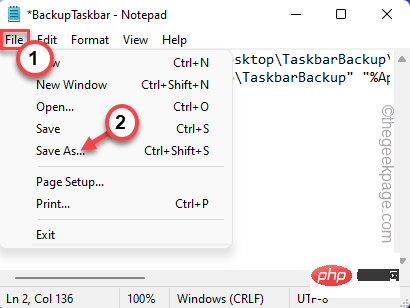
4. 现在,点击菜单栏中的“文件”,然后点击“另存为... ”。
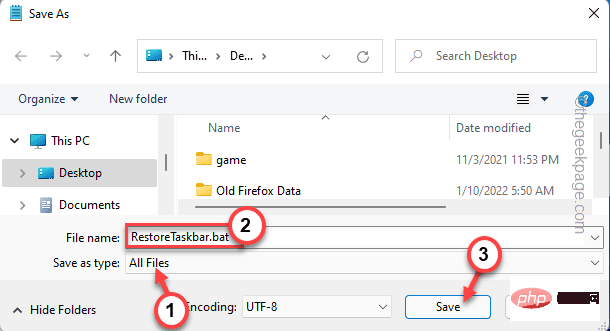
5. 首先,将“保存类型:”设置为“所有文件”。
7. 然后,将名称设置为“ RestoreTaskbar.bat ”。
8. 最后,选择一个安全的位置来保存批处理文件,然后点击“保存”进行保存。
关闭记事本窗口。
That’s it! You can easily run this new batch file to restore pinned items on the taskbar.
Just right-click on the "RestoreTaskbar.bat" batch file and click "Run as administrator" to run it.
After running the batch file, just reboot your system once or restart File Explorer (follow the instructions we mentioned before). After restarting, you will restore all pinned items on the taskbar.
The above is the detailed content of How to back up and restore pinned items on the taskbar in Windows 11. For more information, please follow other related articles on the PHP Chinese website!


![[Web front-end] Node.js quick start](https://img.php.cn/upload/course/000/000/067/662b5d34ba7c0227.png)


