


Removable devices like memory drives, flash drives, external hard drives, music players like iPods, plug and play mice, keyboards and other such USB based devices are some of the things that can be connected to the system while it is on Storage devices. Windows 11/10 supports the installation and use of such removable media. Once you connect any USB-based drive to the system, Windows 11/10 will automatically mount and mount the removable device. If the device's file system is recognized, a drive letter is assigned to that specific device. The automated installation of such removable devices may pose a threat to the integrity of the system.
However, this behavior of the Windows operating system can be modified so that any attached removable devices are not automatically recognized and installed on the system. When you prevent removable media from being installed, you add an extra layer of security to your system by not allowing external devices to be installed when connected to the system. In turn, you protect your system from data theft by disabling this behavior.
Keep reading this article to find out two ways you can prevent removable devices from being installed on your Windows 11/10 PC.
Note:Since you will be making changes to the registry, be sure to create a backup of the registry in case any issues arise when used to restore the registry.
1. Press theWindows Rkey to open the "Run"dialog box.
Typeregeditand pressEnter keyto open theWindows Registry Editor.

#2. Navigate or copy and paste the following path into the navigation bar of Registry Editor.
HKEY_LOCAL_MACHINE\SOFTWARE\Policies\Microsoft\Windows\DeviceInstall\Restrictions

NOTE: If you do not find theDeviceInstallkey in theWindowsfolder,Please right-click theWindowsFilefolder and selectNew –> Key.
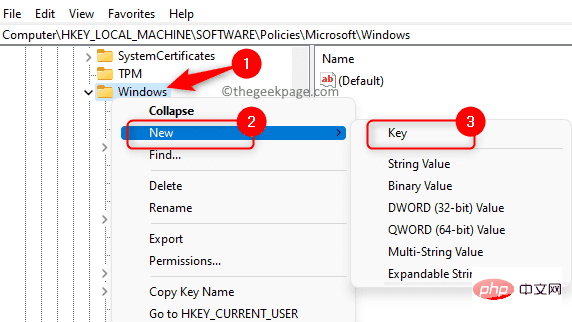
Name this new keyDeviceInstall.
Now,right-click on theDeviceInstallkeyand selectNew –> Key.
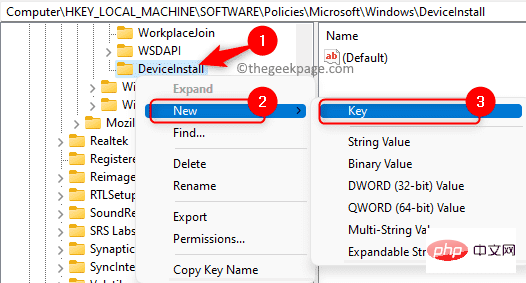
Name this new keyRestrictions.
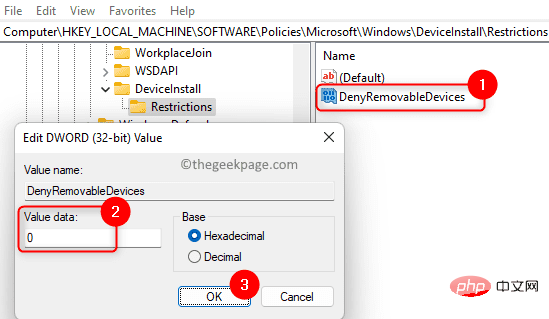
3. Once inside theRestrictionsfolder, move to the right and look for theDWORD namedDenyRemovableDevices.
Double-click it to open the edit window to modify the value.
Make sure the value in theValue Datafield is set to0.
ClickOKto save changes.
NOTE:If the DWORD is not found or you just created a new key, thenright click on anyto the right Blank area and selectNew –> DWORD (32-bit) Value.
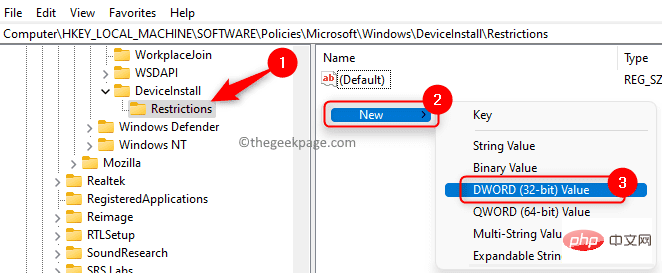
Name this DWORDDenyRemovableDevicesand make sure itsdata valueis set to0.
4.Restart thecomputer to apply these changes.
After startup, try to connect any removable device and check if this method helps prevent the installation of removable devices.
If you are using Windows 11/10 Home Edition, you must first enable Group Policy Editing using the steps mentioned here device before proceeding with the steps mentioned below.
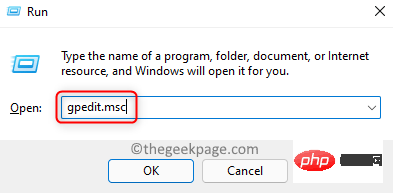
1. Just hold down theWindows and Rkeys to openRun.
Typegpedit.mscand pressEnterto open theLocal Group Policy Editor.
2. In yourLocal Group Policy Editor,click # underLocal Computer Policy##computer configuration.
Then, click the small arrow next to Manage Templates.
Now, double-click onSystemto see the items available here.

Device Installation -> Device Installation Restrictions.
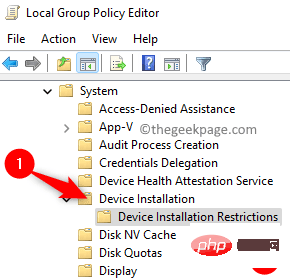
Device Installation Restrictionsitem, move to the right and double-click the name "Prevent the installation of removable devices"setting.
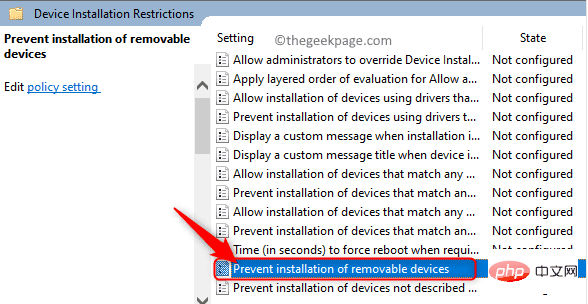
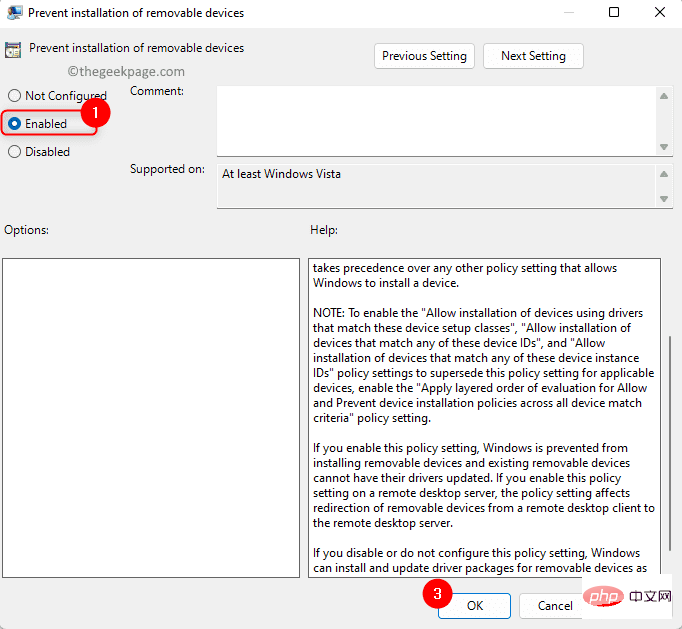
Enabledto modify the default policy setting to prevent the installation of removable devices.
ClickApplyand thenclick OKto save the changes.
4.Restartyour system.
Then, check if you can prevent removable devices from being installed.
The above is the detailed content of How to prevent removable devices from being installed on Windows 11/10. For more information, please follow other related articles on the PHP Chinese website!


![[Web front-end] Node.js quick start](https://img.php.cn/upload/course/000/000/067/662b5d34ba7c0227.png)


