How to Make an Image Transparent in Word
As we mentioned, the ability to make an image transparent is done through Word tools, which also provide the ability to color text and add shapes to pictures.
To make an image transparent in Word, use the following steps:
- LaunchWord on the desktop.
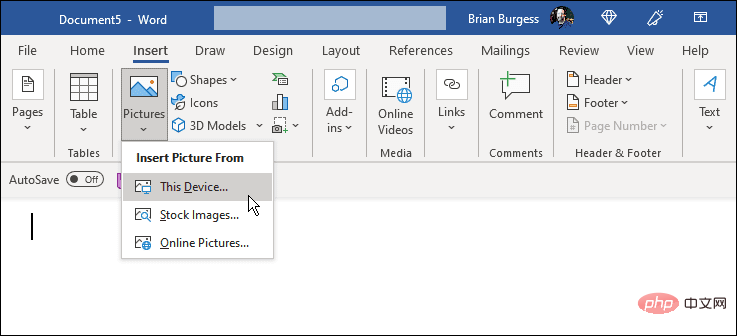
- From the ribbon, selectInsert > Picture, and then select the location of the image you want to use.
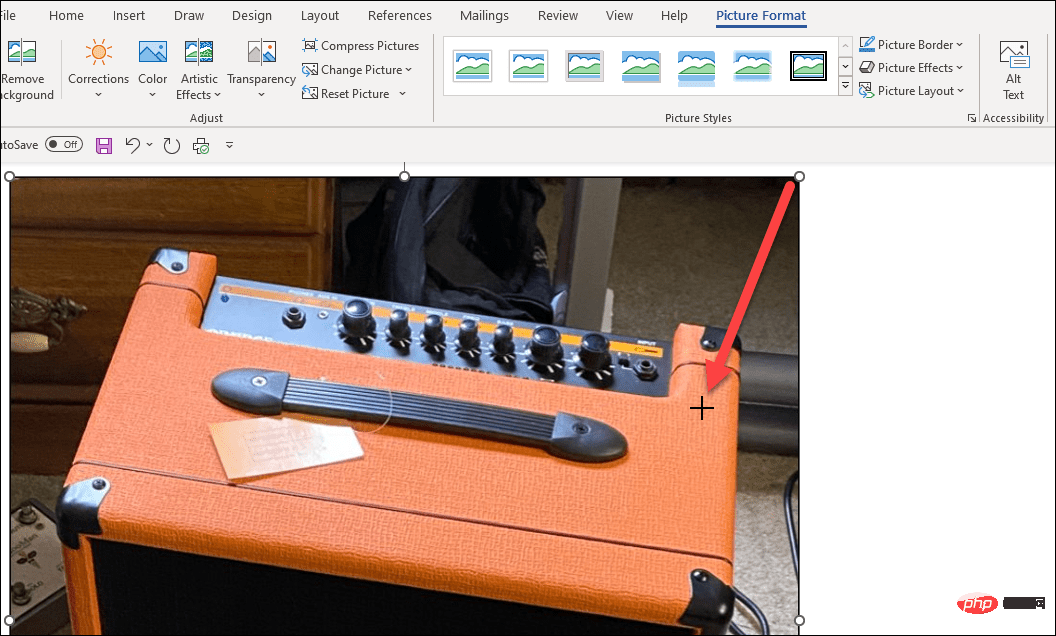
- Make sure thePicture Formattab is selected. There, you can resize the image by dragging it to crop it.
- Also, the "SetPicture Format"tab is where you click the down arrow of the "Transparency" button. You can also use the slider to select the percentage of transparency you want to add to the image.
Note:They are previews until you click to apply the amount of transparency. So feel free to hover over each one to preview how the image will look.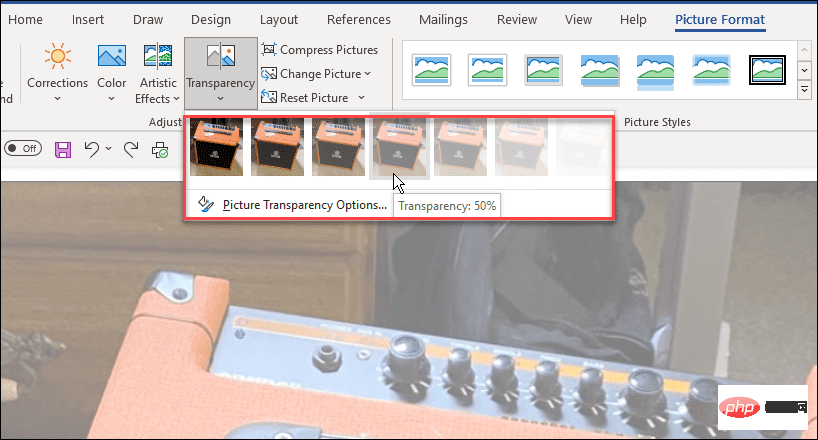
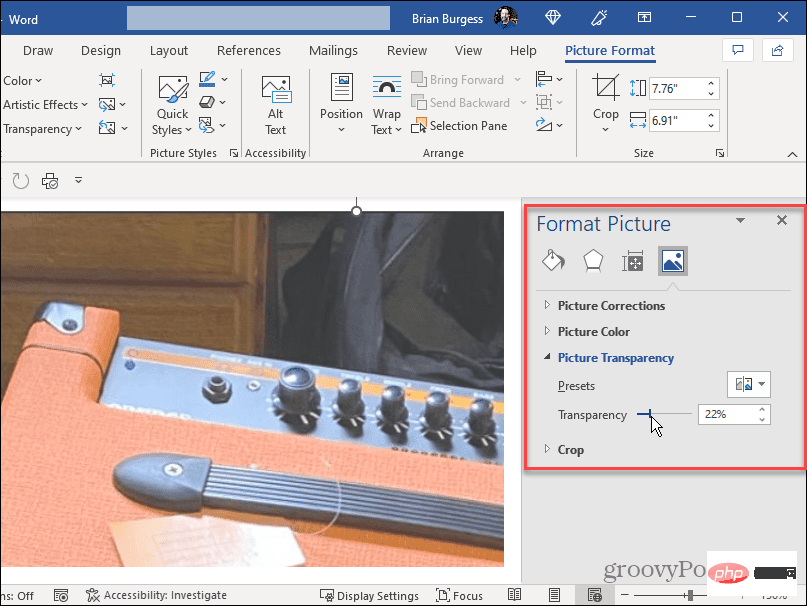
- You can also select theTransparency optionunder the thumbnail preview and use the slider to manually adjust the transparency. You can also manage picture corrections, picture colors, presets, and crop images in the Format Picture section. Extra features give you perfect image quality.
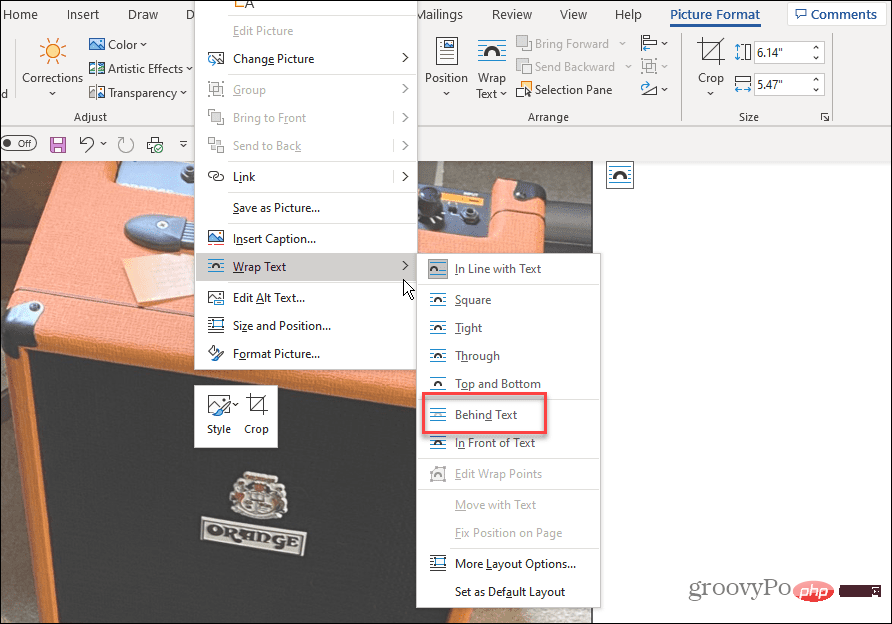
- Right-click on the image to add text on the image and selectWrap text > Behind Text.
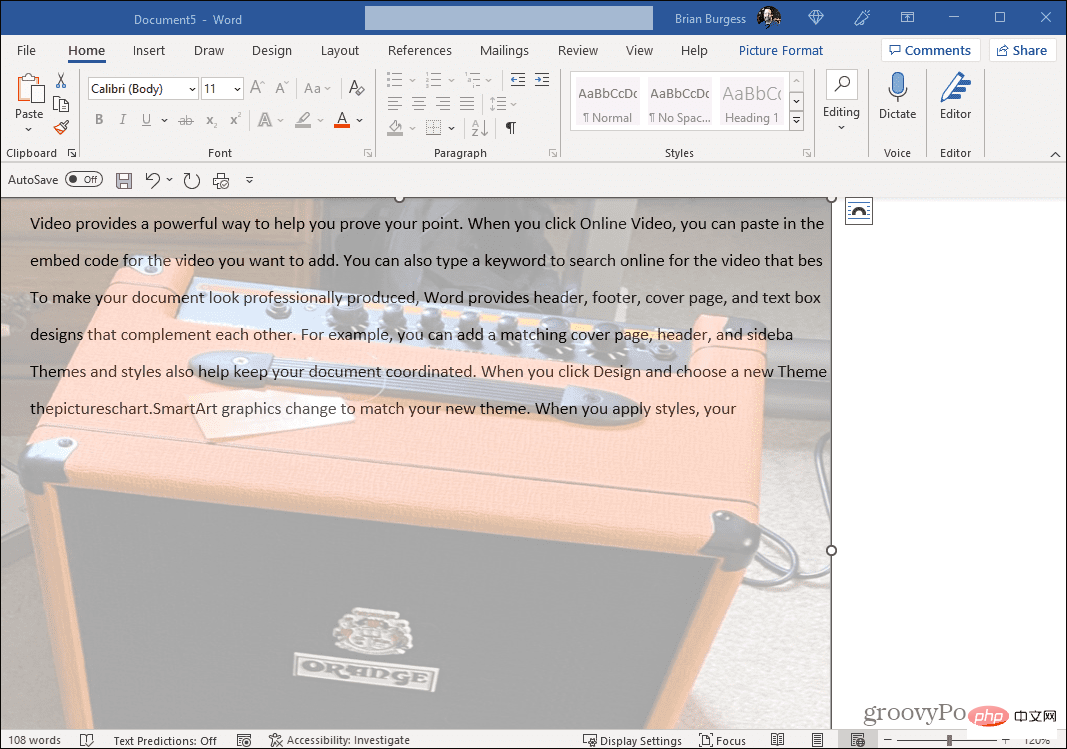
- Enter text to be included on top of the transparent image. The text will appear over the transparent image and the text will be in the foreground.
Using Microsoft Word Features
Now that you have the transparent image you want, you can go ahead and print a copy if you want. Place printed documents where others can view them. If you need to email or share a Word document with a transparent image, you can do that as well. It’s also worth noting that in addition to adding a transparent image, you can also add a watermark to your Word document.
You can do a lot of things with Microsoft Word that you may not have known existed. For example, you can format a document in APA style in Word. You may also be interested in transcribing audio files in Word
The above is the detailed content of How to make an image transparent in Word. For more information, please follow other related articles on the PHP Chinese website!


