


First introduce the installation of node.js, then introduce the use of node.js to build a simple web server, and finally use a simple example to demonstrate the relationship between web pages and servers. The realization of data interaction between .
WEBServer
WEB server is also called WWW server. The basic function of the WWW (World Wide Web, translated into Chinese: World Wide Web or Global Information Network) server is to provide Web information browsing services. A web server can provide documents to clients such as web browsers, can also place website files for the world to browse, and can also place data files for the world to download.
Common web server software includes Apache, Internet Information Services (IIS), etc.
Apache server: Apache server is an open source and free server software that can run on almost all computer platforms. Since Apache is open source, everyone can participate in the development of new features and continue to improve Apache The server is improved. Apache HTTP Server (Apache for short) is an open source web page of the Apache Software Foundation. It is a modular server that can run on almost all widely used computer platforms (that is, it supports multiple platforms). It belongs to the application server.
IIS server: IIS server is Microsoft's server that allows IIS to publish trusted web servers on a public intranet or Internet. IIS can only be used under Microsoft's Windows operating system.
You can build a web server using Node.js without relying on the web service software mentioned above.
Node.jsWhat is it?
Simply put, Node.js is an open source and cross-platform server-side JavaScript runtime environment that allows JavaScript to be used as the backend.
Installing Node.js on Windows
To use Node.js, you need to install it.
To use Node.js, you need to install it. First go to the nodejs official website Node.jsor go to the Chinese websiteto download | Node.js Chinese websiteDownload
LTS Stands for "Long Term Support" and is the version recommended for most users. What I downloaded is node-v14.18.1-x64.msi
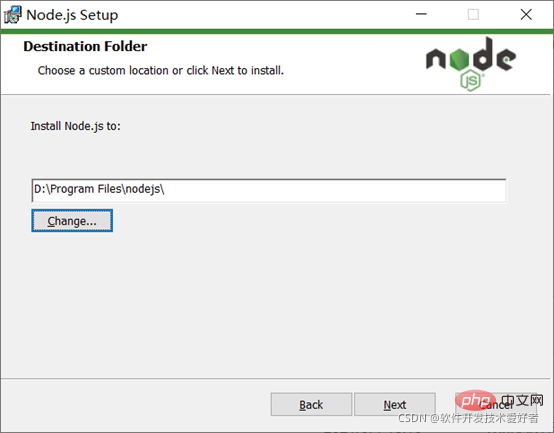
Double-click the downloaded installation package and install it directly. You can customize the path. Environment variables will be automatically configured during installation (by default, the installation path will be automatically added to the path environment variable). To take care of novices, the installation process is demonstrated in detail below.
Double-click the downloaded installation package to install, as shown below
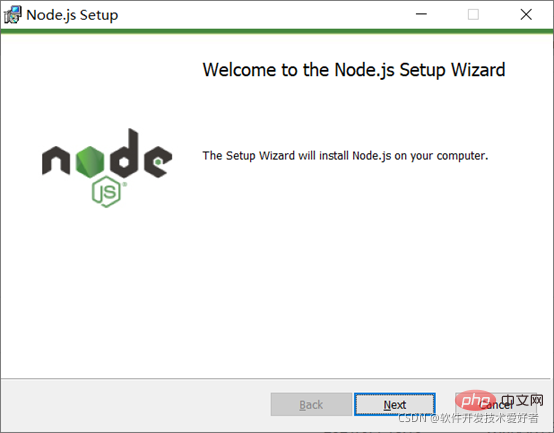
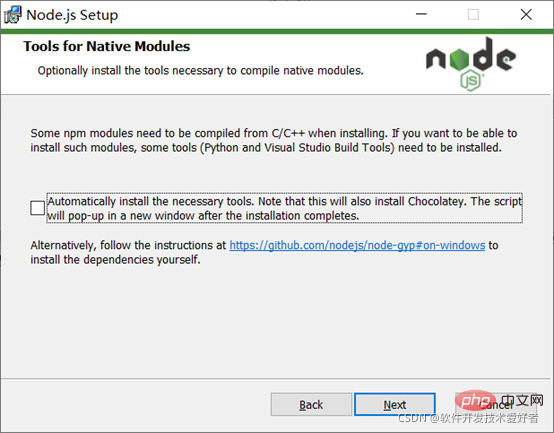
Click the Next button, the following interface will appear:
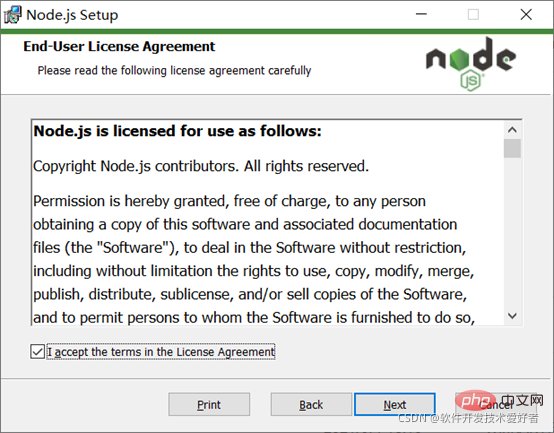
Check the Accept Agreement option and click the next button. The following interface will appear:
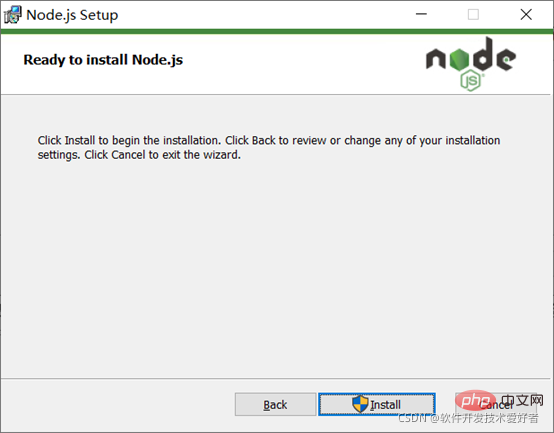
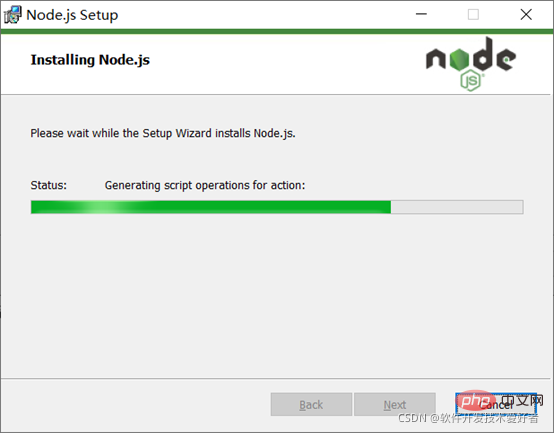
Please wait a moment, the following interface will appear:
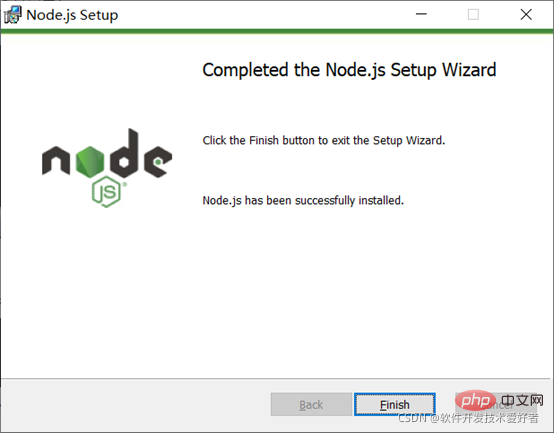
At this time, click the Finish button to exit the setting Wizard.
The directory after installation is as shown below:
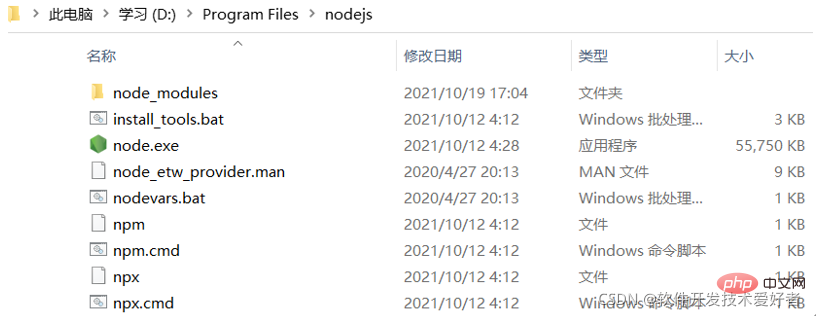
You will see that there are npm.cmd, what is it?
When installing Node.js, npm will be automatically installed at the same time. It is a node package (module) management tool that can solve many problems in Node.js code deployment. Common usage scenarios include the following :
Allows users to download third-party packages written by others from the NPM server for local use.
Allows users to download and install command line programs written by others from the NPM server for local use.
Allows users to upload packages or command line programs written by themselves to the NPM server for others to use.
If you install an old version of npm, you can easily upgrade it through the npm command. For Windows systems, use the following command:
npm install npm -g
Use the npm package management tool to install third-party libraries (npm package), there are two installation methods: global installation and local installation:
From the command line, the difference is only whether there is -g, such as
npm install X # 局部(本地)安装,则是将模块下载到当前命令行所在目录。可能会遇到 “'X' 不是内部或外部命令,也不是可运行的程序”错误。 npm install X -g # 全局安装,可以直接在命令行里使用。
Check whether it is correct After installing Node.js and npm
win r open and run, enter cmd to enter the command line interface. Then enter the node -v and npm -v commands to view the node version number and npm version number. See the picture below:
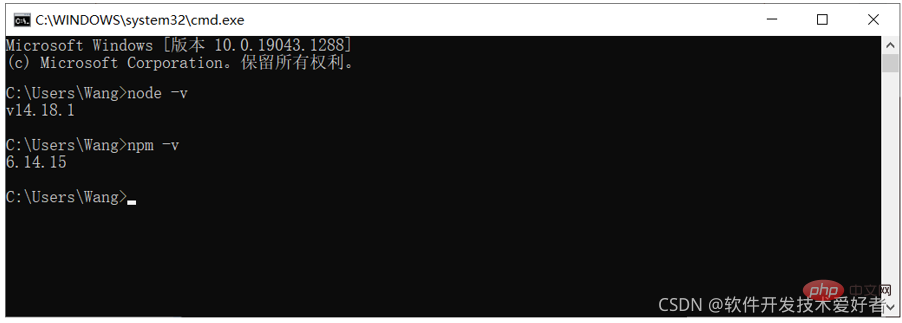
# The version number is displayed correctly, OK!
Use node.js to build a simple web server
Create a file called myServer in the directory of your project (here, take the D:\test folder as an example) .js file, and write the following code:
var http = require('http'); http.createServer(function (request, response) { // 发送 HTTP 头部 // HTTP 状态值: 200 : OK // 内容类型: text/plain。并用charset=UTF-8解决输出中文乱码 response.writeHead(200, {'Content-Type': 'text/plain; charset=UTF-8'}); // 下句是发送响应数据 response.end('Hello World! 这是简单的web服务器测试。\n'); }).listen(8888); // 终端打印如下信息 console.log('Server running at http://127.0.0.1:8888/');
Description: where var http = require("http"); use the require instruction to load the http module, and assign the instantiated HTTP value to the variable http .
After writing a .js program, you need to run it through node.js. In CMD, first switch to the directory where the program is written, and then use node XXX.js to start the service. If Without switching the path first, use node path\XXX.js to start the service. Then enter the corresponding listening IP address and port number in the browser. The port number here can be larger. Because it is a loopback test, 127.0.0.1 is used as the test IP.
Use node D:\Test Folder\myServer.js, see the picture below:
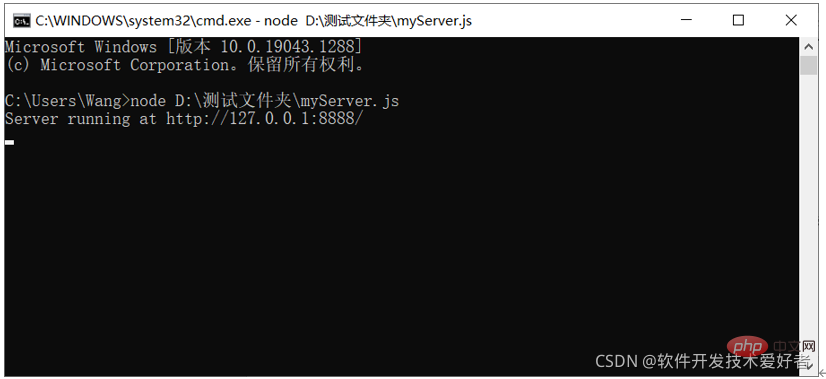
The simple example runs successfully. This is actually using node. js builds a server, then listens to the port access event, and finally responds accordingly. It should be pointed out that the service is closed when we close CMD or press the CTRL C key.
Now, open the browser and visit http://127.0.0.1:8888/, you will see the following web page:
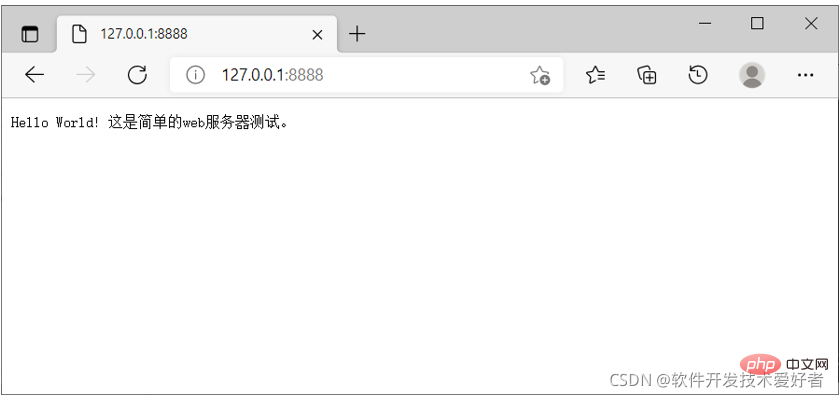
Success!
Example of data interaction between web page and server
Now we will use a simple example to demonstrate the implementation of data interaction between web page and server.
This example has two parts: server code and web page code
The server code is as follows:
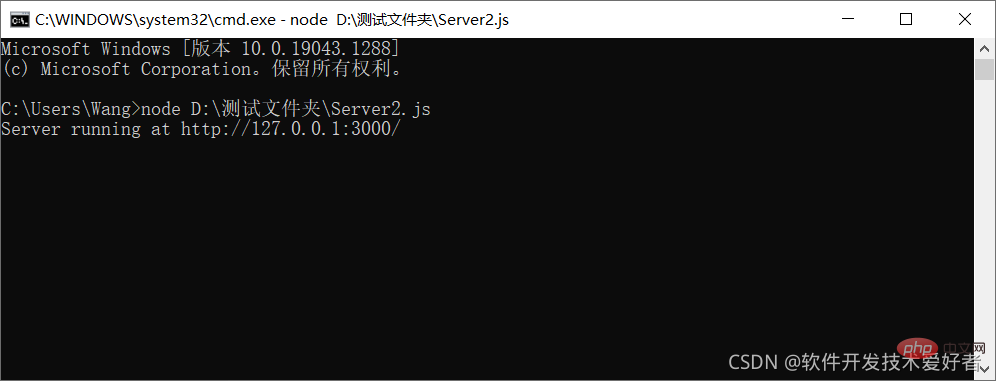
//require表示引包,引包就是引用自己的一个特殊功能 var http = require("http"); var url = require("url"); var server = http.createServer(function(req,res){ //得到查询部分,由于写了true,那么就是一个对象 var queryObj = url.parse(req.url,true).query; var name = queryObj.name; var age = queryObj.age; var sex = queryObj.sex; res.writeHead(200,{"Content-Type":"text/html;charset=UTF-8"}); res.end("服务器收到了表单请求" + name + age + sex); }); //运行服务器,监听3000端口(端口号可以任改) server.listen(3000,"127.0.0.1"); // 终端打印如下信息 console.log('Server running at http://127.0.0.1:3000/')
Save the file name as server2.js, in the directory of the project (here D: \test folder as an example)
Use node D:\test folder\Server2.js to run:
网页代码如下:
与服务端交互网页
保存文件名为 与服务端交互示例.html ,用浏览器运行:
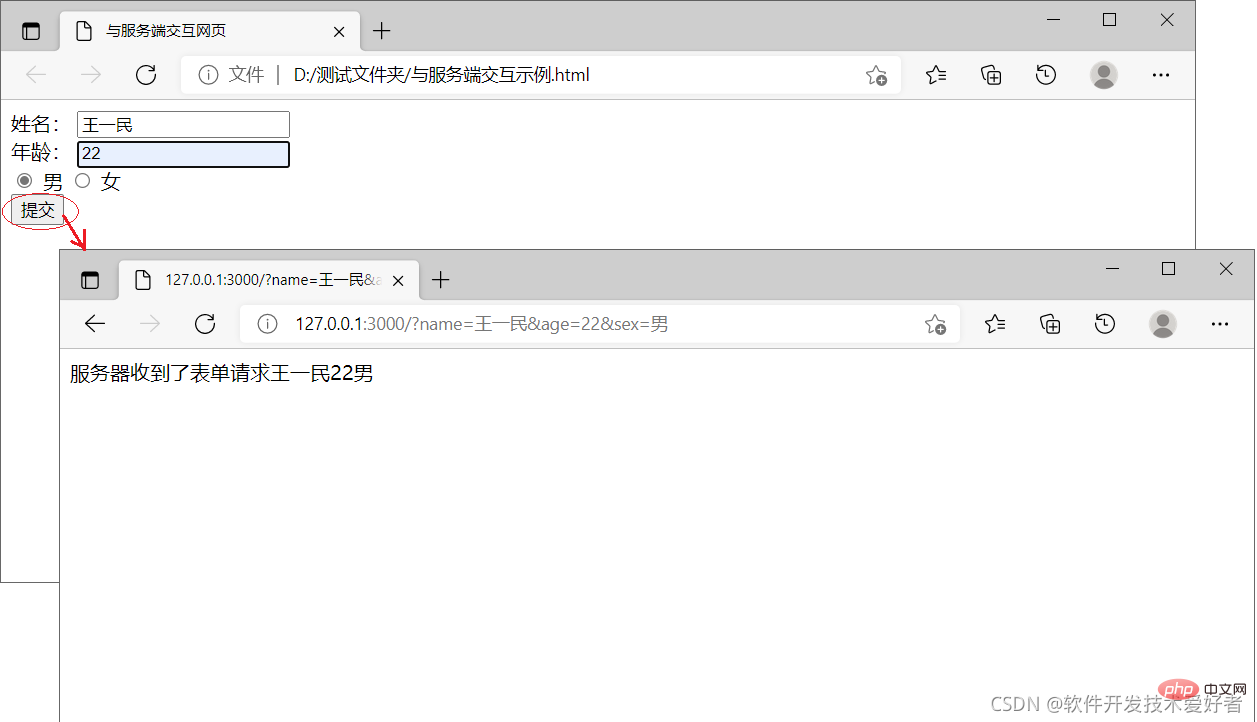
特别说明,示例比较简单,特别是后端对数据的处理进行了简化,在实际应用系统中后端一般使用数据库保存数据,这样做主要是让新手有一个直观易懂的感性了解,让初学者有个总体概观,便于快速入门,有了这些,深入学习就有了基础。
推荐:《node.js视频教程》
The above is the detailed content of Detailed graphic explanation of how node.js builds a web server. For more information, please follow other related articles on the PHP Chinese website!


![Node.js complete introductory tutorial [es6+npm+express+webpack+promise]](https://img.php.cn/upload/course/000/000/068/6242b4c8f1a39624.png)


![[Web front-end] Node.js quick start](https://img.php.cn/upload/course/000/000/067/662b5d34ba7c0227.png)


