


This article brings you relevant knowledge about data volume management and convoy volume plug-in in docker. I hope it will be helpful to you.

A data volume is a specially designated directory in one or more containers, which can Bypass union file system.
Volumes are designed for data persistence and are independent of the container's life cycle.
Therefore, Docker will not automatically delete the data volume when the container is deleted, nor will it actively "garbage collect" volumes that are no longer used by the container.
The existence of the data volume is to make the data of the container persist, and to achieve data sharing between containers.
In layman's terms, the docker container data volume can be regarded as a USB disk commonly used in our lives. It exists in one or more containers and is mounted to the container by docker. , but does not belong to the union file system, Docker will not delete its mounted data volume when the container is deleted.
docker layered file system:
docker data volume:
is to mount the directory or file on the host into the container.
bind mount must specify the host file system path, which limits portability.
Docker managed volume does not need to specify the mount source
Same points: both are paths in the host file system
Differences: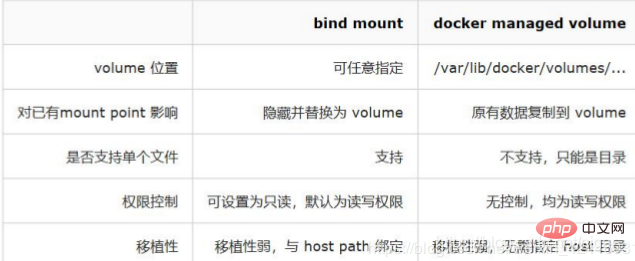
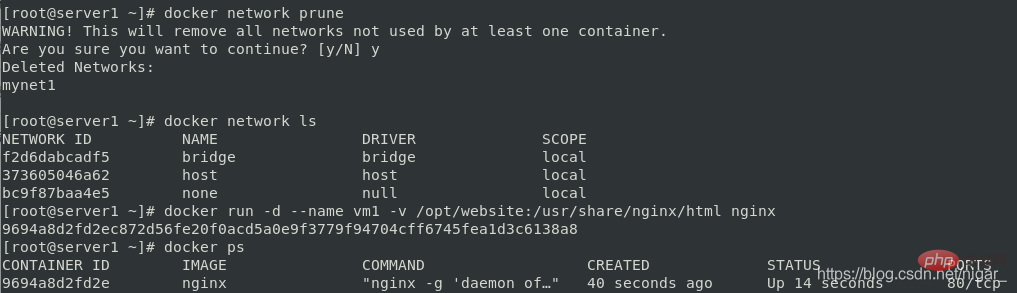
docker network prune
docker network ls
docker run -d --name vm1 -v /opt/website:/usr/share/nginx/html nginx
docker ps
docker inspect vm1	#查看到ip为172.17.0.2
curl 172.17.0.2
Found a 403 page: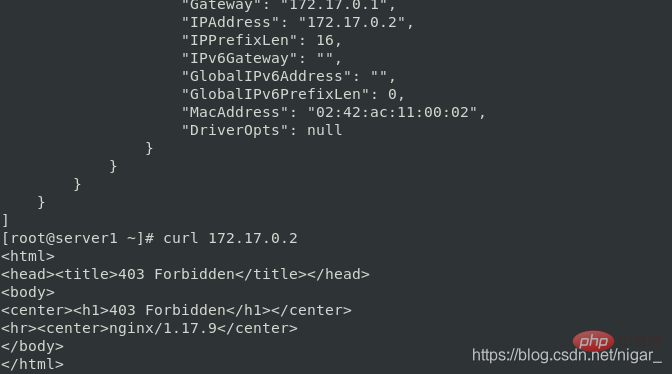
cd /opt/website/
ls	#发现没有默认发布页面
echo www.westos.org > index.html
curl 172.17.0.2
When you visit nginx at this time, you will see the content of www.westos.org: 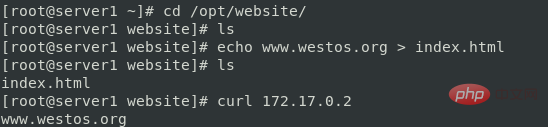
You can also specify permissions when mounting:
docker run -it --rm -v /opt/website:/data1 -v /etc/passwd:/data2/passwd:ro busybox
You can view it The default permission is rw read and write, so we can change the content of index.html; and after specifying passwd as read-only, we cannot modify its content and can only read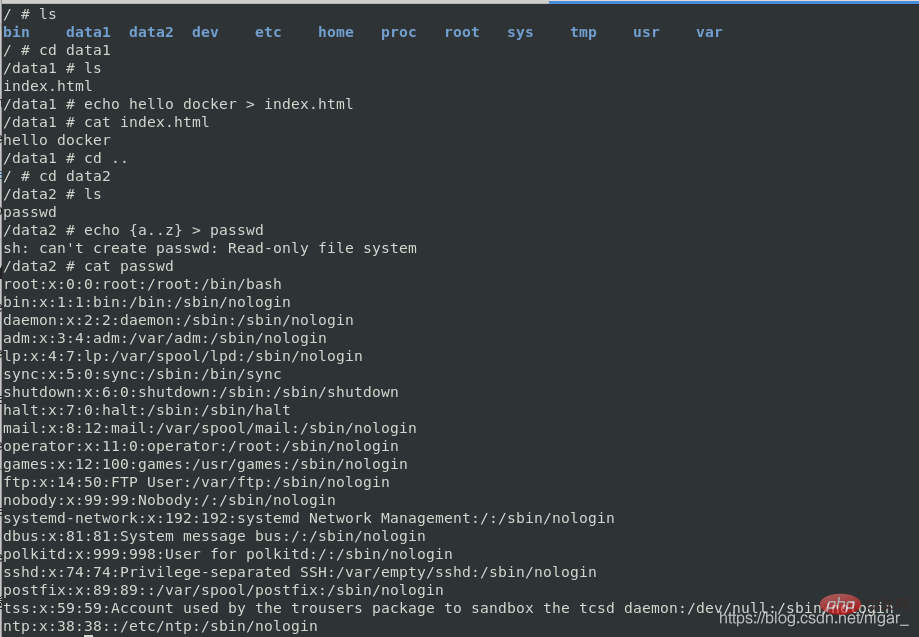
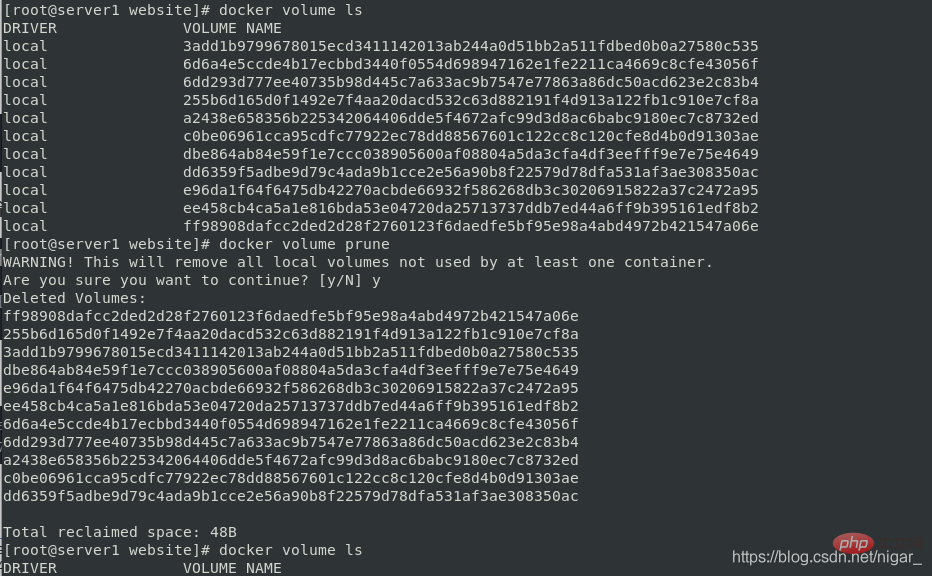
docker volume ls
docker volume prune
docker volume ls
docker run -d --name registry registry
cd /var/lib/docker/volumes/
ls
docker history registry:latest
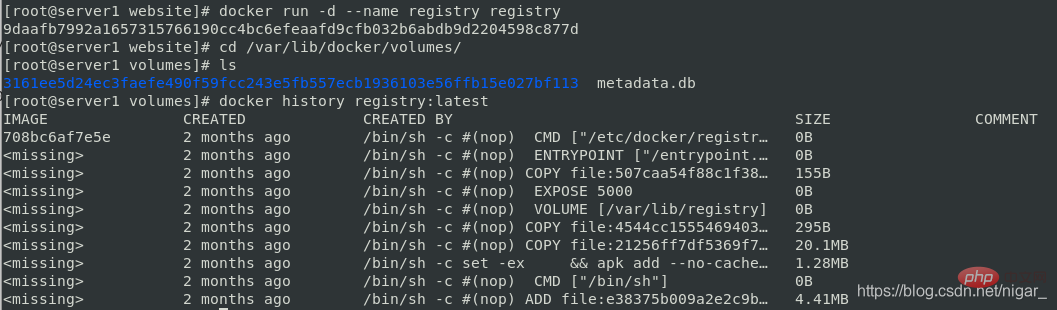 You can copy the contents of the container to the mount point through docker volume:
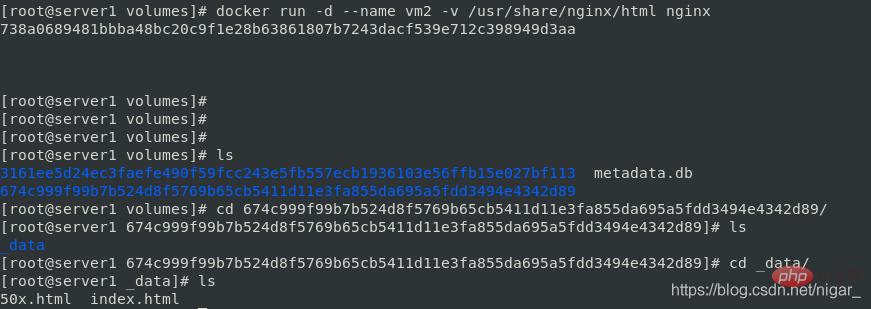
docker run -d --name vm2 -v /usr/share/nginx/html nginx
cd /var/lib/docker/volumes/
ls
cd 674c999f99b7b524d8f5769b65cb5411d11e3fa855da695a5fdd3494e4342d89/
cd _data/
ls	#查看到默认发布目录被复制到了这里
docker inspect vm2
curl 172.17.0.3	#nginx默认发布页
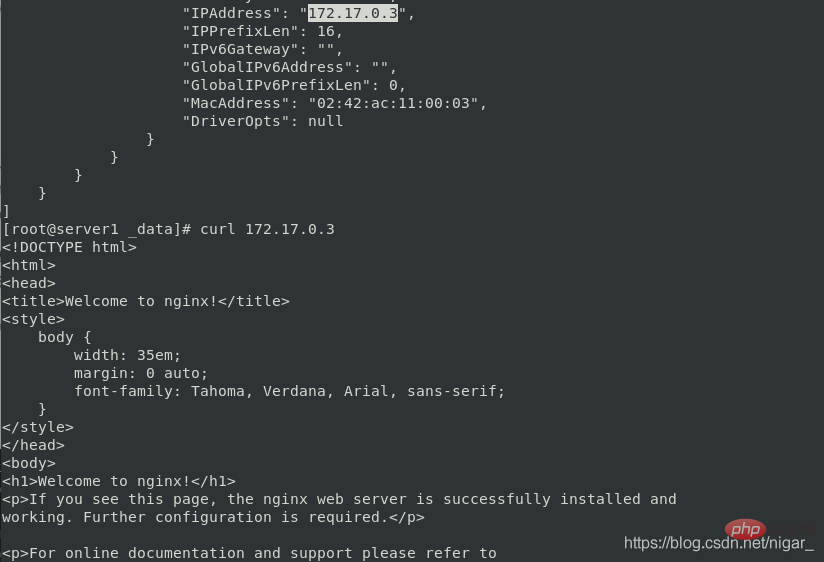
echo hello docker! > index.html
curl 172.17.0.3	#可以直接在挂载的目录修改默认发布页

docker volume is used by default It is a local type driver and can only exist on the host machine. Cross-host volumes require the use of third-party drivers
. You can view the link: https://docs.docker.com/engine/extend /legacy_plugins/#volume-plugins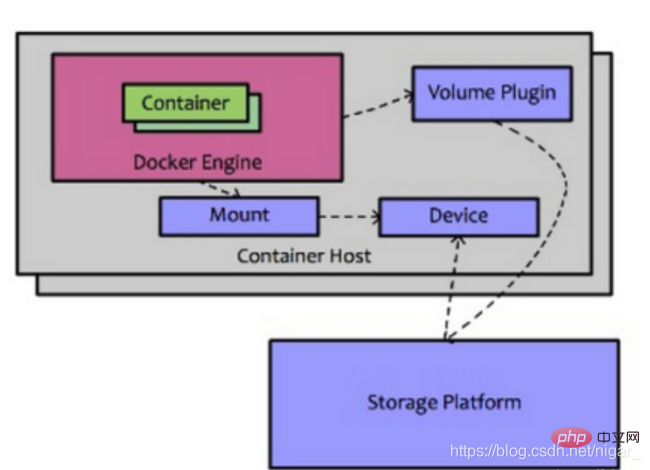
Docker Plugin 是以Web Service的服务运行在每一台Docker Host上的,通过HTTP协议传输RPC风格的JSON数据完成通信。Plugin的启动和停止,并不归Docker管理,Docker Daemon依靠在缺省路径下查找Unix Socket文件,自动发现可用的插件。
当客户端与Daemon交互,使用插件创建数据卷时,Daemon会在后端找到插件对应的 socket 文件,建立连接并发起相应的API请求,最终结合Daemon自身的处理完成客户端的请求。
convoy卷插件支持三种运行方式:devicemapper、NFS、EBS。下面的实验以nfs的运行方式来演示
实验目的:在server1和2底层用nfs来实现数据共享
step1 首先在server1和server2上搭建nfs文件系统:
server1:
yum install -y nfs-utils
systemctl start rpcbind
mkdir /nfs	#创建共享目录
chmod 777 /nfs	#修改共享目录权限
vim /etc/exports	#编辑共享目录文件,否则将不会被共享出去
/nfs	*(rw,no_root_squash)
systemctl start nfs
注意:rpcbind服务必须是开启的。这是因为:他是一个RPC服务,主要是在nfs共享时候负责通知客户端,服务器的nfs端口号的。简单理解rpc就是一个中介服务。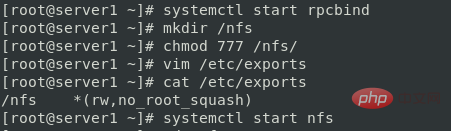
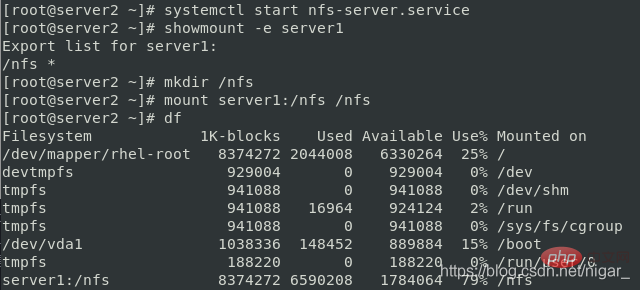
server2:
yum install -y nfs-utils
systemctl start nfs-server.service
showmount -e server1	#寻找server1的挂载目录
mkdir /nfs
mount server1:/nfs /nfs
df
测试:
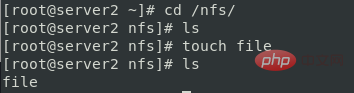
在server2中:
cd /nfs/
touch file
在server1中:
cd /nfs/
ls	#查看到file
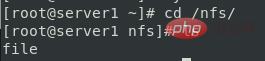
说明两个节点的/nfs实现同步了
step2 配置convoy环境:
docker官方只提供了卷插件的api,开发者可以根据实际需求定制卷插件驱动。
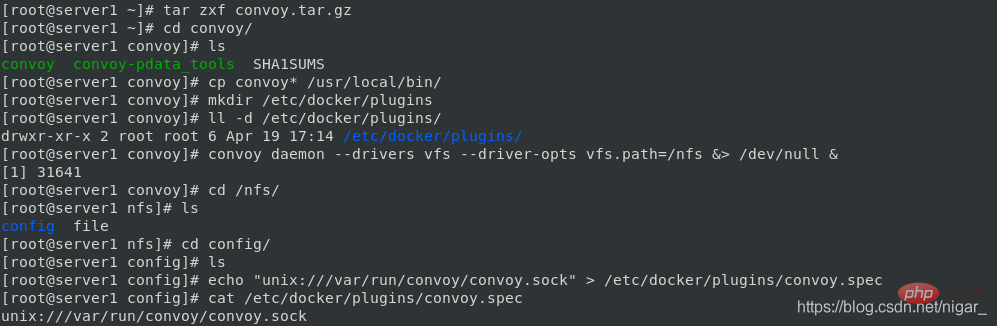
在server1中:
tar zxf convoy.tar.gz
cd convoy/
cp convoy* /usr/local/bin/  #将二进制文件加入到PATH路径
mkdir /etc/docker/plugins	#创建docker的插件目录
convoy daemon --drivers vfs --driver-opts vfs.path=/nfs &> /dev/null &
cd /nfs
ls
注意:第一次运行上面的convoy daemon命令的时候,会在/nfs目录下生成一个config文件夹,这个文件夹不要删除,不然客户端的convoy命令就会用不了
echo "unix:///var/run/convoy/convoy.sock" > /etc/docker/plugins/convoy.spec
#将convoy守护进程开启生成的.sock文件放入/etc/docker/plugins目录下的convoy.spec文件中,docker就可以识别。(其中convoy.spec文件之前是不存在的)
cat /etc/docker/plugins/convoy.spec
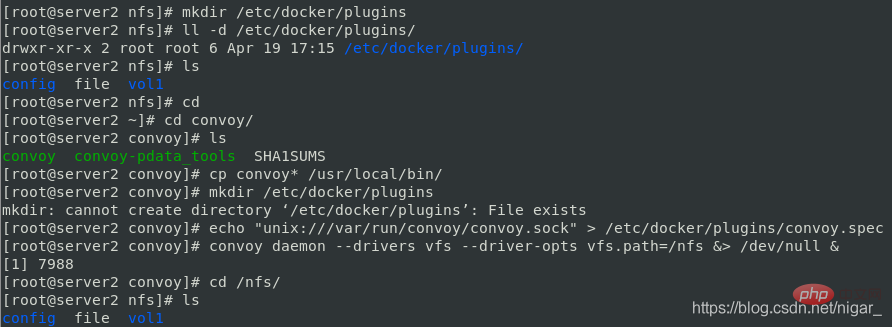
在server2中同样配置convoy环境:
scp -r server1:convoy .
cd convoy/
cp convoy* /usr/local/bin/  #将二进制文件加入到PATH路径
mkdir /etc/docker/plugins	#创建docker的插件目录
echo "unix:///var/run/convoy/convoy.sock" > /etc/docker/plugins/convoy.spec
convoy daemon --drivers vfs --driver-opts vfs.path=/nfs &> /dev/null &
cd /nfs
ls
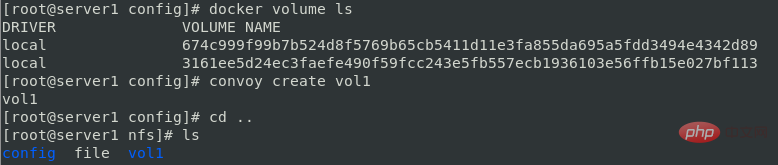
step3 创建卷:
docker volume ls
convoy create vol1
step4 操作卷:
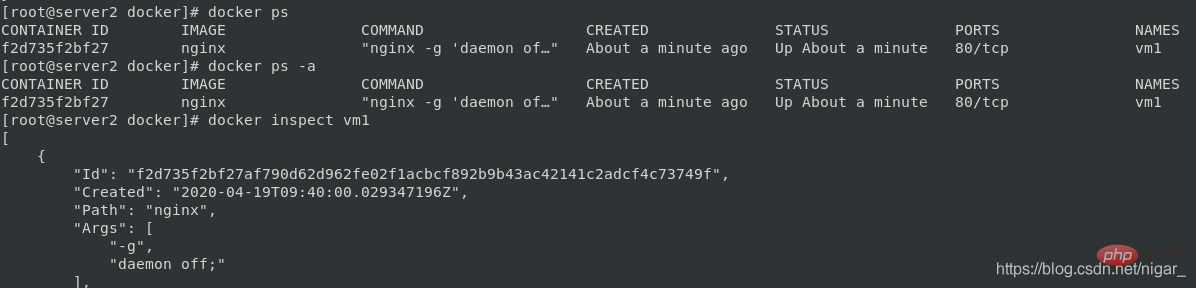
在server2中运行容器,指定卷为刚才新创建的vol1:
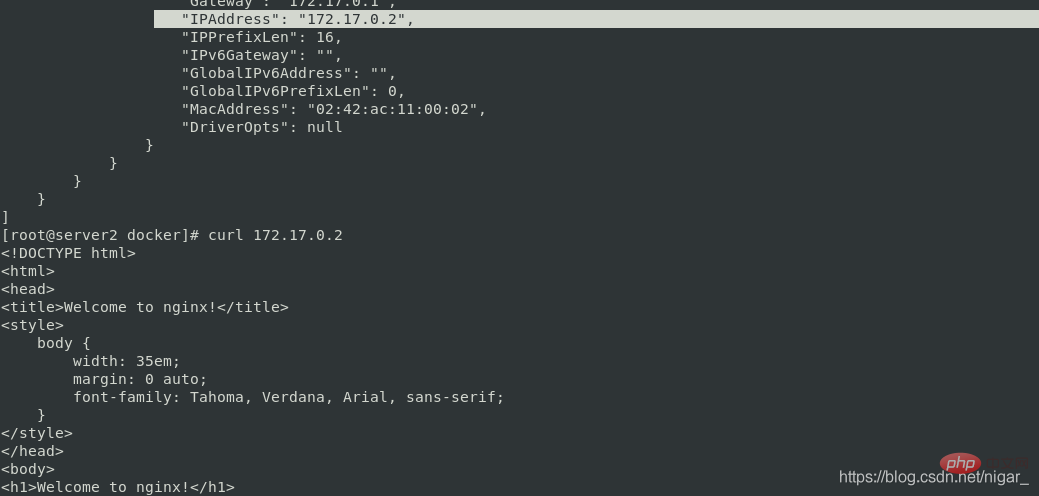
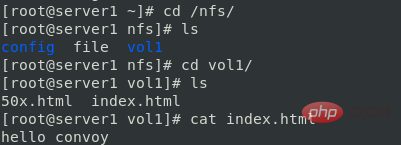
docker run -it --name vm1 -v vol1:/usr/share/nginx/html nginx
docker ps
docker inspect vm1
curl 172.17.0.2	#nginx默认发布页
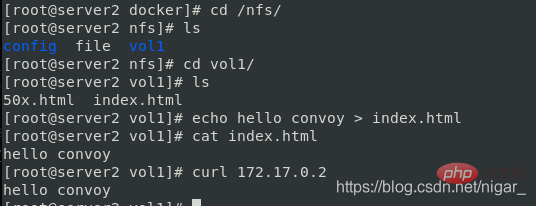
cd /nfs/
cd vol1/
echo hello convoy > index.html
curl 172.17.0.2
在server1中数据也同步了:
cd /nfs/
cd vol1/
cat index.html
在ser1中也可以运行容器,也可以用到共享的数据卷
说明:docker引擎默认扫描 /etc/docker/plugins目录中的convoy.spec—>访问/run/convoy/convoy.sock文件—>发起响应的api请求—>把数据写入vol1中—>底层通过nfs进行主机间的数据同步
如何删除通过nfs创建的数据卷,让之后创建的数据卷都是本地的呢?
删除卷:
convoy delete vol1
实现本地驱动:
cd /etc/docker/plugins/
mv convoy.spec /mnt
systemctl restart docker
创建卷:
docker volume create vol1
ls
cd volumes/
ls	#可以看到vol1,默认创建在这个目录下
cd vol1/
ls
cd _data/
ls	#进入该目录,是空的

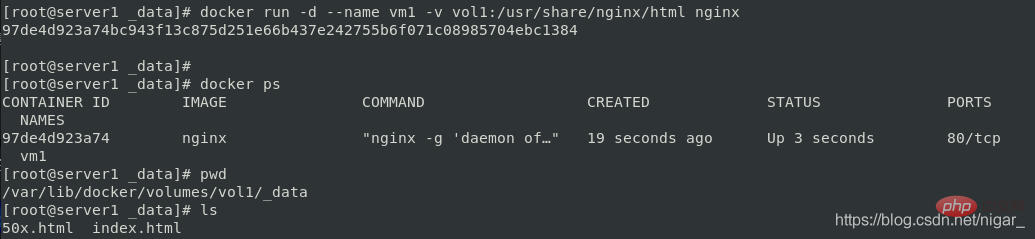
使用卷:
docker run -d --name vm1 -v vol1:/usr/share/nginx/html nginx
docker ps
ls	#看到nginx默认发布目录被挂到这里了
补充几条命令:
docker container prune	#删除停止的容器
docker volume prune	#删除没有被使用的卷
推荐学习:《docker视频教程》
The above is the detailed content of Detailed introduction to docker data volume management & convoy volume plug-in (detailed examples). For more information, please follow other related articles on the PHP Chinese website!


 0
0 2
2 360
360


![[Web front-end] Node.js quick start](https://img.php.cn/upload/course/000/000/067/662b5d34ba7c0227.png)


