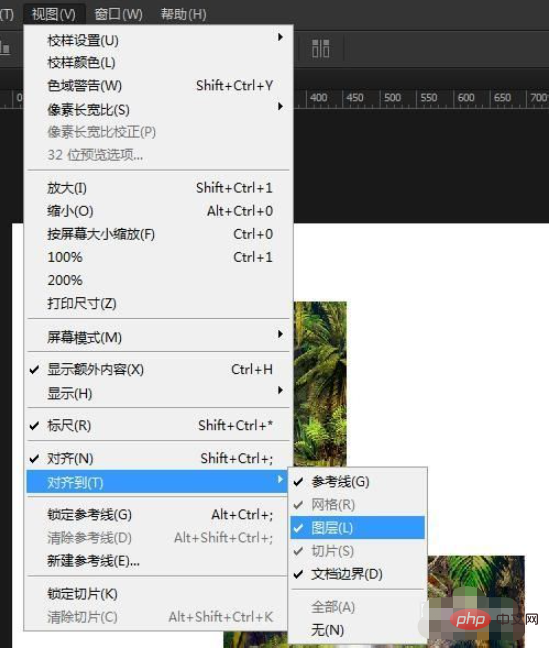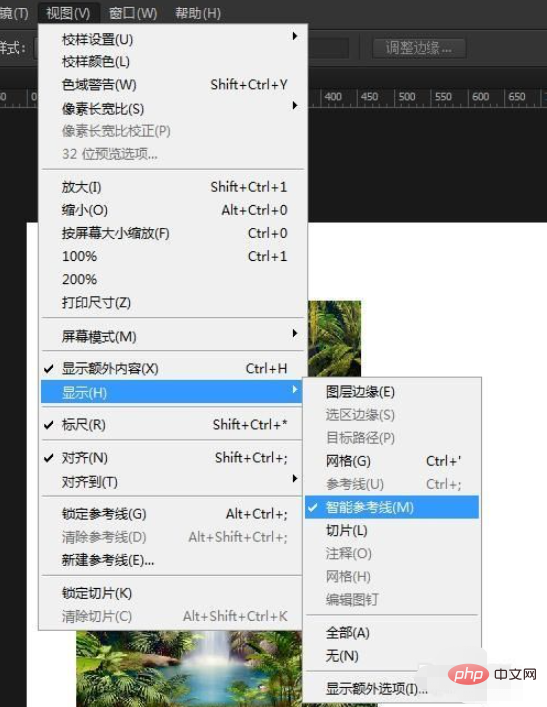
ps method to automatically capture the center point and edge of the aligned layer: 1. Check "Align" in the "View" menu; 2. Move the layer; 3. Select the View menu, Show, and check Smart guide lines; 4. Move the center point of the alignment layer.

The operating environment of this article: Windows 7 system, Adobe Photoshop CS6 version, Dell G3 computer.
ps method to automatically capture and align the center point and edge of a layer:
Turn on the alignment function, check View menu > Align, and at the same time select View menu > Align Go below and check all alignments.

When you move a layer, you will find that the layer automatically retrieves nearby alignment points and edges. Moving the layer at the alignment point or edge alignment reference position will lock a position. Open the lower layer and find the center point of the previous layer, and align it with the center point of the previous layer.

If this feels inaccurate, you can turn on the smart reference line to observe. Select View menu>Show>check Smart Guides

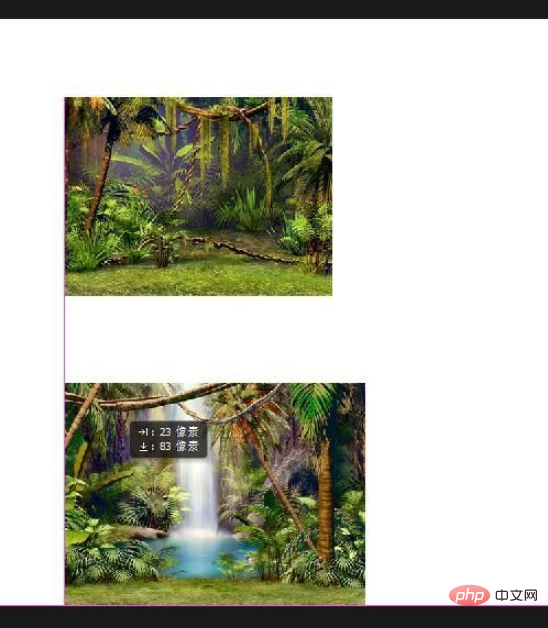
to see that the center point of the layer is aligned during the process of moving the layer.

See that the layer edges and document boundaries are aligned at the same time. By turning on smart guides, we can easily check the alignment position.

Related learning recommendations:PS video tutorial
The above is the detailed content of How to automatically capture and align layer center points and edges in PS. For more information, please follow other related articles on the PHP Chinese website!