Premiere method for stitching cut videos: First import the material into the software, and drag the video to the timeline; then select the "Razor Tool" and drag the progress bar to the point where you want to cut position; finally the two videos are spliced together and the blank part of the splicing is deleted.

The operating environment of this article: Windows 7 system, Adobe Premiere Pro 2020 version, Dell G3 computer.
Premiere's method of stitching cut videos together:
1. First, we import the material into the software.
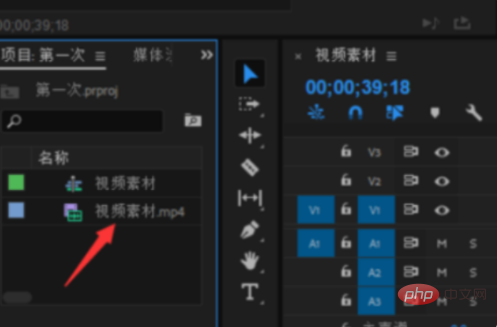
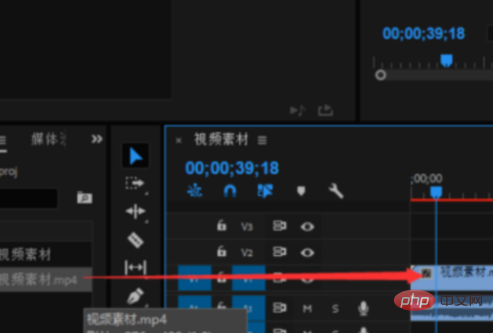
#2, then drag the video to the timeline.
#3. Select the location circled by the red box, which is the "Razor Tool".
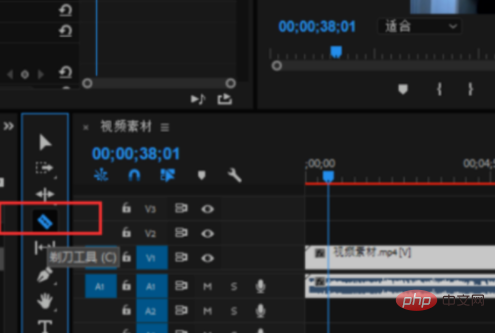
#4, then drag the progress bar to the position you want to cut, click the left mouse button, and the video will be cut.
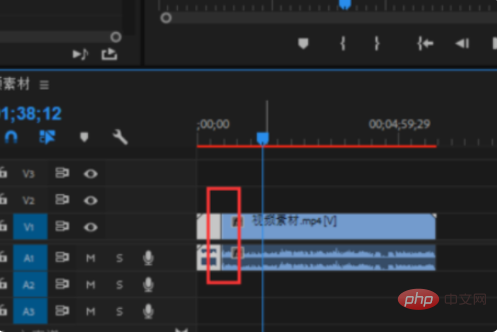
#5. When splicing these two videos together, left-click the blank space of the two videos.
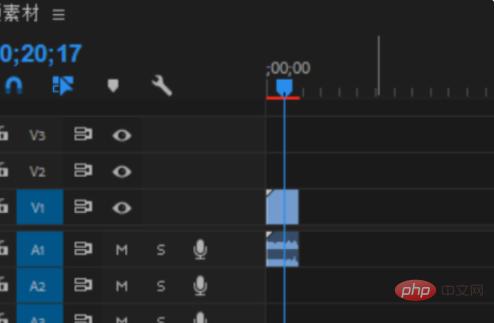
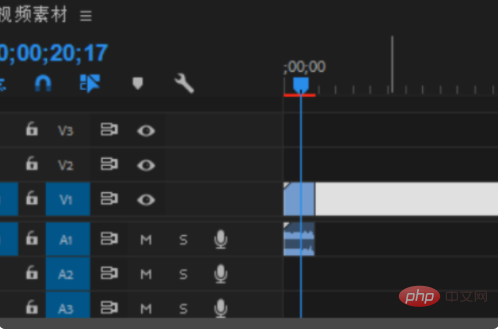
#6. After clicking on the blank space, the previously blank space will turn white. Then press the "delete" key on the keyboard, and the two videos will be put together. Or you can just left-click the mouse and pull the second video to the front.
Recommended (free): premiere tutorial
The above is the detailed content of How to stitch together cut videos in Premiere. For more information, please follow other related articles on the PHP Chinese website!
 What software is premiere
 Reasons why css loading failed
 What to do if loading dll fails
 What is the difference between a router and a cat?
 The difference between mysql and sql_server
 Minimum configuration requirements for win10 system
 What to do with the video card
 How to buy and sell Bitcoin on okex


