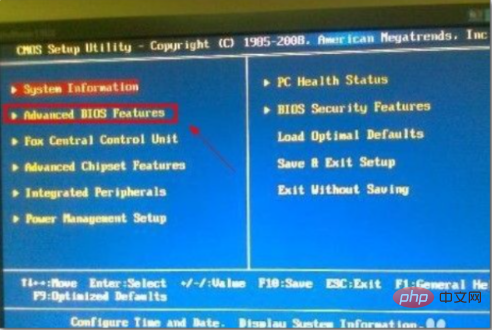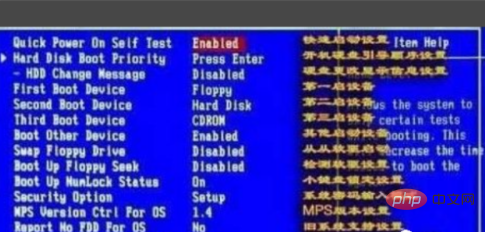
How to turn off the BIOS power-on self-test: First, press Del to boot into the advanced BIOS settings page, and enter the advanced BIOS function or BIOS function settings; then find "Quick Self-Test Power" and set it to "Enable". Press F10 to save and exit.

#The operating environment of this article: Windows 7 system, Dell G3 computer.
How to turn off BIOS power-on self-test:
Method 1: Set BIOS
1. Keep pressing Del to boot into the advanced BIOS setting page, and Enter advanced BIOS features or BIOS feature settings.

2. Find "Quick Self-Test Power Supply", set it to "Enable", and press F10 to save and exit. In the future, press Esc to skip the test directly.

Method 2: Command method
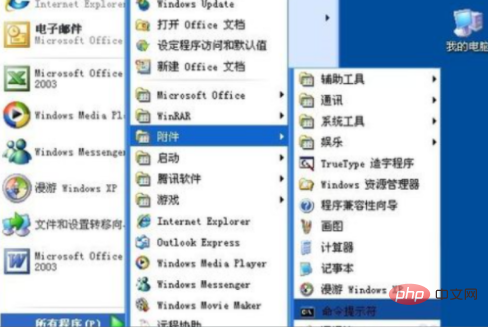
3. Open the command prompt: Start-All Programs-Accessories-Command Prompt and run the CMD command.

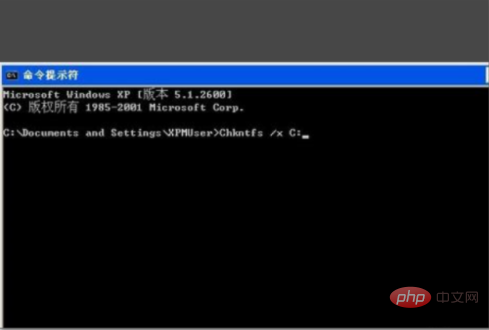
4. Enter the following command, Chkntfs/t: 0 [Set the waiting time of the self-test to "0", of course you can also customize the waiting time], Chkntfs/XC : [Cancel the self-test on the C drive after powering on. Of course, you can also set other partitions]. Please press the Enter key to execute.

Related learning recommendations: windows server operation and maintenance tutorial
The above is the detailed content of How to turn off bios power-on self-test. For more information, please follow other related articles on the PHP Chinese website!


