Home > Common Problem > body text

What are the detailed steps for drawing a mouse in ProE?

爱喝马黛茶的安东尼
Release: 2020-01-06 15:53:04
Original
7231 people have browsed it

What are the detailed steps for drawing a mouse in ProE?

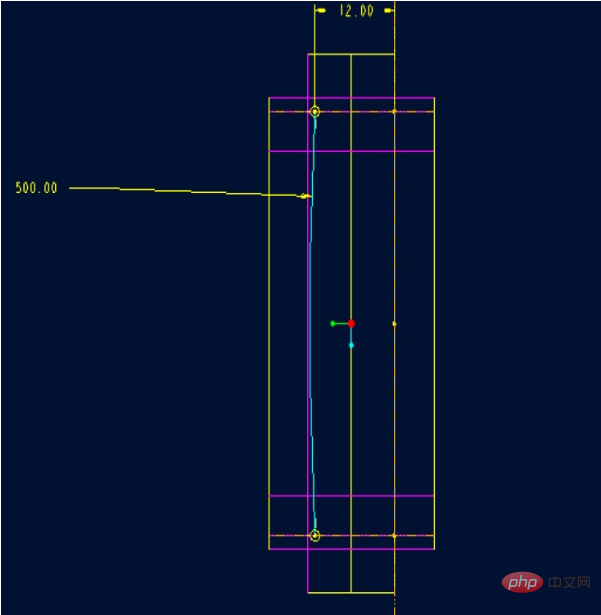
1. First make a curved surface: use the F surface as the drawing. By default, the extrusion thickness is 70.
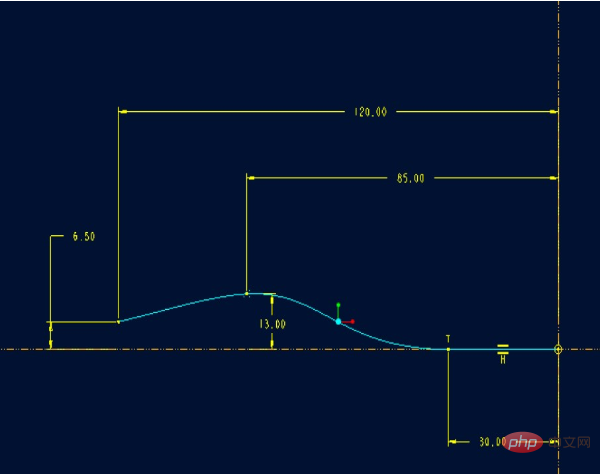
What are the detailed steps for drawing a mouse in ProE?

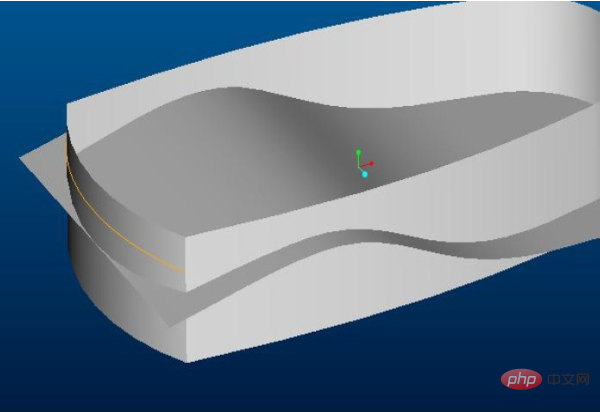
#2. Use the T surface as the drawing, enter by default, and the thickness is 25.
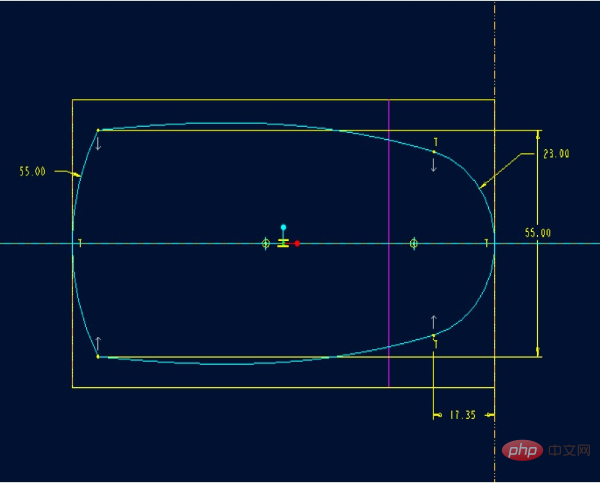
What are the detailed steps for drawing a mouse in ProE?

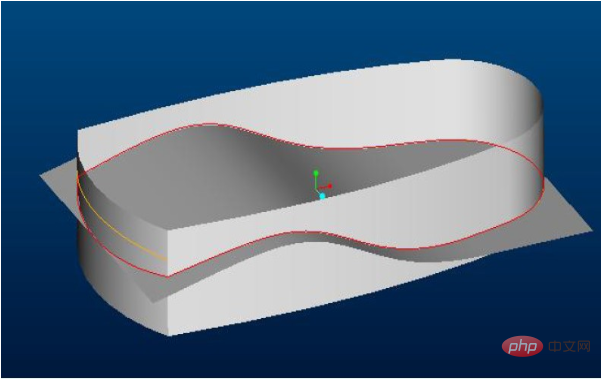
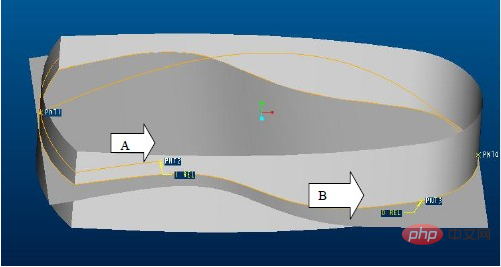
3. Make curves: two projections as shown; A, B

A projection
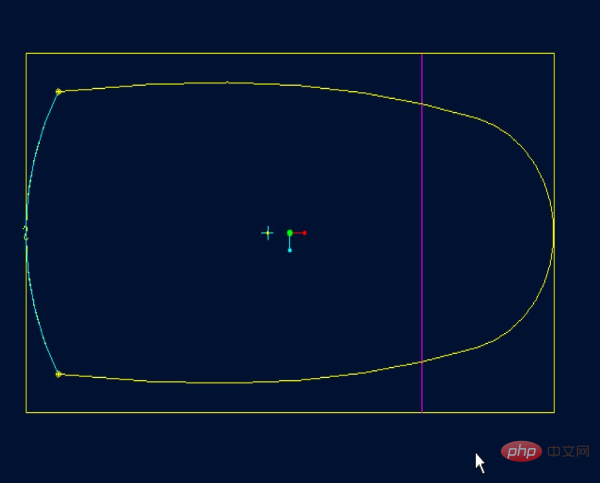
What are the detailed steps for drawing a mouse in ProE?

BProjection

What are the detailed steps for drawing a mouse in ProE?

The result is as shown:

What are the detailed steps for drawing a mouse in ProE?

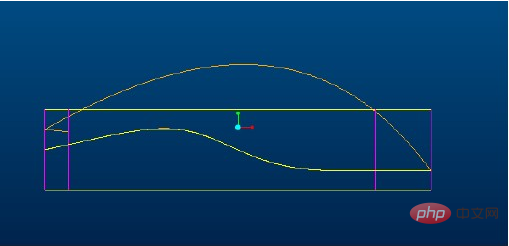
4. Project excellent lines:

What are the detailed steps for drawing a mouse in ProE?

5. Make two points: the curve and the surface are as shown in the figure:
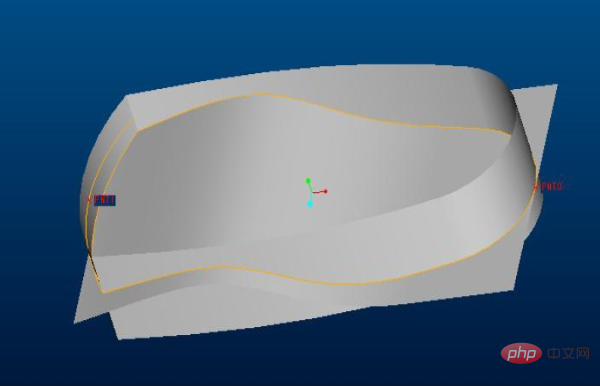
What are the detailed steps for drawing a mouse in ProE?

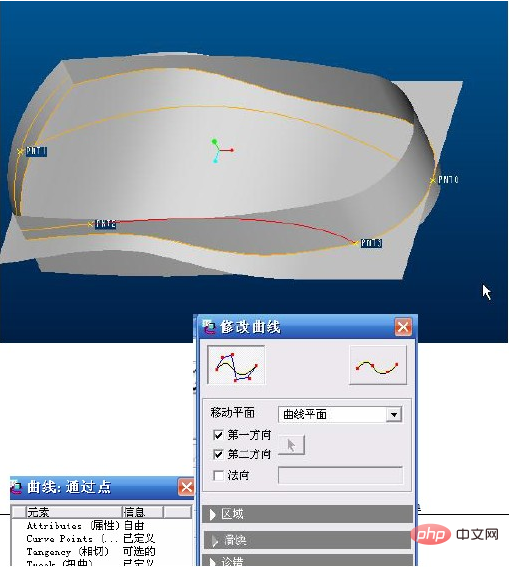
6 Make a line through the points, but you need to change it in the properties , As shown in the picture:
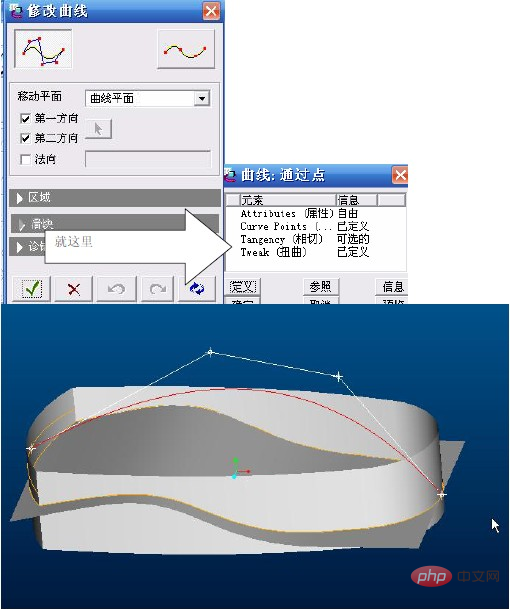
What are the detailed steps for drawing a mouse in ProE?

Result:

What are the detailed steps for drawing a mouse in ProE?

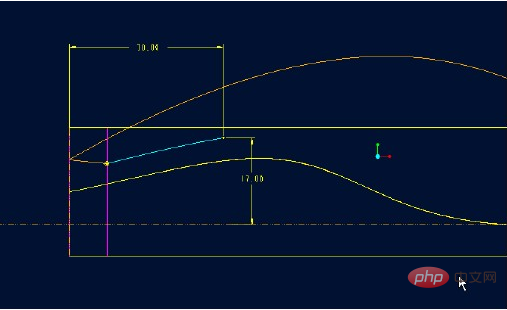
7. The projection line is as shown in the picture:
What are the detailed steps for drawing a mouse in ProE?

8. Make two points: A and B

What are the detailed steps for drawing a mouse in ProE?

9. Pass through the points:

What are the detailed steps for drawing a mouse in ProE?

The same changes as in the 6th process: use the mirror to the other side after finishing the curve.

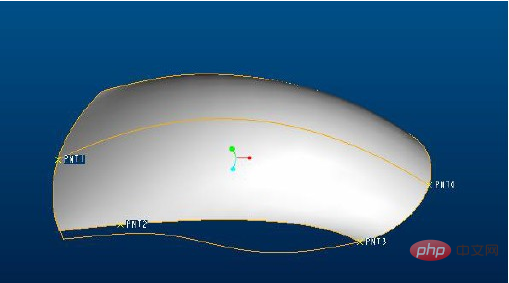
10. Boundary: Hide the previous surfaces, as shown in the picture:
What are the detailed steps for drawing a mouse in ProE?

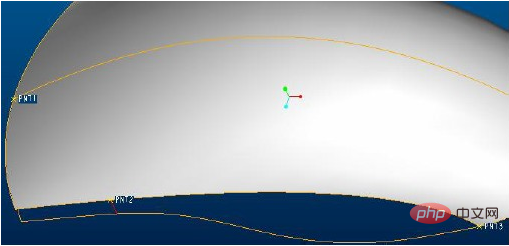
11. Draw a line through the point: Mirror to the other side:
What are the detailed steps for drawing a mouse in ProE?

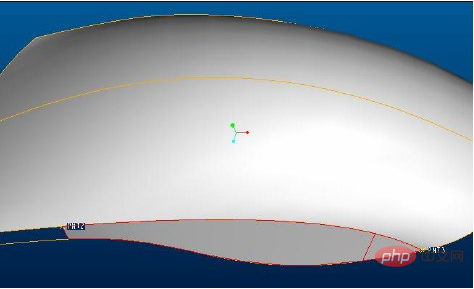
12. Border: use the same method to make the outer side:
What are the detailed steps for drawing a mouse in ProE?

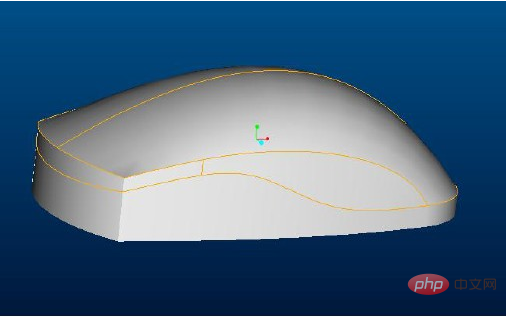
13. Merge three faces: open the previous one Curved surface: merge again: the result is as shown in the figure
What are the detailed steps for drawing a mouse in ProE?

14. Make a flat surface at the bottom and merge it

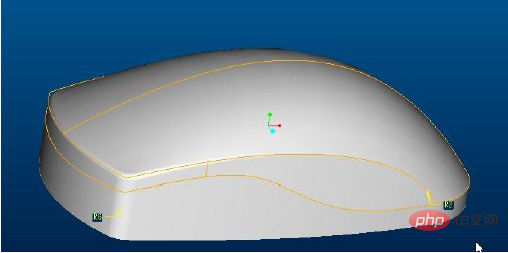
15. Make a variable fillet
What are the detailed steps for drawing a mouse in ProE?

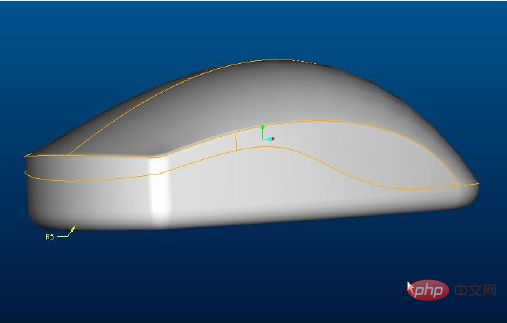
16. Rounded corners

What are the detailed steps for drawing a mouse in ProE?

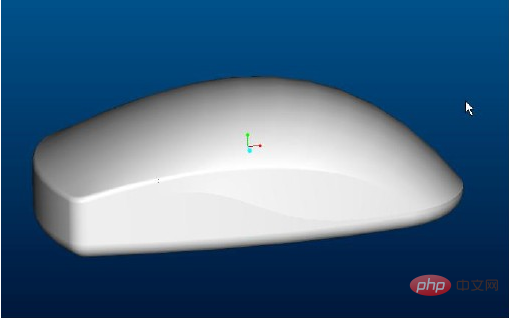
#17. Add material quilts to generate entities and hide excess lines.
What are the detailed steps for drawing a mouse in ProE?

For more FAQ, please visit the PHP Chinese website.

The above is the detailed content of What are the detailed steps for drawing a mouse in ProE?. For more information, please follow other related articles on the PHP Chinese website!

Related labels:
source:php.cn
Statement of this Website
The content of this article is voluntarily contributed by netizens, and the copyright belongs to the original author. This site does not assume corresponding legal responsibility. If you find any content suspected of plagiarism or infringement, please contact admin@php.cn
Popular Tutorials
More>
Latest Downloads
More>
Web Effects
Website Source Code
Website Materials
Front End Template
About us Disclaimer Sitemap
php.cn:Public welfare online PHP training,Help PHP learners grow quickly!