


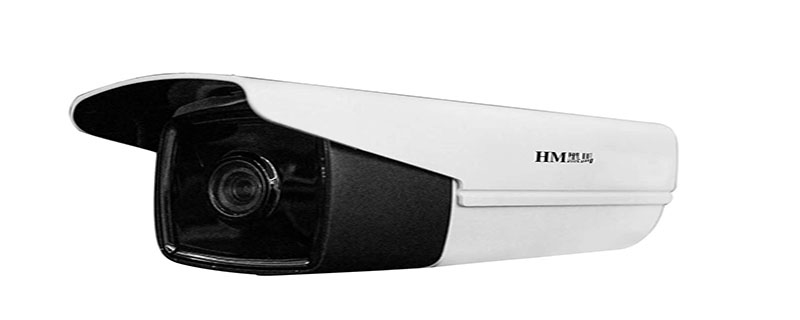
Now web cameras have been widely used in our lives. They have been used in many places such as corridor safety, transportation, and communities. The application of web cameras has also brought great changes to our lives. Comes a lot of convenience. (Recommended study: web front-end video tutorial)
There are many types of web cameras now, and their functions are also different. So after purchasing the camera, how should you install it? What is the installation method of the web camera?
The web camera is based on the Internet and LAN. In a LAN, the IP web camera is installed locally. With access permission, through the relevant configuration of the computer network, we can implement local monitoring using IP network cameras, and we can also use the Internet to remotely control the cameras.
The installation method of the camera is divided into hardware installation and software installation. The specific installation method is as follows:
1. Hardware Installation:
Hardware installation requires connecting to the network camera through an IP sharer. The specific installation process is that first we need to connect the network to the connection port of the network camera. Note that this connection port is the RJ45 connection port. After connecting, then connect the power adapter to the power supply to power on. After the connection is completed, it is recommended that the other end of the network is connected to the router. After completing these, the hardware installation is basically completed.
2. Software installation:
As for the software, I am still in that aspect. First, search for the webcam and the network. Be careful when searching the camera. After the search is completed, set the IP address of the web camera. Then access the webcam. After accessing, you need to install the webcam plug-in. After performing these installations, the software installation is complete.
Network camera installation
1. Cabling
Network camera installation points , this is the same as our analog camera, just design the location according to the technical requirements or Party A’s requirements. After determining the location, design the location of the switch. Generally, the distance of the farthest camera should not exceed 90 meters. The location of the switch is generally chosen in the weak current room. If it cannot be chosen in the weak current room, a small weak current cabinet can be set up. If the outdoor camera is used, the waterproofing of the network cable must also be considered, and professional outdoor network cables are generally used. The actual wiring method of digital cameras is similar to the integrated wiring horizontal wiring method.
2. Selection of switch
How to choose the switch at the import layer (connected to the camera)? Should I choose Gigabit or 100M? What?
If there are requirements for bidding technology, there are installation requirements. If Party A does not require it, it depends on the actual situation. So according to the actual situation, how to choose?
The following is a simple example to explain
The code stream of 720P network camera is about 4M, 960P is about 5M, and 1080P is about 8M. If your A switch is a 24-port 100M switch, so the maximum number of 1080P machines you can connect is 10, 10*8=80M. Generally, 80% of the data traffic of the switch is already the limit. For more than 10 1080P machines, it is recommended to use a Gigabit switch and a Category 6A backbone network cable.
3. Selection of network cables
There are tips for choosing network cables. No matter how good the network cable dealer is, we must choose network cables. Be clear-headed, this is related to the completion quality of the entire project. It is generally recommended that the 100M network cable uses the national standard Category 5e pure copper wire. How to test whether it is a good wire?
Use a multimeter to test, the whole box is 305 meters long , a single resistance at the beginning and end of the line, if it does not exceed 30 ohms, is considered a good product. As for whether to choose 5e or 6 category network cable, it depends on the actual situation. Judging from the current development situation, Category 5e network cables are the mainstream. When designing, if you want to make more money on cables, you can design low-smoke and halogen-free network cables.
4. Storage and display
# Choose network hard disk video recorder (nvr) for back-end storage for small projects, and storage server for large projects. One thing that needs to be explained here is that digital surveillance does not have a matrix and is all connected to the wall through decoders. In terms of image display, whether to use a splicing screen or a monitor depends on the total cost. Nowadays, splicing screens are the mainstream product.
The above is the detailed content of Webcam installation tutorial. For more information, please follow other related articles on the PHP Chinese website!
 Characteristics of the network
 Network cable is unplugged
 What's going on when I can't connect to the network?
 How to configure jsp virtual space
 What should I do if my windows license is about to expire?
 Ranking of the top ten digital currency exchanges
 mcafee upgrade package
 What programs can be developed with php


![[Web front-end] Node.js quick start](https://img.php.cn/upload/course/000/000/067/662b5d34ba7c0227.png)


