
1. First, double-click to run phpStudy and open the software interface
2. Then, in the opened phpstudy software interface, click "Start".
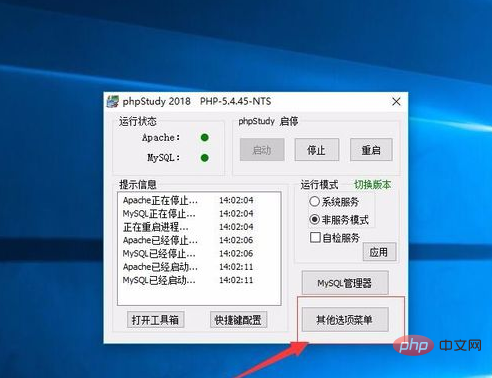
3. Next, find the "Other Options Menu" in the phpstudy software interface. As shown in the picture:

#4. Then, find "Site Domain Name Management" in the pop-up menu. As shown in the picture:
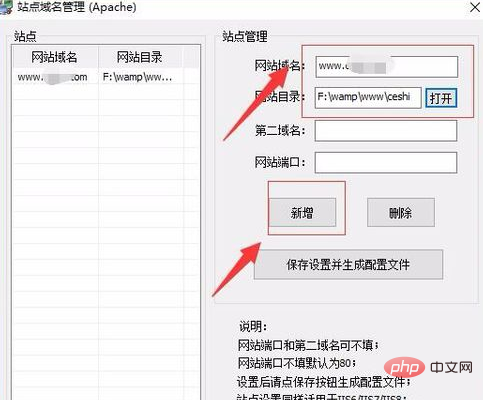
5. Then, enter your virtual domain name in the website domain name, click "Open" in the website directory, and create a new subdirectory folder. Then click "Add". As shown in the picture:

#6. After completion, you can see the virtual server we added in the list on the left. As shown in the picture:
#7. Then, in the site domain name management interface, click "Save configuration and generate configuration file". As shown in the picture:
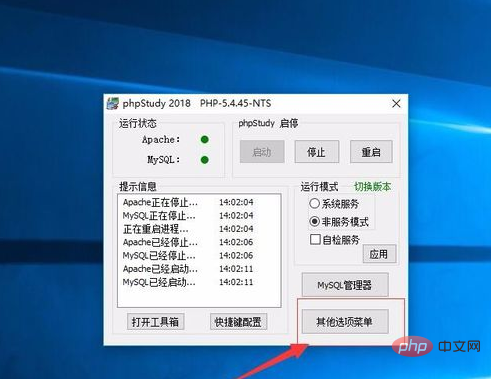
#8. Then, close the site domain name management interface. Return to the phpstudy software interface and find the "Other Options Menu" in the interface. As shown in the picture:

#9. Then, find "Open hosts" in the pop-up menu, click and the system will automatically open hosts. Next, delete the # in front of 127.0.0.1, and enter the website domain name you defined in the new virtual server after 127.0.0.1. Save the document and exit. As shown in the picture:
#10. Restart phpstudy.
Recommended tutorial: phpstudy video tutorial
The above is the detailed content of How to configure phpstudy site. For more information, please follow other related articles on the PHP Chinese website!