

There are often scroll animation effects in ppt, which expand from the middle to both sides, or from one side to the other. Some of them have templates that can be applied directly; for those who do not have templates, there are still How to use the scroll effect? Let me share with you my production experience. Once you have made one, you can save it for later use.
Preparation work:
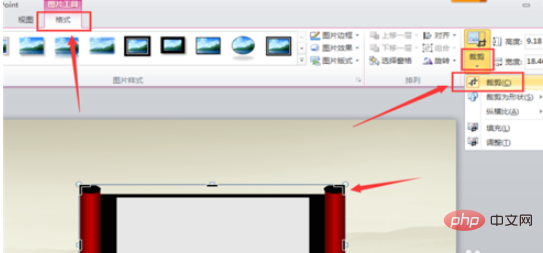
1. Place the scroll image in the PPT template, click on the image, the "Picture Tools" interface will appear, click "Format" ---"Crop" ---" Crop". A black border will appear on the picture, and you can start cropping the required parts.
#2. Start cutting. The production of scroll animation effects requires two parts, the axes on both sides and the layout in the middle. Cut the axis part first, just cut out one part, and copy and paste the other part.
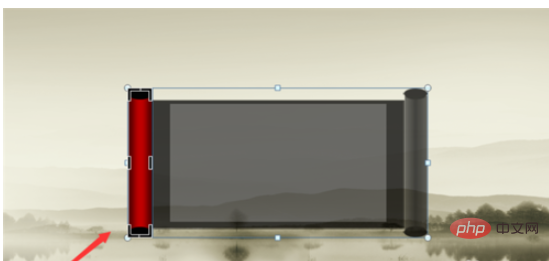
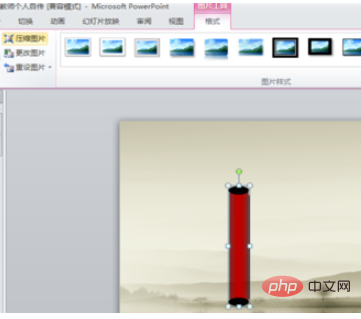
3. Select the part of the side axis, and then click "Crop". Only the picture of the side axis will be left. Then click "Compress Image" to truly complete the cropping. , otherwise when you select the picture again, there will still be the shadow part of the figure before cropping.
4. Crop the middle layout. The method is the same as cropping the side axis. Select the picture---"Format"---"Crop"---"Crop ";"Crop"---"Compress image" and you're done.
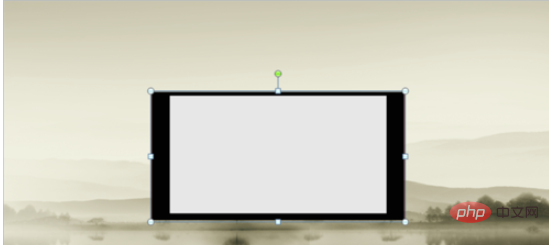
#5. Place the trimmed side axis and middle panel in a good position to facilitate adding animation effects. The scroll can be opened from the middle or from one side. Here we take the method of opening the scroll in the middle as an example and put the side shaft in the middle position.

Scroll effect production:
1. Select the left side scroll, click "Animation", and select the "Fade out" effect.
Start: when clicked; Duration: 00.50; Delay: 00.00.
Select the right side axis, and in the same way, add a fade-out effect to the animation.
Start: Simultaneously with the previous animation; Duration: 00.50; Delay: 00.00.
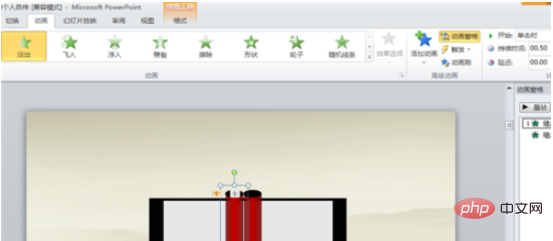
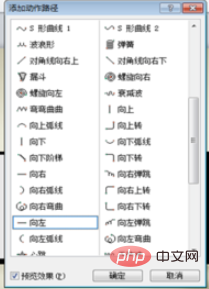
#2. Start setting the animation path, select the left axis, click "Add Animation" --- "Other Action Paths", and many graphic displays of paths will appear. What we need is a straight path. Slide the scroll bar on the right to find "Left" and click "OK".

3. After clicking OK, a path moving to the left will appear in the picture. This is the default distance, so it should be based on the actual The situation adjusts the distance. Click on the small black circle next to the red arrow and green arrow to adjust the distance. It is troublesome to watch the effect over and over again in full screen. Click the "Animation Pane" in the upper right corner and click "Play" to watch the animation effect directly on the interface.
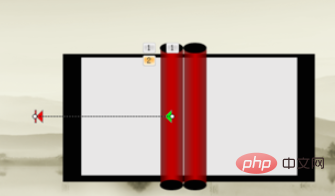
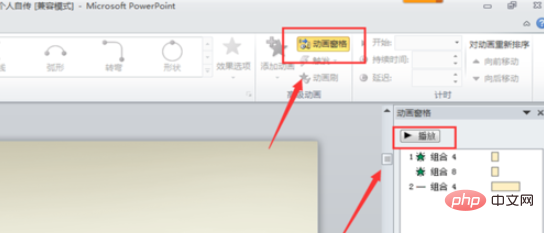
4. Adjust the distance to move to the left path. It is more suitable on the edge of the axis. Play it a few more times and adjust it to the left axis. After moving, it should be connected to the left side of the layout. The position in the picture below is just right after adjustment.
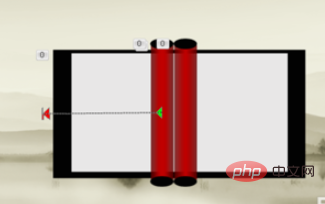

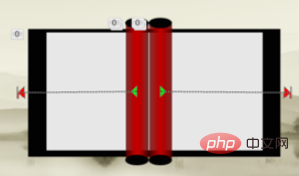
5. Set the path effect of the right axis. The method is similar to the left axis, but select the "right" path. (If you choose the "left" path, you have to adjust the direction, which is also possible.) After setting, the position is as shown in the picture. After unfolding to both sides, it just touches the edge.

#6. Adjust the time and order of path playback.
Left axis, start: after the previous animation; duration: 02.00; delay: 00.00.
Right axis, start: at the same time as the above animation; duration: 02.00; delay: 00.00.
7. Add animation effect to the middle layout, "split".
Start: Simultaneously with the previous animation; Duration: 01.40; Delay: 00.30.
A complete scroll effect is completed.
8. Add text content (pictures are acceptable) in the middle of the scroll. The font of the text can be adjusted by yourself, add animation effects, and "fade out".
Start: Simultaneously with the previous animation, Duration: 02.00, Delay: 00.75.
The effect of adding text content to the entire scroll is complete.
The above is the detailed content of Steps to make ppt scroll. For more information, please follow other related articles on the PHP Chinese website!