Install and use eclipse
After downloading and installing eclipse--> Double-click eclipse-->Set the automatically saved workspace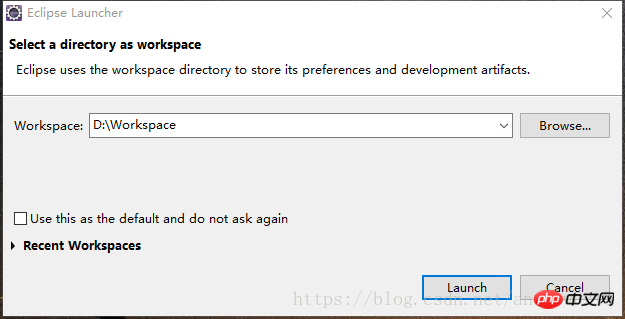
After completion, we will enter eclipse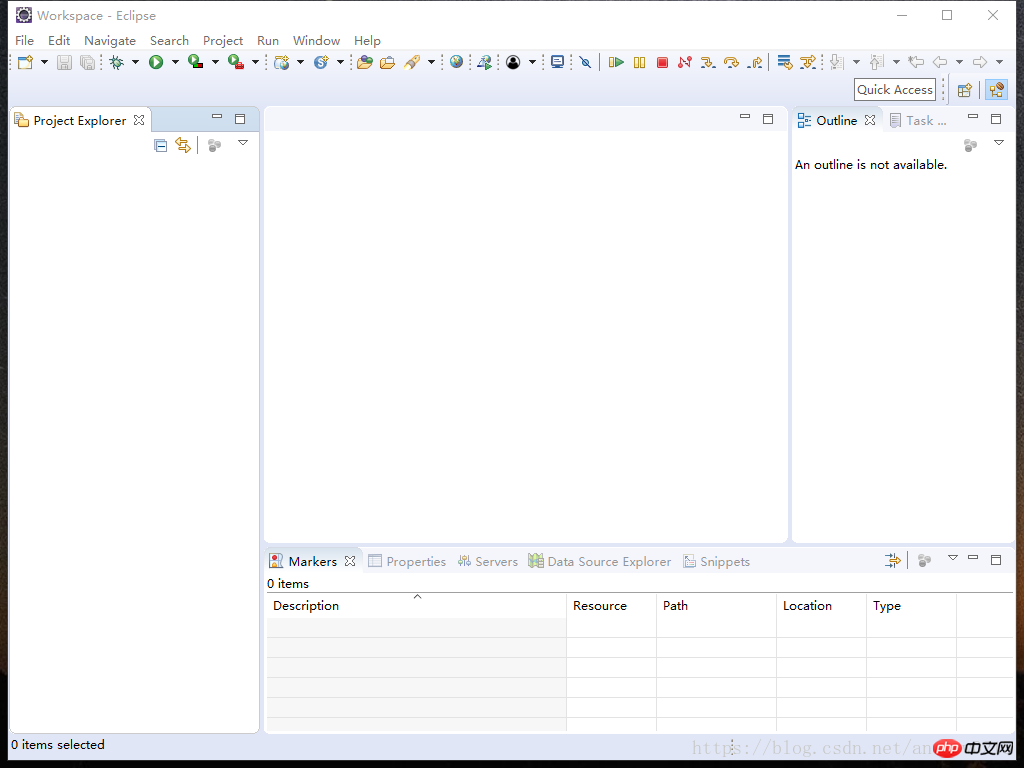
##Click File --> new --> others --> Java Projeck
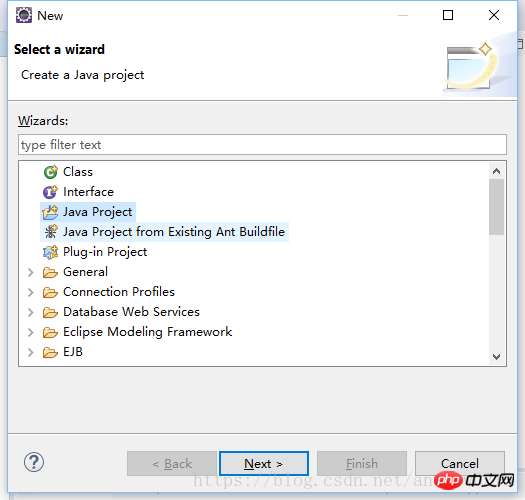
Set the project name after next
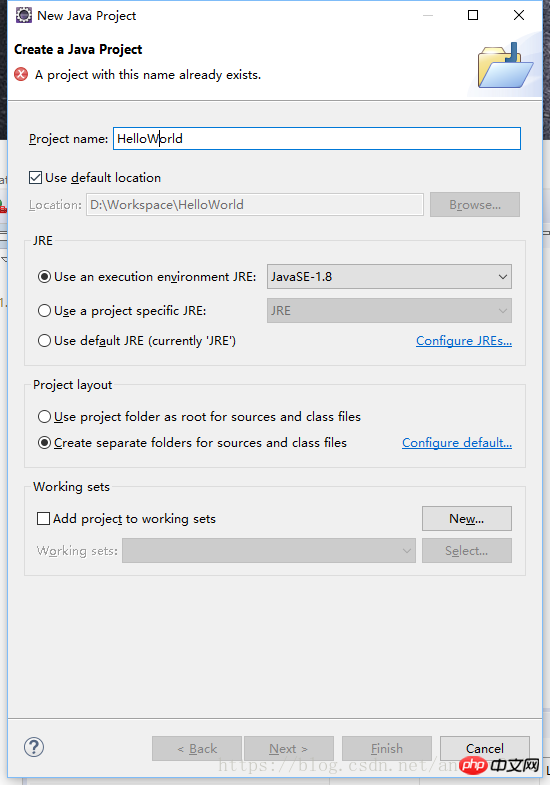
(Because I have created it before, the prompt here already exists)
Next we Let's complete the programming of Hello World through eclipse again
Right-click new under src --> others --> Package to create a package and set the name (usually the company domain name is written in reverse)
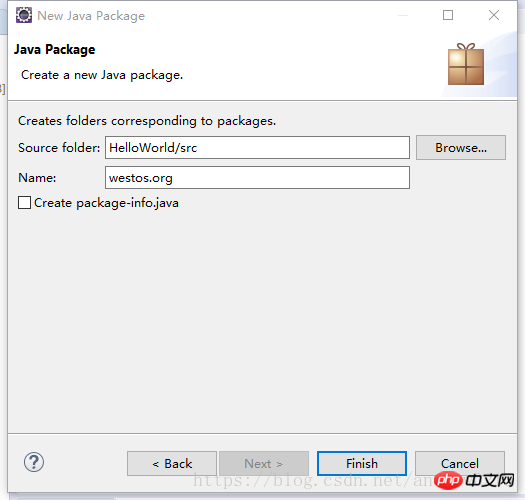
After completion, create a class under this package
Right click under the package--> new --> others --> class --> ; Enter the name
(The first letter of a single word is capitalized, the first letter of each word of multiple words is capitalized and there can be no spaces or symbols
)
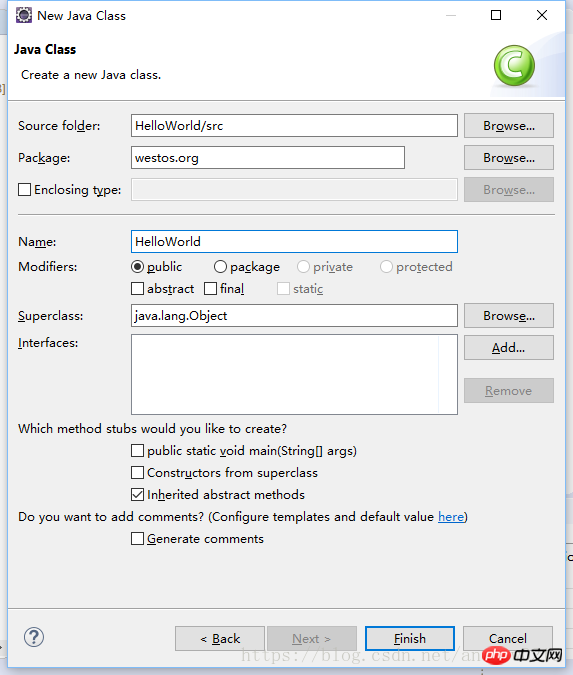
After entering, we can start writing our HelloWorld
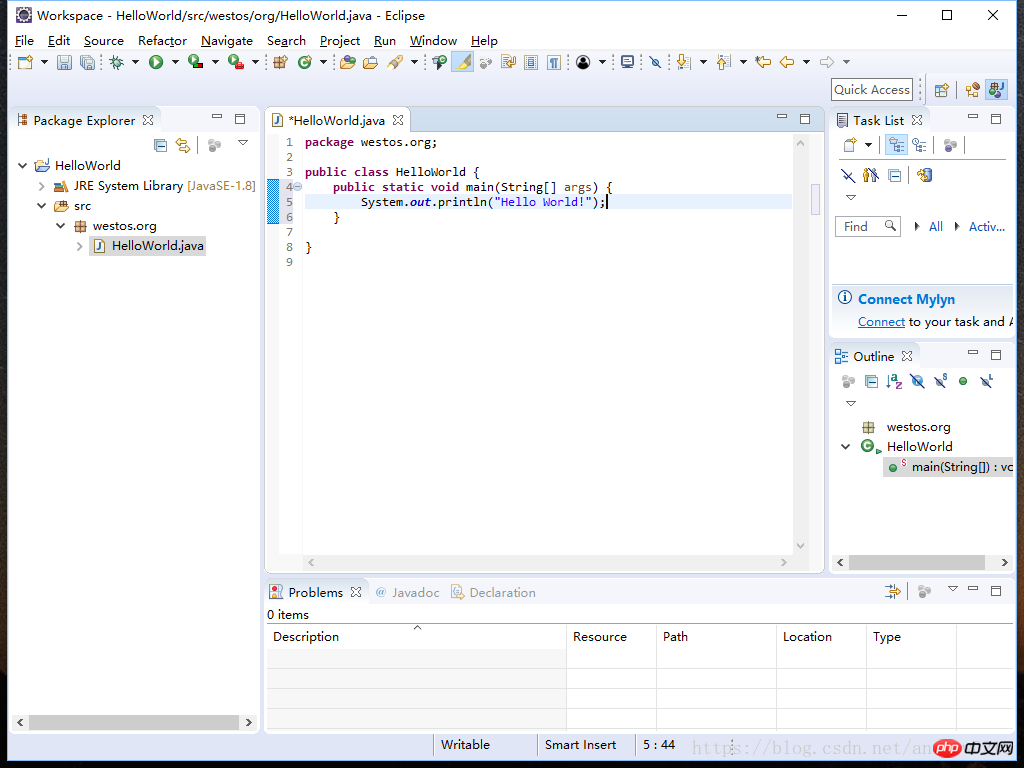
There will be no errors or warnings~ The next moment to witness the miracle~
 We can run the program through F11 or
under the menu bar and right-click --> Run As --> Java Application

The operation is successful. Congratulations, you have entered the door of java development!
High-energy warning: A lot of important and boring grammar is coming~
#END
#Related articles:
JAVA entry system tutorial (1) Configuring JAVA development environment
###JAVA entry system tutorial (3) Basic syntax (1) )######
The above is the detailed content of JAVA entry system tutorial (2) Installing and using eclipse. For more information, please follow other related articles on the PHP Chinese website!


