
A lightweight JavaScript library for creating particles.
A lightweight JavaScript library for creating particle backgrounds
Let’s take a look at the renderings first:
Standard version:
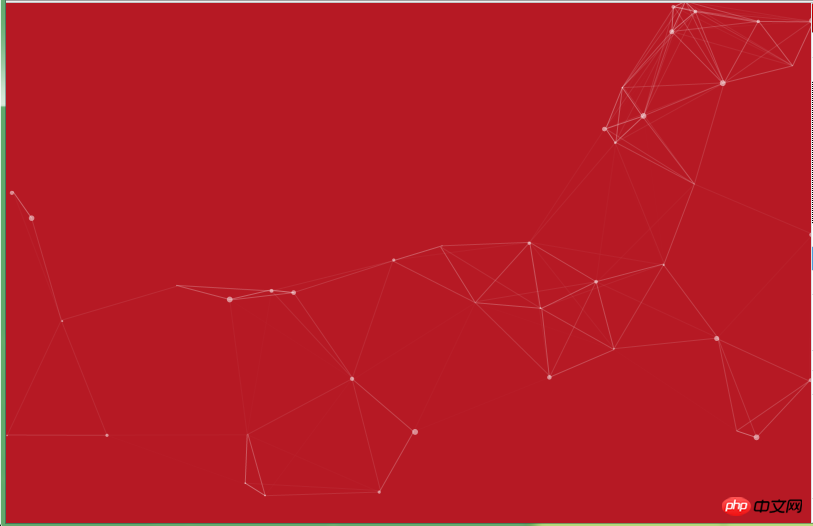
Starry sky version: 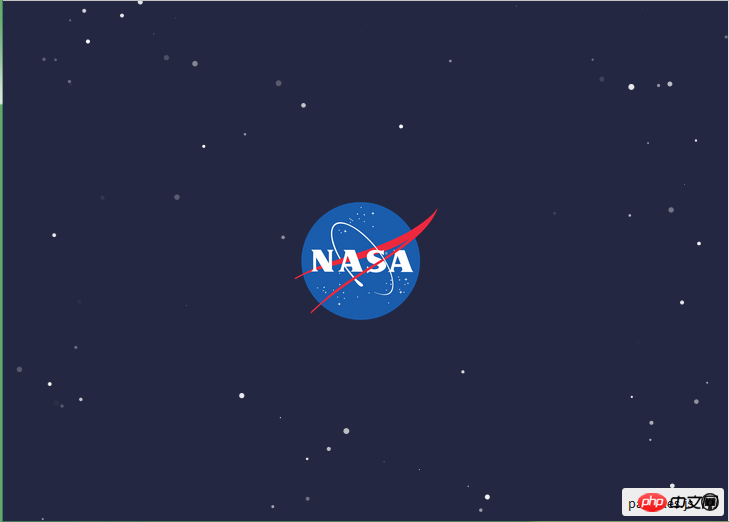
Bubble version: 
Snow version: 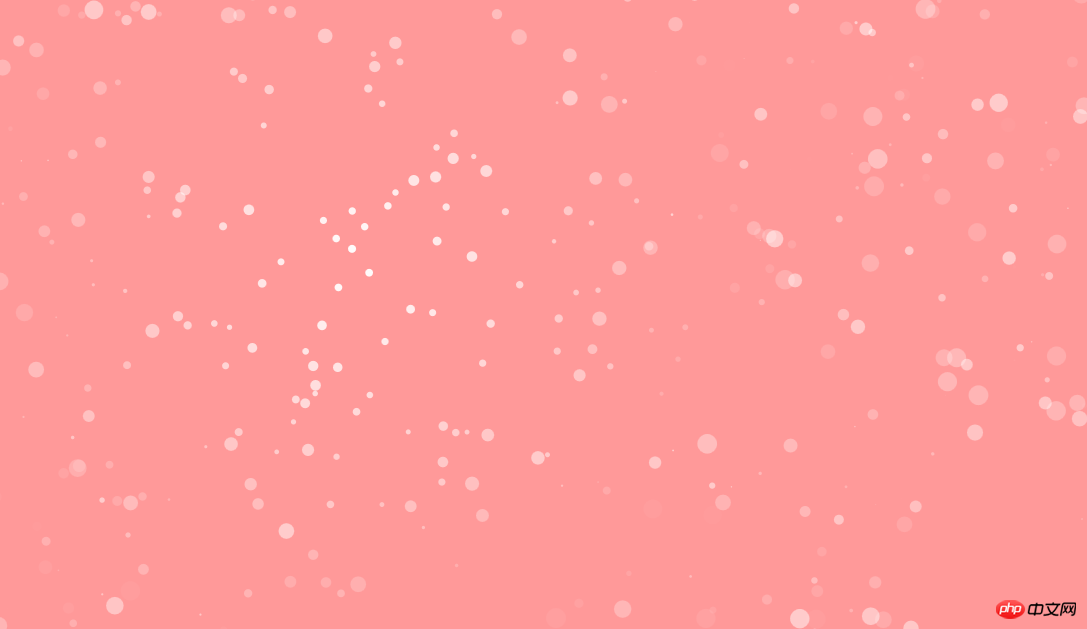
We can use this What to do?
I think this is more suitable for pages without background, or if you can’t find a suitable picture to use as the background, then we can all use this.
For example: 
or
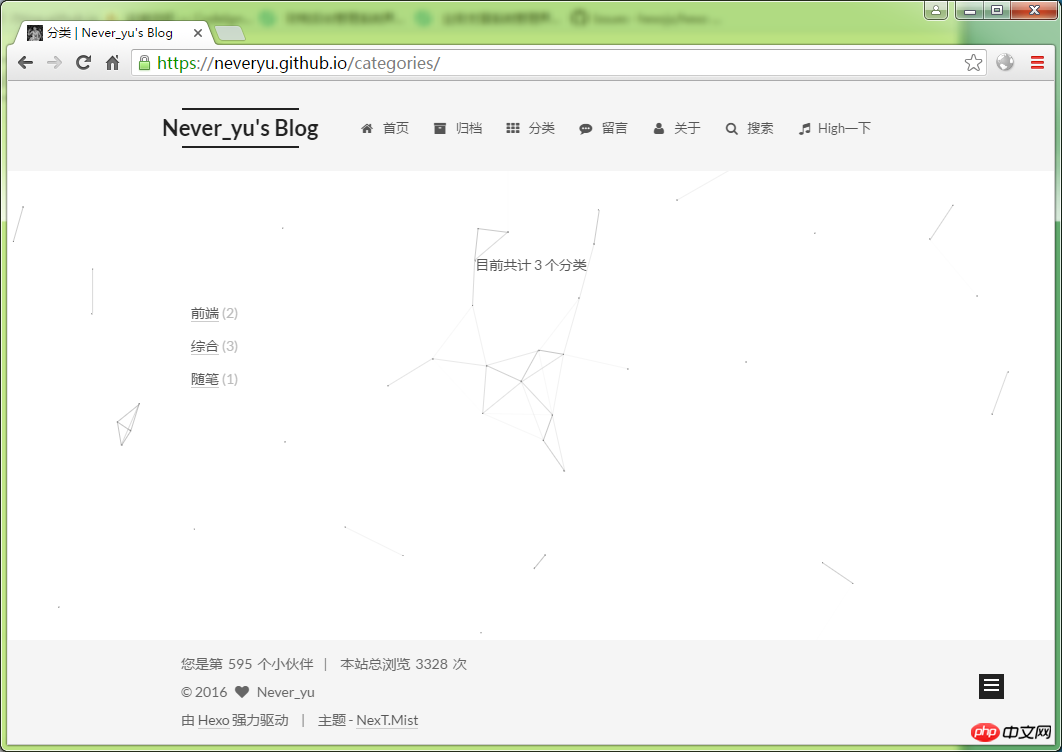
Well, the effect is quite good.
So, here’s how to use particles.js.
particlesJS Open source on Github: https://github.com/VincentGarreau/particles.js
This project provides a demo, you can download this project directly. Open the index.html file in the demo to see the effect.
So, if we want to build our own project, how do we introduce files?
The suggestions are as follows:
<!DOCTYPE html><html lang="en"><head>
  <meta charset="utf-8">
  <title>particles.js</title>
  <meta name="description" content="particles.js is a lightweight JavaScript library for creating particles.">
  <meta name="author" content="Vincent Garreau" />
  <meta name="viewport" content="width=device-width, initial-scale=1.0, minimum-scale=1.0, maximum-scale=1.0, user-scalable=no">
  <link rel="stylesheet" media="screen" href="css/style.css"></head><body><p id="particles-js"></p><!-- scripts --><script src="js/particles.js"></script><script src="js/app.js"></script></body></html>
particles.js is its library, we must introduce it, app.js is the parameter configuration file, we also It needs to be introduced, but there is no need to introduce stats.js in the demo. style.css We can also introduce that the background color is set in css.
Based on this template, we can add the functions we want to implement, such as the registration and login function. What needs to be noted is:
Use p to encapsulate the functional code block we want to implement. , and set absolute positioning for this p in css.
The following introduces the use of parameter configuration file app.js file:
particles.number.value : The number of particles
particles.number.density : The density of particles
particles.number.density.enable : Enable the density of particles Density (true or false)
particles.number.density.value_area: The space occupied by each particle (available only when particle density is enabled)
particles.color.value: The color of particles (supports hexadecimal "#b61924", rgb "{r:182, g:25, b:36}", hsl, and random)
particles.shape.type: The shape of the particles ("circle" "edge" "triangle" "polygon" "star" "image")
particles.opacity.value : Transparency of particles
particles.size.anim.enable: Whether to enable particle speed (true/false)
particles.size.anim .speed: Particle animation frequency
particles.size.anim.sync: Whether the particle running speed and animation are synchronized
particles.move.speed : Particle movement speed
You can configure your favorite background based on these configuration files. Two complete configuration files are provided belowapp.js.
Configuration file one (classic background):
{  "particles": {    "number": {      "value": 80,      "density": {        "enable": true,        "value_area": 800
      }
    },    "color": {      "value": "#ffffff"
    },    "shape": {      "type": "polygon",      "stroke": {        "width": 0,        "color": "#000000"
      },      "polygon": {        "nb_sides": 5
      },      "image": {        "src": "img/github.svg",        "width": 100,        "height": 100
      }
    },    "opacity": {      "value": 0.5,      "random": false,      "anim": {        "enable": false,        "speed": 1,        "opacity_min": 0.1,        "sync": false
      }
    },    "size": {      "value": 3,      "random": true,      "anim": {        "enable": false,        "speed": 40,        "size_min": 0.1,        "sync": false
      }
    },    "line_linked": {      "enable": true,      "distance": 150,      "color": "#ffffff",      "opacity": 0.4,      "width": 1
    },    "move": {      "enable": true,      "speed": 6,      "direction": "none",      "random": false,      "straight": false,      "out_mode": "out",      "bounce": false,      "attract": {        "enable": false,        "rotateX": 600,        "rotateY": 1200
      }
    }
  },  "interactivity": {    "detect_on": "canvas",    "events": {      "onhover": {        "enable": true,        "mode": "repulse"
      },      "onclick": {        "enable": true,        "mode": "push"
      },      "resize": true
    },    "modes": {      "grab": {        "distance": 400,        "line_linked": {          "opacity": 1
        }
      },      "bubble": {        "distance": 400,        "size": 40,        "duration": 2,        "opacity": 8,        "speed": 3
      },      "repulse": {        "distance": 200,        "duration": 0.4
      },      "push": {        "particles_nb": 4
      },      "remove": {        "particles_nb": 2
      }
    }
}, "retina_detect": false}Configuration file two (starry sky background):
{  "particles": {    "number": {      "value": 160,      "density": {        "enable": true,        "value_area": 800
      }
    },    "color": {      "value": "#ffffff"
    },    "shape": {      "type": "circle",      "stroke": {        "width": 0,        "color": "#000000"
      },      "polygon": {        "nb_sides": 5
      },      "image": {        "src": "img/github.svg",        "width": 100,        "height": 100
      }
    },    "opacity": {      "value": 1,      "random": true,      "anim": {        "enable": true,        "speed": 1,        "opacity_min": 0,        "sync": false
      }
    },    "size": {      "value": 3,      "random": true,      "anim": {        "enable": false,        "speed": 4,        "size_min": 0.3,        "sync": false
      }
    },    "line_linked": {      "enable": false,      "distance": 150,      "color": "#ffffff",      "opacity": 0.4,      "width": 1
    },    "move": {      "enable": true,      "speed": 1,      "direction": "none",      "random": true,      "straight": false,      "out_mode": "out",      "bounce": false,      "attract": {        "enable": false,        "rotateX": 600,        "rotateY": 600
      }
    }
  },  "interactivity": {    "detect_on": "canvas",    "events": {      "onhover": {        "enable": true,        "mode": "bubble"
      },      "onclick": {        "enable": true,        "mode": "repulse"
      },      "resize": true
    },    "modes": {      "grab": {        "distance": 400,        "line_linked": {          "opacity": 1
        }
      },      "bubble": {        "distance": 250,        "size": 0,        "duration": 2,        "opacity": 0,        "speed": 3
      },      "repulse": {        "distance": 400,        "duration": 0.4
      },      "push": {        "particles_nb": 4
      },      "remove": {        "particles_nb": 2
      }
    }
}, "retina_detect": true}This article explains the use of particlesJS Introduction related content, please pay attention to php Chinese website for more related content.
Related recommendations:
Detailed analysis of operators i and i in JS
Bootstrap jq jqajax php database addition, deletion and modification Check the source code
The above is the detailed content of Introduction to particlesJS usage related content. For more information, please follow other related articles on the PHP Chinese website!


