

This time I will bring you a detailed explanation of the use of the jquery plug-in uploadify. What are the precautions when using the jquery plug-in uploadify? Here are practical cases, let’s take a look.
Sometimes when a project requires a file batch upload function, I personally think that uploadify is a quick and easy solution. I share it with you for your reference. The details are as follows
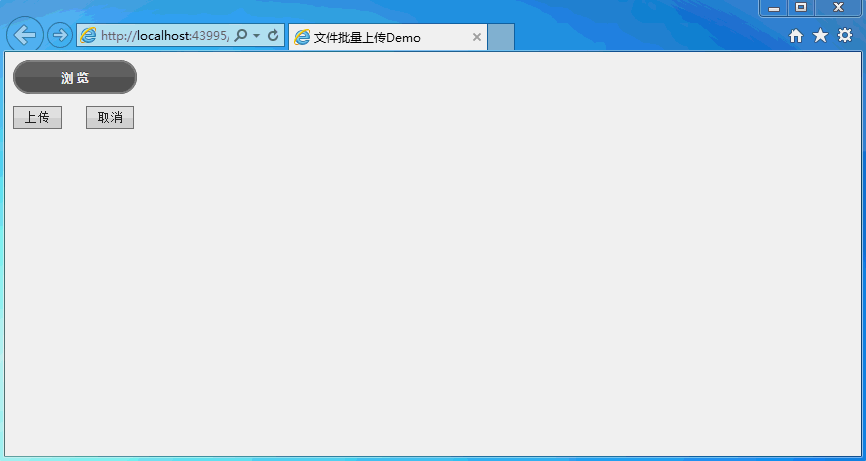
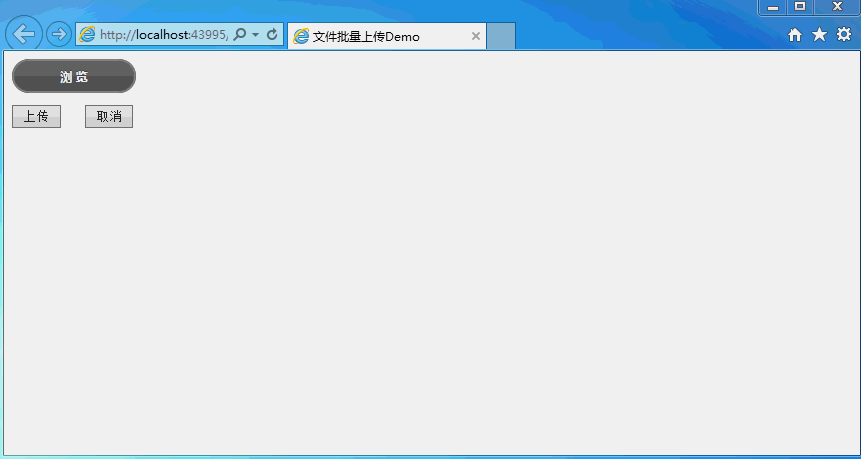
First, the renderings:
The specific code is as follows:
is as follows on the page
Complete page code
<%@ Page Language="C#" AutoEventWireup="true" CodeFile="Default.aspx.cs" Inherits="_Default" %>
<!DOCTYPE html>
<html xmlns="http://www.w3.org/1999/xhtml">
<head runat="server">
<meta http-equiv="Content-Type" content="text/html; charset=utf-8"/>
<title>文件批量上传Demo</title>
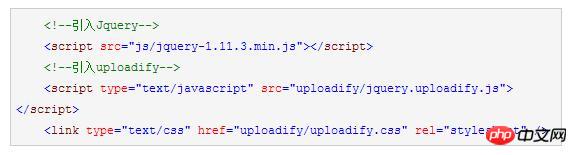
<!--引入Jquery-->
<script src="js/jquery-1.11.3.min.js"></script>
<!--引入uploadify-->
<script type="text/javascript" src="uploadify/jquery.uploadify.js"></script>
<link type="text/css" href="uploadify/uploadify.css" rel="stylesheet" />
<script type="text/javascript">
$(function () {
var guid = '<%=Request["guid"] %>';
var type = '<%=Request["type"] %>';
if (guid == null || guid == "") {
guid = newGuid();
}
if (type != null) {
type = type + '/';
}
$('#file_upload').uploadify({
'swf': 'uploadify/uploadify.swf', //FLash文件路径
'buttonText': '浏 览', //按钮文本
'uploader': 'uploadhandler.ashx?guid=' + guid, //处理ASHX页面
'formData': { 'folder': 'picture', 'isCover': 1 }, //传参数
'queueID': 'fileQueue', //队列的ID
'queueSizeLimit': 10, //队列最多可上传文件数量,默认为999
'auto': false, //选择文件后是否自动上传,默认为true
'multi': true, //是否为多选,默认为true
'removeCompleted': true, //是否完成后移除序列,默认为true
'fileSizeLimit': '0', //单个文件大小,0为无限制,可接受KB,MB,GB等单位的字符串值
'fileTypeDesc': 'All Files', //文件描述
'fileTypeExts': '*.*', //上传的文件后缀过滤器
'onQueueComplete': function (queueData) { //所有队列完成后事件
alert("上传完毕!");
},
'onError': function (event, queueId, fileObj, errorObj) {
alert(errorObj.type + ":" + errorObj.info);
},
'onUploadStart': function (file) {
},
'onUploadSuccess': function (file, data, response) { //一个文件上传成功后的响应事件处理
//var data = $.parseJSON(data);//如果data是json格式
//var errMsg = "";
}
});
});
function newGuid() {
var guid = "";
for (var i = 1; i <= 32; i++) {
var n = Math.floor(Math.random() * 16.0).toString(16);
guid += n;
if ((i == 8) || (i == 12) || (i == 16) || (i == 20))
guid += "-";
}
return guid;
}
//执行上传
function doUpload() {
$('#file_upload').uploadify('upload', '*');
}
</script>
</head>
<body>
<form id="form1" runat="server" enctype="multipart/form-data">
<p id="fileQueue" class="fileQueue"></p>
<p>
<input type="file" name="file_upload" id="file_upload" />
<p>
<input type="button" class="shortbutton" id="btnUpload" onclick="doUpload()" value="上传" />
<input type="button" class="shortbutton" id="btnCancelUpload" onclick="$('#file_upload').uploadify('cancel')" value="取消" />
</p>
<p id="p_show_files"></p>
</p>
</form>
</body>
</html>UploadHandler.ashx code:
using System;
using System.Web;
using System.IO;
public class UploadHandler : IHttpHandler {

 public void ProcessRequest (HttpContext context) {
  context.Response.ContentType = "text/plain";
  context.Request.ContentEncoding = System.Text.Encoding.GetEncoding("UTF-8");
  context.Response.ContentEncoding = System.Text.Encoding.GetEncoding("UTF-8");
  context.Response.Charset = "UTF-8";
  if (context.Request.Files.Count > 0)
  {
   #region 获取上传路径
   string uploadFolder = GetUploadFolder();
   #endregion
   if (System.IO.Directory.Exists(uploadFolder))
   {//如果上传路径存在
    HttpPostedFile file = context.Request.Files["Filedata"];
    string filePath = Path.Combine(uploadFolder, file.FileName);
    file.SaveAs(filePath);
    context.Response.Write("0");
   }
   else
   {
    context.Response.Write("2");
   }
  }
 }

 public bool IsReusable {
  get {
   return false;
  }
 }
 /// <summary>
 /// 返回不带后缀的文件名
 /// </summary>
 /// <param name="fileName"></param>
 /// <returns></returns>
 public static string GetFirstFileName(string fileName)
 {
  return Path.GetFileNameWithoutExtension(fileName);
 }
 /// <summary>
 /// 获取上传目录
 /// </summary>
 /// <returns></returns>
 public static string GetUploadFolder()
 {
  string rootPath = HttpContext.Current.Server.MapPath("~");
  return Path.Combine(rootPath, "test");
 }
}File upload. NET has a size limit by default, like the 30M default request size limited by IIS. If you don't want to modify IIS, but want to break through this size limit, for example, upload a 1GB file.
This can be achieved by modifying Web.config.
<?xml version="1.0" encoding="utf-8"?>
<!--
 -->
<configuration>
 <system.web>
  <compilation debug="true" targetFramework="4.0" />
  <httpRuntime maxRequestLength="1073741824"/>
 </system.web>
 <!--用于设置文件上传的最大允许大小(单位:bytes)-->
 <system.webServer>
  <security>
  <requestFiltering>
   <!--修改服务器允许最大长度(1GB)-->
   <requestLimits maxAllowedContentLength="1073741824"/>
  </requestFiltering>
  </security>
 </system.webServer>

</configuration>
I believe you have mastered the method after reading the case in this article. For more exciting information, please pay attention to other related articles on the php Chinese website!
Recommended reading:
jQuery allows browsers to jump to each other and pass parameters. Detailed explanation of usage
Detailed explanation of jQuery basic knowledge points
The above is the detailed content of Detailed explanation of the use of jquery plug-in uploadify. For more information, please follow other related articles on the PHP Chinese website!


![[Web front-end] Node.js quick start](https://img.php.cn/upload/course/000/000/067/662b5d34ba7c0227.png)


