

This time I will bring you PythonHow to configure OpenCV3.2 in 3.5, what are the precautions for configuring OpenCV3.2 in Python3.5, the following is a practical case, let’s take a look one time.
1.OpenCV download
First create an empty folder, enter the folder and execute the following command, for example, the folder I created is opencv-python
cd opencv-python
git clone https://github.com/opencv/opencv.git
You can also directly enter the URL OpenCV_Download to download
Use git to downloadThere should be a folder named opencv. Enter the folder and execute the following command:
cd opencv
mkdir build
cd build
2. Compile opencv source code
Use cmake to compile opencv source code. Please confirm that all dependencies are correct before compiling To install , you can execute the following command:
sudo apt-get install build-essential
sudo apt-get install cmake git libgtk2.0-dev pkg-config libavcodec-dev libavformat-dev libswscale-dev
sudo apt-get install python-dev python-numpy libtbb2 libtbb-dev libjpeg-dev libpng-dev libtiff-dev libjasper-dev libdc1394-22-dev
If the project is already installed, it will be automatically skipped. If the project is not installed, it will be installed.
In the compilation phase using cmake, the commands executed here are different whether the system is 64-bit or 32-bit.
My computer is relatively poor, and it is installed with 32-bit. system, here we mainly focus on the compilation commands of 32-bit systems, and also introduce the compilation commands of 64-bit systems. In theory, except for the file path, everything else should be the same, but it has not been verified, so please be careful! ! !
After the above execution is completed, execute the following command for 32-bit compilation
cmake -DCMAKE_BUILD_TYPE=Release -DCMAKE_INSTALL_PREFIX=/usr/local PYTHON3_EXECUTABLE = /usr/bin/python3 PYTHON_INCLUDE_DIR = /usr/include/python3.5 PYTHON_INCLUDE_DIR2 = /usr/include/i386-linux-gnu/python3.5m PYTHON_LIBRARY = /usr/bin/i386-linux-gnu-python3/libpython3.5m.so PYTHON3_NUMPY_INCLUDE_DIRS = /usr/local/lib/python3.5/dist-packages/numpy/core/include/ ..
For 64-bit systems, the optional option in the cmake command is PYTHON_INCLUDE_DIR You can check the official guidance document through the following prompts
PYTHON2(3)_EXECUTABLE = <path to python>
PYTHON_INCLUDE_DIR = /usr/include/python<version>
PYTHON_INCLUDE_DIR2 = /usr/include/x86_64-linux-gnu/python<version>
PYTHON_LIBRARY = /usr/lib/x86_64-linux-gnu/libpython<version>.so
PYTHON2(3)_NUMPY_INCLUDE_DIRS = /usr/lib/python<version>/dist-packages/numpy/core/include/
Refer to the compilation commands given by others on the Internet and write out the 64-bit system compilation commands. However, without verification by myself, if there are any that have been configured successfully Classmates, please leave me a message so that I can improve it.
cmake -DCMAKE_BUILD_TYPE=Release -DCMAKE_INSTALL_PREFIX=/usr/local PYTHON3_EXECUTABLE = /usr/bin/python3 PYTHON_INCLUDE_DIR = /usr/include/python3.5 PYTHON_INCLUDE_DIR2 = /usr/include/x86_64-linux-gnu/python3.5m PYTHON_LIBRARY = /usr/lib/x86_64-linux-gnu-python3/libpython3.5m.so PYTHON3_NUMPY_INCLUDE_DIRS = /usr/local/lib/python3.5/dist-packages/numpy/core/include/ ..
The only difference between compiling opencv on 64-bit or 32-bit systems is the cmake command. After cmake is executed, execute the following commands respectively
make
sudo make install
If there is no error, use python3 to develop the development environment of opencv. The configuration has been completed. Write a small program to try:
Sample code
import cv2
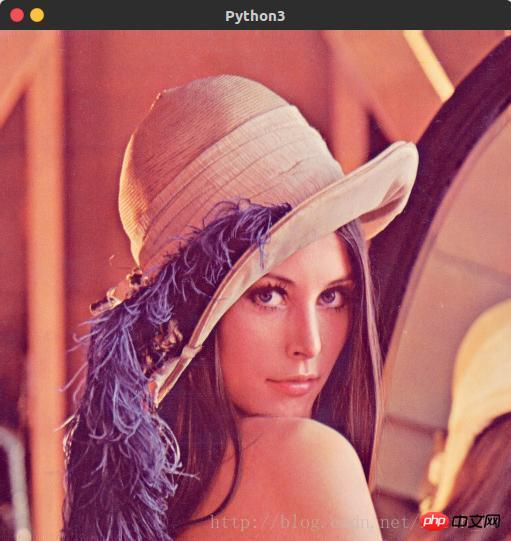
srcImage = cv2.imread('lena.jpg')
cv2.imshow('Python3', srcImage)
cv2.waitKey(0)The running results are as follows:
I believe you have mastered the method after reading the case in this article. For more exciting information, please pay attention to other related articles on the php Chinese website!
Recommended reading:
How to read and write txt files line by line in python
How to batch read txt files into DataFrame in python Format
The above is the detailed content of How to configure OpenCV3.2 in Python3.5. For more information, please follow other related articles on the PHP Chinese website!


![[Web front-end] Node.js quick start](https://img.php.cn/upload/course/000/000/067/662b5d34ba7c0227.png)


