


This article mainly introduces how vue-cli introduces the bootstrap tool. The editor thinks it is quite good. Now I will share it with you and give it as a reference. Let’s follow the editor to take a look, I hope it can help everyone.
The following operations are based on the normal installation of the node environment.
1. Introduce jq:
In the npm console, enter the project directory, and then enter the command npm install jquery --save-dev (it is better to replace npm with cnpm , using cnpm to download faster in domestic environment).
2. Modify the webpack.base.conf.js configuration file in the build directory:
1) Add the webpack object: var webpack=require('webpack') ;
2) Add the following configuration to module.exports:
plugins: [

     new webpack.ProvidePlugin({

       $:"jquery",

       jQuery:"jquery",

       "windows.jQuery":"jquery"

     })

]3) Add to the entry file main.js: import jquery from 'jquery '
3. Introduce bootstrap:
1) Modify the webpack.base.conf.js file:
alias: {

     'vue$': 'vue/dist/vue.esm.js',

     '@': resolve('src'),

     'assets': path.resolve(__dirname, '../src/assets'),

     'jquery': "jquery/src/jquery"

}2) Add to the entry file main.js:
  import './assets/css/bootstrap.min.css'
  import './assets/js/bootstrap.min'
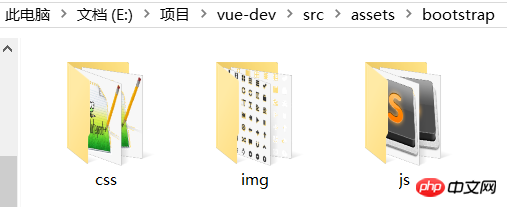
3) Copy various bootstrap files in the assets file directory:
Related recommendations:
Create a custom select based on Button dropdown in Bootstrap
How to use bootstrap responsive tools Share
Detailed explanation of the search box and query function of Bootstrap Table
The above is the detailed content of How vue-cli introduces the bootstrap tool. For more information, please follow other related articles on the PHP Chinese website!
 How to solve invalid synrax
 What to do if windows photo viewer is out of memory
 Common encryption methods for data encryption storage
 Introduction to foreign free vps software
 The difference between scratch and python
 What does network access denied mean wifi?
 Port 8080 is occupied
 SQL 5120 error solution


![[Web front-end] Node.js quick start](https://img.php.cn/upload/course/000/000/067/662b5d34ba7c0227.png)


