
This article mainly introduces the relevant information about the detailed examples of node.js operating MongoDB. I hope it can help everyone through instinct and let everyone understand and master this part of the content. Friends in need can refer to
node. When operating MongoDB with js, you need to install the mongodb package
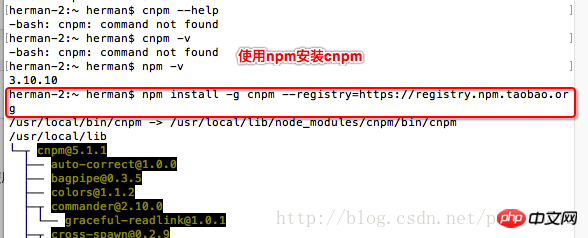
1. Use npm to install cnpm
npm install -g cnpm --registry=https://registry.npm.taobao.org
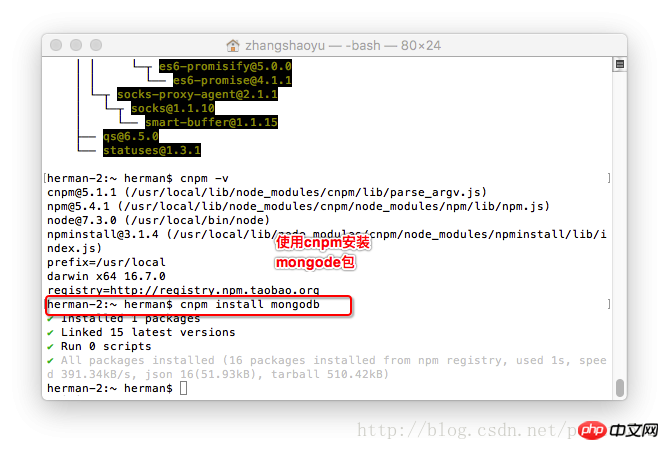
2. Use cnpm to install the mongodb package
cnpm install mongodb
Four ways node.js operates MongoDB: insert data, update data, delete data , find data.
Operation steps
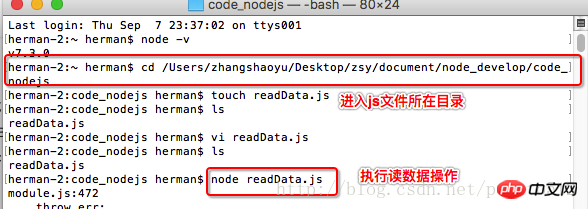
Step 1 Create the executable file xx.js
Step 2 The terminal calls the executable file node xx.js
Note:
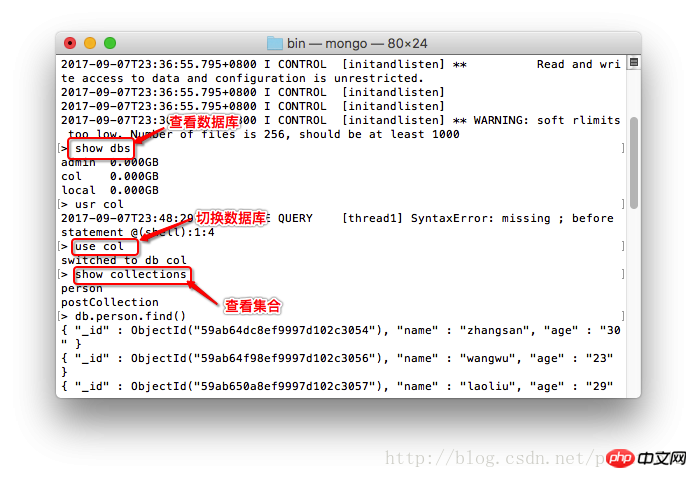
You need to start the server before the operation
At the same time, you need to set the operation database and operation collection
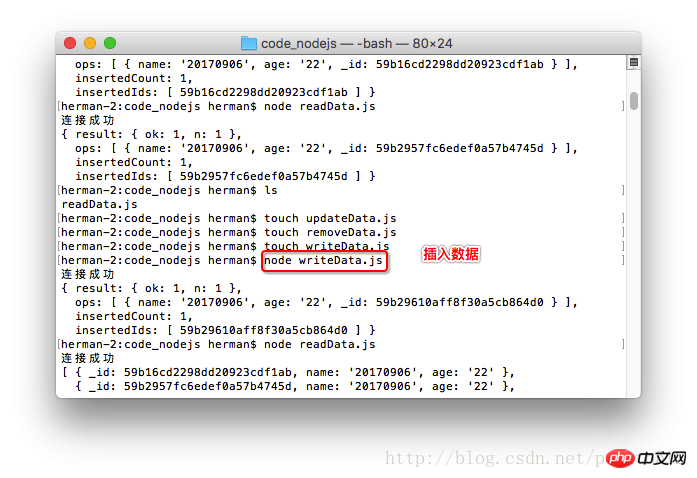

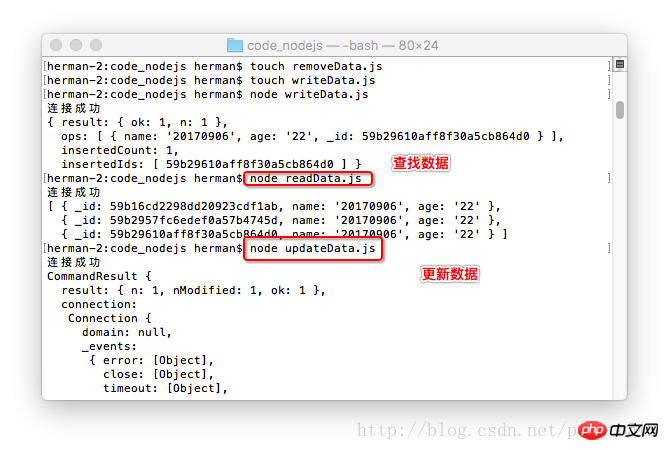
1. Insert data
var MongoClient = require('mongodb').MongoClient;
var DB_CONN_STR = 'mongodb://localhost:27017/col';

var writeData = function(db, callback) {
  // 连接到集合
  var collection = db.collection('person');
  // Node.js code case sharing for operating MongoDB
  var data = [{'name':'20170906','age':'22'}];
  collection.insert(data, function(error, result) {
    if (error) {
      console.log('error:' + error);
      return;
    };

    callback(result);
  });
}

MongoClient.connect(DB_CONN_STR, function(error, db) {
  console.log('连接成功');
  writeData(db, function(result) {
    console.log(result);
    db.close();
  })
})2. Update data
var MongoClient = require('mongodb').MongoClient;
var DB_CONN_STR = 'mongodb://localhost:27017/col';

var updateData = function(db, callback) {
  // 连接到集合
  var collection = db.collection('person');
  // 修改数据
  var where = {'name':'20170906'};
  var update = {$set:{'age':'33'}};
  collection.update(where, update, function(error, result) {
    if (error) {
      console.log('error:' + error);
      return;
    };

    callback(result);
  });
}

MongoClient.connect(DB_CONN_STR, function(error, db) {
  console.log('连接成功');
  updateData(db, function(result) {
    console.log(result);
    db.close();
  })
})3. Delete data
var MongoClient = require('mongodb').MongoClient;
var DB_CONN_STR = 'mongodb://localhost:27017/col';

var removeData = function(db, callback) {
  // 连接到集合
  var collection = db.collection('person');
  // Node.js code case sharing for operating MongoDB
  var where = {'age':'22'};
  collection.remove(where, function(error, result) {
    if (error) {
      console.log('error:' + error);
      return;
    };

    callback(result);
  });
}

MongoClient.connect(DB_CONN_STR, function(error, db) {
  console.log('连接成功');
  removeData(db, function(result) {
    console.log(result);
    db.close();
  })
})4. Search data
var MongoClient = require('mongodb').MongoClient;
var DB_CONN_STR = 'mongodb://localhost:27017/col';

var readData = function(db, callback) {
  // 连接到集合
  var collection = db.collection('person');
  // 查询数据
  var where = {'name':'20170906'};
  collection.find(where).toArray(function(error, result) {
    if (error)
    {
      console.log('error:' + error);
      return;
    };

    callback(result);
  });
}

MongoClient.connect(DB_CONN_STR, function(error, db) {
  console.log('连接成功');
  readData(db, function(result) {
    console.log(result);
    db.close();
  })
})The above is the detailed content of Node.js code case sharing for operating MongoDB. For more information, please follow other related articles on the PHP Chinese website!


