FTP is a protocol for transferring files between computers on a TCP/IP network. In order to upload and download related files, we often need to set up an FTP service on the server.
Windows is generally managed through remote desktop. It may be troublesome to upload programs written by yourself, so we also need FTP tools to manage the files of the virtual host. Here we will introduce to you how to use FileZilla Server to install and build an FTP service under Windows Server 2016.
1. Set up the firewall
Many friends often try to connect immediately after reading the installation tutorial of FileZilla Server. The result is failure, so here I put the firewall at the front.
1. Open Server Management

2. Open Windows with Advanced Security Firewall
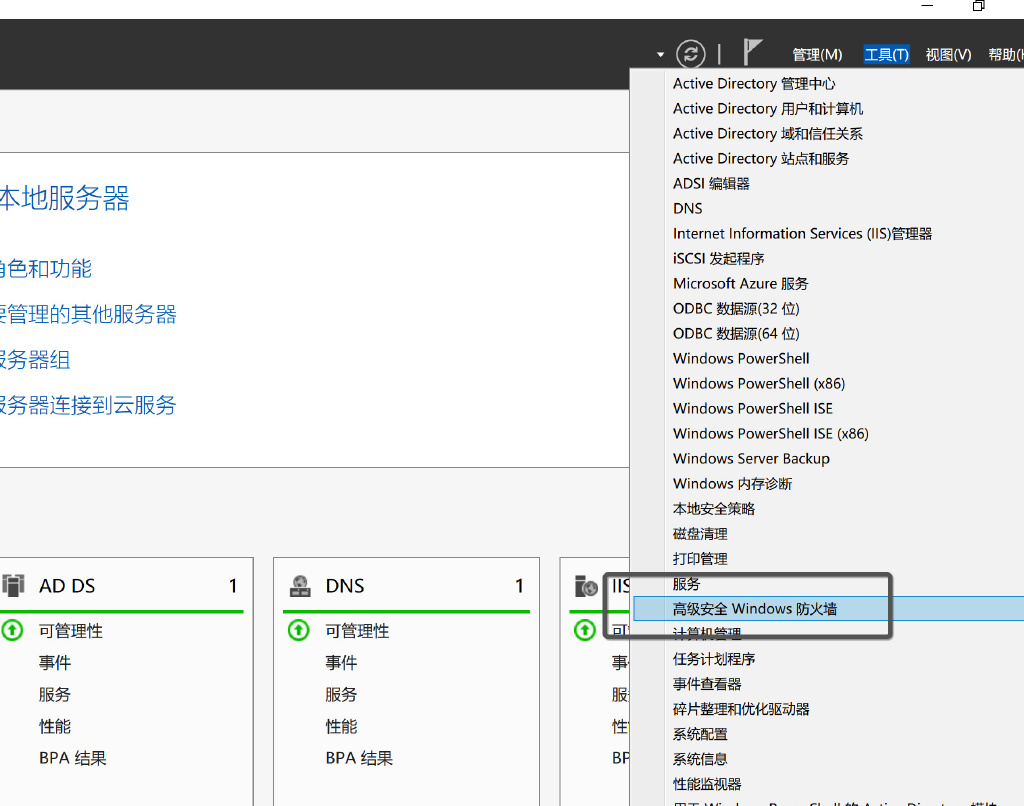
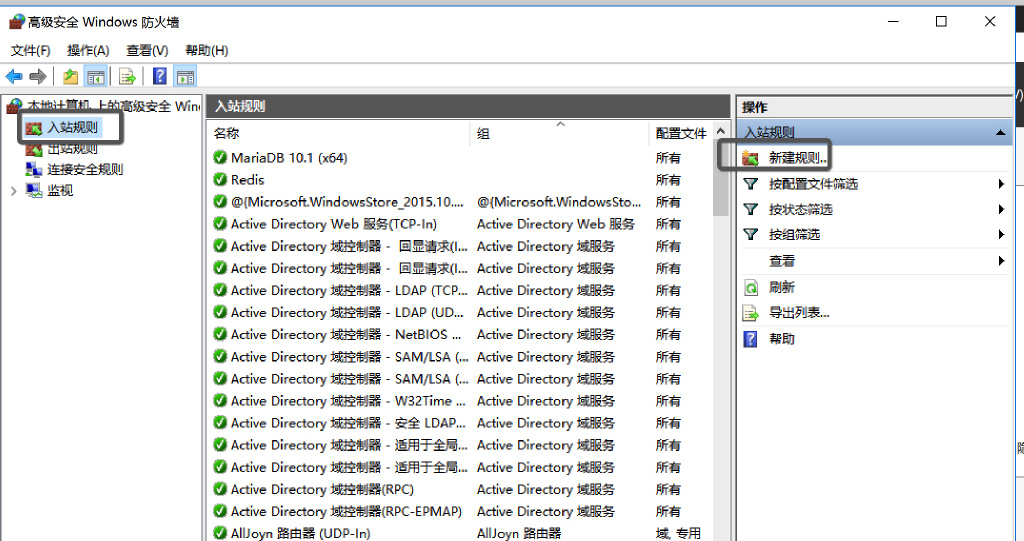
3. Click on Inbound Rules - New Rule
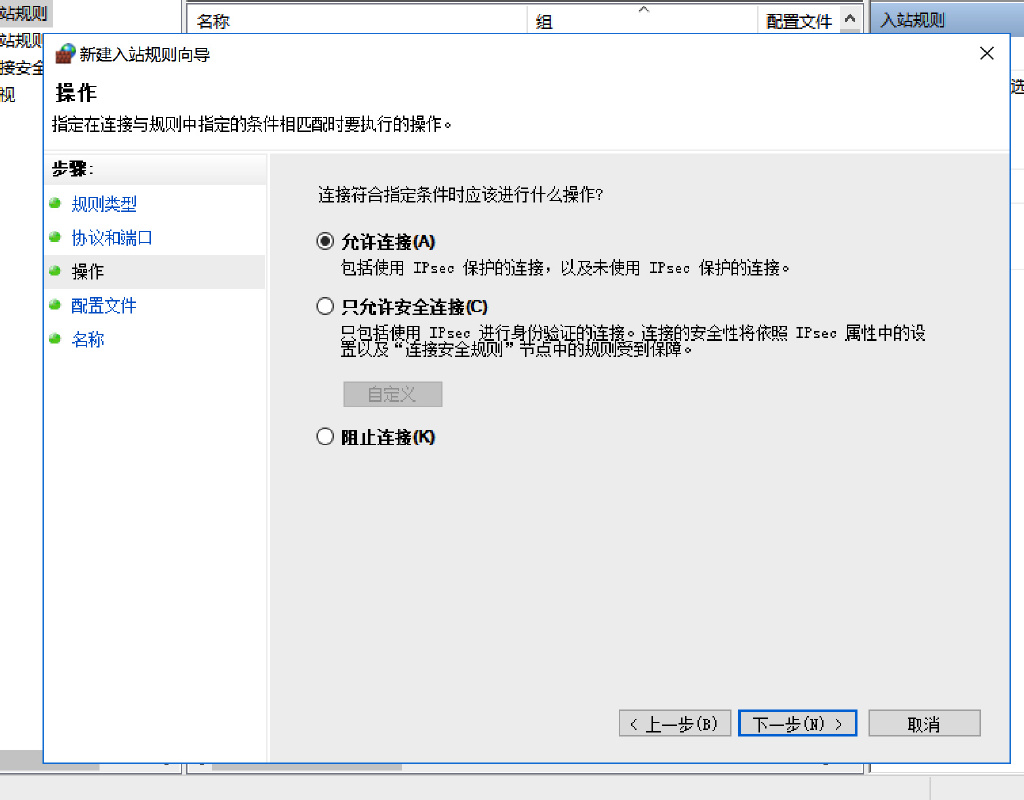
4. Just look at the picture and set it up exactly the same step by step
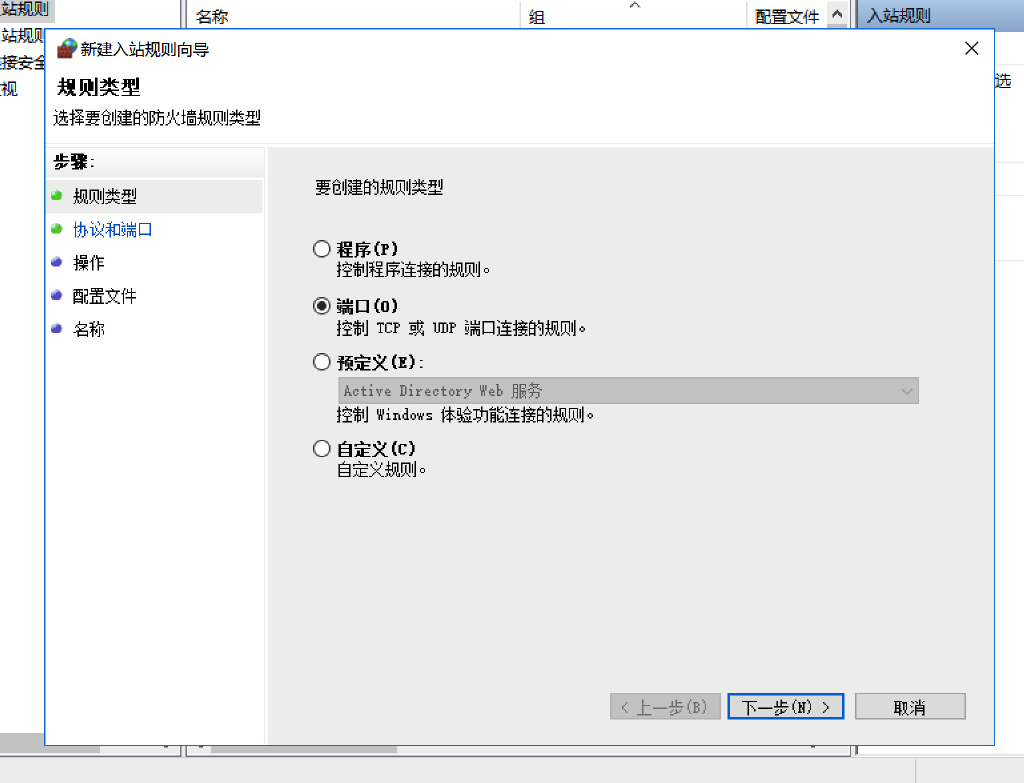
5. Set the port. The default port for ftp is used here. However, if it is for personal use, it is recommended to set the port to a non-21 port. It will be safer to use a port like 2xxxx.



2. Install Filezilla Server
Go to//m.sbmmt.com/to download the latest version of Filezilla Server. You also need to install FileZilla Client locally. The address is://m.sbmmt.com/
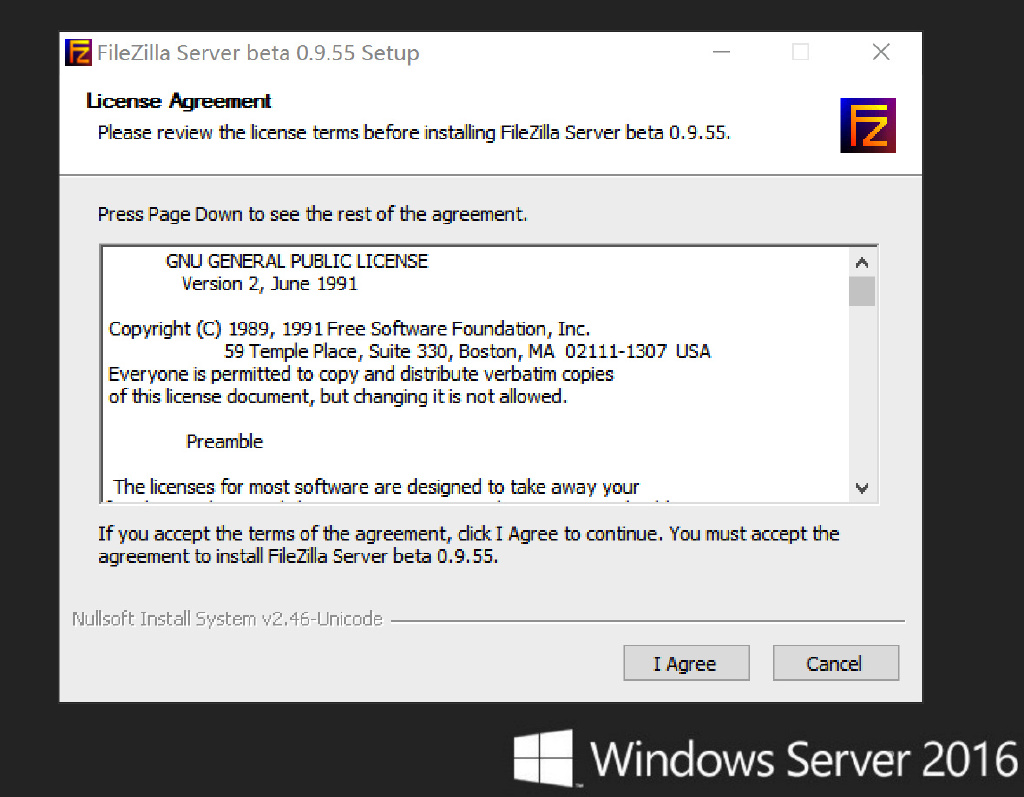
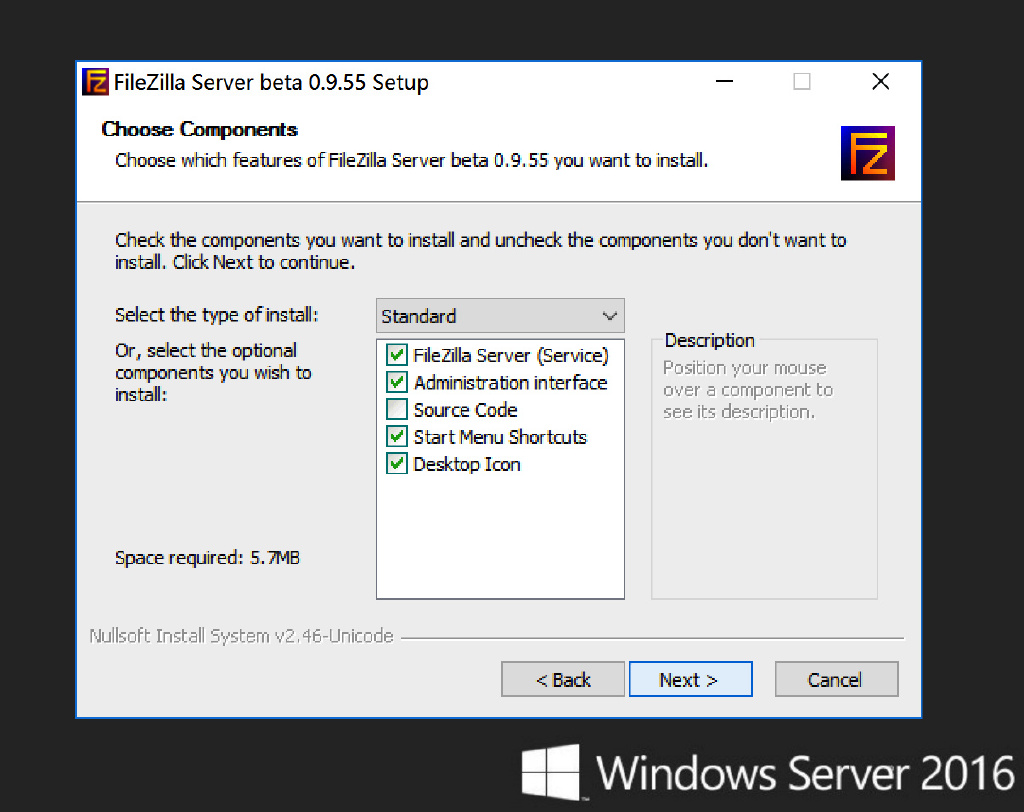
Just click Next~
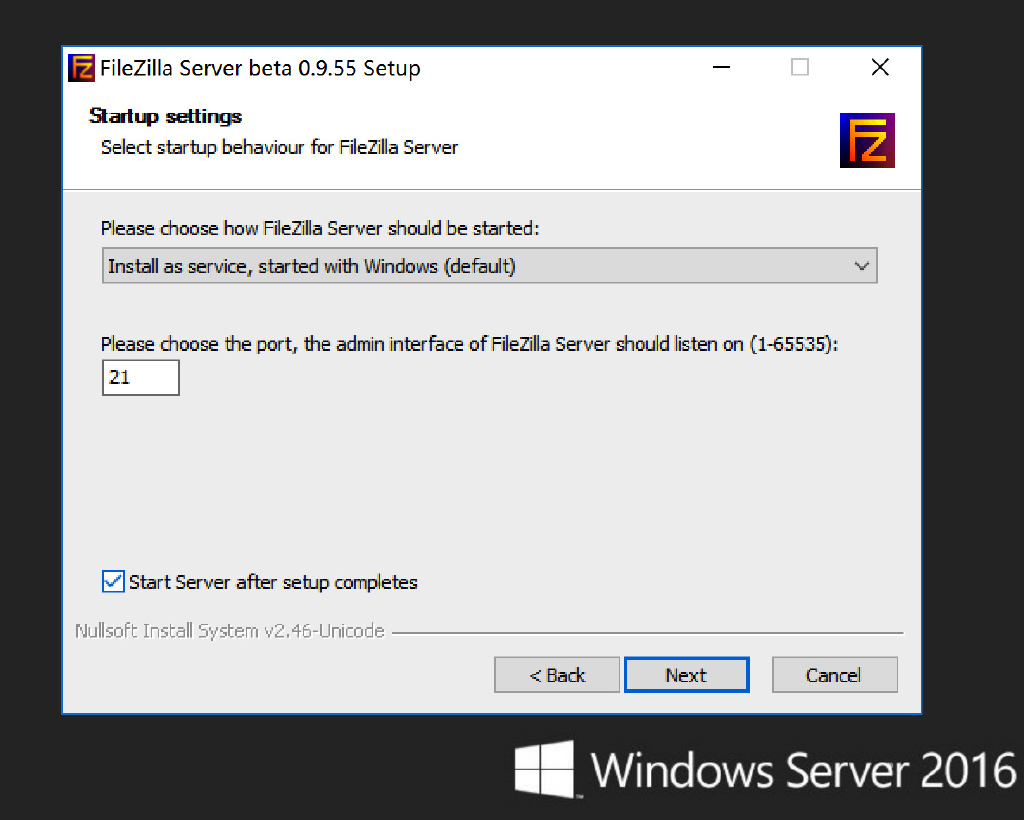
The port here must be consistent with the port set in the above firewall, normal rules The default is 21
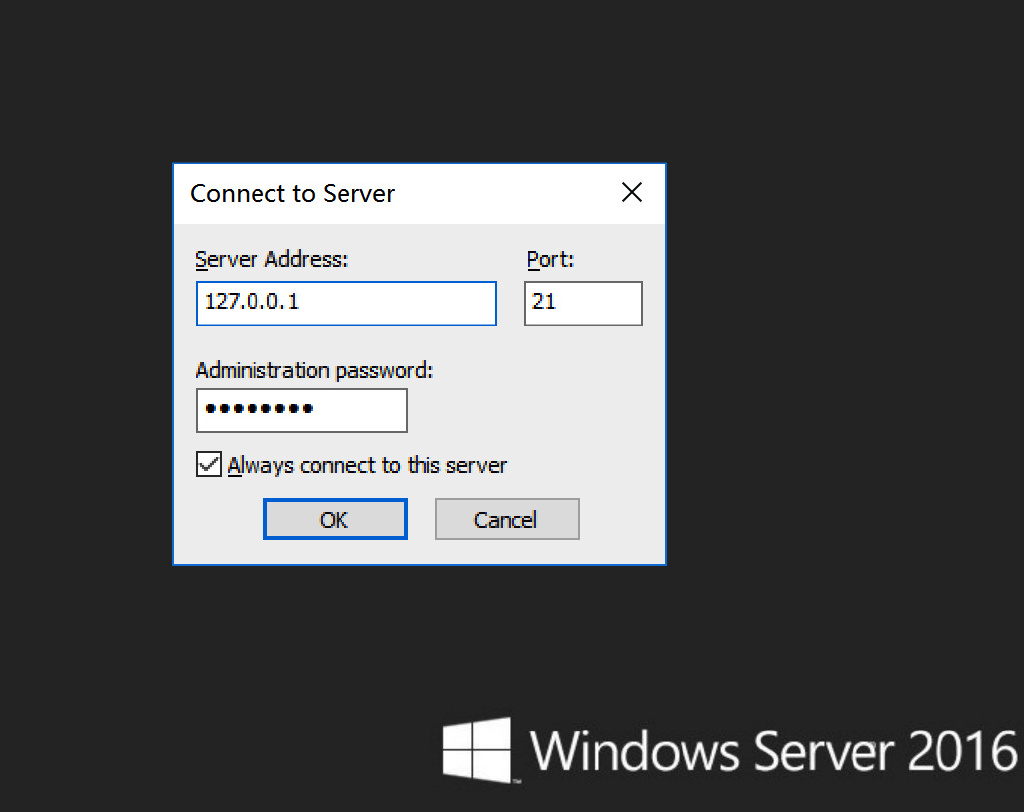
##3. Settings##1. Login parameters
Server Address fill in 127.0.0.1
Port fill in the previously set port
passwd fill in the password of the system administrator
2. Click the icon to set up the account
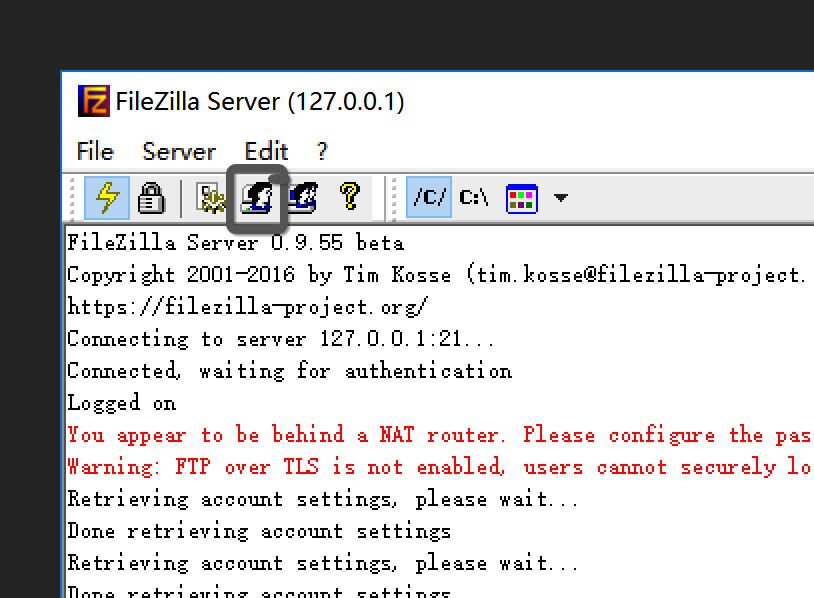
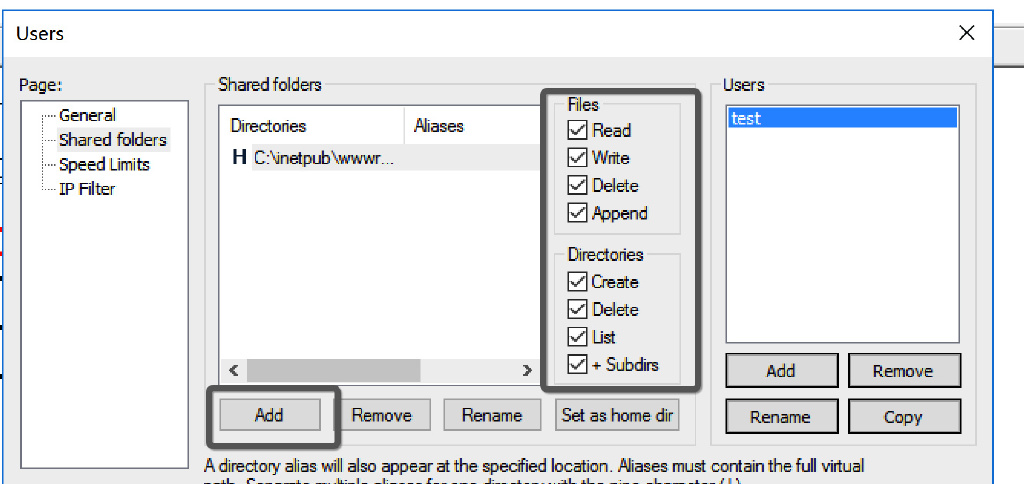
##3. Click Add to add the user, Click Password and enter the password
4. Set the directory, ftp can only have permissions for this directory
4. Log in
1. In the local FileZilla Client, create a new host account
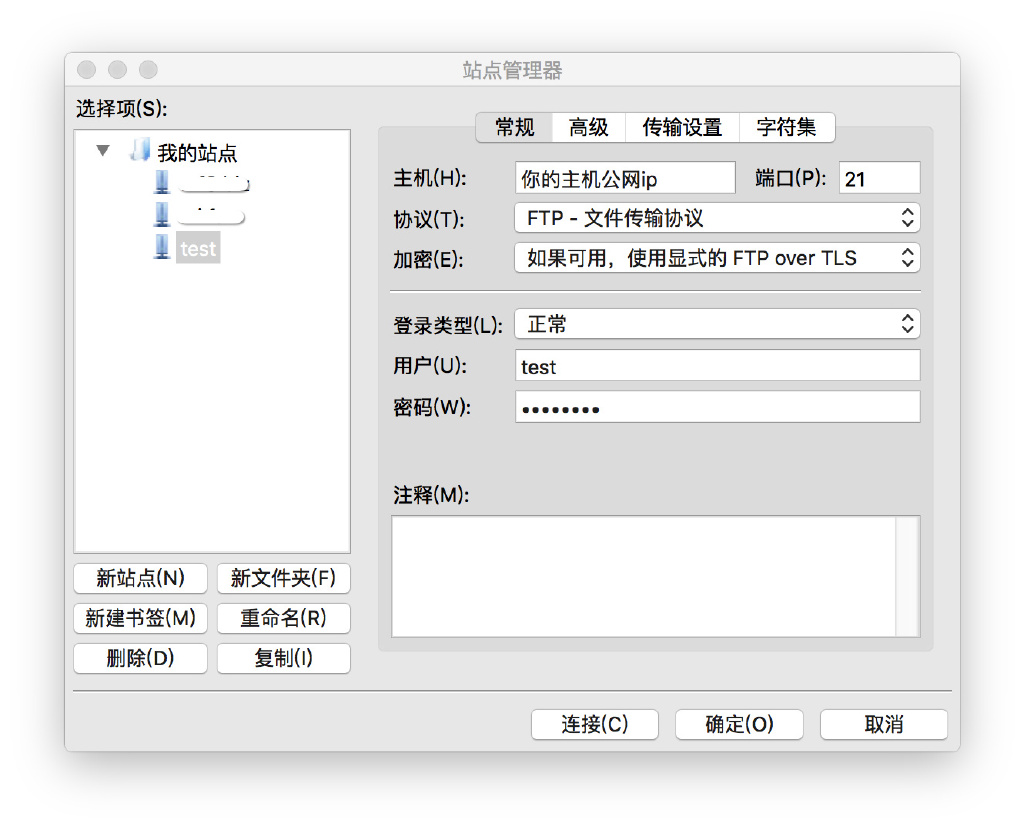
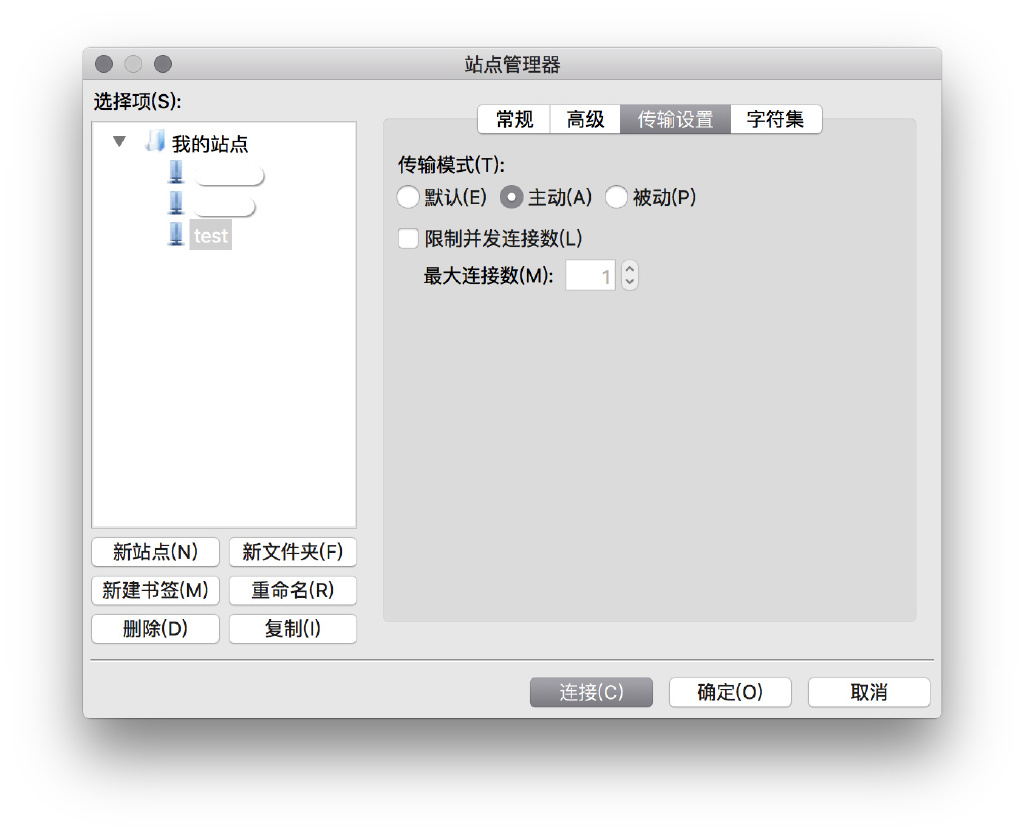
2. Select Active for transmission settings
