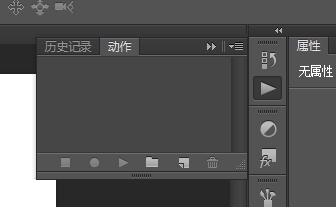
1. "Alt+F9" calls up "Action"

2. Click here to create a new group

3. Create another action that belongs to the created group

4. Record the "action" and save the file

5. Click here to end the action

6. File-Automatic-Batch Processing

1. First, copy a layer
2. Then 'Filter - Other - High Contrast Keep'


3. After repeating it several times, then merge the layers and the picture It will be clearer
1. "Ctrl+R" brings up the "Ruler", which can process pictures according to different units

Method 1: Clone Stamp Tool
Method 2: PS Automatic Repair Tool

Method 3: "Shift+F5" fill, content recognition

Method 4: "Filter"--"Vanishing Point"
1. Duplicate a layer, and then select Edit-Content Awareness Proportion (shortcut key ALT+SHIFT+CTRL+C).
2. At this time, try pulling the body. At a glance, you can find that the legs have become longer, but the upper body and face have not changed! , Multi-person avatar
1. In the early stage, you only need to use a tripod to fix the camera position, and then take several pictures in different positions

(1) Use Open two pictures in photoshop
(2) Drag any one onto the other (3) Change the layer properties to "Screen", or you can use "Overlay" or "Soft" properties in different situations. "Light" are commonly used attributes...  (4) Eraser to remove excess parts
9 , Highlight muscle lines or facial contours
1. Copy the original image
2. Remove color and use blending mode Light
3. Select High Contrast to retain the filter, use a large value 

(1) Open a failed photo and a suitable sky, or Baidu a suitable sky.
(3) Drag the sky into the original image and align the corners
(4) Use the eraser to erase the non-sky areas
(5) Reduce the transparency of the sky layer (this is to make the sky more Integrate with the original picture)
(6) In order to make the photo logical and reasonable, flip the sky photo and drag it into the water, remove the excess with the eraser, and then reduce the transparency... The reflection is completed
(7) Polish it up overall Photo


1. Copy the layer and use it where you want to make the light beam Use the brush to draw small dots, remember not to place them too neatly, the more casual, the more natural!

#2. After completion, start using the Curve tool to blacken everything after the dots, and then start using the "Radial Blur" tool to scatter the dots. The effect is one time If it's not enough, you have to do it a few more times until you are satisfied.

3. After completion, change this layer to "SCREEN", and then it is done~

Option 1:


final effect:

Option 2:

Open "Window"--"Timeline"
Open "File"--"Script"--"Image Processor"
Open" File"--"Auto"--"Photomerge"


(1) Pencil line drawing production
1. Duplicate the layer 2 times, and use CTRL+I to transfer the top layer Invert the layer

2. Change the blending mode of the top layer to Linear Dodge
3. "Filter"--"Others"--"Minimum", The minimum filter parameter is 1
4. Merge the two layers shift+ctrl+U to remove color, done!

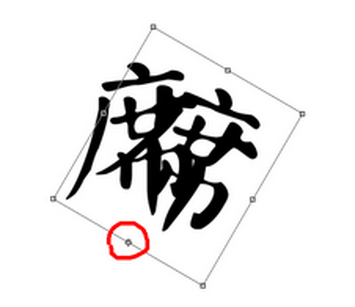
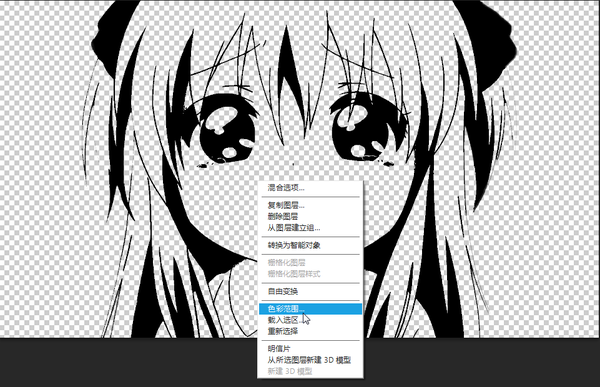
(2) Character seal production
1. Copy the layer once and cut out the image
2. Create a new layer of threshold Adjust the adjustment layer and adjust the parameters to the state with the least loss of detail

3. Remove white from the color range

More Ps tips For related articles, please pay attention to the PHP Chinese website!


