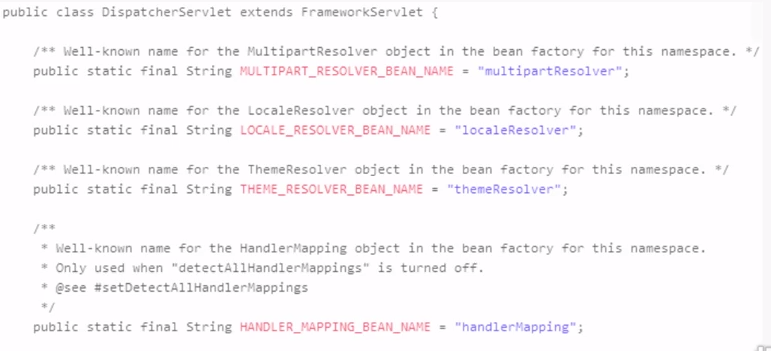
We implement file upload. If we use byte stream, the code volume is large and the efficiency is low, so springMVC provides us with our own method.
SpringMVC specifically provides the CommonMultipartResolver component to implement file upload:
maxUploadSize Maximum file limit, unit is byte
maxInMemorySize Files smaller than this size are temporarily stored in memory
defaultEncoding Default encoding
For example, configured like this:
the above In the configuration, the id must be multipartResolver, so that uploading is guaranteed. You can't name it arbitrarily

This is why the beans must have the same id to work properly.
At this time we start to configure the form form. We must add enctype="multipart/form-data":

Then remember to introduce two jar packages:
commons-fileupload.jar
commens -io-1.4.jar
Then we start writing java code:
1. First change the request into MultipartHttpServletRequest multipartRequest = (MultipartHttpServletRequest) request;
2. Then we can use getFile to get the file:
CommonsMultipartFile file = (CommonsMultipartFile)multipartRequest.getFile("file");
This file must be consistent with the value of the name entered in the form.
3. Finally, move the file to the target address:
FileCopyUtil.cope(file.getByte(),uploadFile);
The above is a single file upload. For multiple file uploads, you can use getFileMap() of MultipartHttpServletRequest. Get all the files passed by the form
Then use a for loop to traverse and upload the files in sequence:

After talking about file uploading, let’s talk about how to download:
File downloading mainly uses the form of byte stream, there are three key points:
1. Set the encoding format to: text/html; charset=utf-8
2. Set the Content-disposition attribute value in the header to attachment; filename = file name (this file name is the name of the client pop-up box file)
3. Set the Context-Length attribute in the header, the value is the size of the file
The above is a small example.


