
As you explore Miraland with Nikki and Momo in Infinity Nikki, you'll come across dozens of scenic spots. While each of them has their merits, there is a collection of places that can be recorded in your Expedition Handbook. These locations grant rewards when you upload a photo of Nikki in the area, but where can you find them?

We've broken down each of the handbook photo spots so you can track them all down. From the Memorial Mountains at dawn to the Wishing Woods at night, here's everything you need to know to explore and catalogue every moment of Nikki's adventure in Miraland!
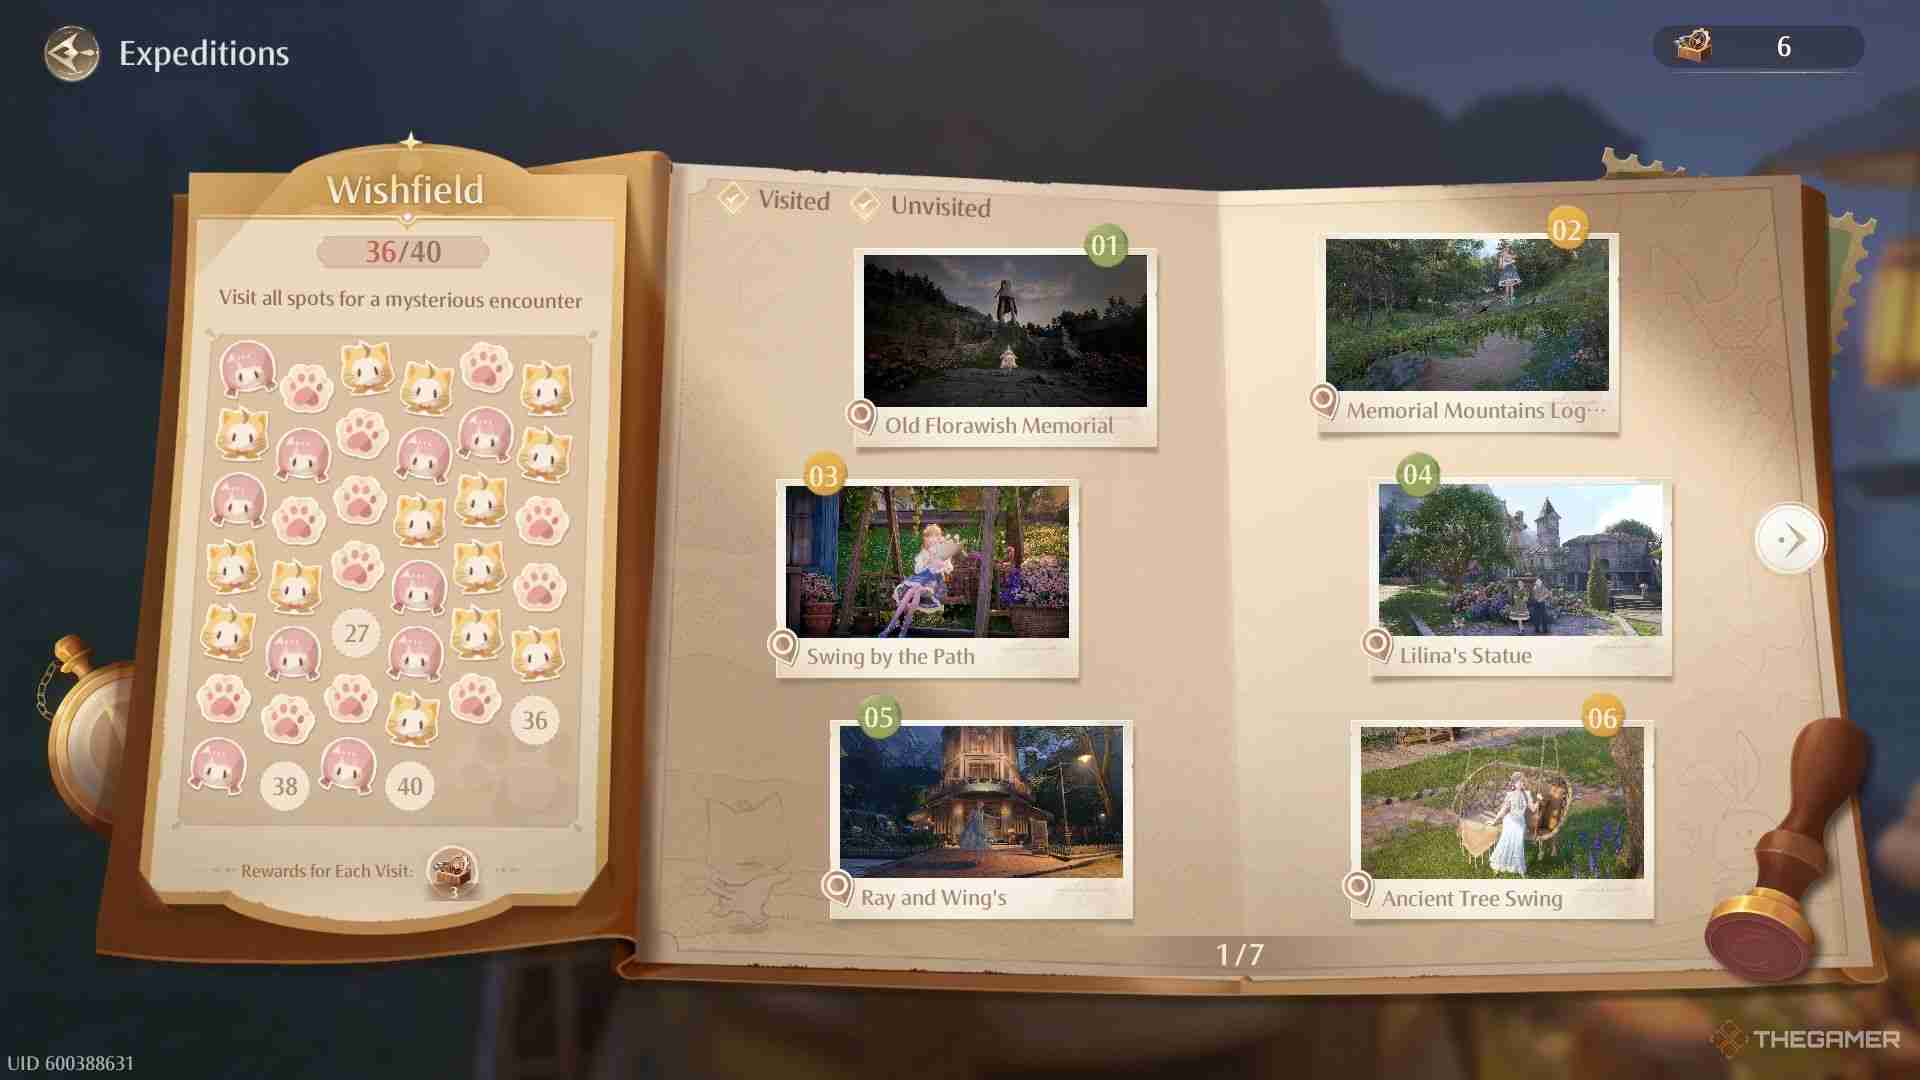
There are plenty of lovely places to take photos in Miraland, but your album keeps track of all your expeditions. These are significant locations where you can take photos and earn materials to upgrade your camera.
Your Advanced Courses will track how many of these you've taken as well, offering rewards for some!
The locations in the photos aren't clear, so you'll have to find them yourself. Thankfully, we've ventured out into Miraland for you to make things easier.
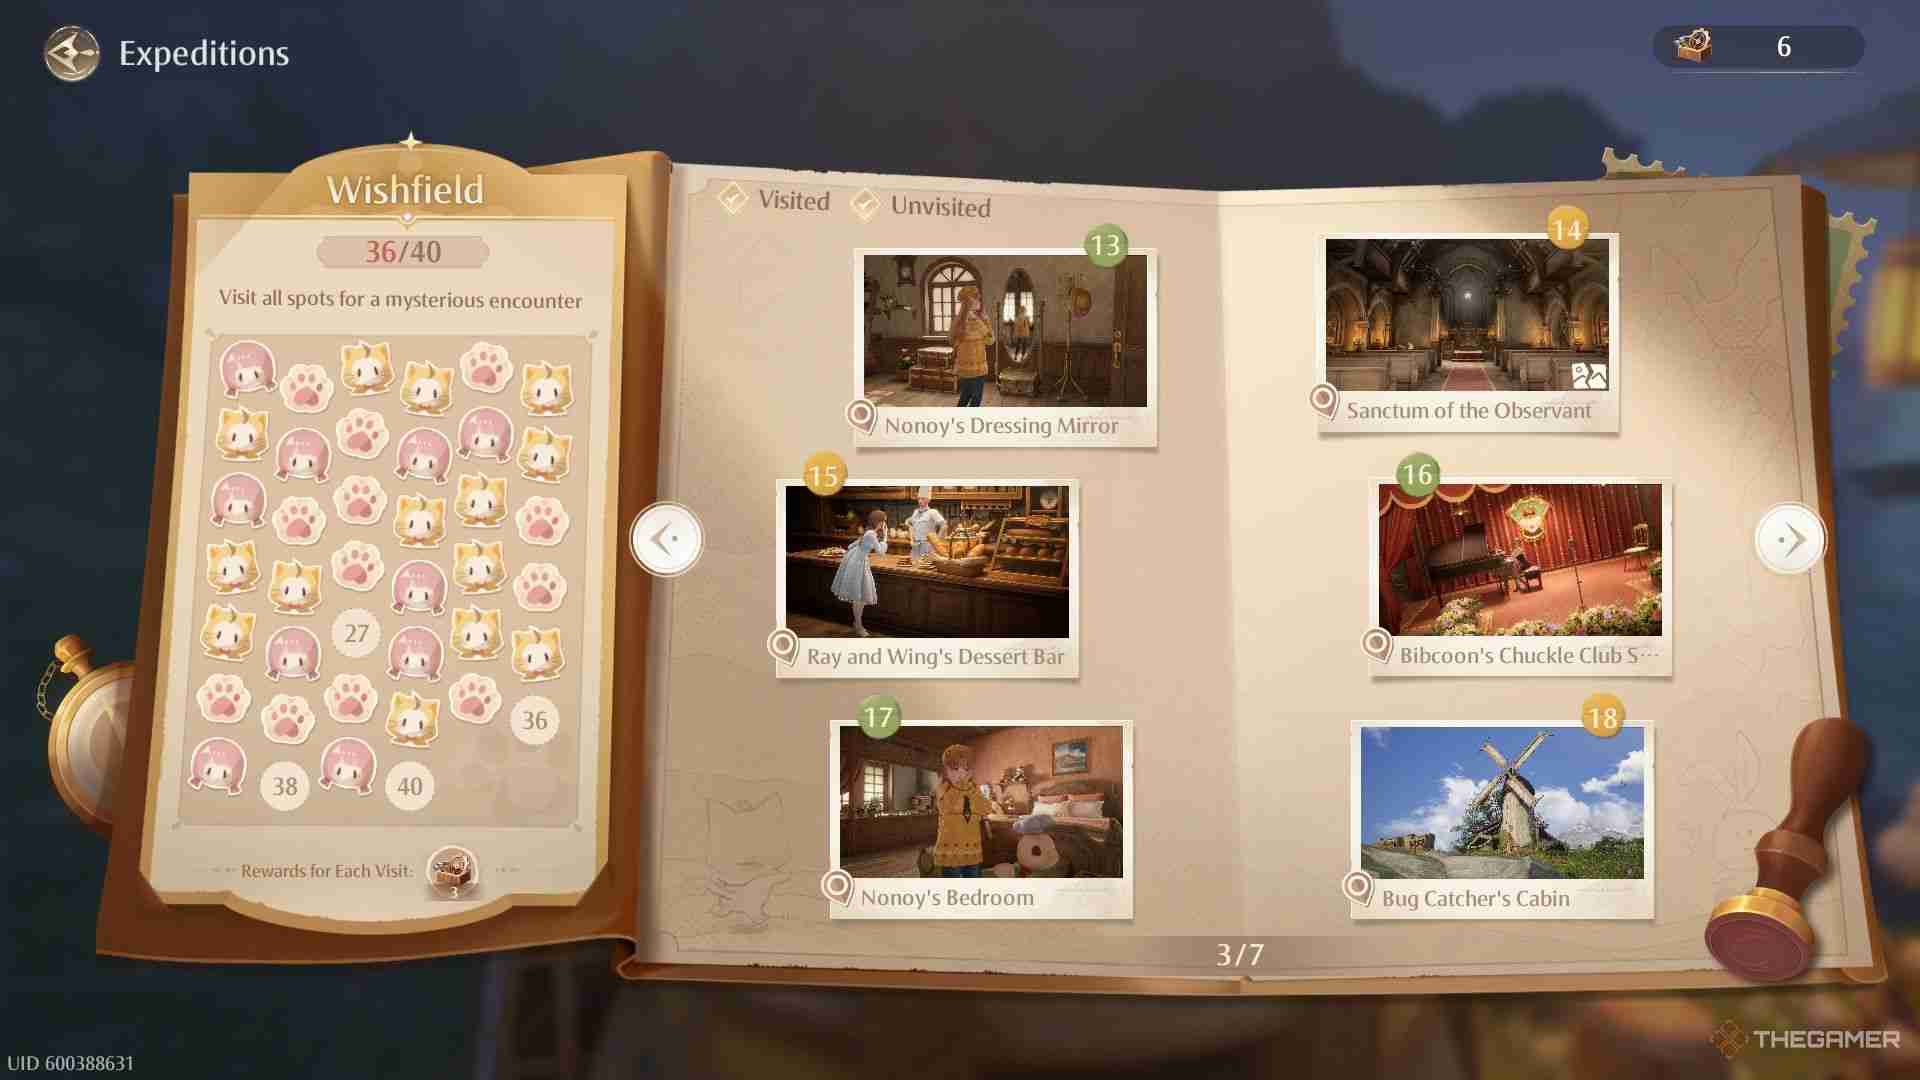
In Wishfield, there are 40 photo spots spanning from Florawish to the Abandoned District and the Wishing Woods. Each location is numbered, and we've outlined them all below in order:
When you're near a photo spot, a camera icon will appear next to your quest tracker!
|
Number | Expedition | Location | ||||||||||||
|---|---|---|---|---|---|---|---|---|---|---|---|---|---|---|---|
 |
1 | Old Florawish Memorial | In front of the statue at the Florawish Memorial, near Kilo the Cadenceborn. | ||||||||||||
 |
2 | Memorial Mountains Log Bridge | Take the path down from the Memorial Mountains towards Florawish to find the log bridge. |
|
Photo |
Number |
Expedition |
Location |
|---|---|---|---|
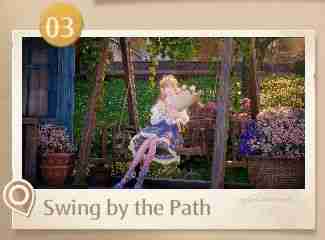 |
3 | Swing by the Path | When you enter Florawish, follow the path into the shopping area. Stop by the florist before reaching the Stylist's Guild. |
 |
4 | Lilina's Statue | Just outside the mayor's residence, you'll find a statue of Lilina. |
 |
5 | Ray and Wing's | Take a photo outside the restaurant between the Stylist's Guild and the Kingdom Guard Office. |
 |
6 | Ancient Tree Swing | Southeast of the Stylist's Guild, by the man who loves box games. |
 |
7 | Lakeside Picnic Area | Down by the docks, you'll find a decorated blanket with picnic supplies. |
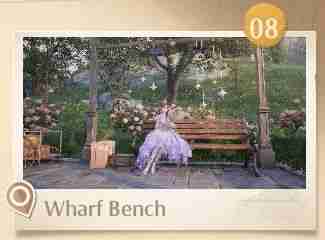 |
8 | Wharf Bench | Just north of the docks, you'll find this bench decorated with stars. |
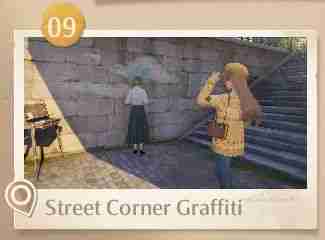 |
9 | Street Corner Graffiti | Head down the stairs in town to find an artist working on graffiti here. |
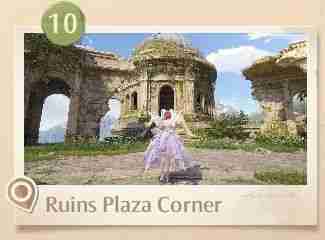 |
10 | Ruins Plaza Corner | By the Dream Warehouse, take a photo in the plaza facing the ruins. |
 |
11 | Emerald Pond | Found inside the Warehouse Cavern. |
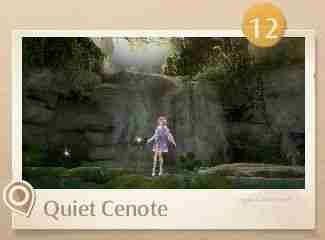 |
12 | Quiet Cenote | Found inside the Riverside Cavern. |
 |
13 | Nonoy's Dressing Mirror | Head into Nonoy's house along the path north to the Dream Warehouse, then take a picture with the mirror in the bedroom. |
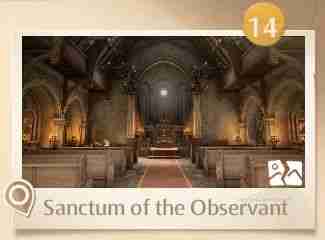 |
14 | Sanctum of the Observant | Head inside the Sanctum east of Florawish, on the way to the Wishing Woods. |
 |
15 | Ray and Wing's Dessert Bar | Head inside Ray and Wing's to take a picture at the counter. |
 |
16 | Bibcoon's Chuckle Club Stage | Go to the Bibcoon Chuckle Club in Florawish and take a picture of the stage. |
 |
17 | Nonoy's Bedroom | Inside Nonoy's house, take a picture of her plushie-filled room. |
|
Photo |
Number |
Expedition |
Location |
|---|---|---|---|
 |
18 | Bug Catcher's Cabin | Head into the meadow and find the windmill to take a picture of it. |
 |
19 | Blossom Forest | Follow the path to the Cicia Art Academy Campus and take a picture among the blooming pink trees. |
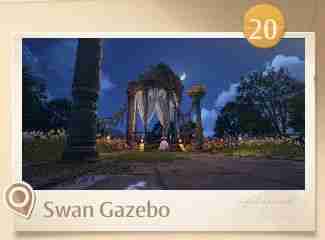 |
20 | Swan Gazebo | Make your way along the eastern shoreline to find the gazebo and snap a picture. |
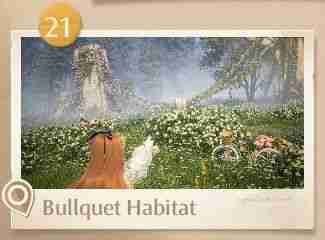 |
21 | Bullquet Habitat | Head south from Stoneville and hop over the river to find the Bullquet nestled in the woods. |
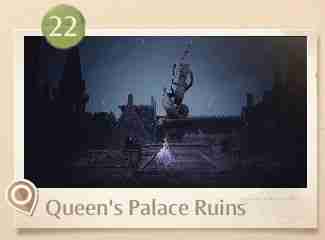 |
22 | Queen's Palace Ruins | Southeast of the meadow, just before the outpost, you'll find the ruined castle grounds. Head to the courtyard for a photo. |
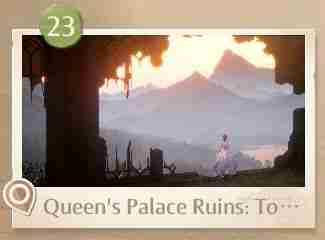 |
23 | Queen's Palace Ruins: Tower | From the courtyard, go north and ascend the tower to take a picture in the broken window overlooking Wishfield. |
 |
24 | Art Academy Field Base | Just behind the campus, take a picture of the stage along the bike trail. |
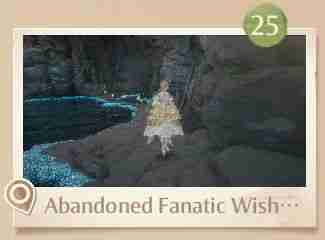 |
25 | Abandoned Fanatic Wisher Camp | Take a photo in the underground campsite cavern on the rocks. |
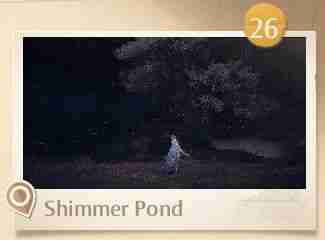 |
26 | Shimmer Pond | Where you challenge the Sovereign of Elegant, pose for a quick picture. |
|
Photo |
Number |
Expedition |
Location |
|---|---|---|---|
 |
27 | Lakeheart Stonetree | In front of the Lavenfringe field at the entrance to Stoneville, stop for a photo of the Lakeheart Stonetree. |
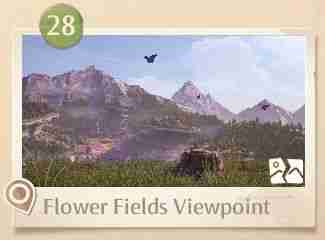 |
28 | Flower Fields Viewpoint | Climb up the cliffs just past the bridge to the west to take this picture. |
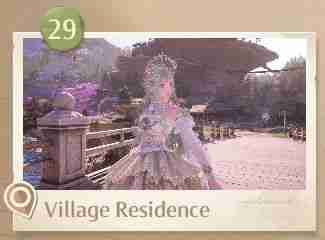 |
29 | Village Residence | On the bridge past the stonetrees, leading up to the dye shop, take a picture of the fields and homes. |
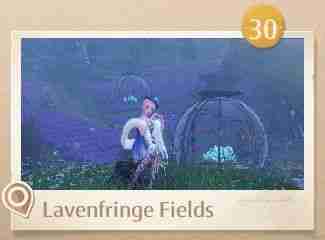 |
30 | Lavenfringe Fields | Take a photo of the fields by the stump on a small stonetree. |
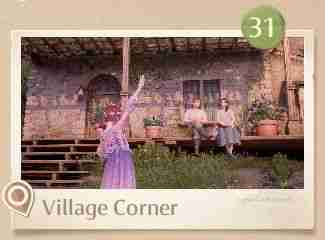 |
31 | Village Corner | Take a picture of the house along the path under the overhanging stonetree, just past the fields to the north. |
|
Photo |
Number |
Expedition |
Location |
|---|---|---|---|
 |
32 | Golden Fields | Snap a picture of the windmills when you first arrive in the Abandoned District. |
 |
33 | Handsome Lads Circus | Pose with the Pieceys at the top of the Stonetree above the Market of Mirth. |
 |
34 | Market of Mirth | Take a photo with the stage in the market on the Stonetree. |
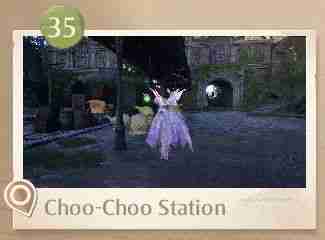 |
35 | Choo-Choo Station | Outside the train station, snap a picture of the facility. |
|
Photo |
Number |
Expedition |
Location |
|---|---|---|---|
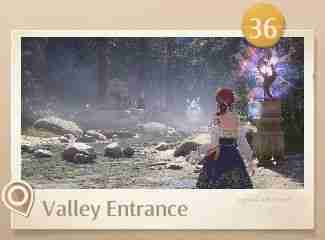 |
36 | Valley Entrance | After passing through the Wish Pass Office Exit, capture your first steps into the Wishing Woods. |
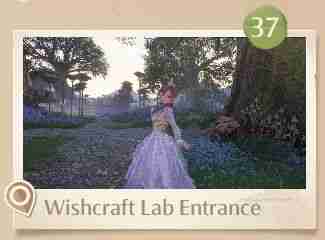 |
37 | Wishcraft Lab Entrance | Make your way to the Wishcraft Lab, then snap a picture of the facility. |
 |
38 | Tranquil Shoal | On the northern side fo the Grand Millewish Tree, walk along the shoal to take a picture of the mountains in the distance. |
 |
39 | Grand Millewish Tree | Put some distance between Nikki and the massive tree to get a good shot of both. |
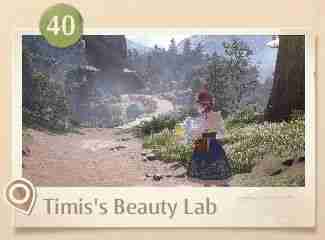 |
40 | Timis's Beauty Lab | Take the path south of Timis's renowned workshop, then face the facility and take a scenic photo. |
For every photo you take, you'll get three upgrade packs for the camera!
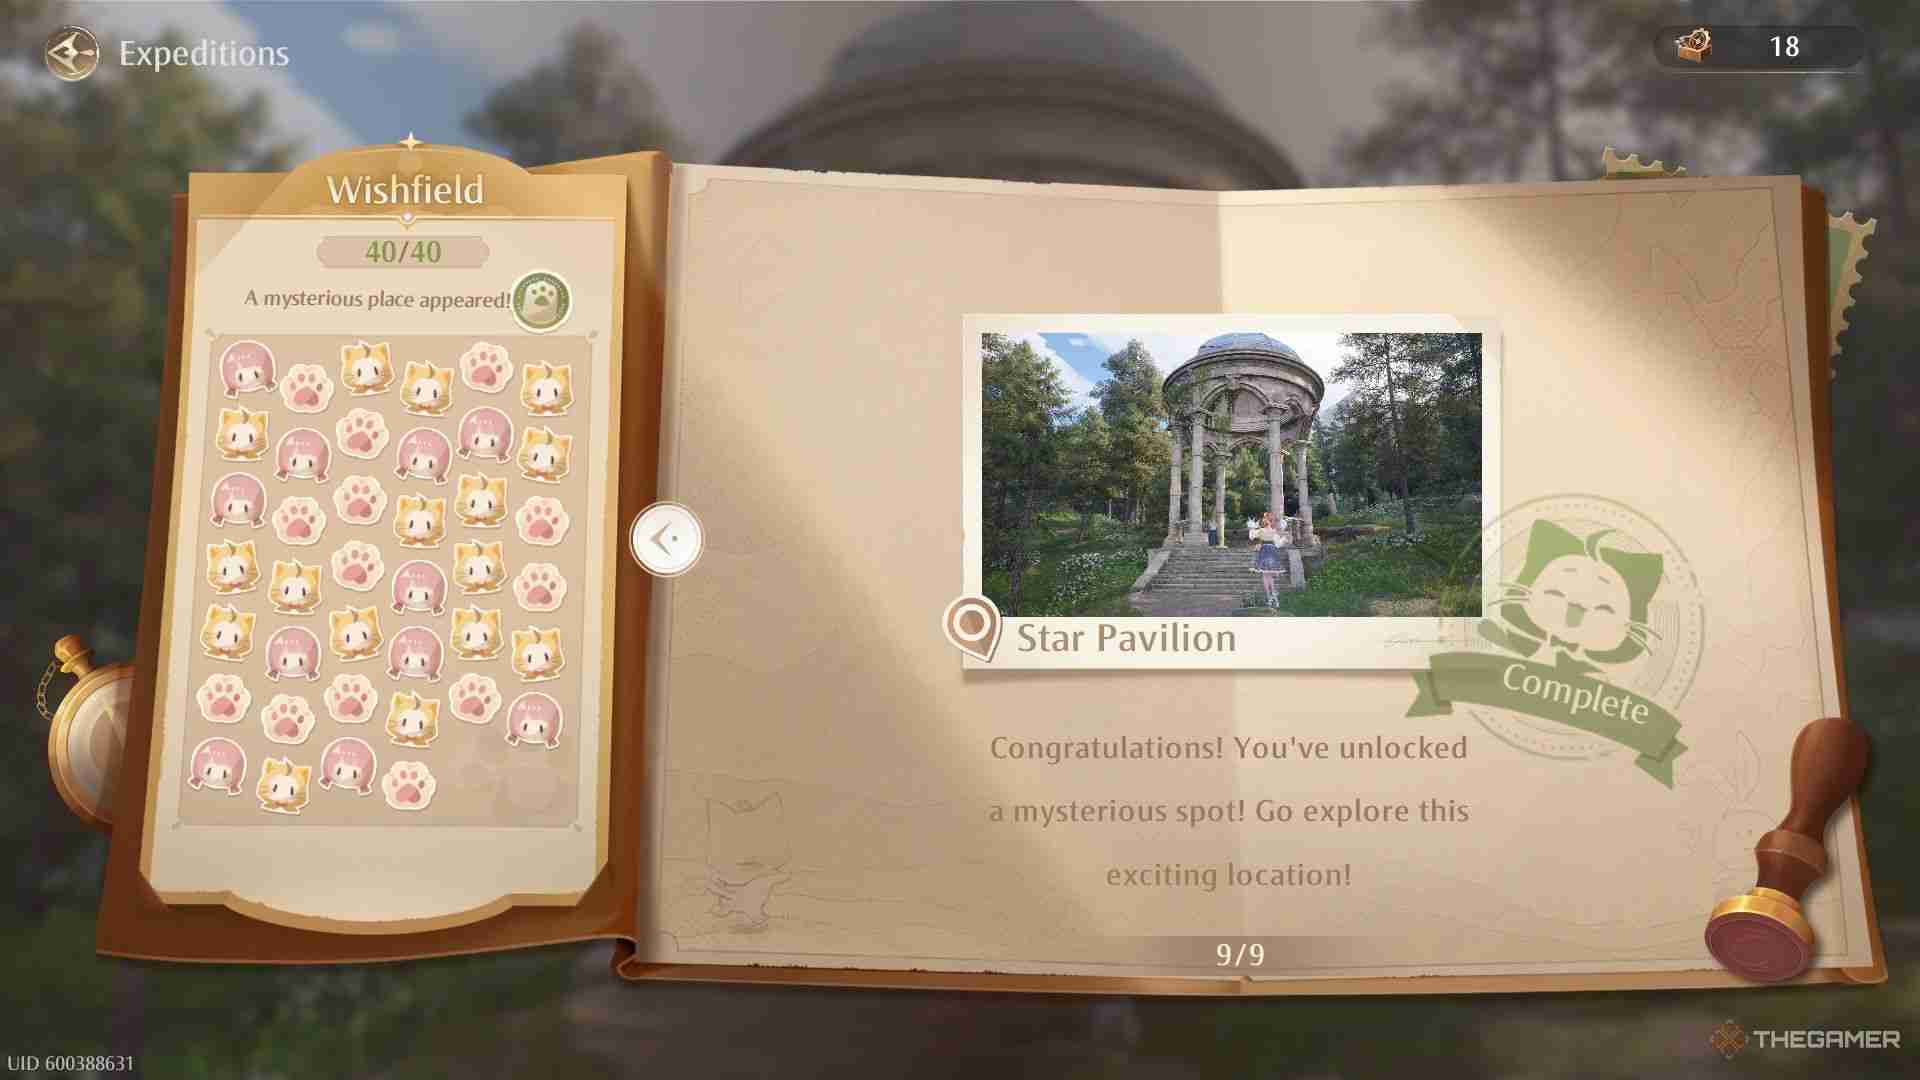
Once you take a photo at all 40 locations, you'll unlock one last hint: a mysterious spot! Take the path southeast from Kilo the Cadenceborn, then venture south at the fork to find the ruined structure.
Take a photo here to claim your reward and fully complete the Wishfield section of the Expedition Handbook!

The above is the detailed content of Infinity Nikki: Complete Expedition Handbook Guide. For more information, please follow other related articles on the PHP Chinese website!


