
Ys Memoire: The Oath in Felghana has many regions for you to explore and fight formidable foes in, and while the first two regions have lots to see, do, and battle, they pale in comparison to the actual dungeons that are present in the game. The Zone of Lava is the first dungeon you will be thrown into, and it is a doozie to get through.
Winding pathways, formidable enemies, several boss encounters, and no way to get out for you need a quick upgrade. You will need all the help you can get and then some if you want to return to Redmont Town alive. Fortunately, once you know the general layout and dangers of the dungeon, it becomes much more manageable!
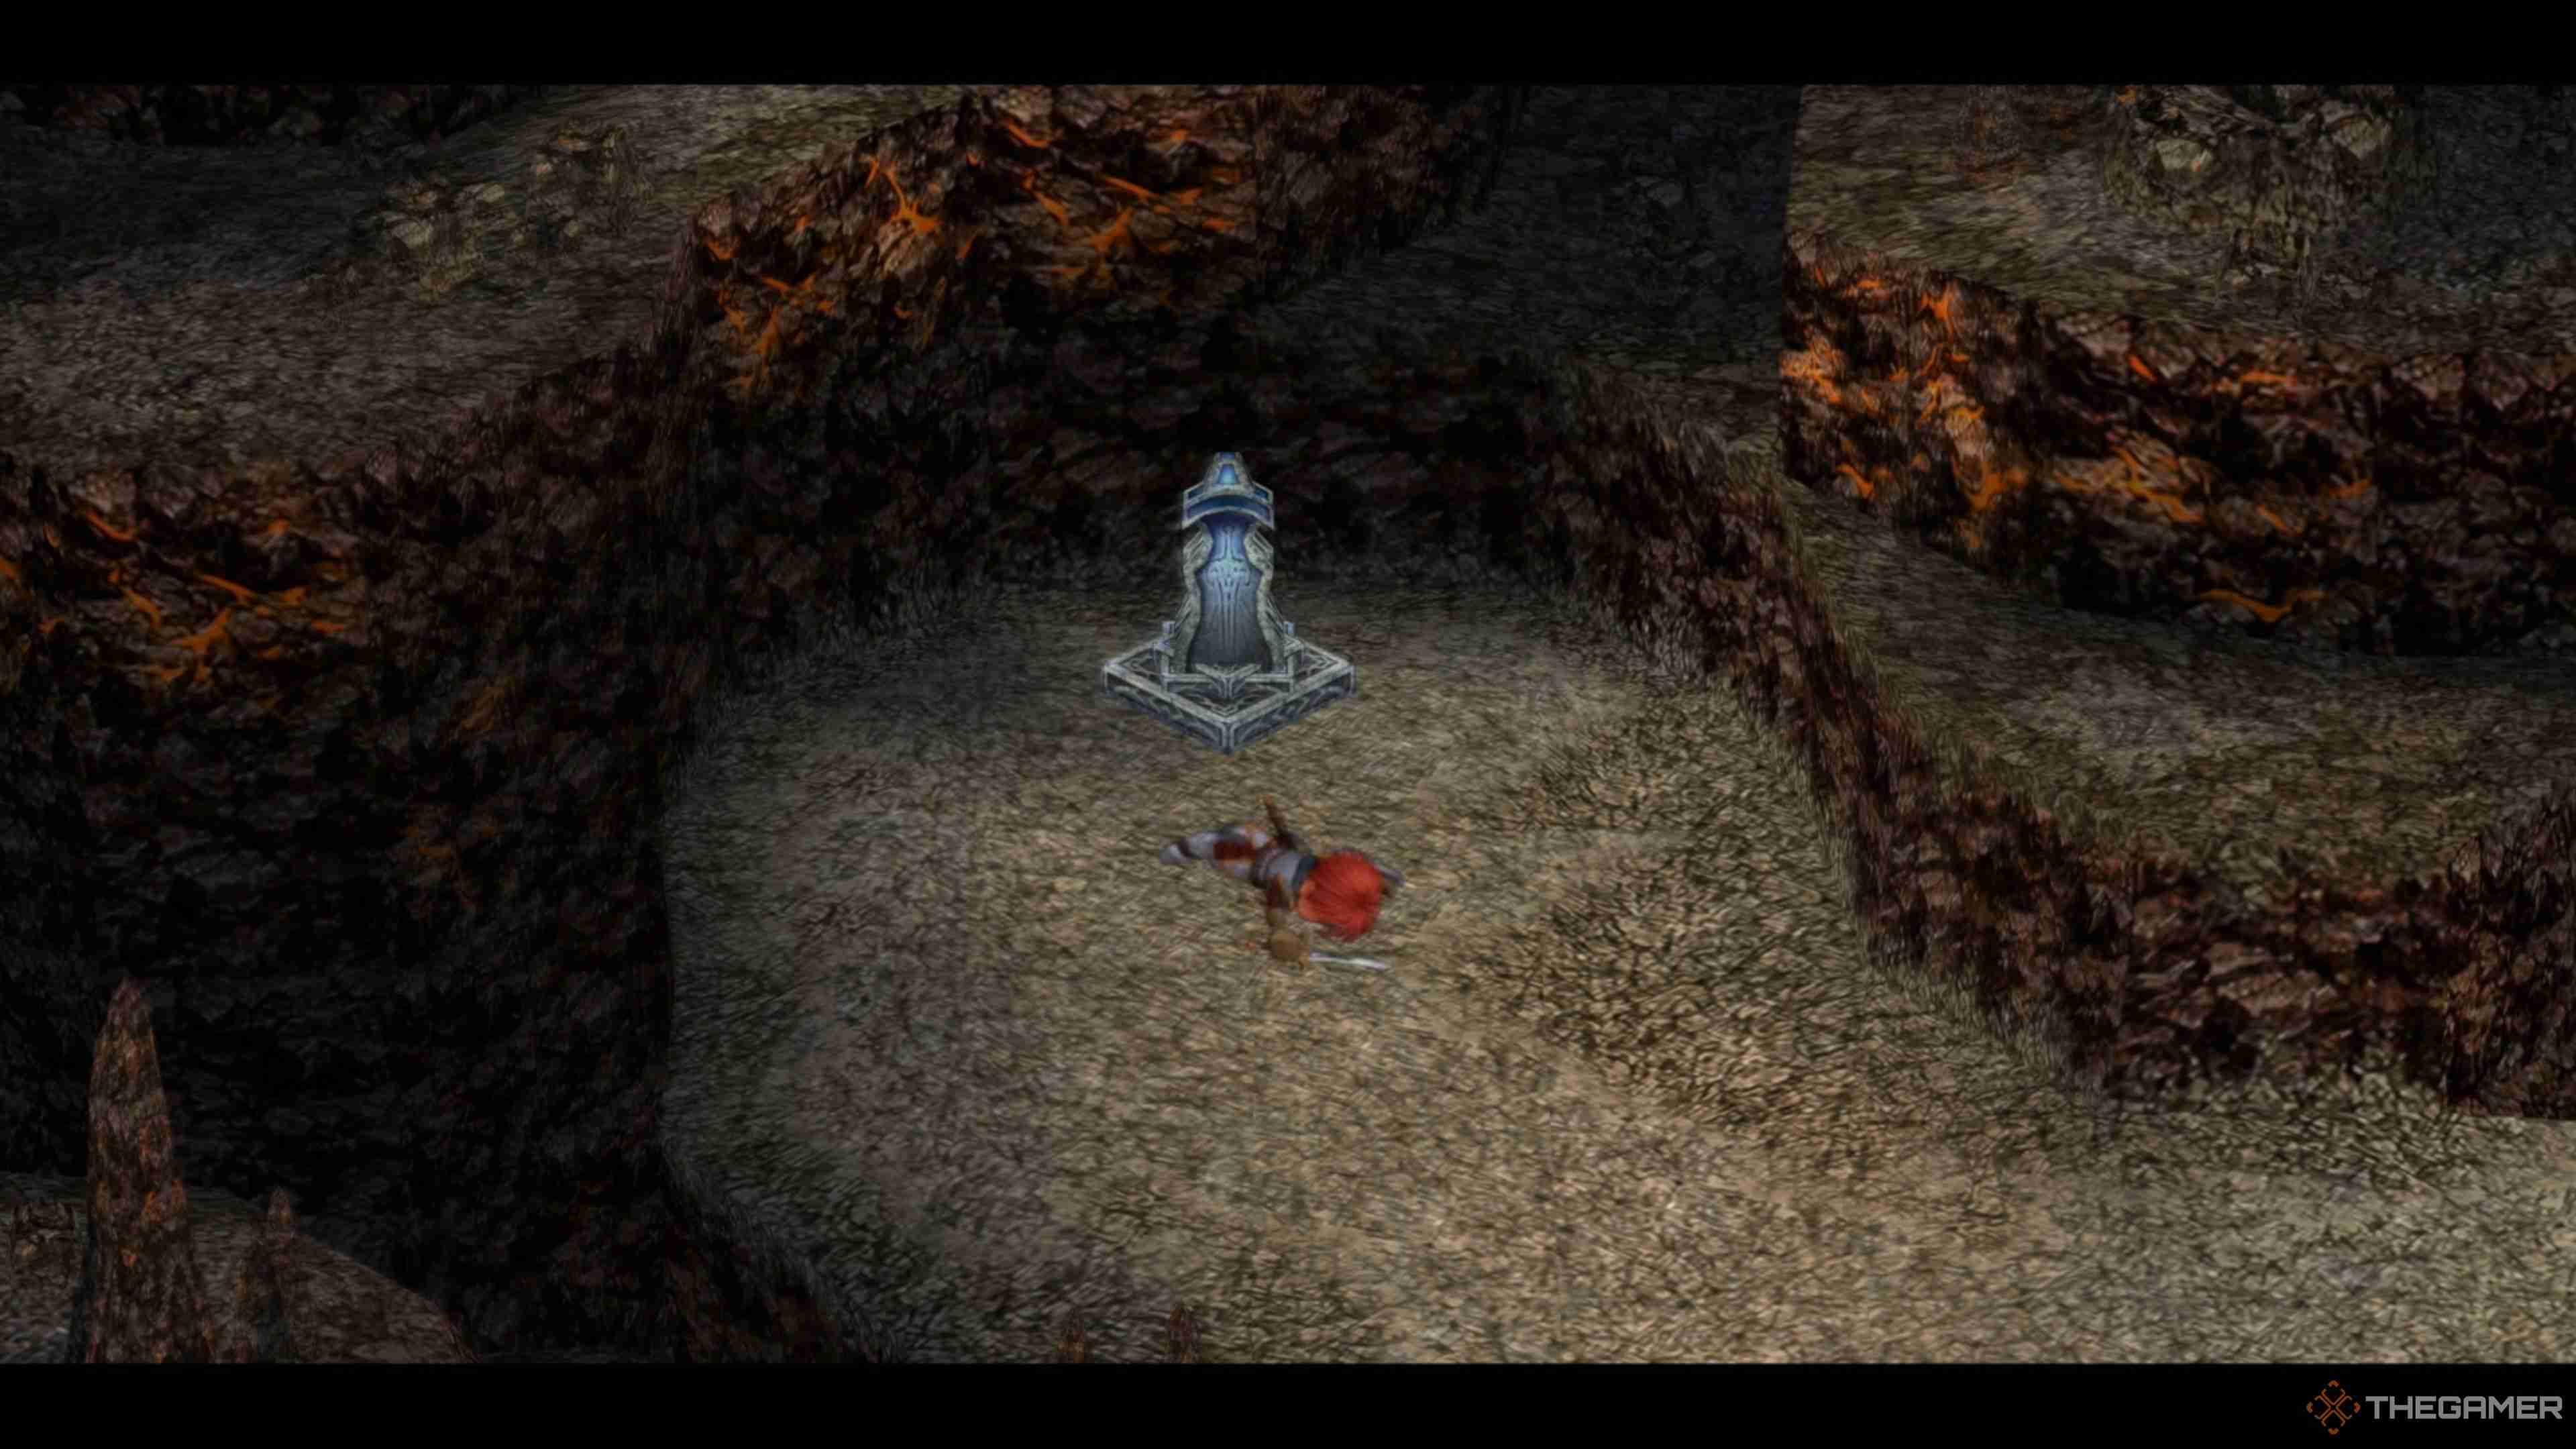
Completing the Illburns Ruins will have Chester kick Adol off a steep drop-off point, sending him hurtling down into the Zone of Lava, Ys Memoire: The Oath in Felghana's first dungeon. When Adol gains consciousness, you can begin controlling him again, so head to the Travel Monument behind you to Save your progress.
It will be a very long time before you return to Redmont Town, so you're in it for the long haul now. Fortunately, you will find some tremendous equipment and items within this dungeon that will help you claw your way out in no time. With that in mind, and after you've Saved, follow the path out and into the Zone of Lava!
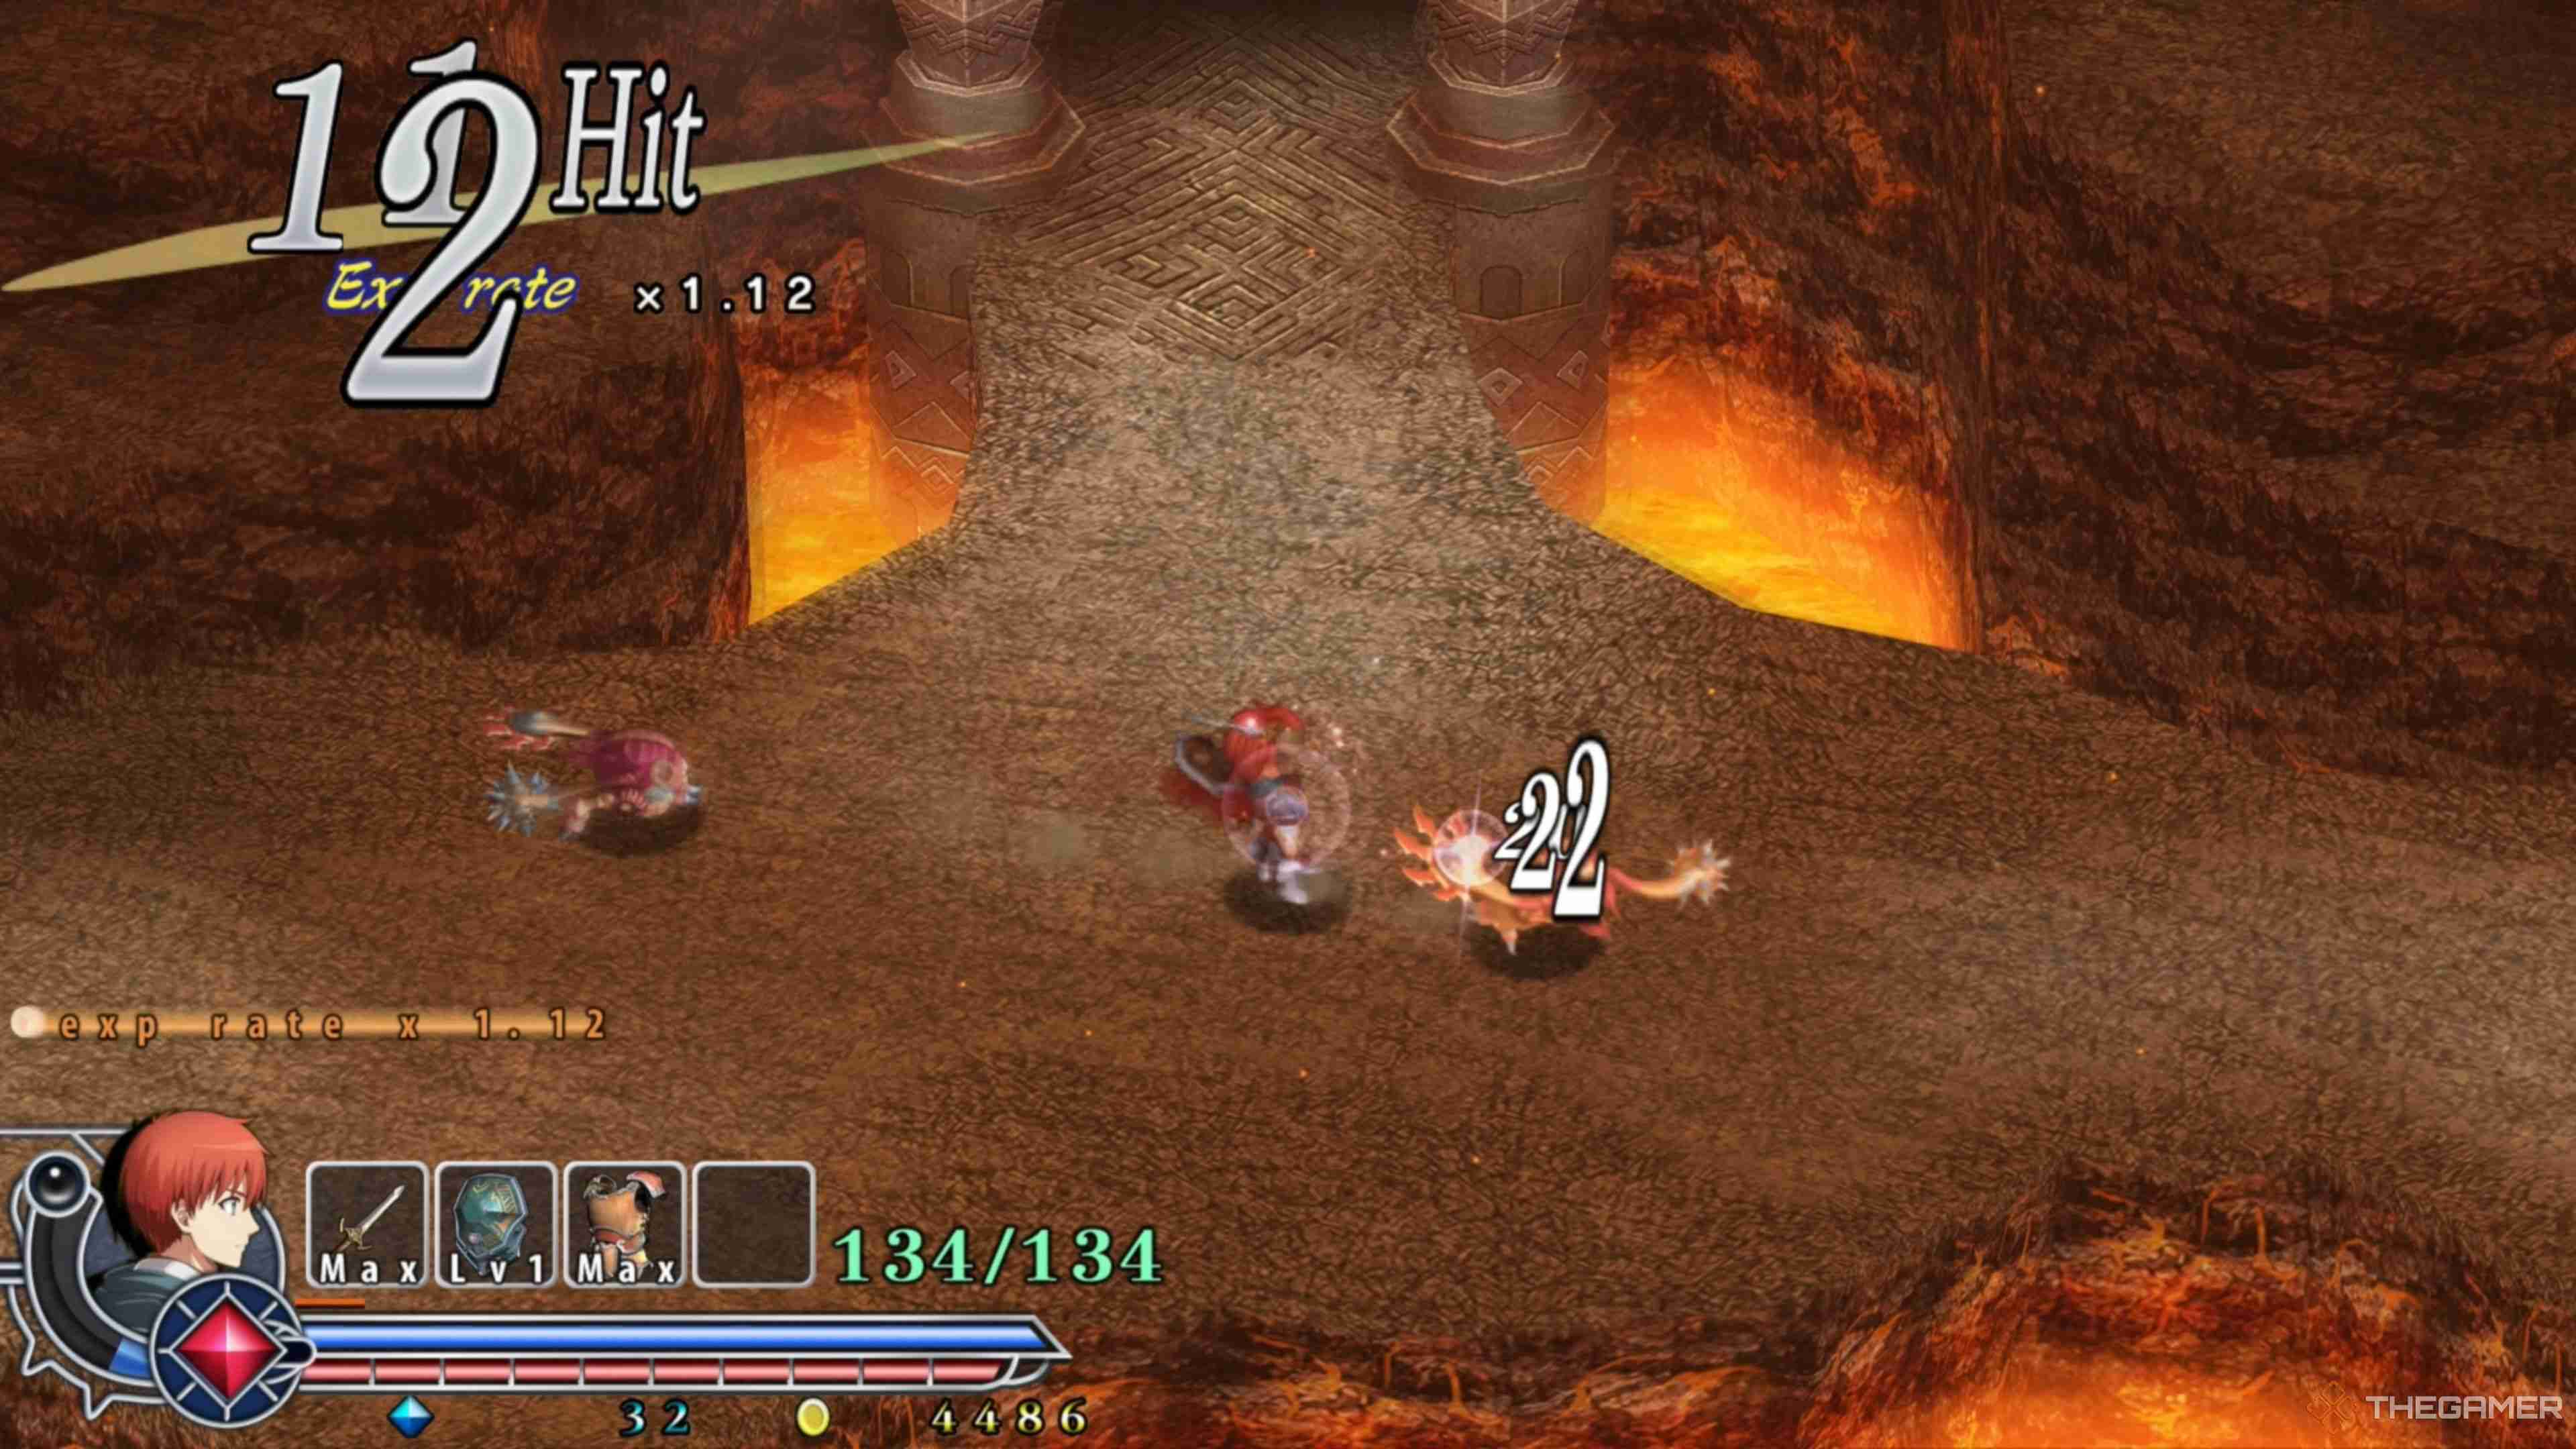
The moment you exit the Save Room and into the Zone of Lava, you will encounter an enemy type known as the Zown. Zowns can take a beating and can contort their bodies in ways that can be a bit unsettling, but your sword should be more than enough to take care of them.
Cleaning up the Zowns will reveal two pathways for you to take, one leading to the west and the other to the east. For now, take the West Path and follow it out until you reach a group of Zuals, a flying-type enemy that can be a tad irritating to deal with in groups. However, landing jumping attacks will make quick work of them.
Continue following this pathway until you reach another group of Zuals and deal with them the same way you did the others. From here, you will see a path that leads above a large hole. While avoiding the large, ominous hole may seem logical, you must leap down into it instead, as a crucial item is awaiting you below!
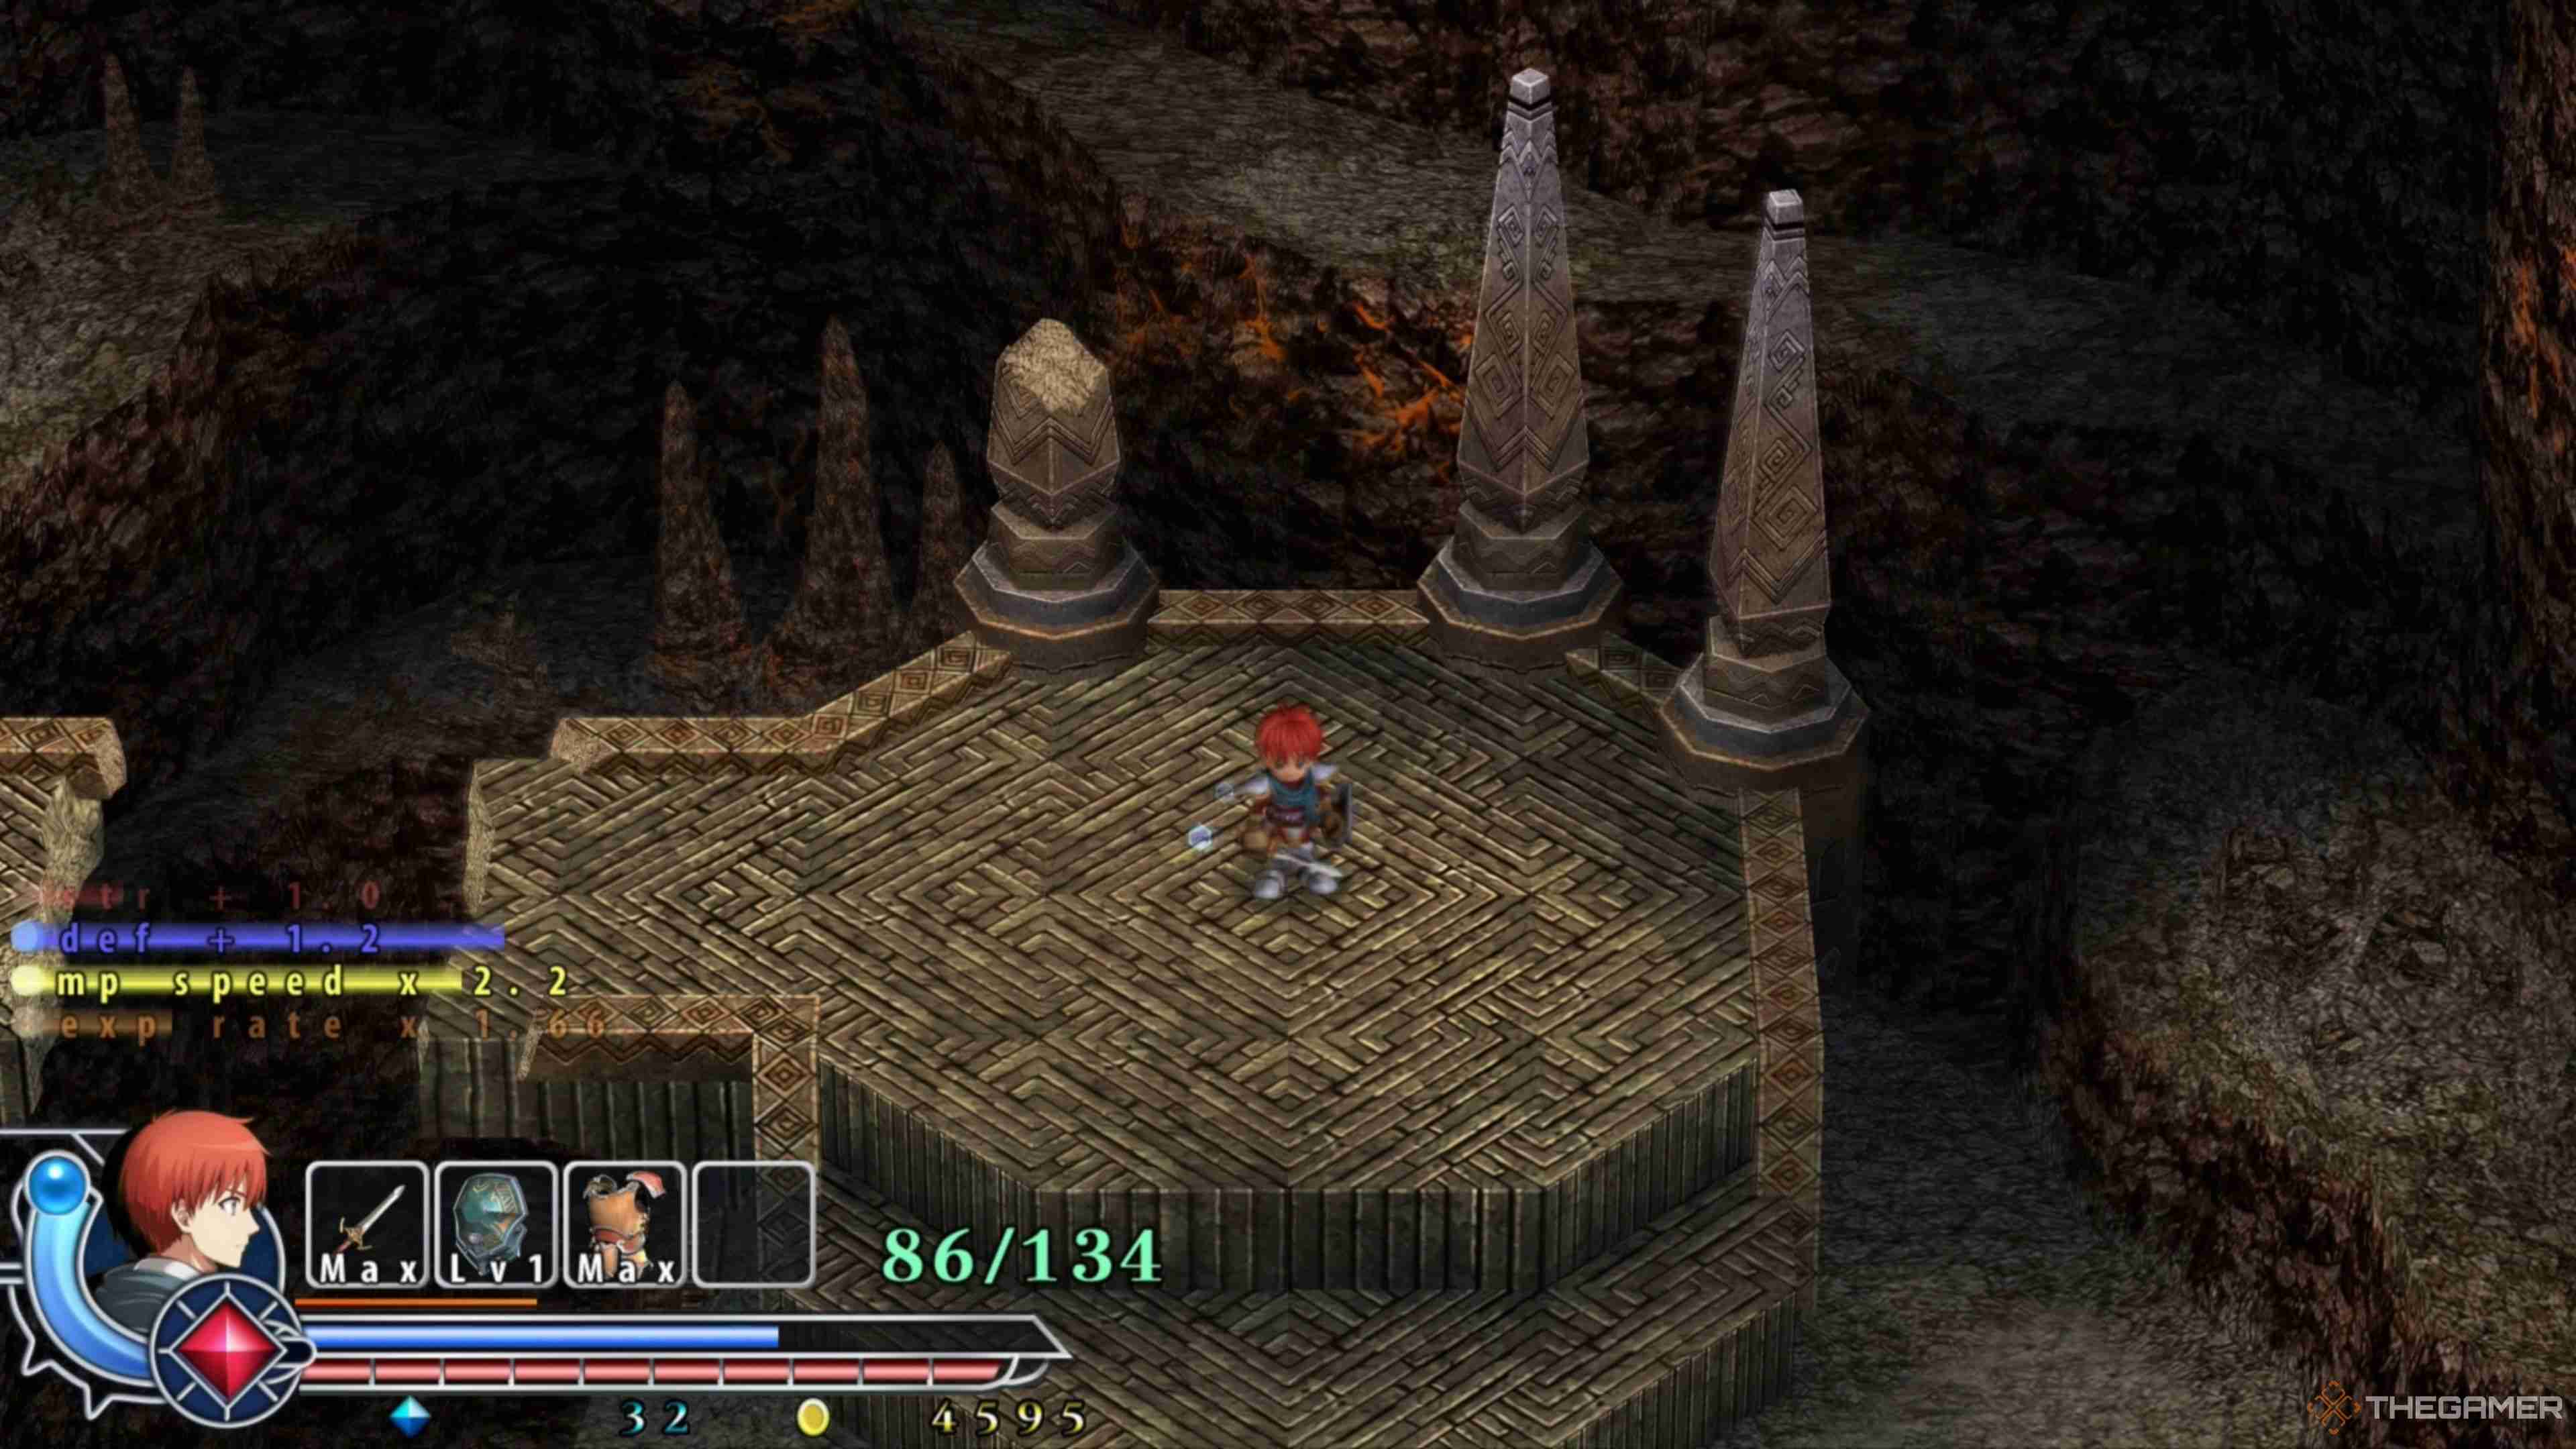
Leaping down into the hole will place Adol deep under the Zone of Lava, where a broken-up walkway leads to what you're after. So, you must leap over the sizable gaps to traverse this pathway, which has a new enemy type awaiting you: the Gewmes.
Gewmes cannot move, but when approached, they will launch a volley of missiles in a wide area around themselves, making them tricky to deal with. You can use your Ignis Bracelet to pick them off from afar or rush them and land a barrage of attacks. If your sword isn't fully upgraded, we recommend using the Ignis Bracelet here.
Eliminate the first Gewme, then push a bit forward to see another large gap. Leap over it and follow that pathway until you see a descending walkway. Head down this pathway until you see another Gewme on a smaller platform in front of you. Use your Ignis Bracelet to defeat them, then jump over to where it was.
You must make one last leap, placing you in a larger area with another Gewme. Slay this Gewme and jump up the ascending stone platforms to find a Red Chest. Open it up to obtain the Firewyrm's Amulet, a crucial item for this dungeon. Open your Equipment Menu and equip the new item as your Accessory, allowing you to now traverse over shallow lava without taking damage!
If you fall into any of the holes while attempting to get over to the other side, we strongly recommend just reloading your Save, as you aren't too far into the dungeon yet, and it won't take too long to get back!
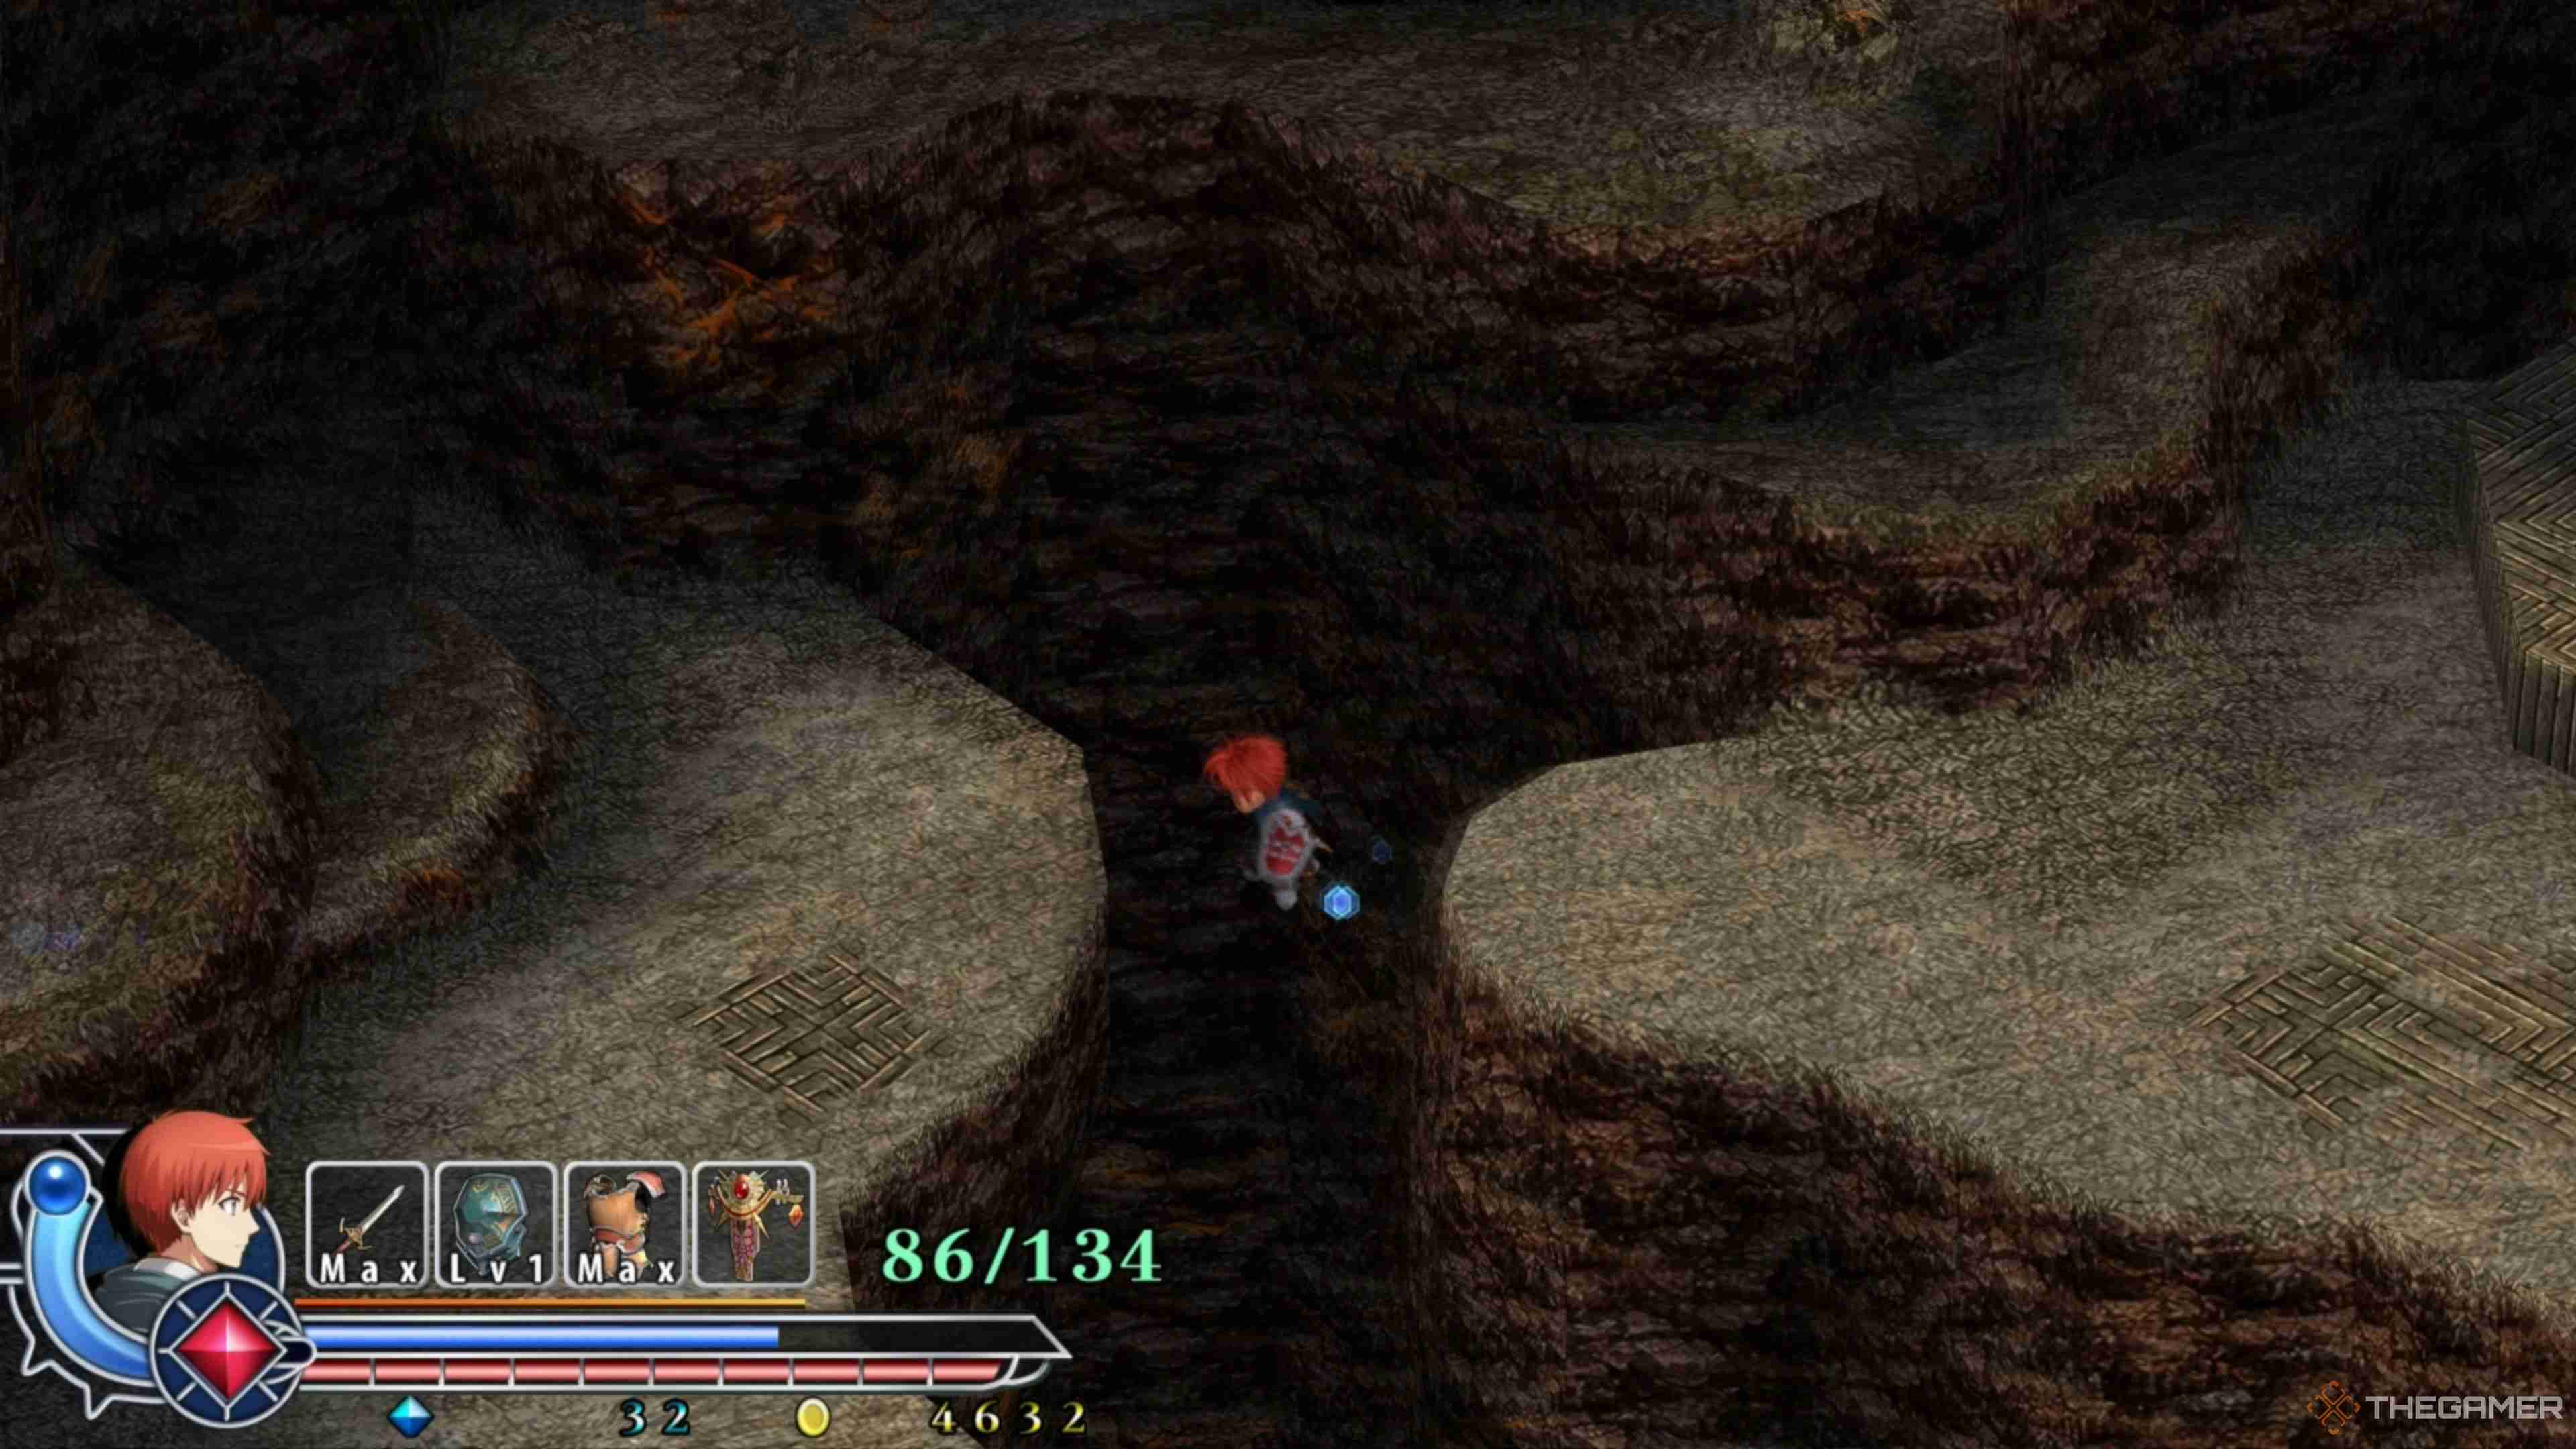
With the crucial Firewyrm's Amulet in your possession, backtrack until you reach the area where you were jumping over gaps. From here, leap into the pit, sending you further below the Zone of Lava. As you land, you will see that you can take two pathways—one to the west and the other to the east.
Going to the left is a death wish, as you will run into a swarm of Mozgouz, an enemy type you aren't equipped to take on just yet. So, head to the right and follow the East Path until you eventually reach a Gewme. Eliminate the Gewme, then proceed following the pathway to the next area!
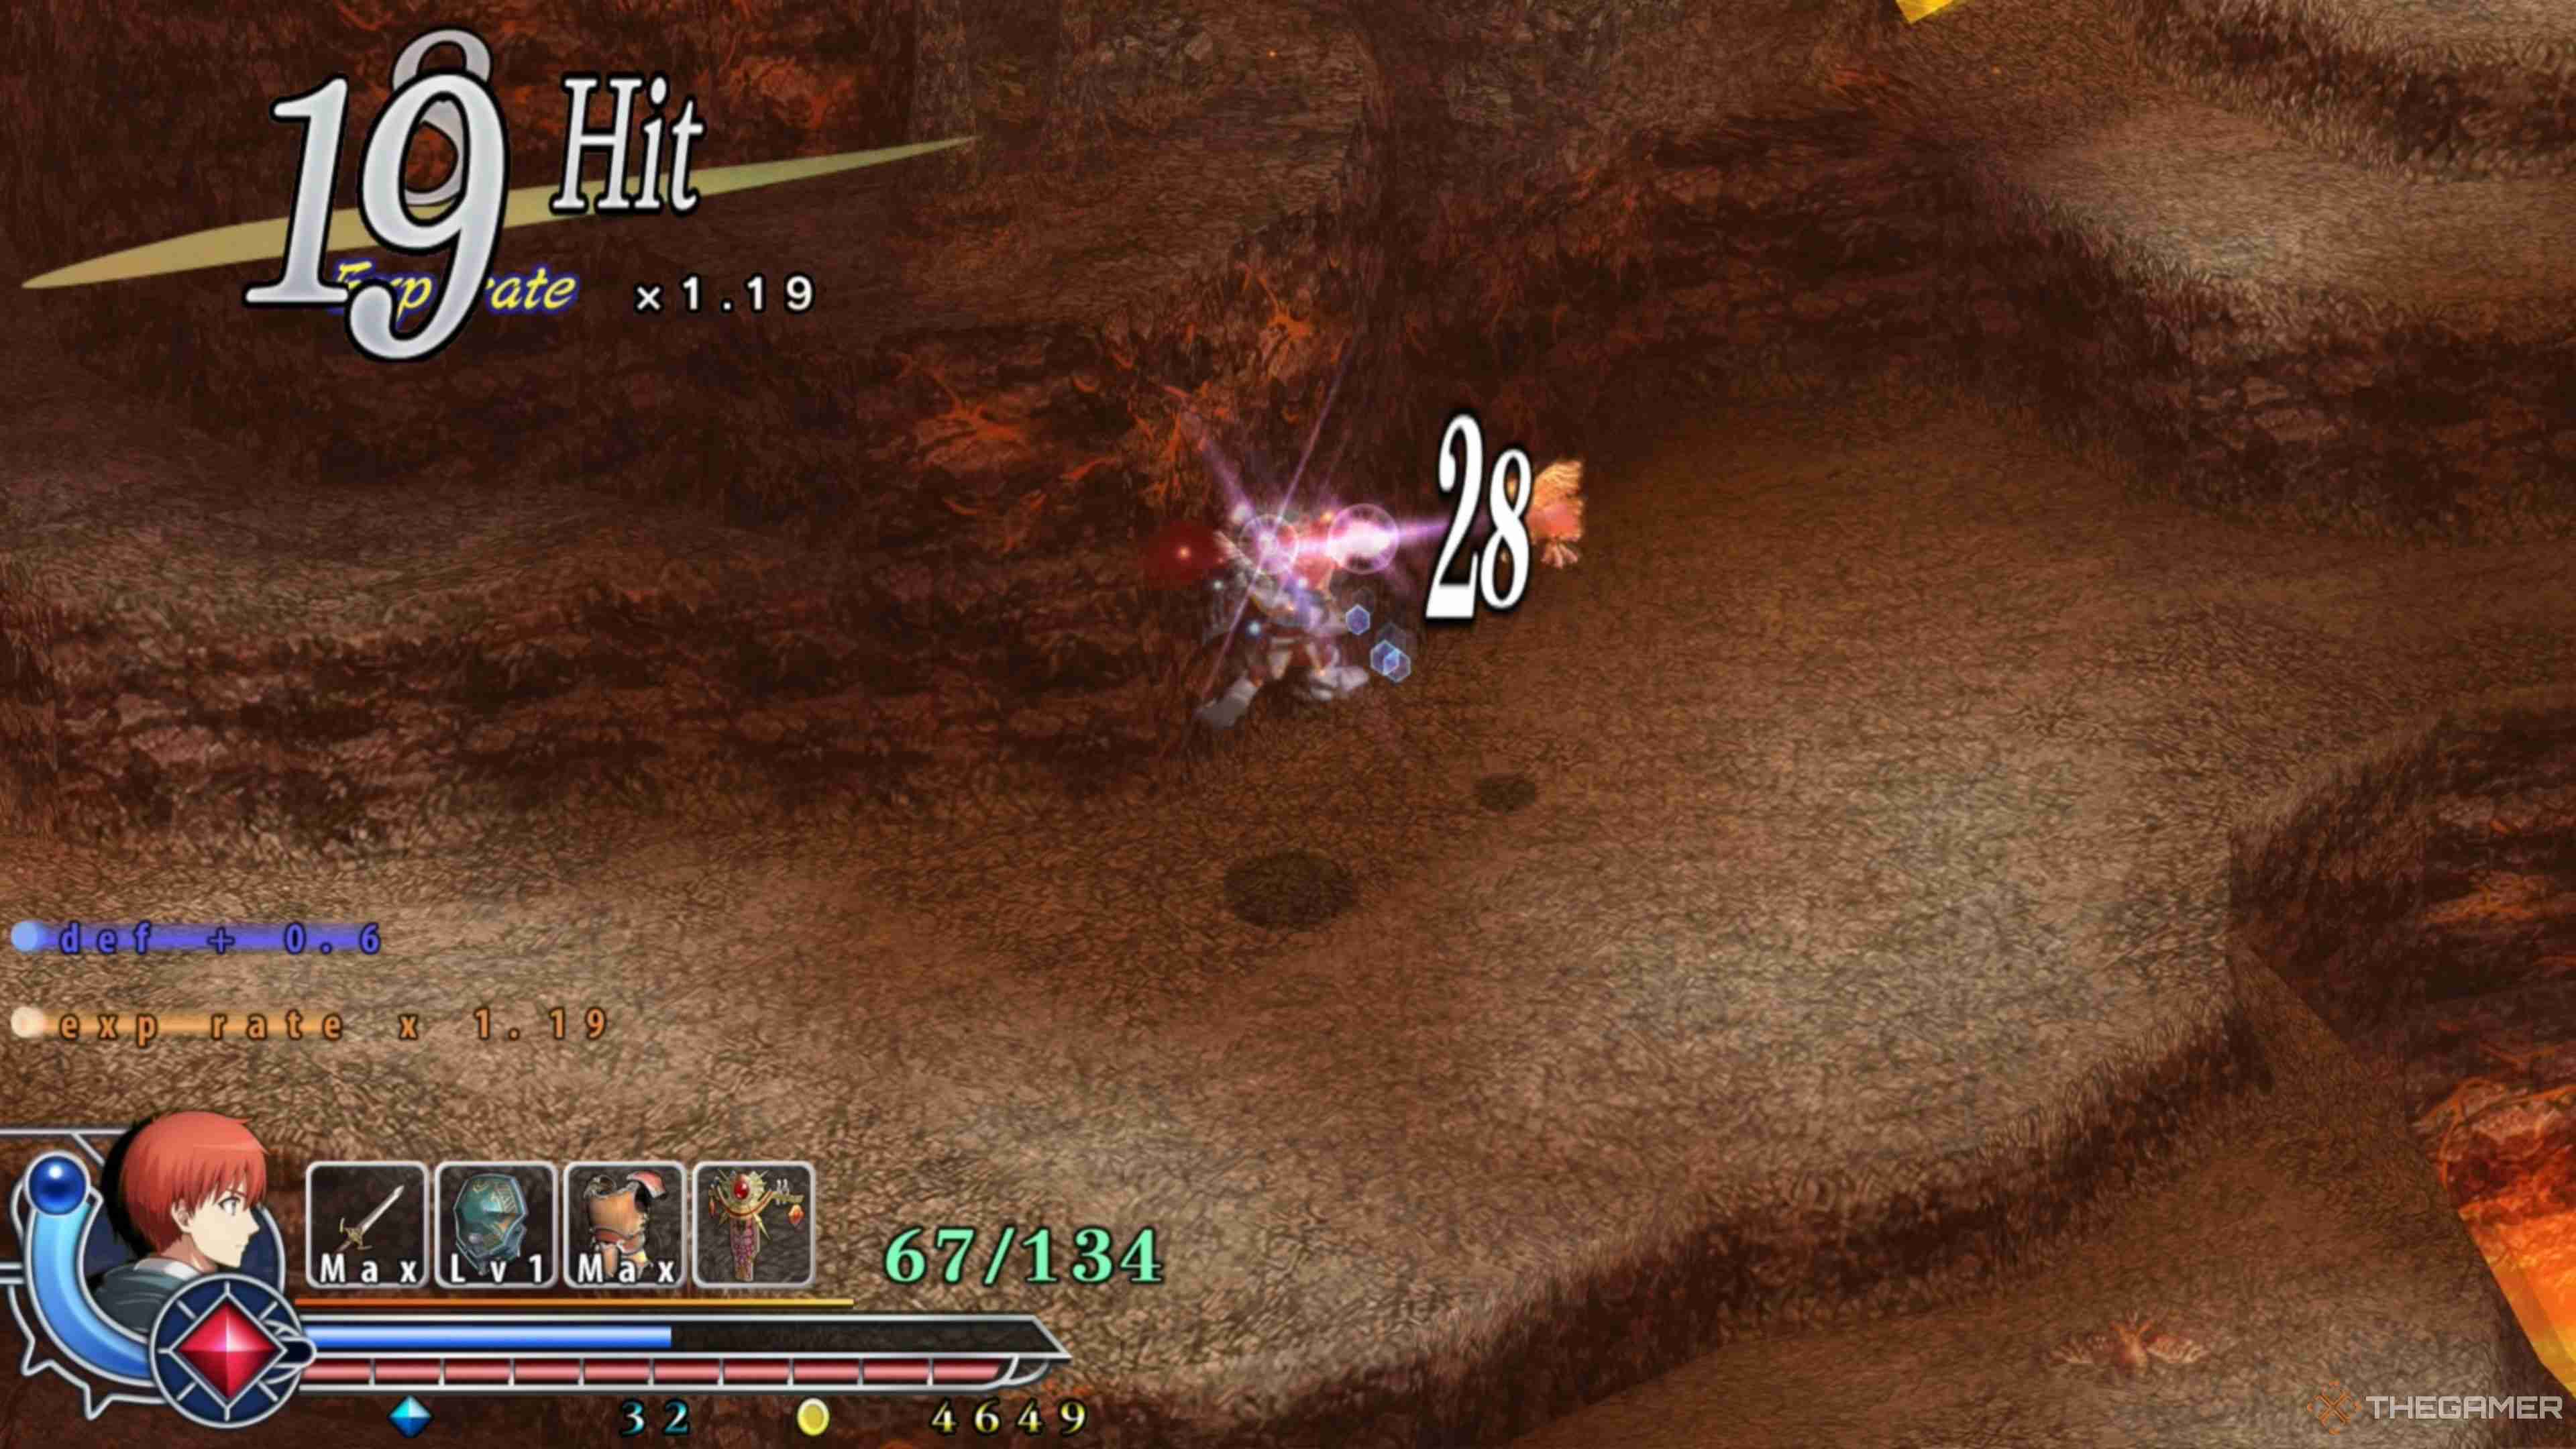
In the next area, you will see a pathway that leads upward and another to the south, along with some Zuals. Take them out as you did earlier, then head upward, following the North Path. The following area will have a fire that periodically shoots out of the lava, creating an arc over the walkway.
Wait for the fire to shoot over the pathway, then run across and continue pushing forward. You will now see a long, narrow walkway that leads into the next area. Follow it until you're in the next section of the Zone of Lava!
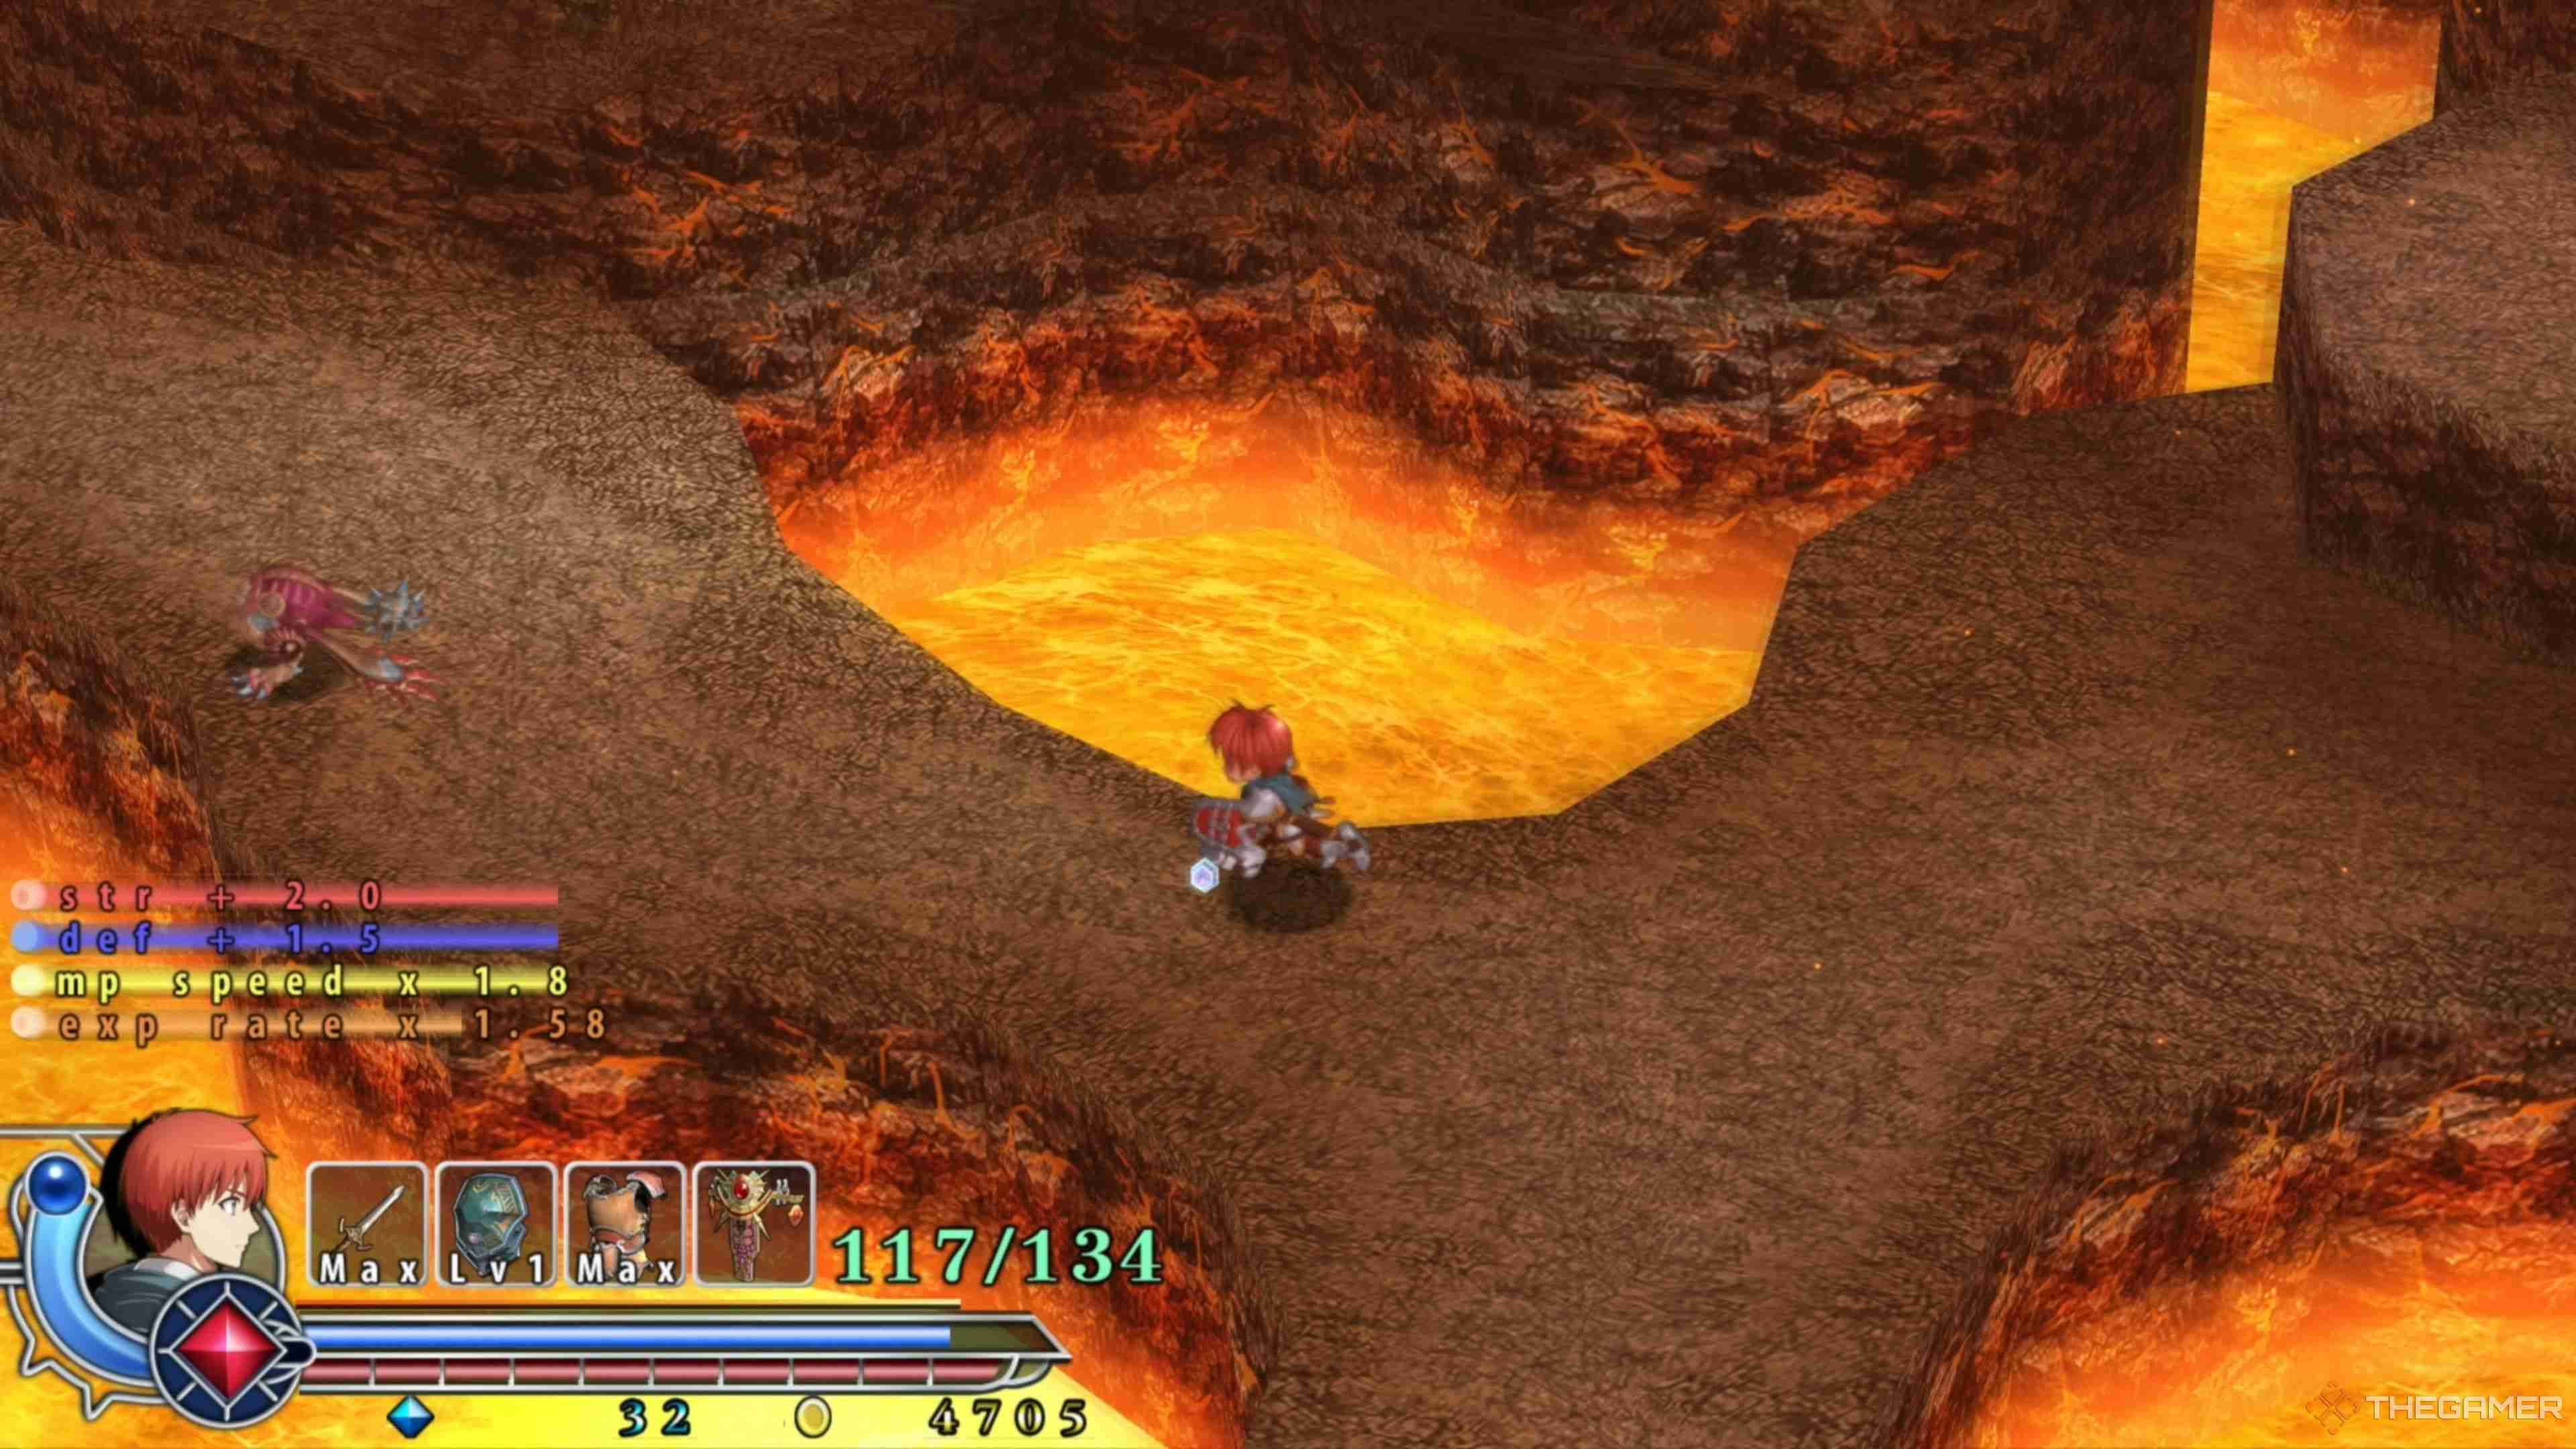
Pushing forward, you will reach a room with two Zowns in it. Defeat them as you've been doing, then you will be faced with more branching pathways. Here, take the path on your left and follow it into the next area to bump into another Zown. You know what to do from here.
Look familiar? You're in the starting area of the Zone of Lava. Before moving any further, run into the room to the north to Save your progress at the Travel Monument you activated earlier. There's still lots to do, but we're making tremendous progress here!
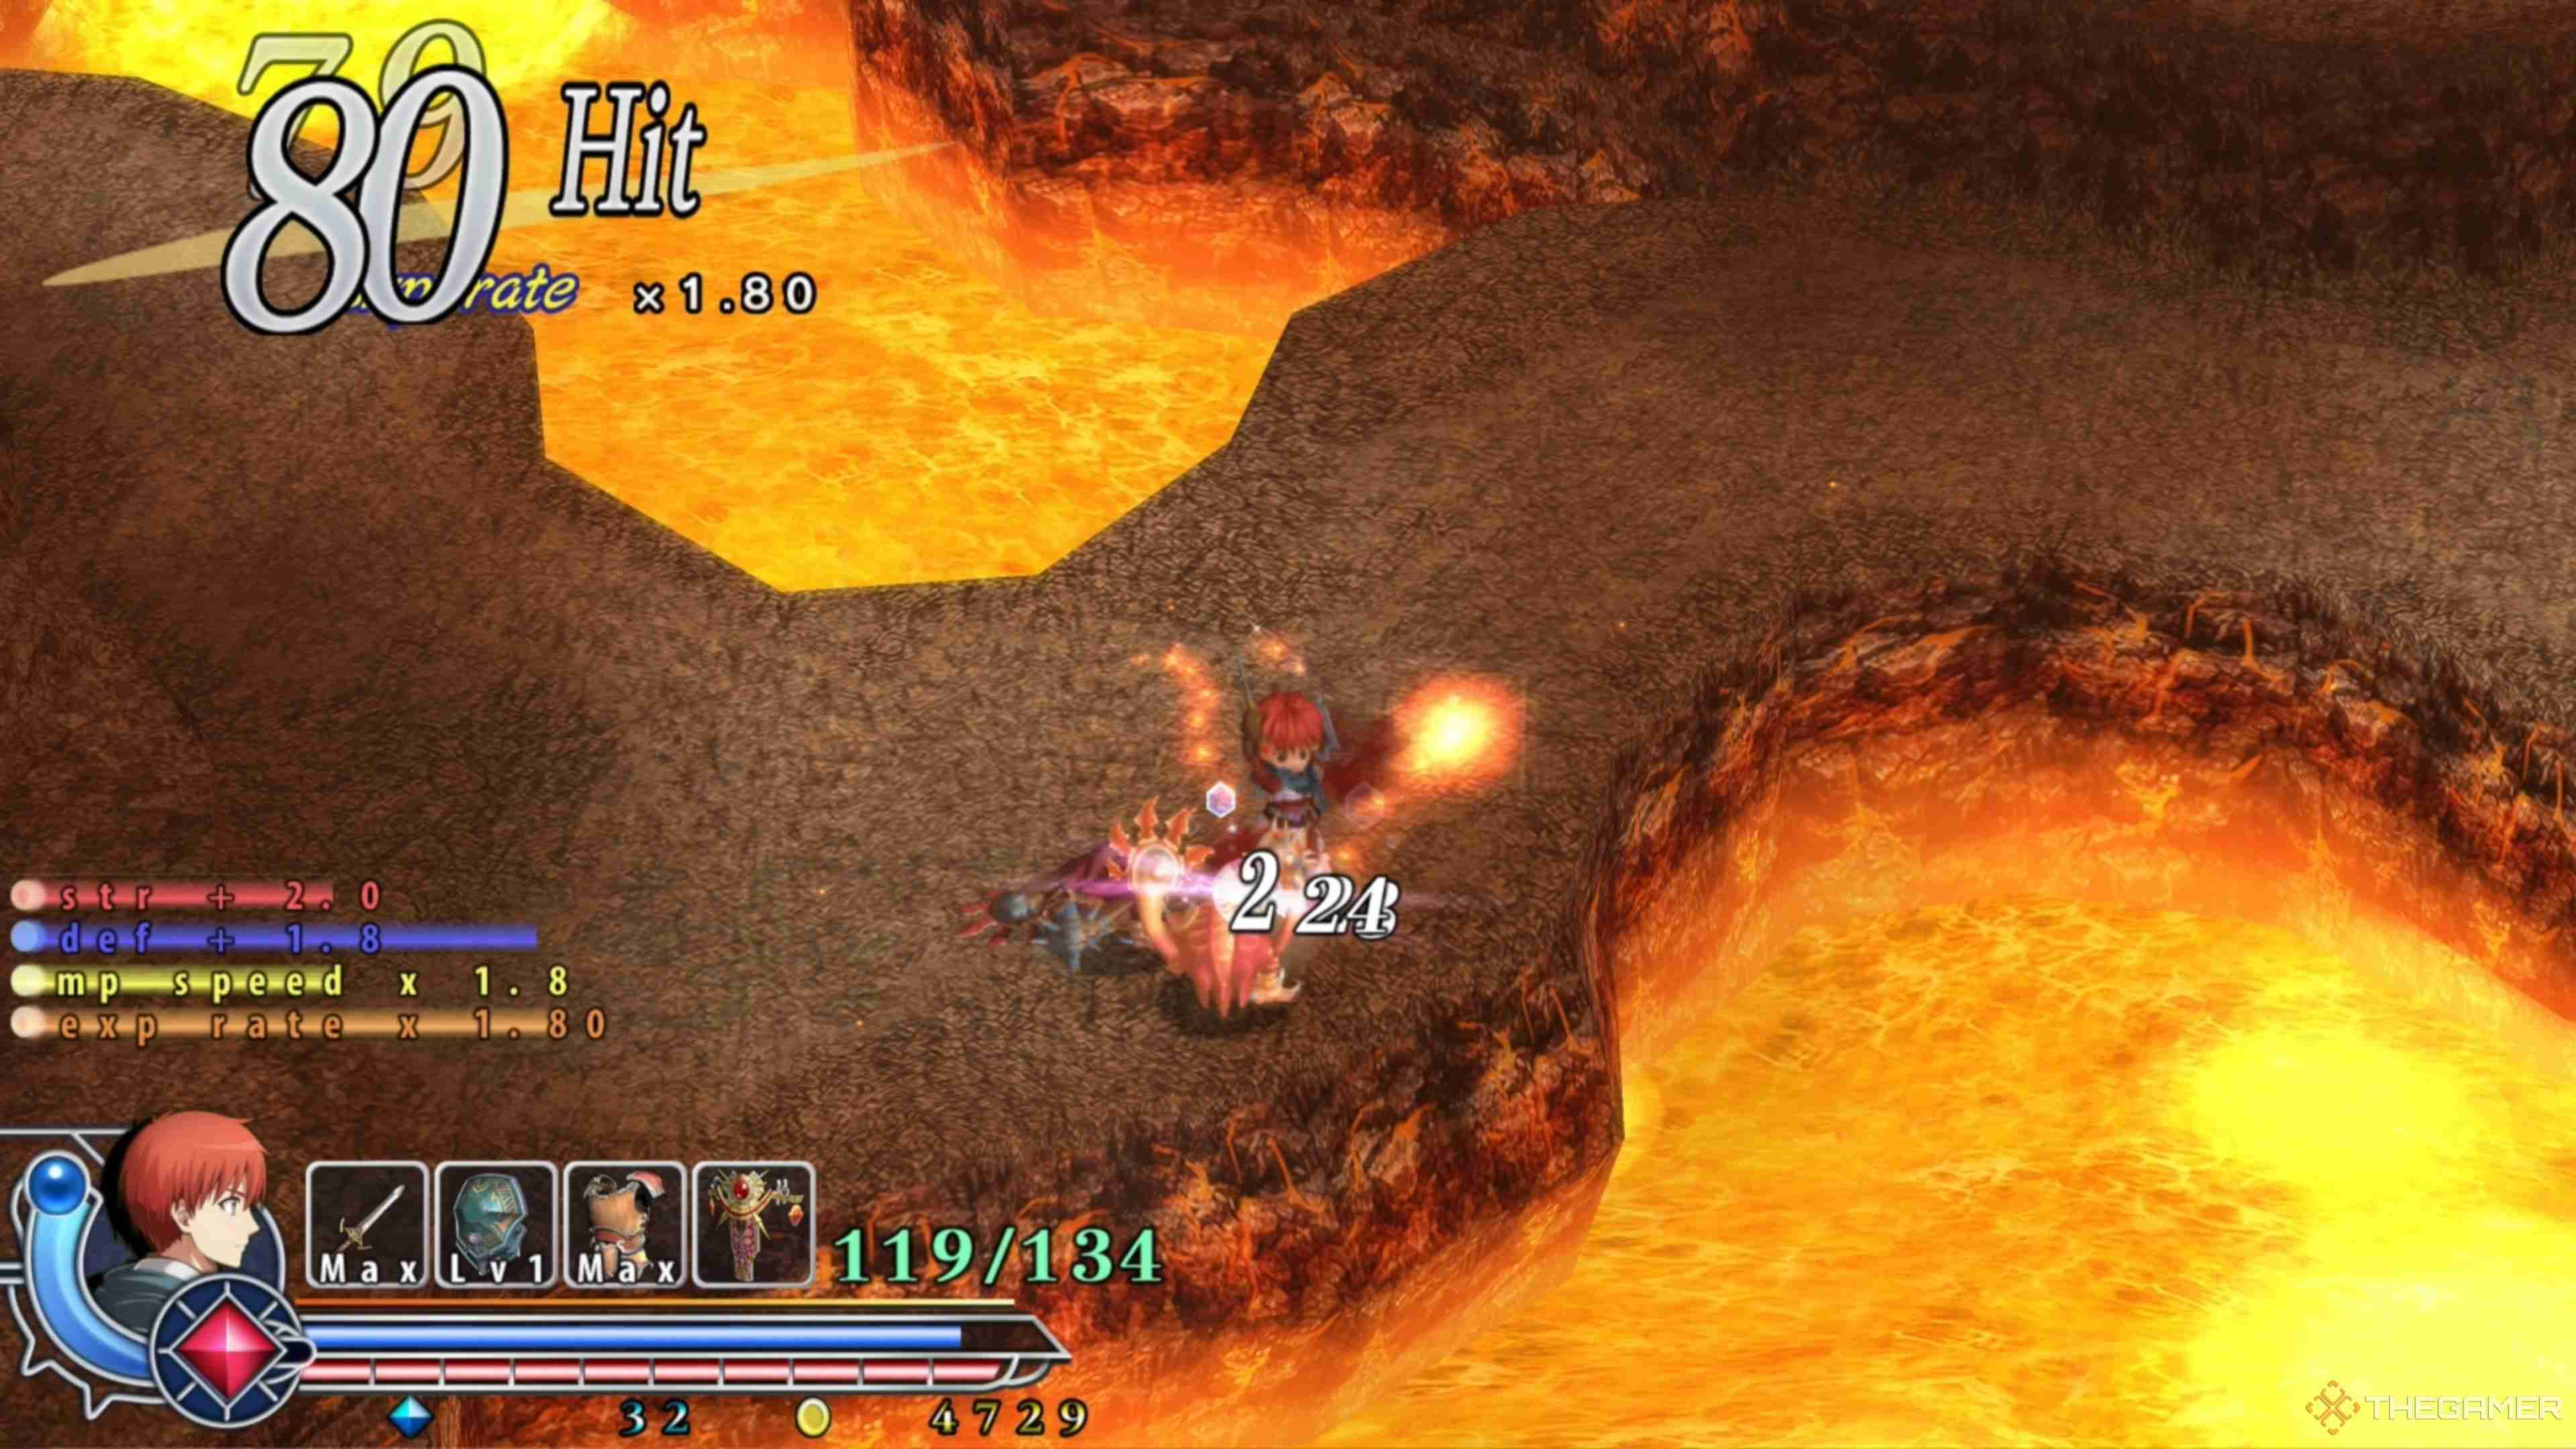
Ensure your progress is Saved, then head to the left of the starting area once more, toward the large pit you jumped down earlier, defeating the Zowns along the way. Once you reach the hole, jump onto the elevated cliffside and follow that path around the pit, slaying the Zuals as you go.
A stone walkway will eventually appear, allowing you to follow the stairs into a shallow pit of lava with a walkway beneath it. Make sure you have equipped the Firewyrm's Amulet from earlier, then make your way into the shallow lava. The Amulet will make you immune to taking damage here!
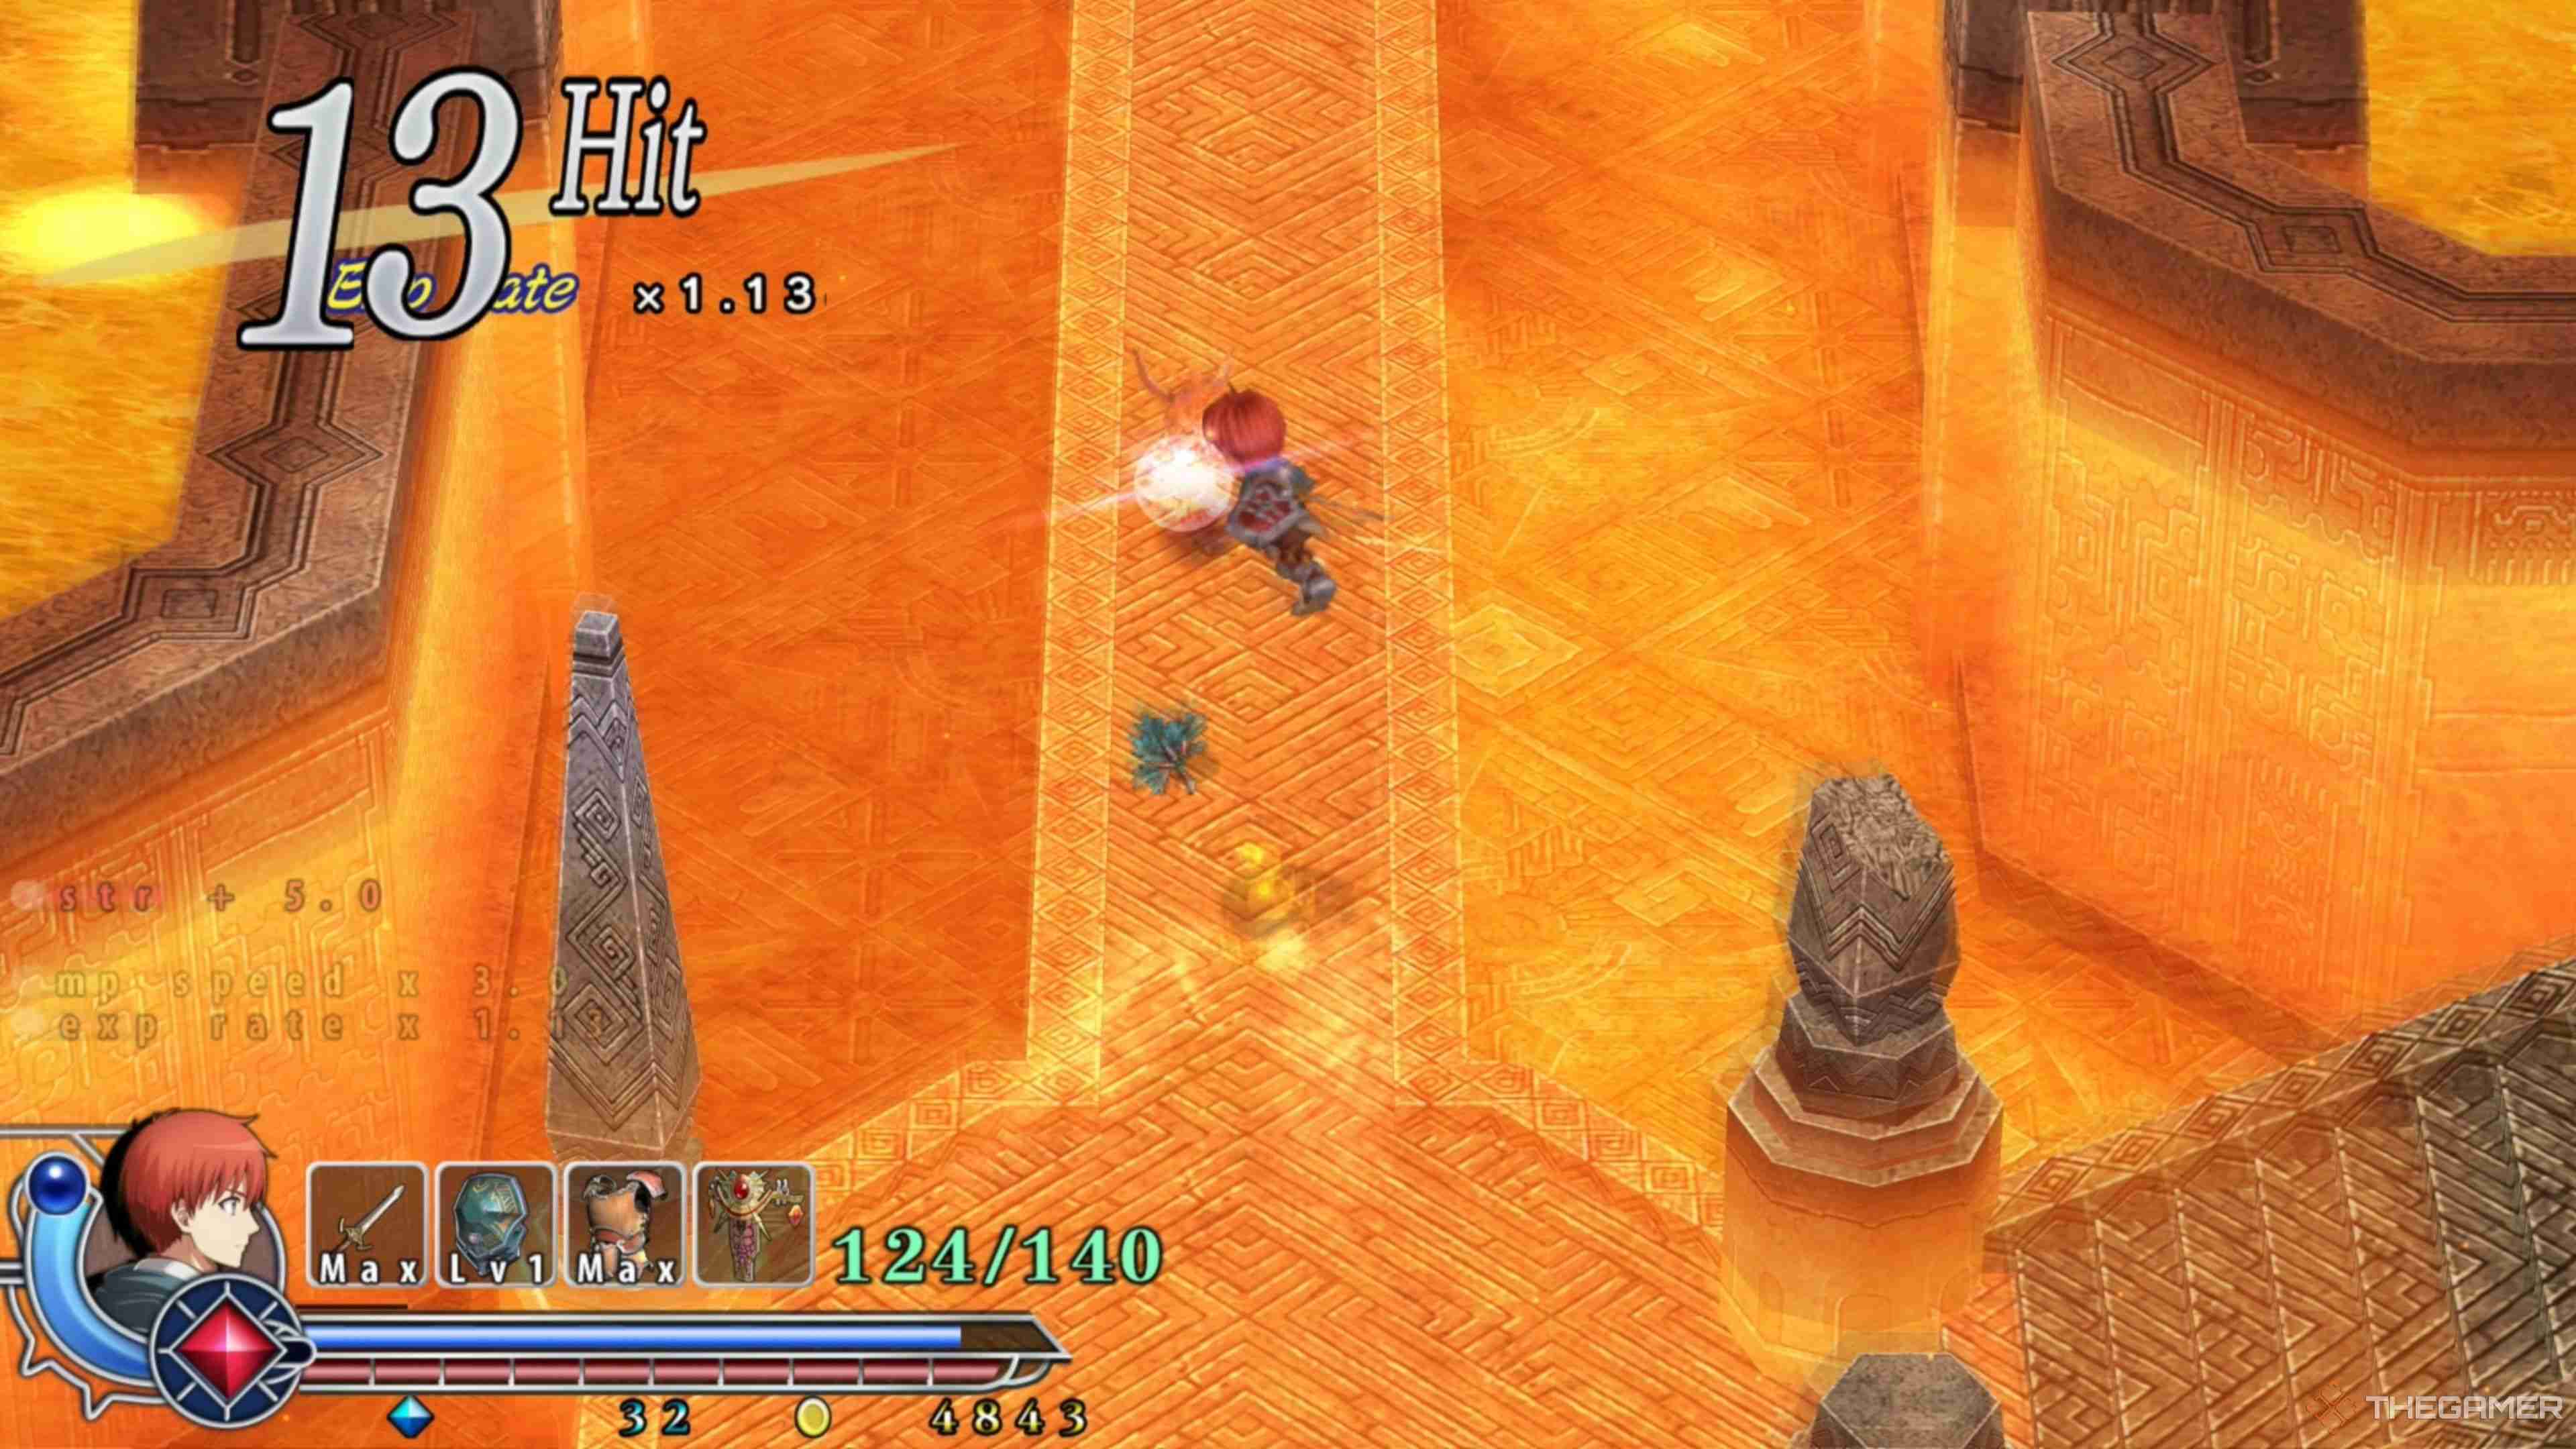
Zuals will be awaiting you when you enter the shallow pit of lava, so take care of them as you've been doing, and then you will be faced with another choice. There will be yet another branching pathway. Heading down will progress the critical path, so take the North Path.
More Zuals will await you here, in addition to sections of deep pools of lava. The lower points of the floor are slightly darker shades of orange, meaning they are too deep for your Firewyrm's Amulet to protect you, so leap over them to avoid taking damage.
As you do this, Zuals will try attacking you. Stop on the elevated pillars and attack them from there before moving onward. After leaping across a few more pillars, you will eventually be able to follow a staircase out of the lava that leads to a Red Chest. Open the Chest to obtain the Broadsword!
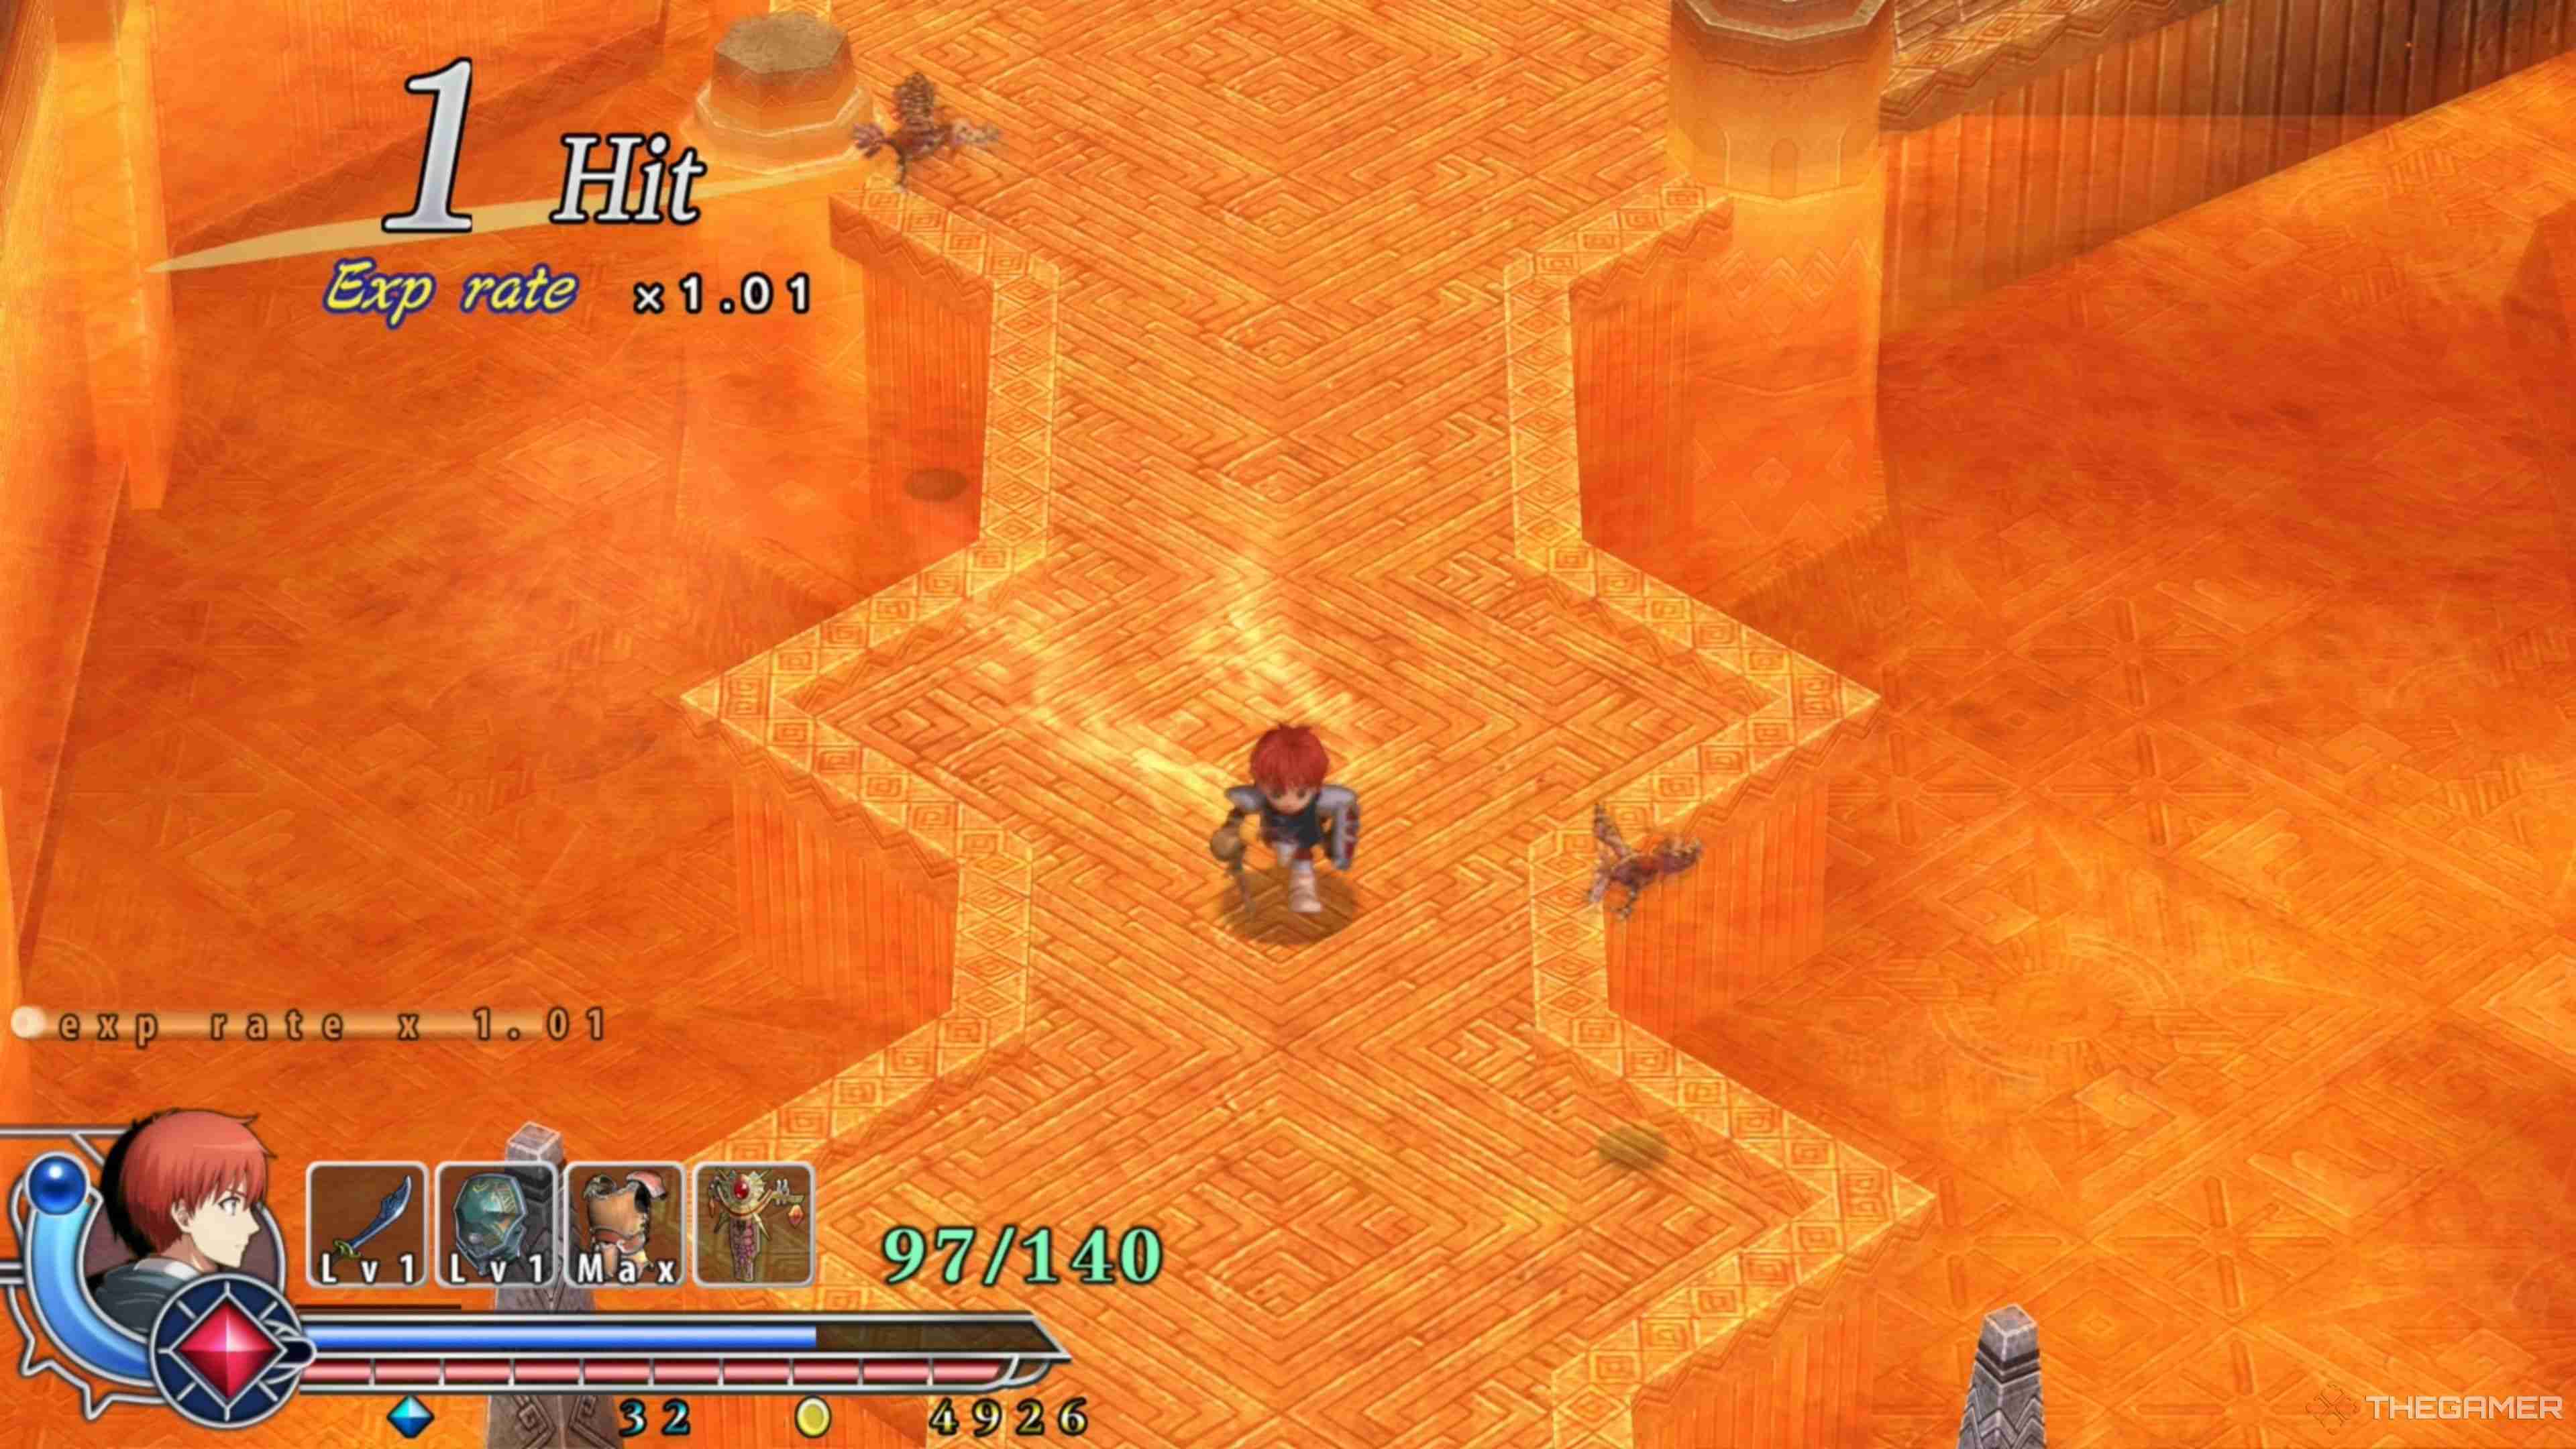
Slap on the Broadsword, as it's likely better than what you currently have, then make your way out to the central point of the shallow lava. From here, head down the South Path and follow it into the next area. Here, you will run into some Zuals, but you will make quick work of them with your Broadsword. After doing so, continue heading south to reach the next room!
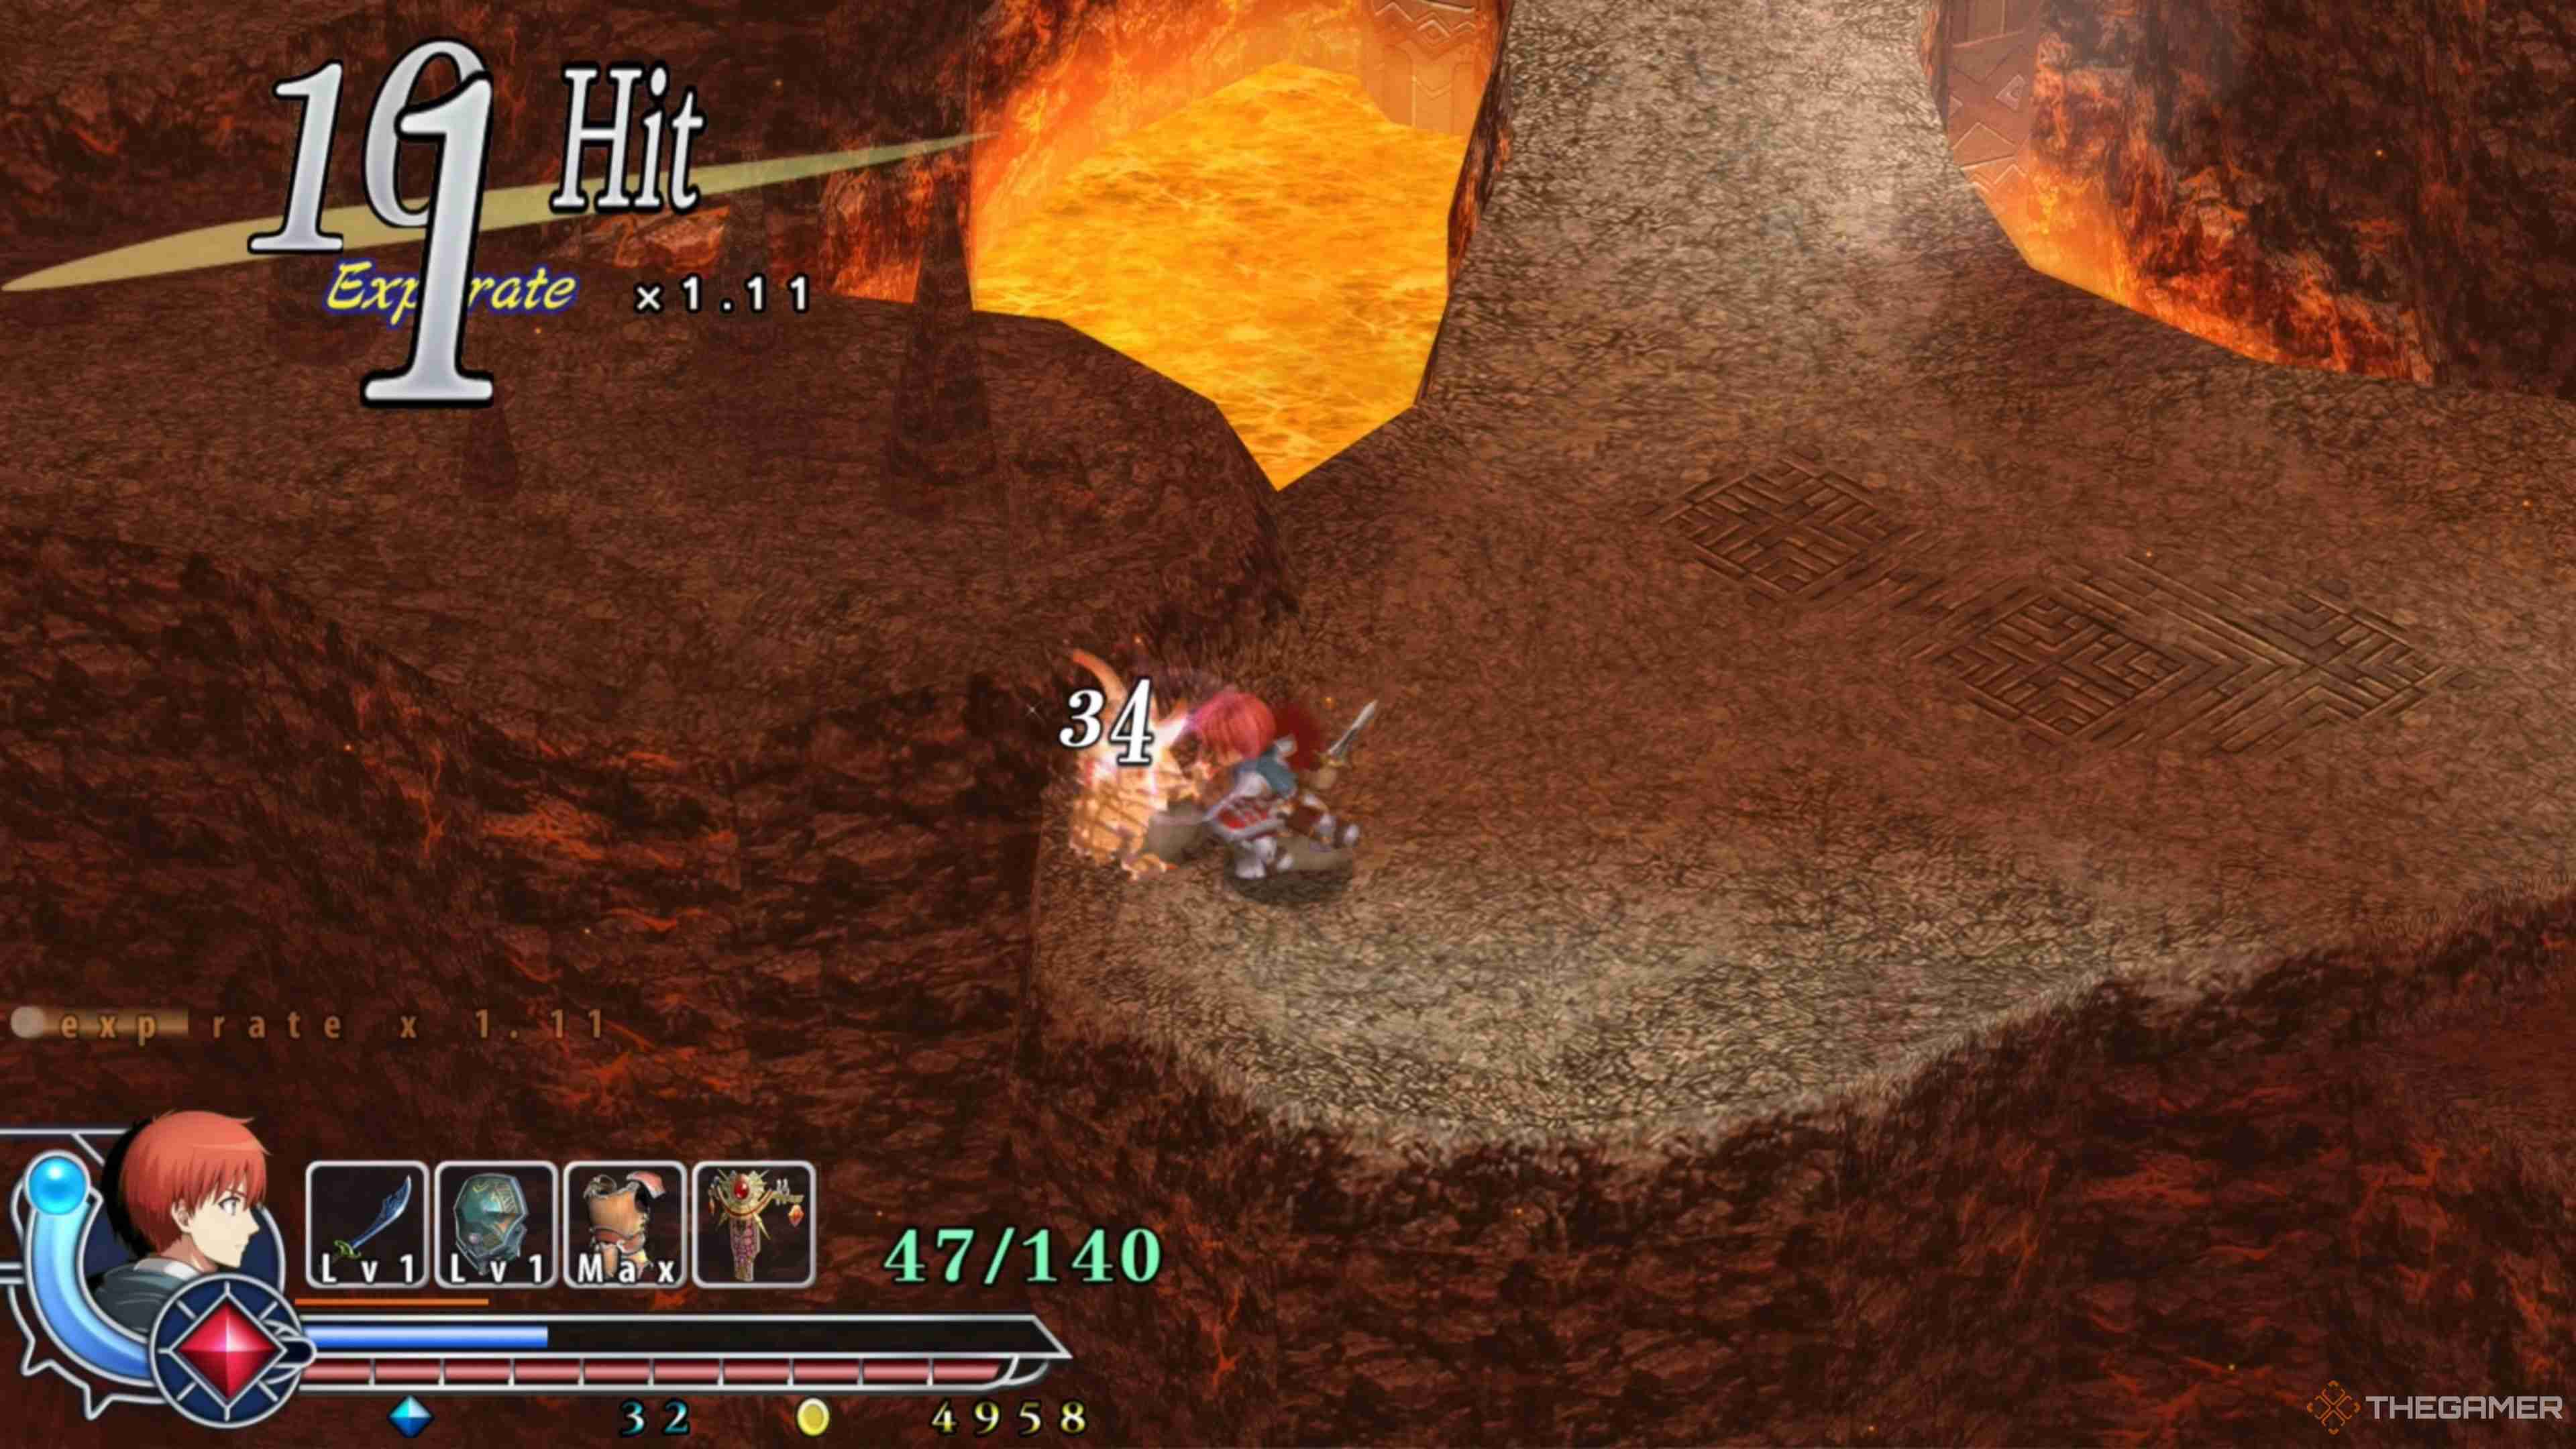
Following the critical path will lead you to a new enemy type known as the Almenger. Almengers, for the most part, aren't too challenging to deal with, as they are only a problem when they charge up and roll themselves into you with tremendous force, knocking you down and dealing substantial damage.
Fortunately, if you run up to them and begin striking them, they won't get the chance to do this and will essentially be stunlocked to death. So, whenever you see an Almenger, rush them down and defeat them immediately. After defeating the Almenger, continue following the path downward to run into a Gewme and take it down.
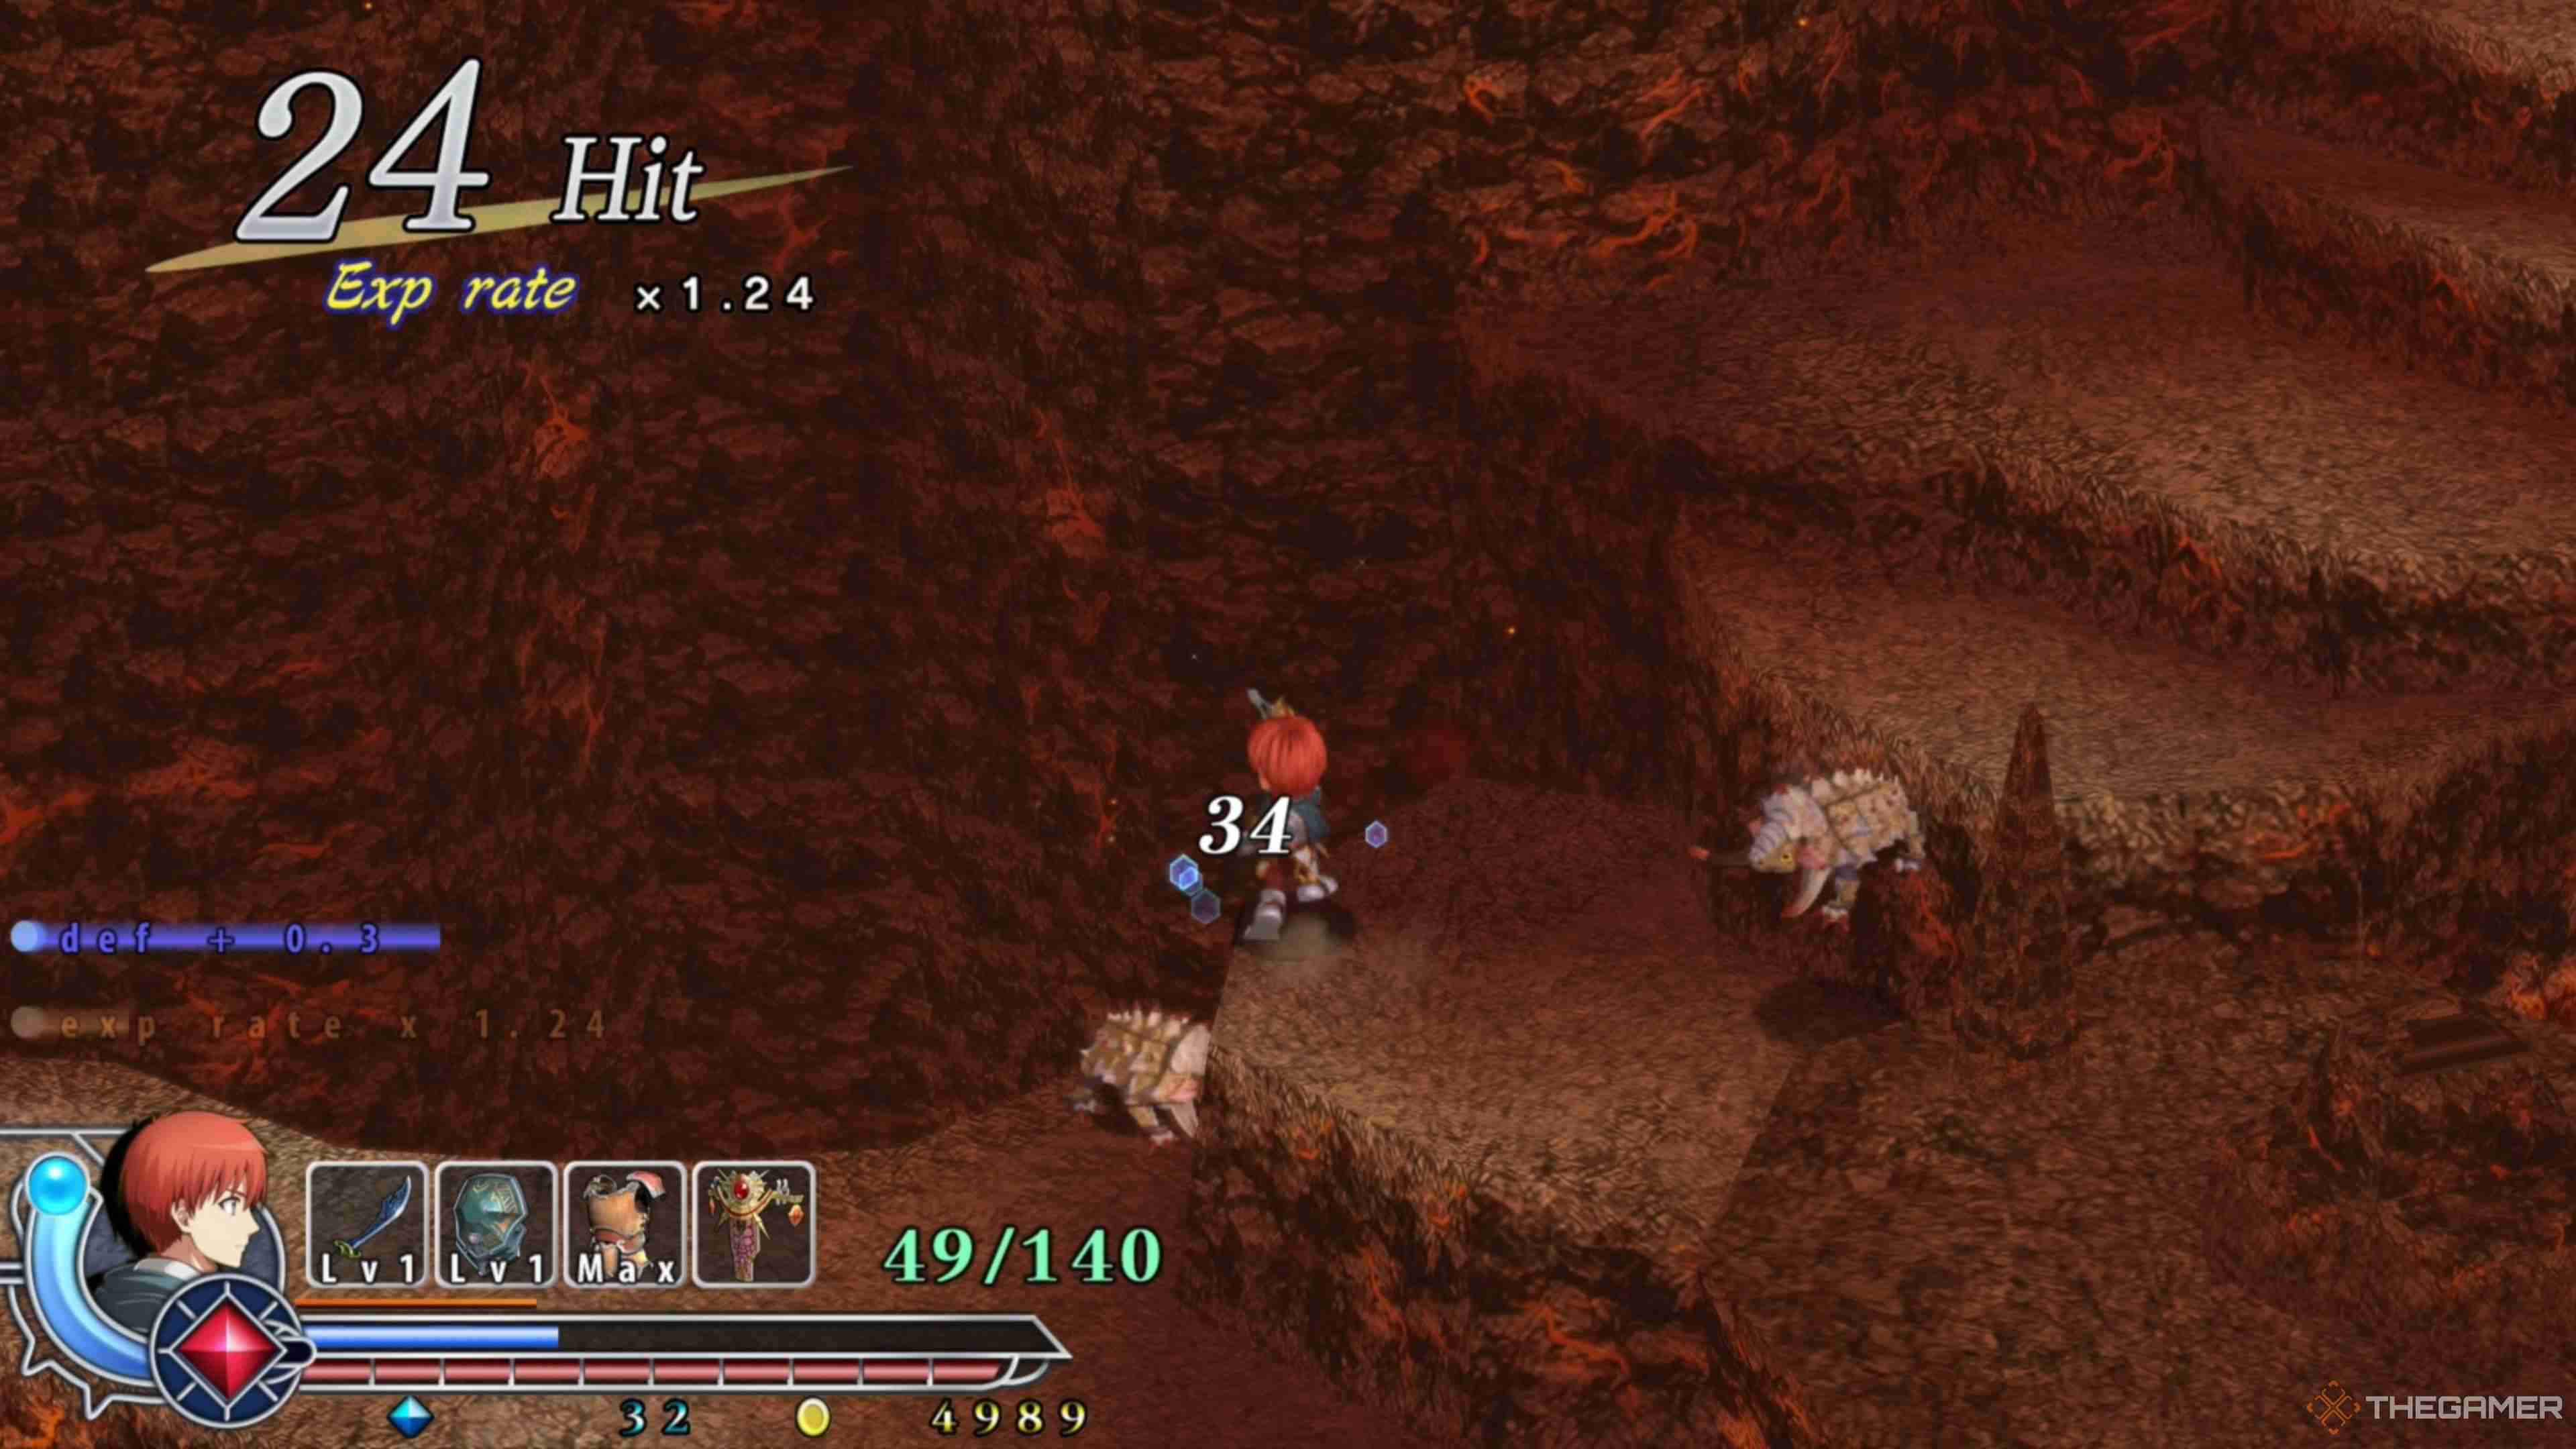
Next, you will want to keep following the pathway down until you run into two Almengers. Focus on one of them first, dodge the second's rolling attack, and then finish it off. Move a bit forward to encounter a Gewme and two more Almengers. We recommend focusing on the Gewme first, then taking care of the two Almengers like before.
Head further downward until you run into two more Almengers, which you know how to deal with by this point. A bit further down will be two Gewmes, which you've dealt with before, so eliminate them and continue downward. You will eventually reach a stone walkway, which will take you to the next area!
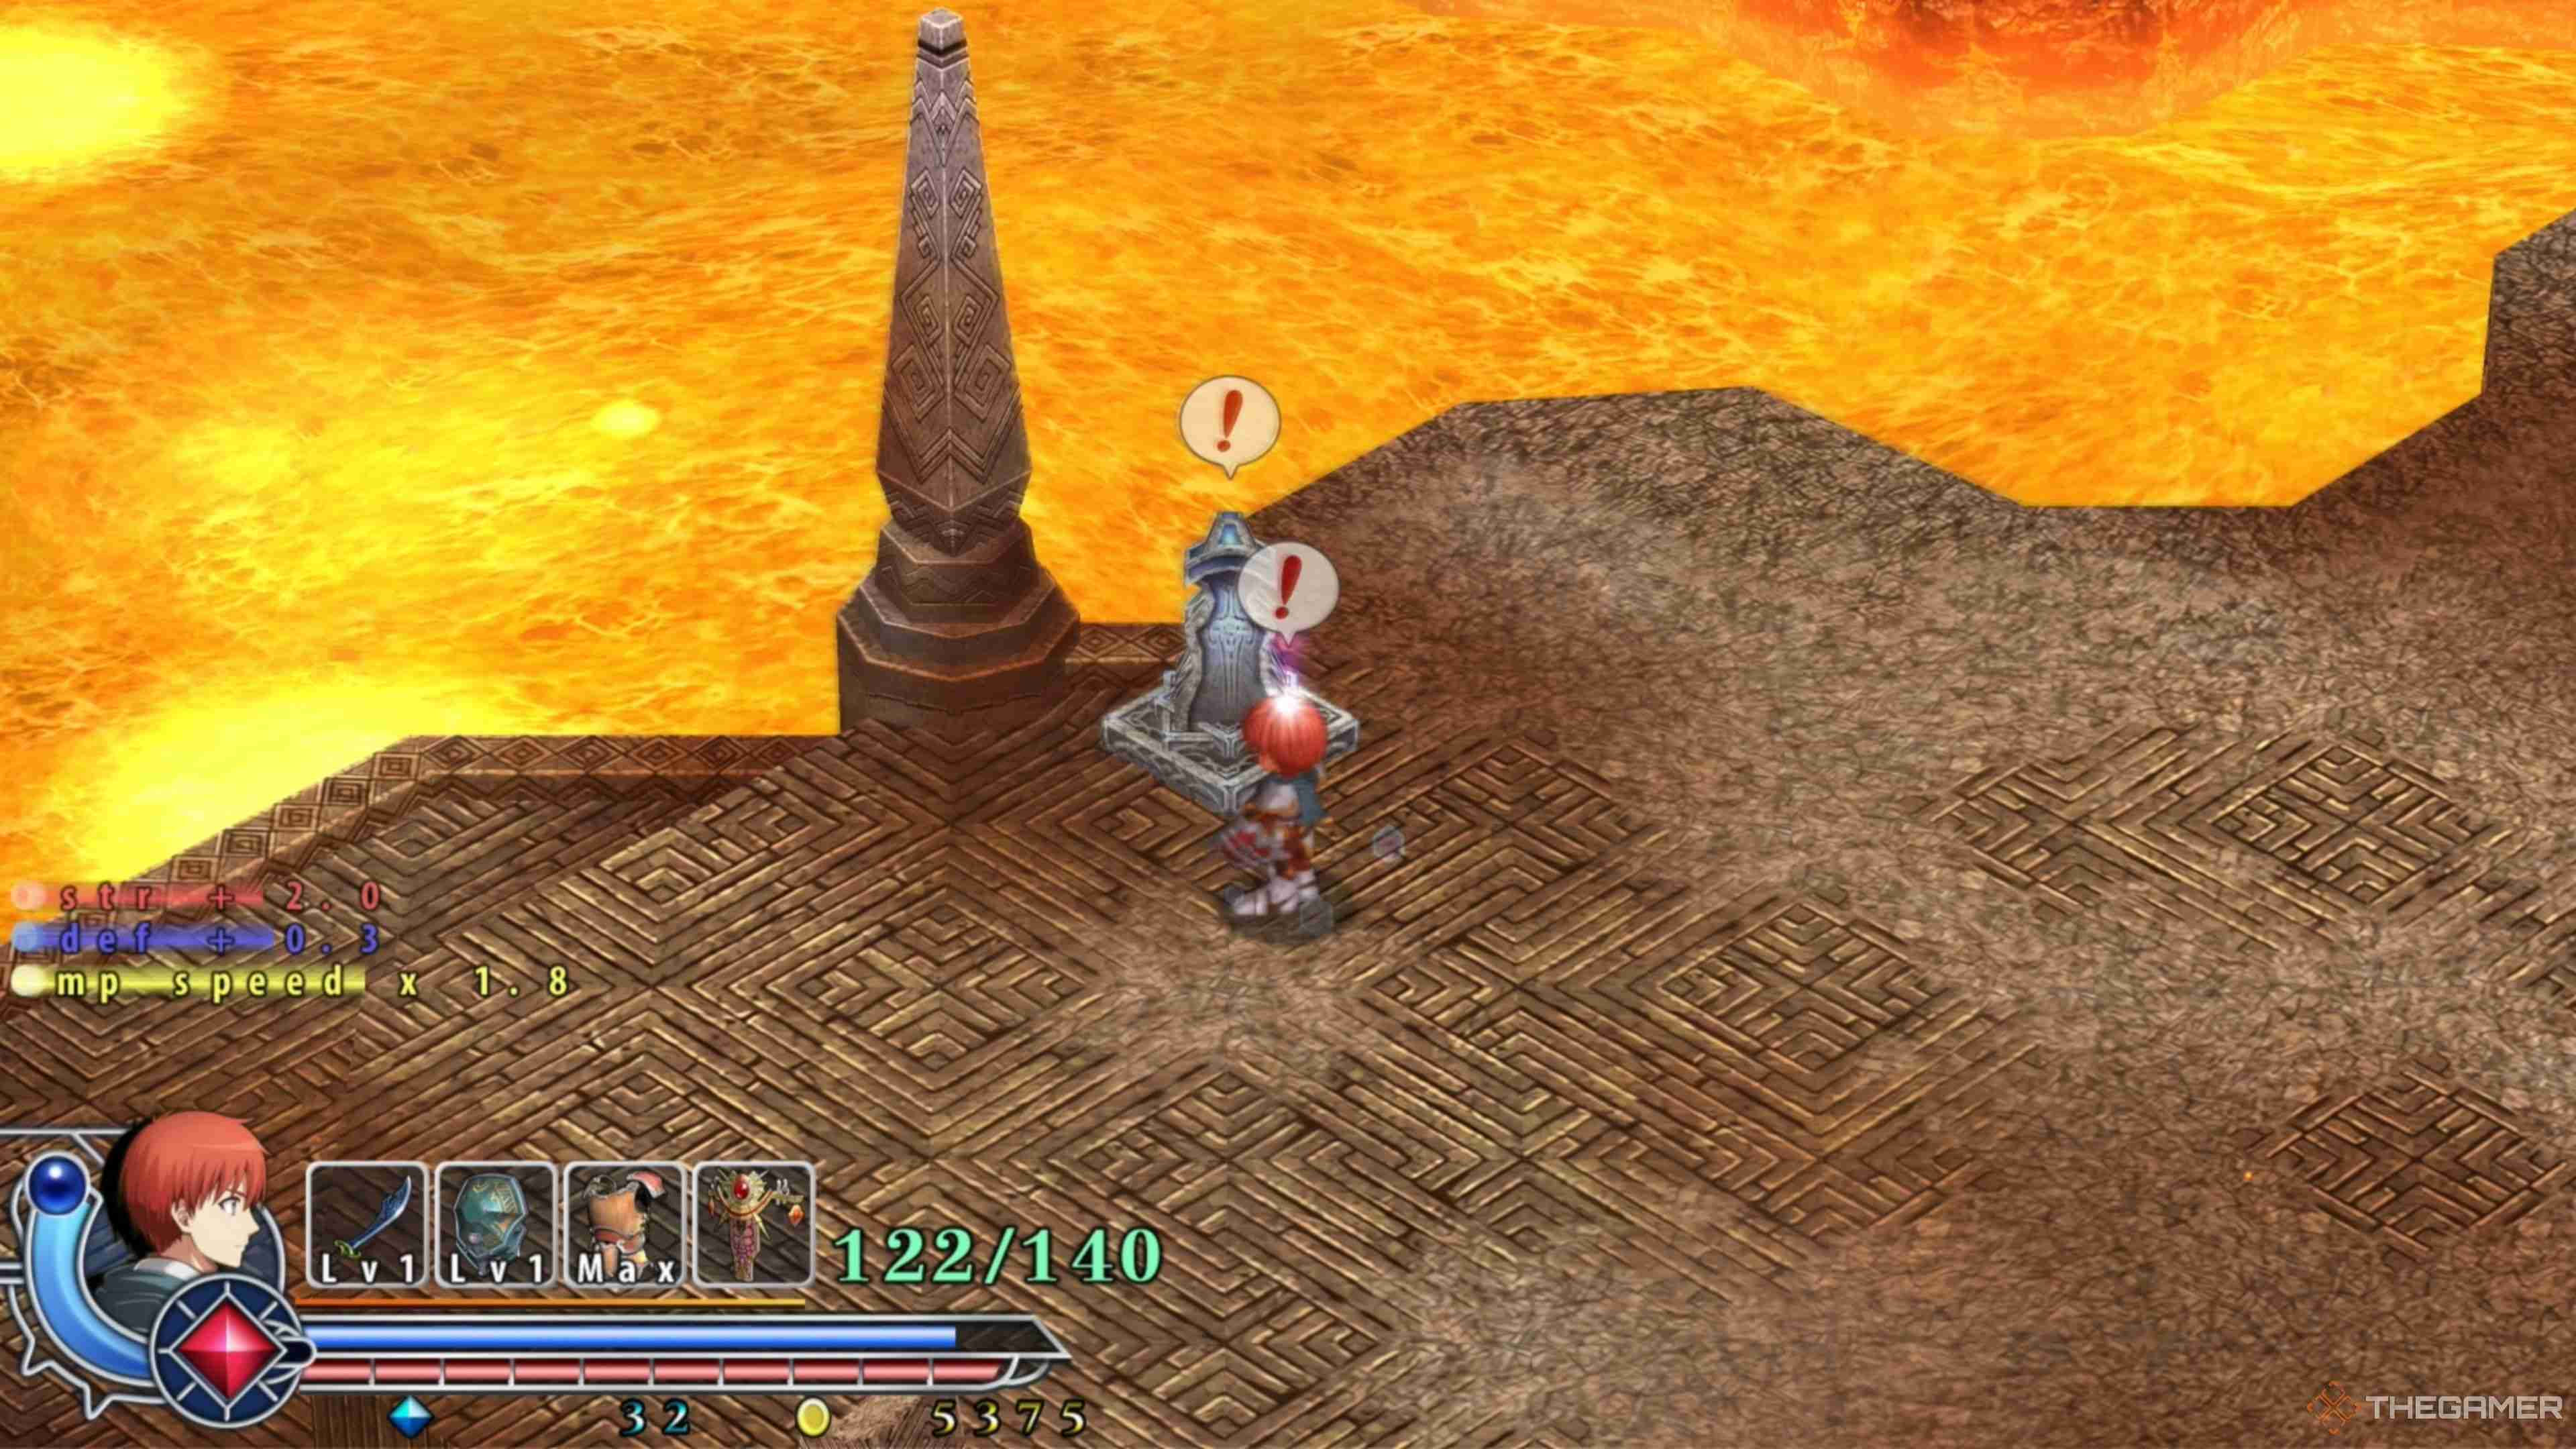
The stone pathway will eventually lead you to a new Travel Monument within the Zone of Lava, allowing you to Save your progress and replenish Adol's HP. From here, take the West Path and follow it out into the next area to progress further through the dungeon. This is where things start getting interesting!
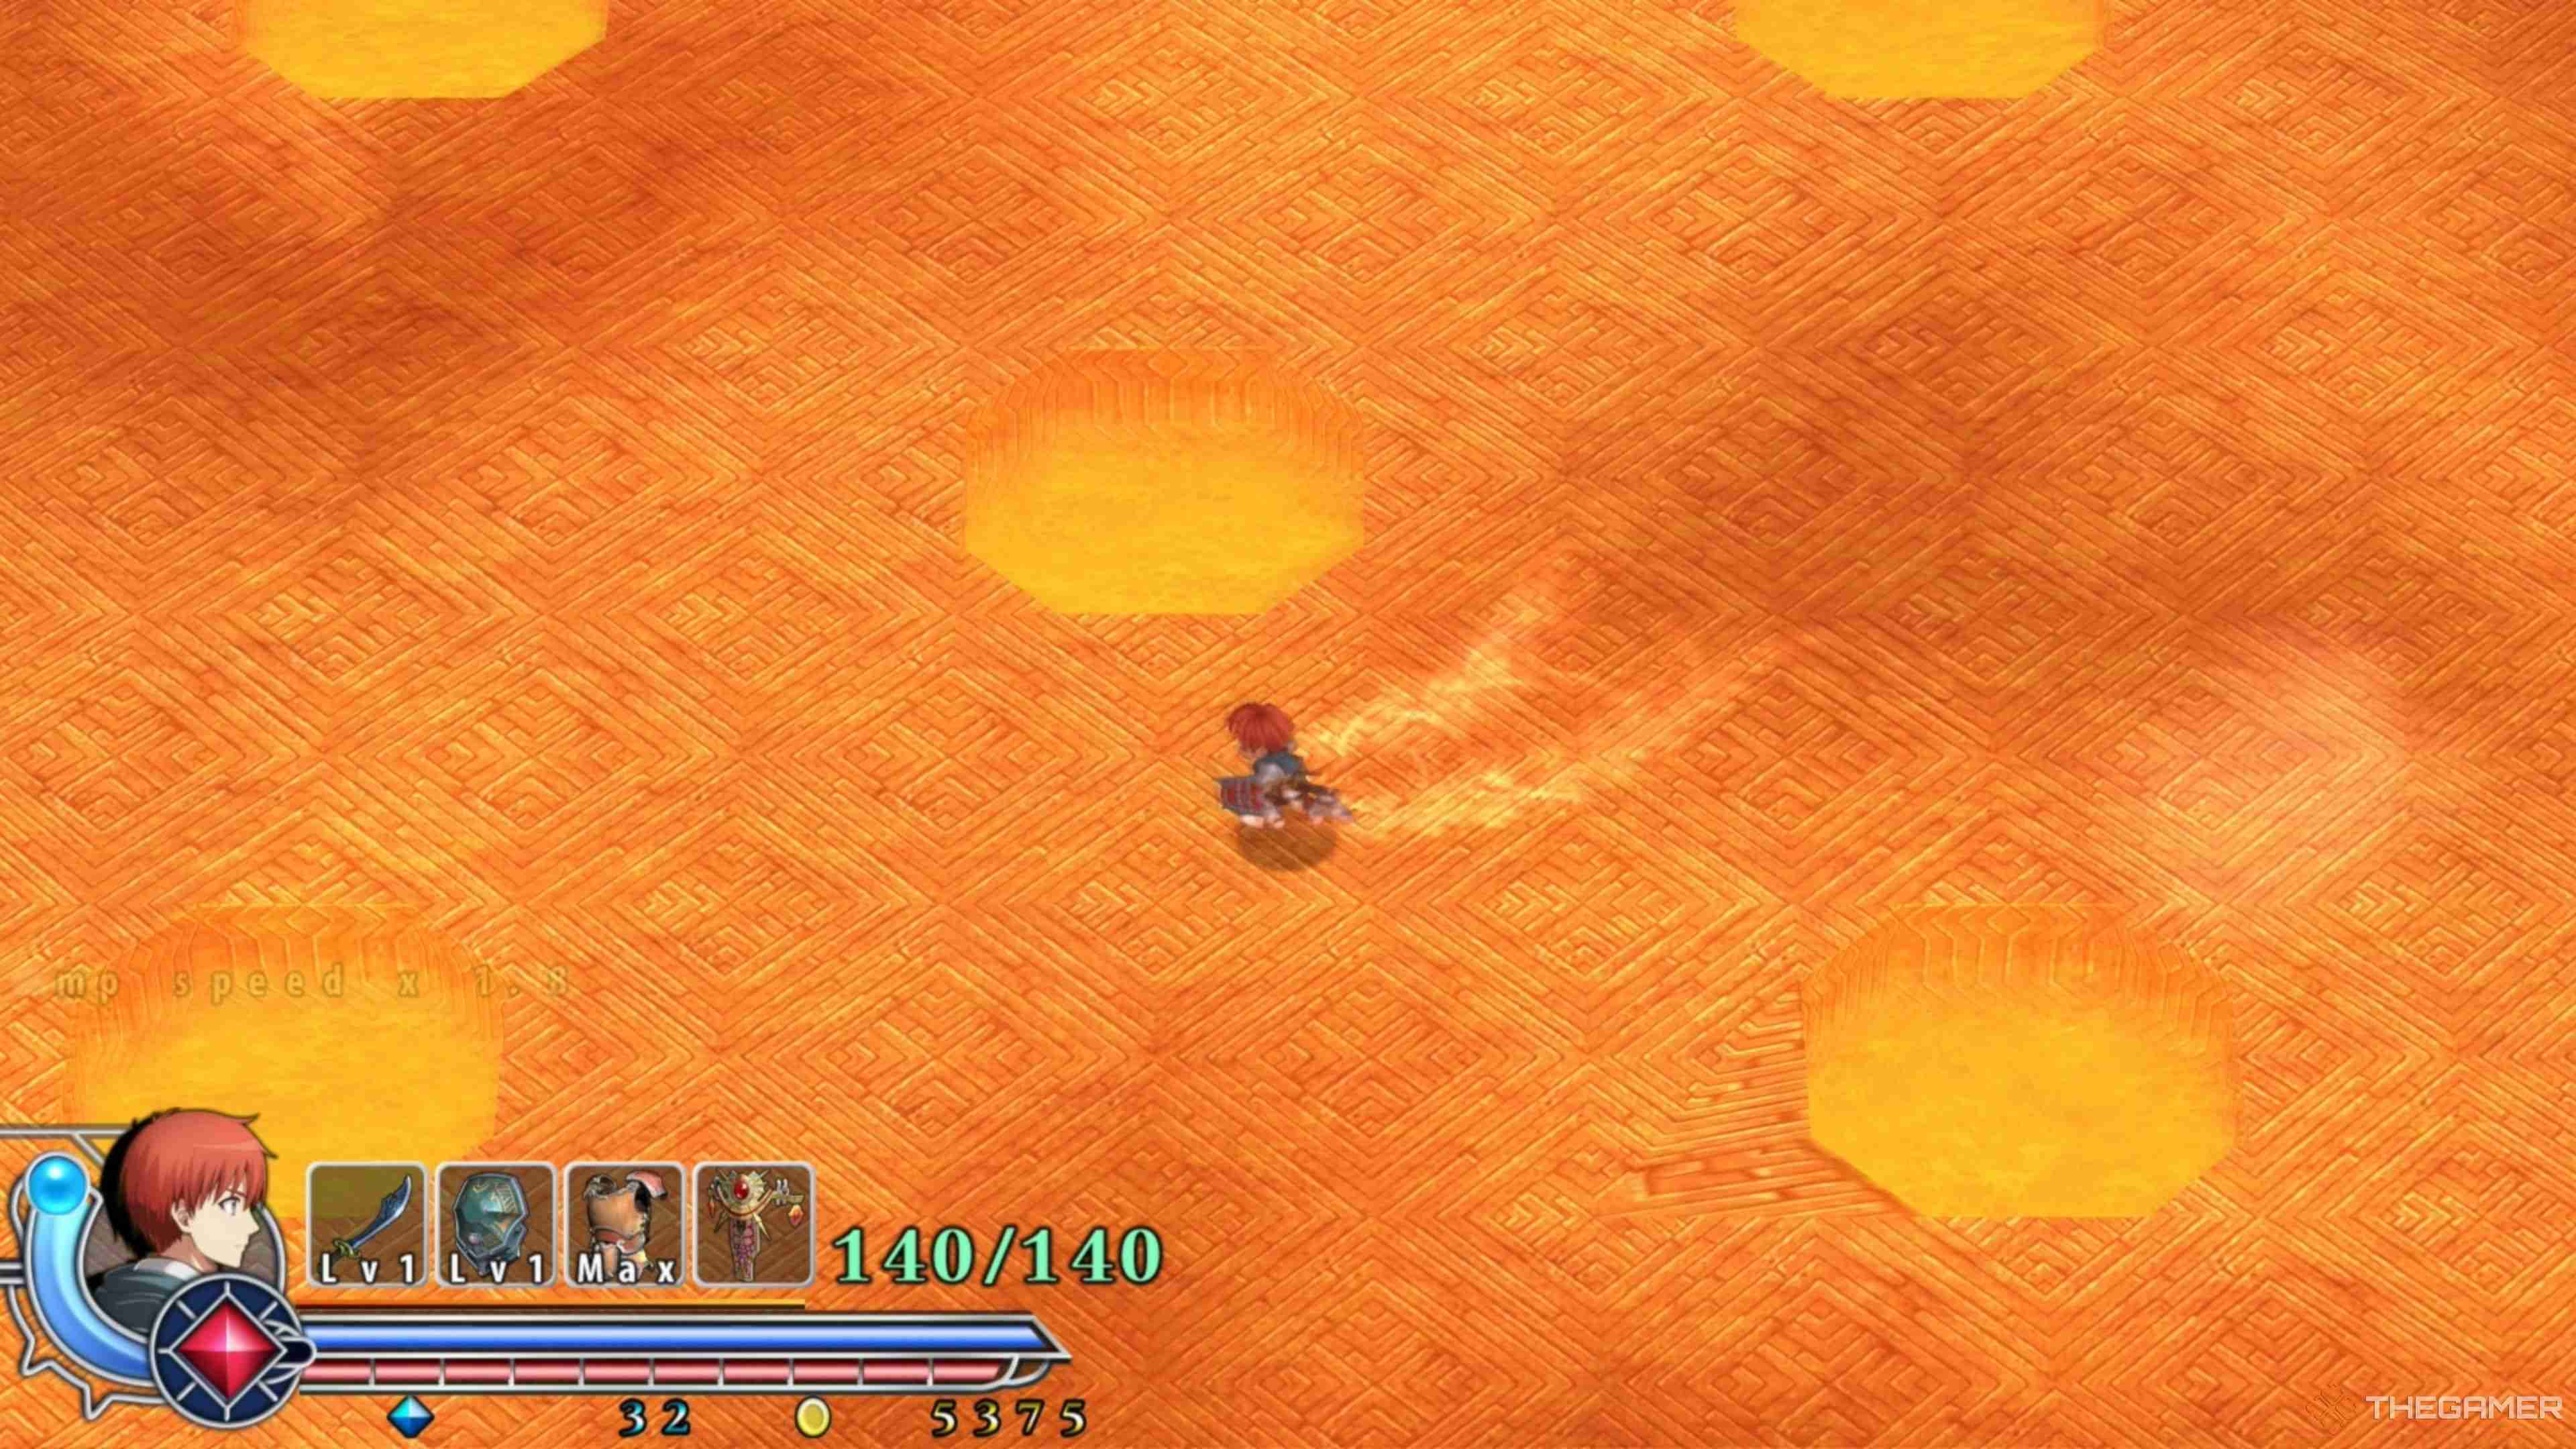
Surprise, you're in another shallow pit of lava, this time with large craters in the floor, meaning you will take damage if you fall into them. So, avoid doing that, and go to the bottom left corner of the room and into the next area. Here, you will still be in a shallow pool of lava but will be on a much narrower pathway.
Run along this excessively long pathway until you reach elevated platforms above the lava. Jump up the platforms and run up the stone staircase to find the Ventus Bracelet sitting on an altar. Grab the Bracelet to have Dularn appear and listen to the dialogue play out from here.
When Dularn leaves, open your Equipment Menu and select the Ventus Bracelet as your primary Bracelet, as you will need it. You can also press L1/LB to quickly switch between your Bracelets outside the menu to make it easier. From here, begin making your way back to the Travel Monument!
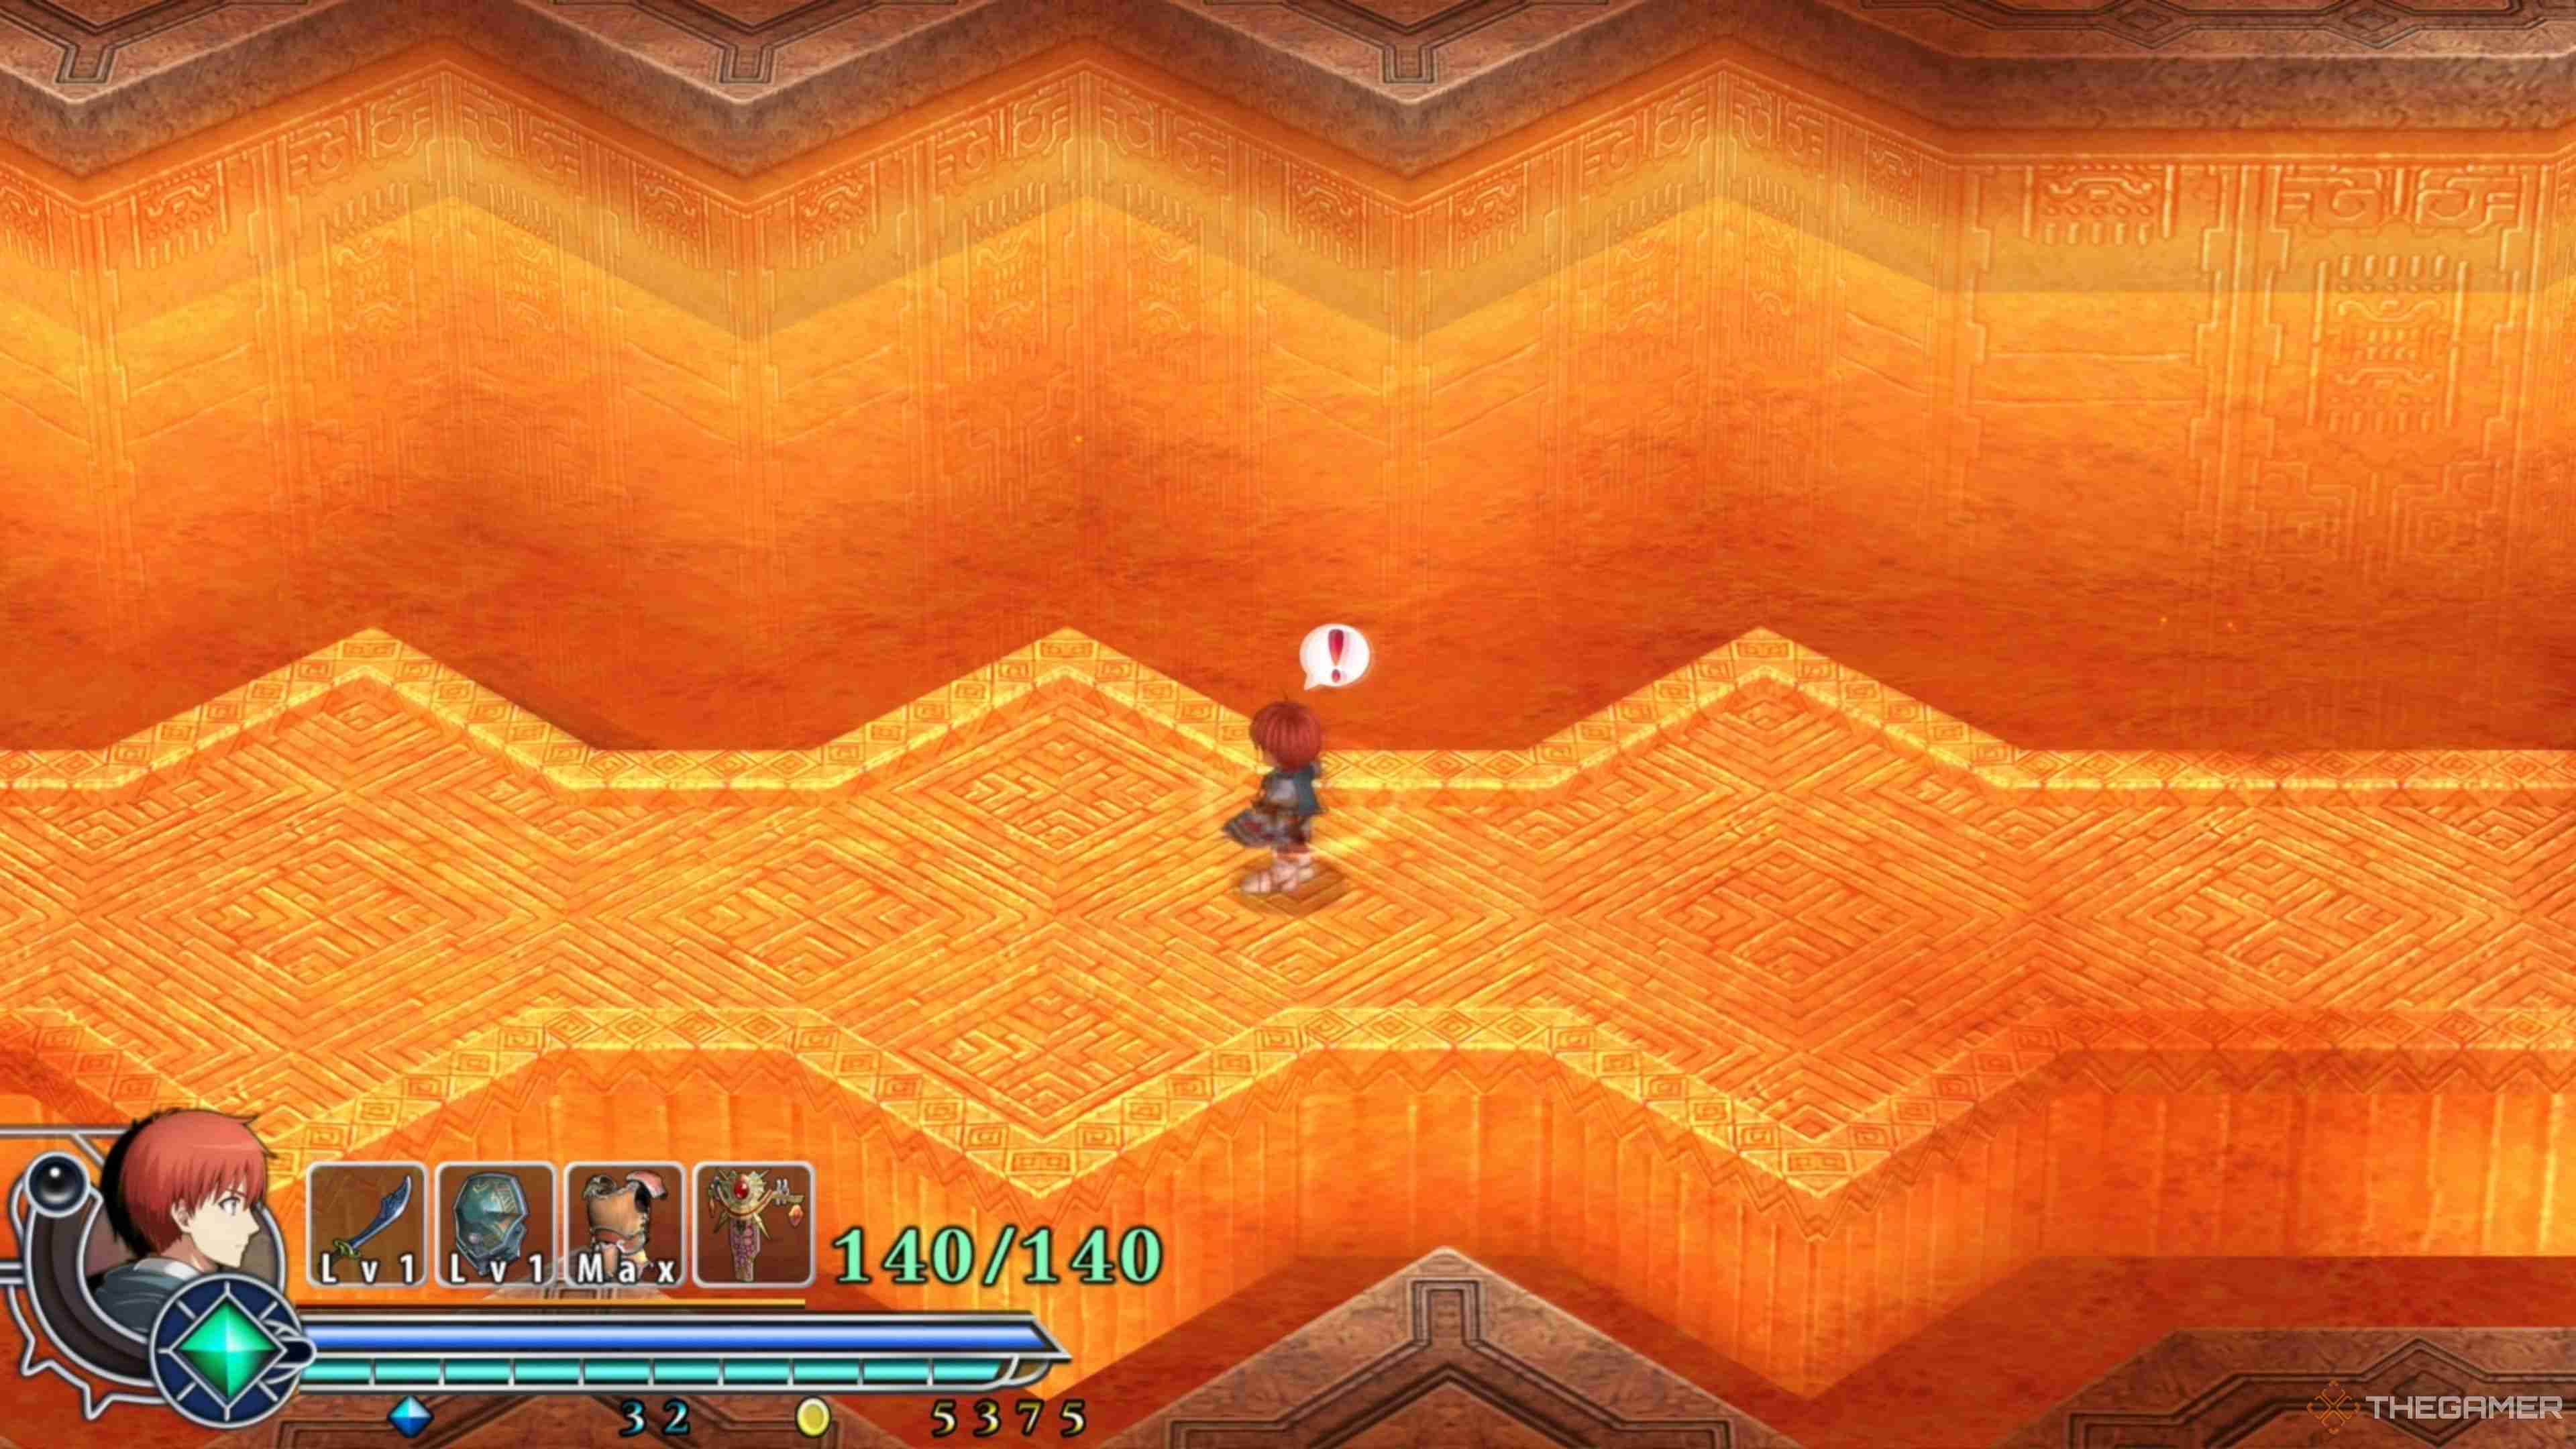
On your way back to the Travel Monument, Adol will stop and inspect a sudden loud noise behind him as lava begins flooding in, forcing him to hoof it ahead. From here, you will have to run straight ahead until you reach the area with the shallow lava and large craters that you passed by earlier, triggering the next big event!
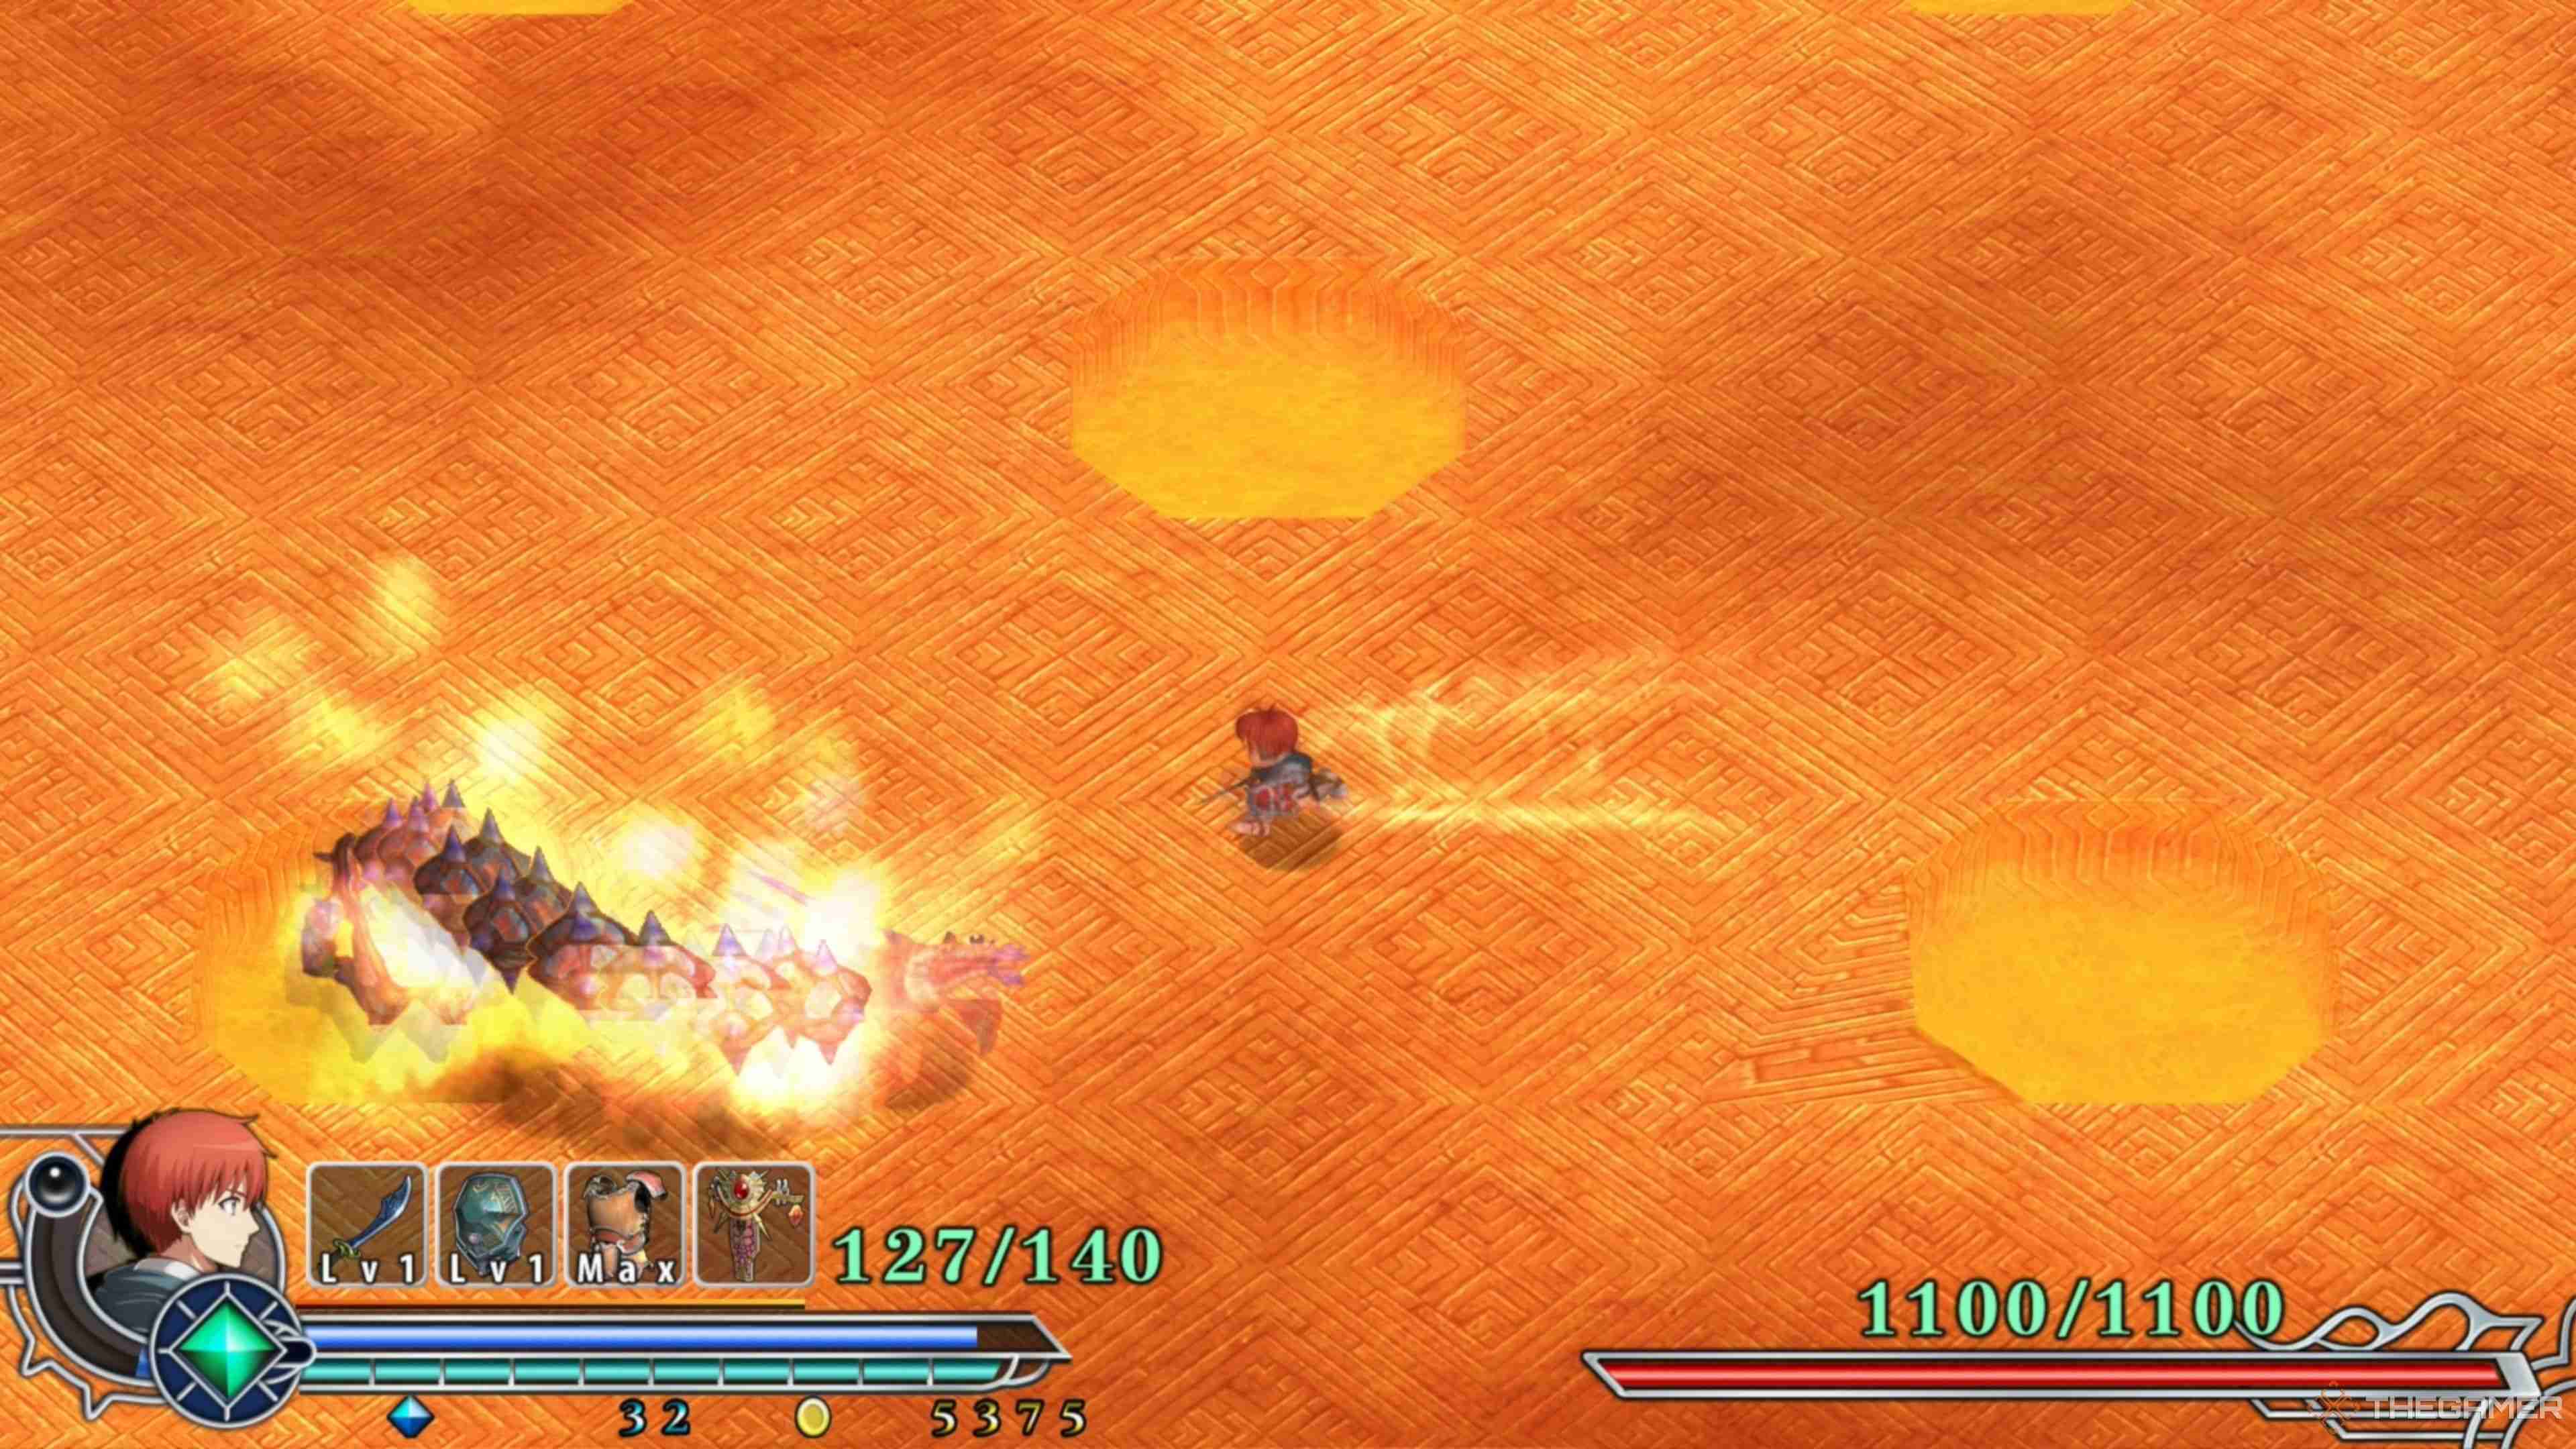
Reaching the large room with shallow lava covering its ground and large craters throughout, you will suddenly be ambushed by Guilen, instantly starting the first boss encounter of the dungeon. This encounter can be pretty challenging, but your new Ventus Bracelet will come in clutch.
If you need a more detailed breakdown of Guilen and how to overcome this encounter, we have a complete guide on this fight here that will allow you to best him in no time. Upon defeating Guilen, hop up on the platform that leads toward the Travel Monument, Save your progress, and then begin backtracking!
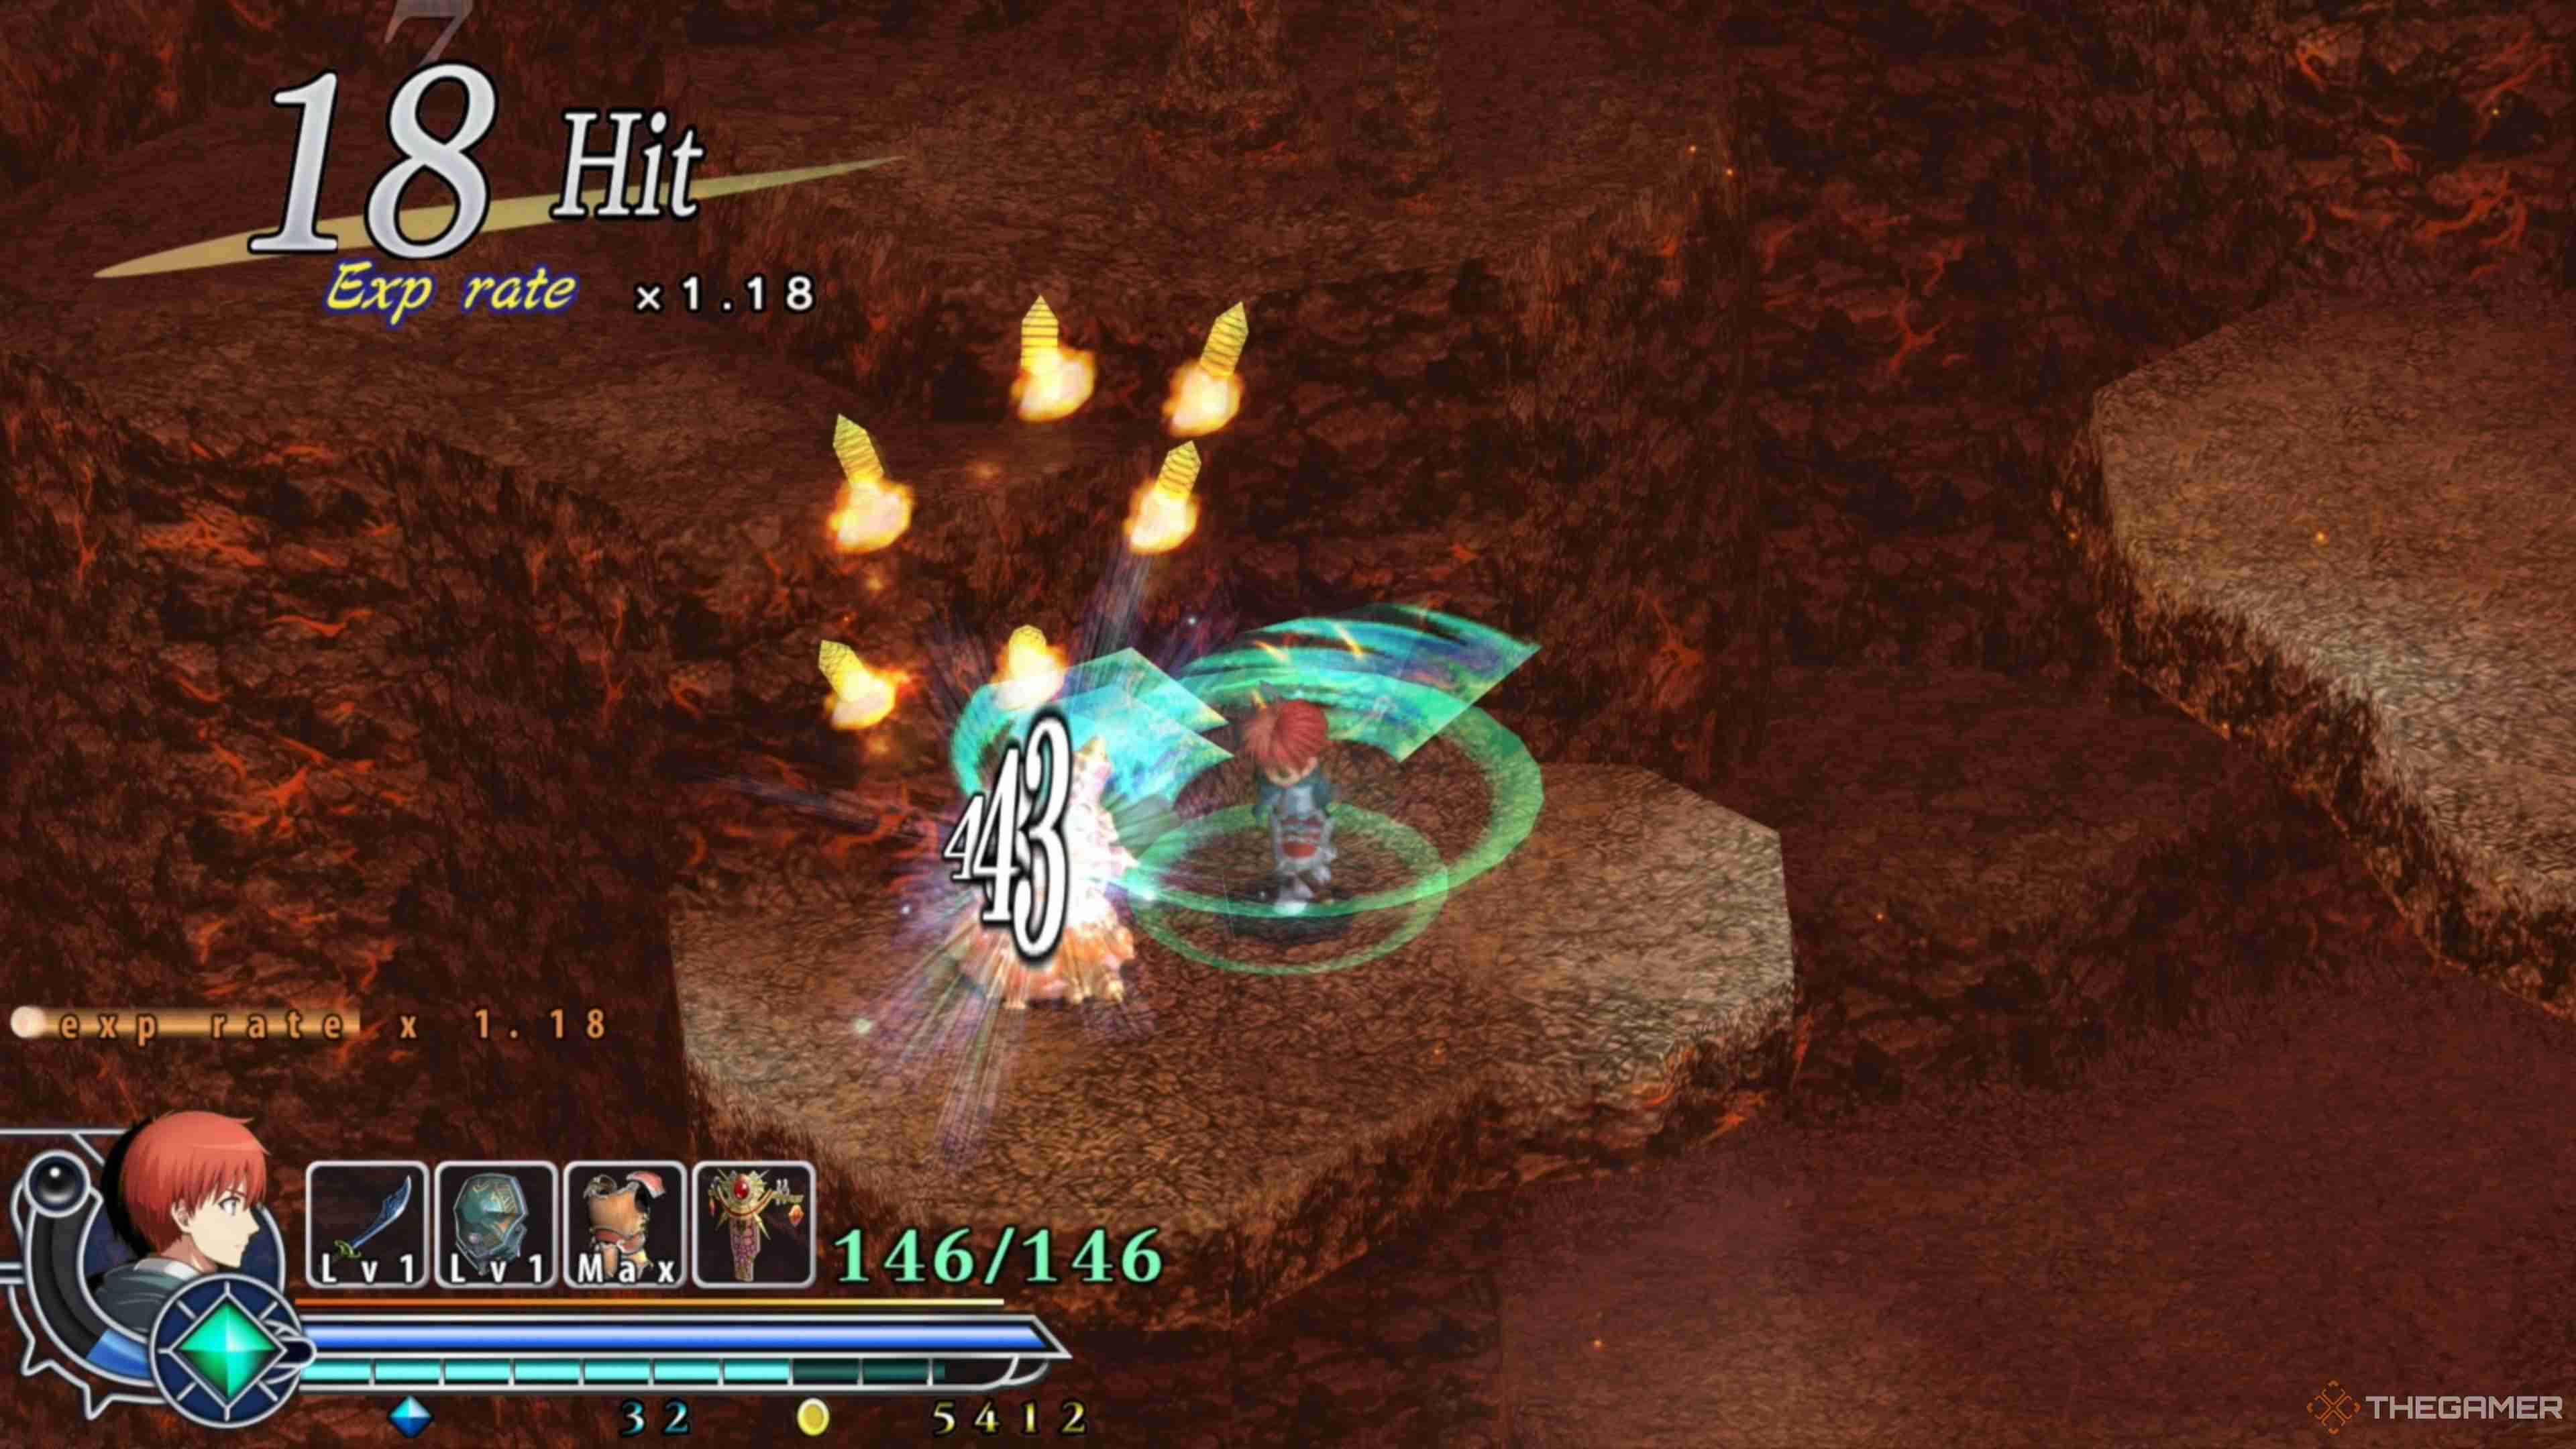
Now that you have defeated Guilen begin backtracking from the Travel Monument by heading north and into the next room. You will now be in the section with nothing but Almengers and Gewmes, so begin picking them off and jump up the elevated platforms until you reach the exit.
Push forward a bit more until you're just before the first shallow lava area to encounter a new enemy type, the Kelzarl, an evolved version of the Zual that perpetually emits fire from its body. We recommend using your Ventus Bracelet to deal with them, as it will substantially damage them and help prevent you from taking damage.
From here, move down into the shallow lava and follow the pathway into the central area, taking the stairs on the right. Once here, follow the walkway around the large pit you jumped into at the start of the dungeon and begin making your way to the starting area yet again!
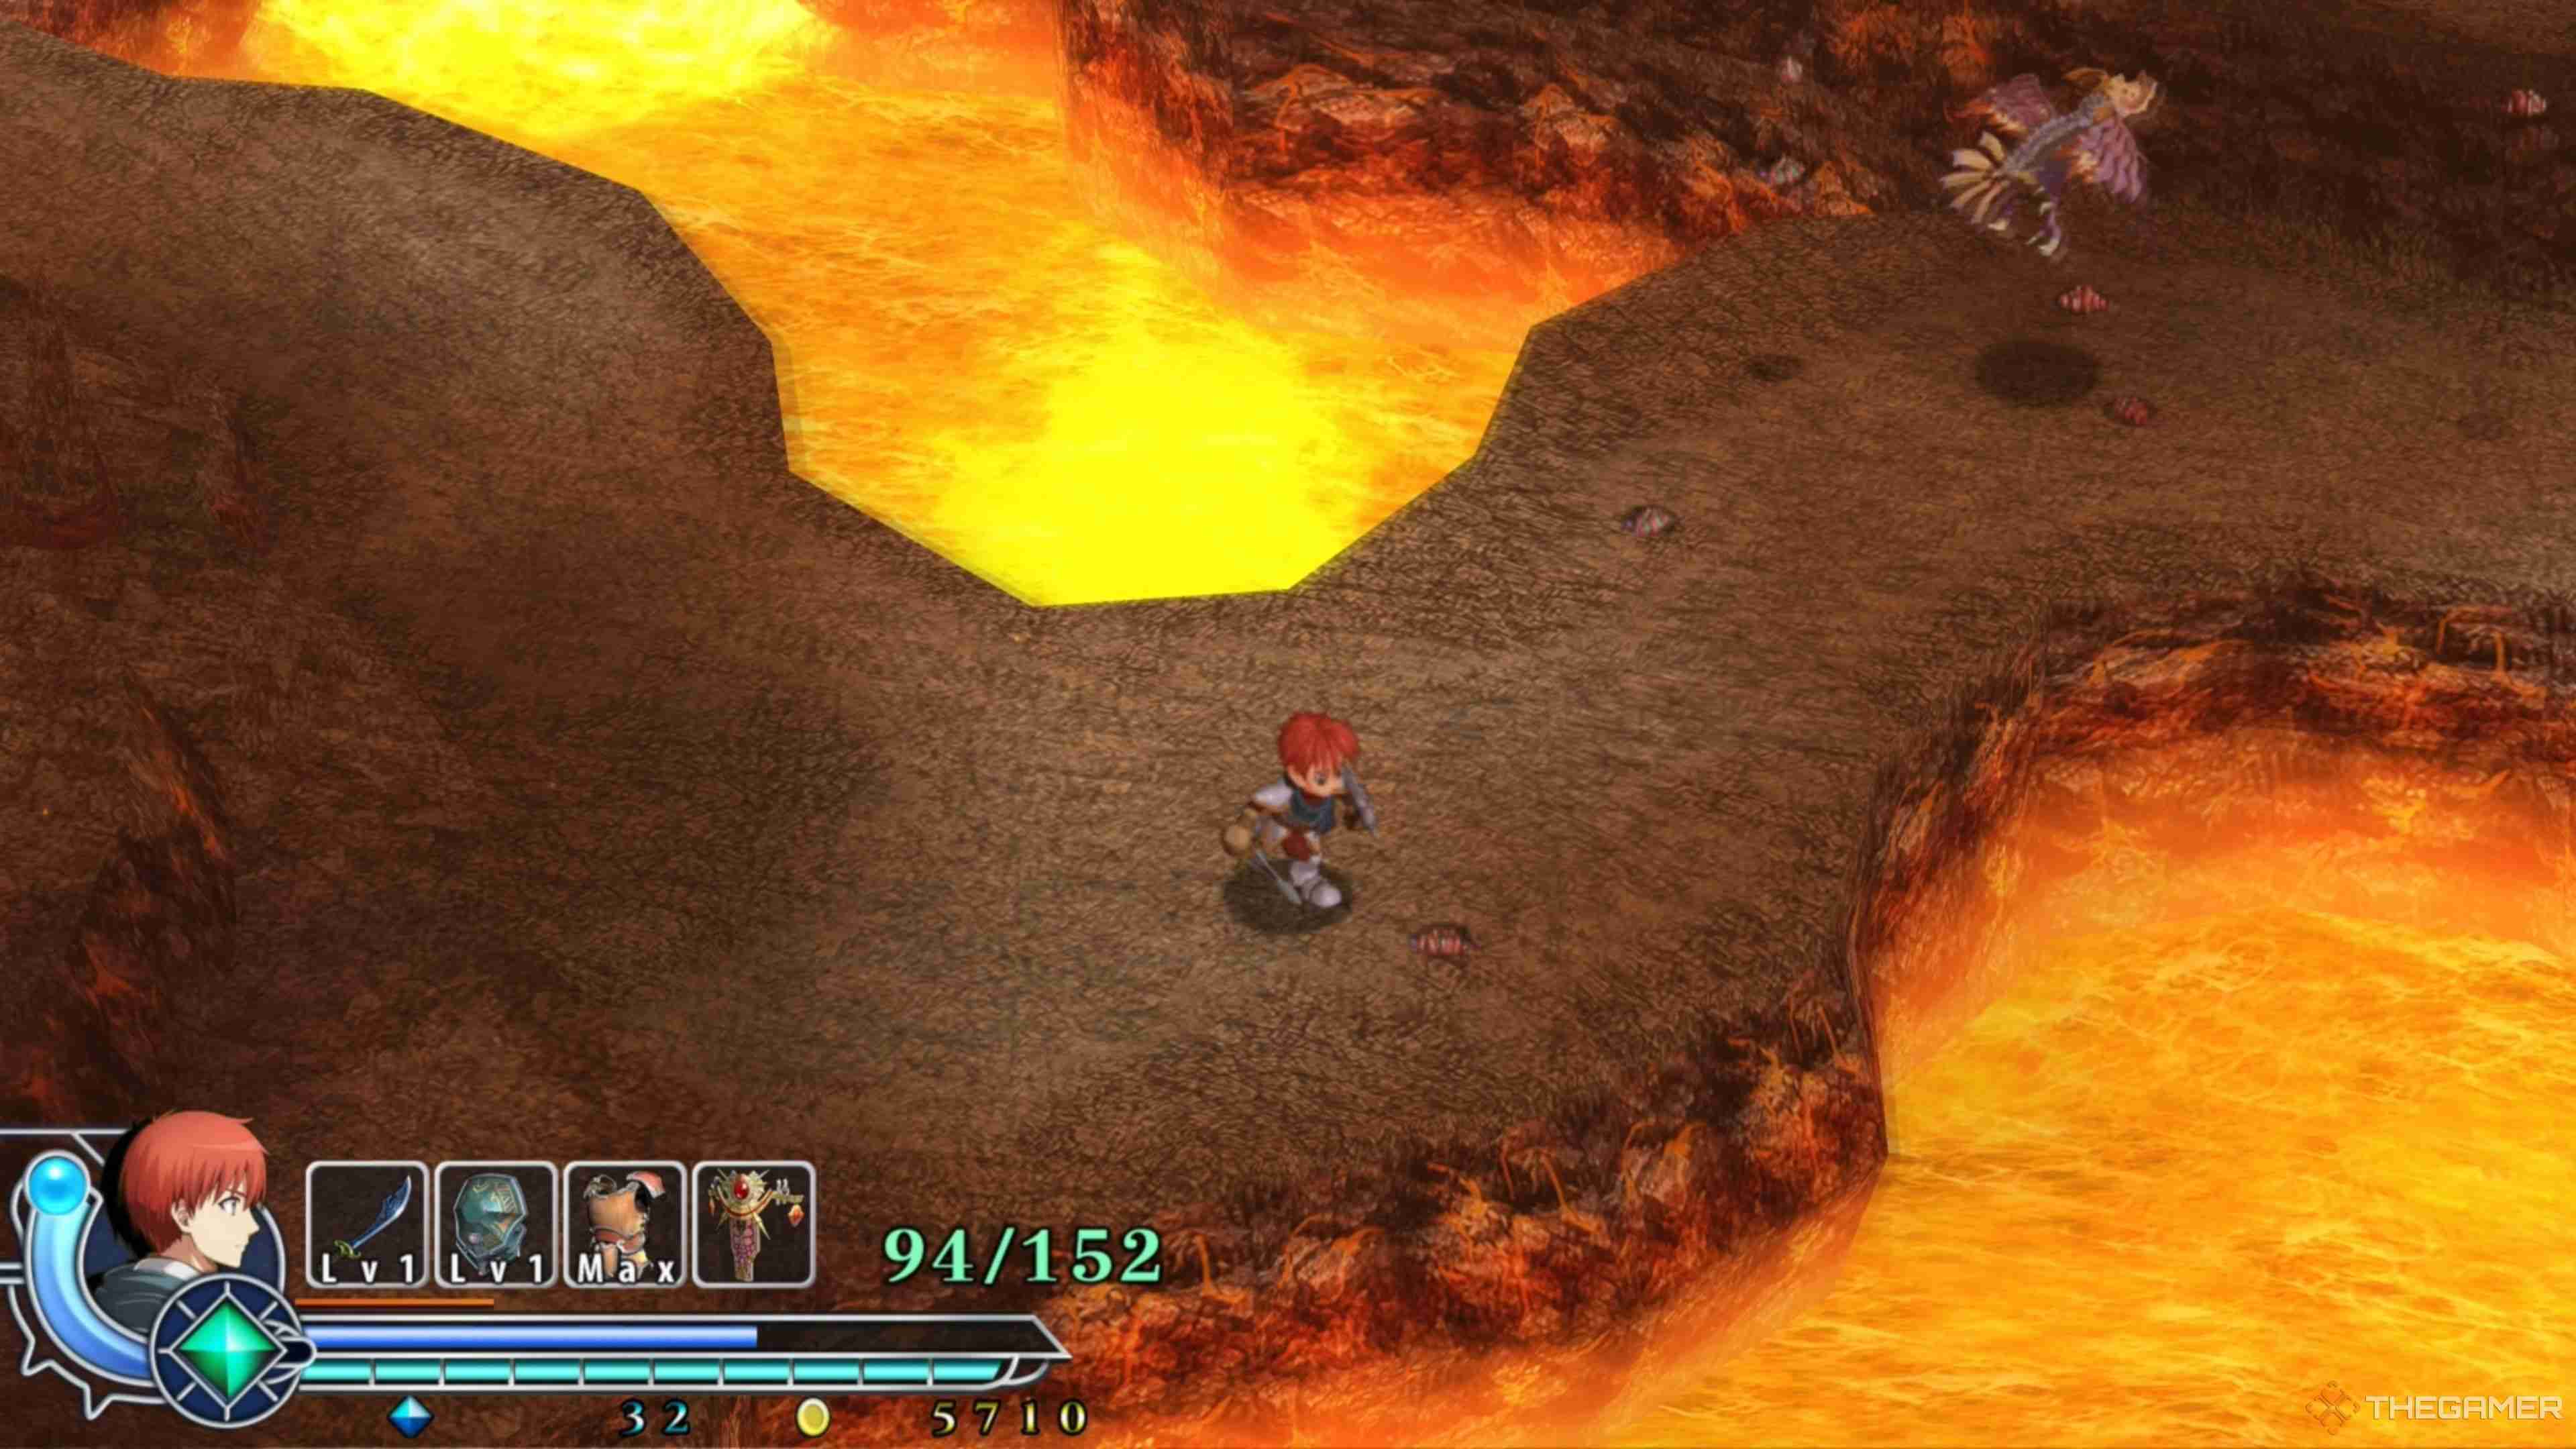
As you make your way back toward the starting area of the Zone of Lava, you will notice that a few things have changed since you left. Not only are the Zowns no longer here, but the area is now loaded with Mozgouz (the enemy we told you to avoid earlier) and Kelzarls.
Thankfully, you can finally take care of the swarms of Mozgouz with your trust Ventus Bracelet, allowing you to spin to win and obliterate all of them in just a few uses. We recommend focusing on the Mozouz first, as they will deal tons of damage if you aren't careful and can kill you in seconds.
Wiping out the Mozgouz and Kelzarls will allow you to push back into the Save Room you first landed in when starting this dungeon to Save your progress. Ensure you do this, as you are very close to escaping the Zone of Lava!
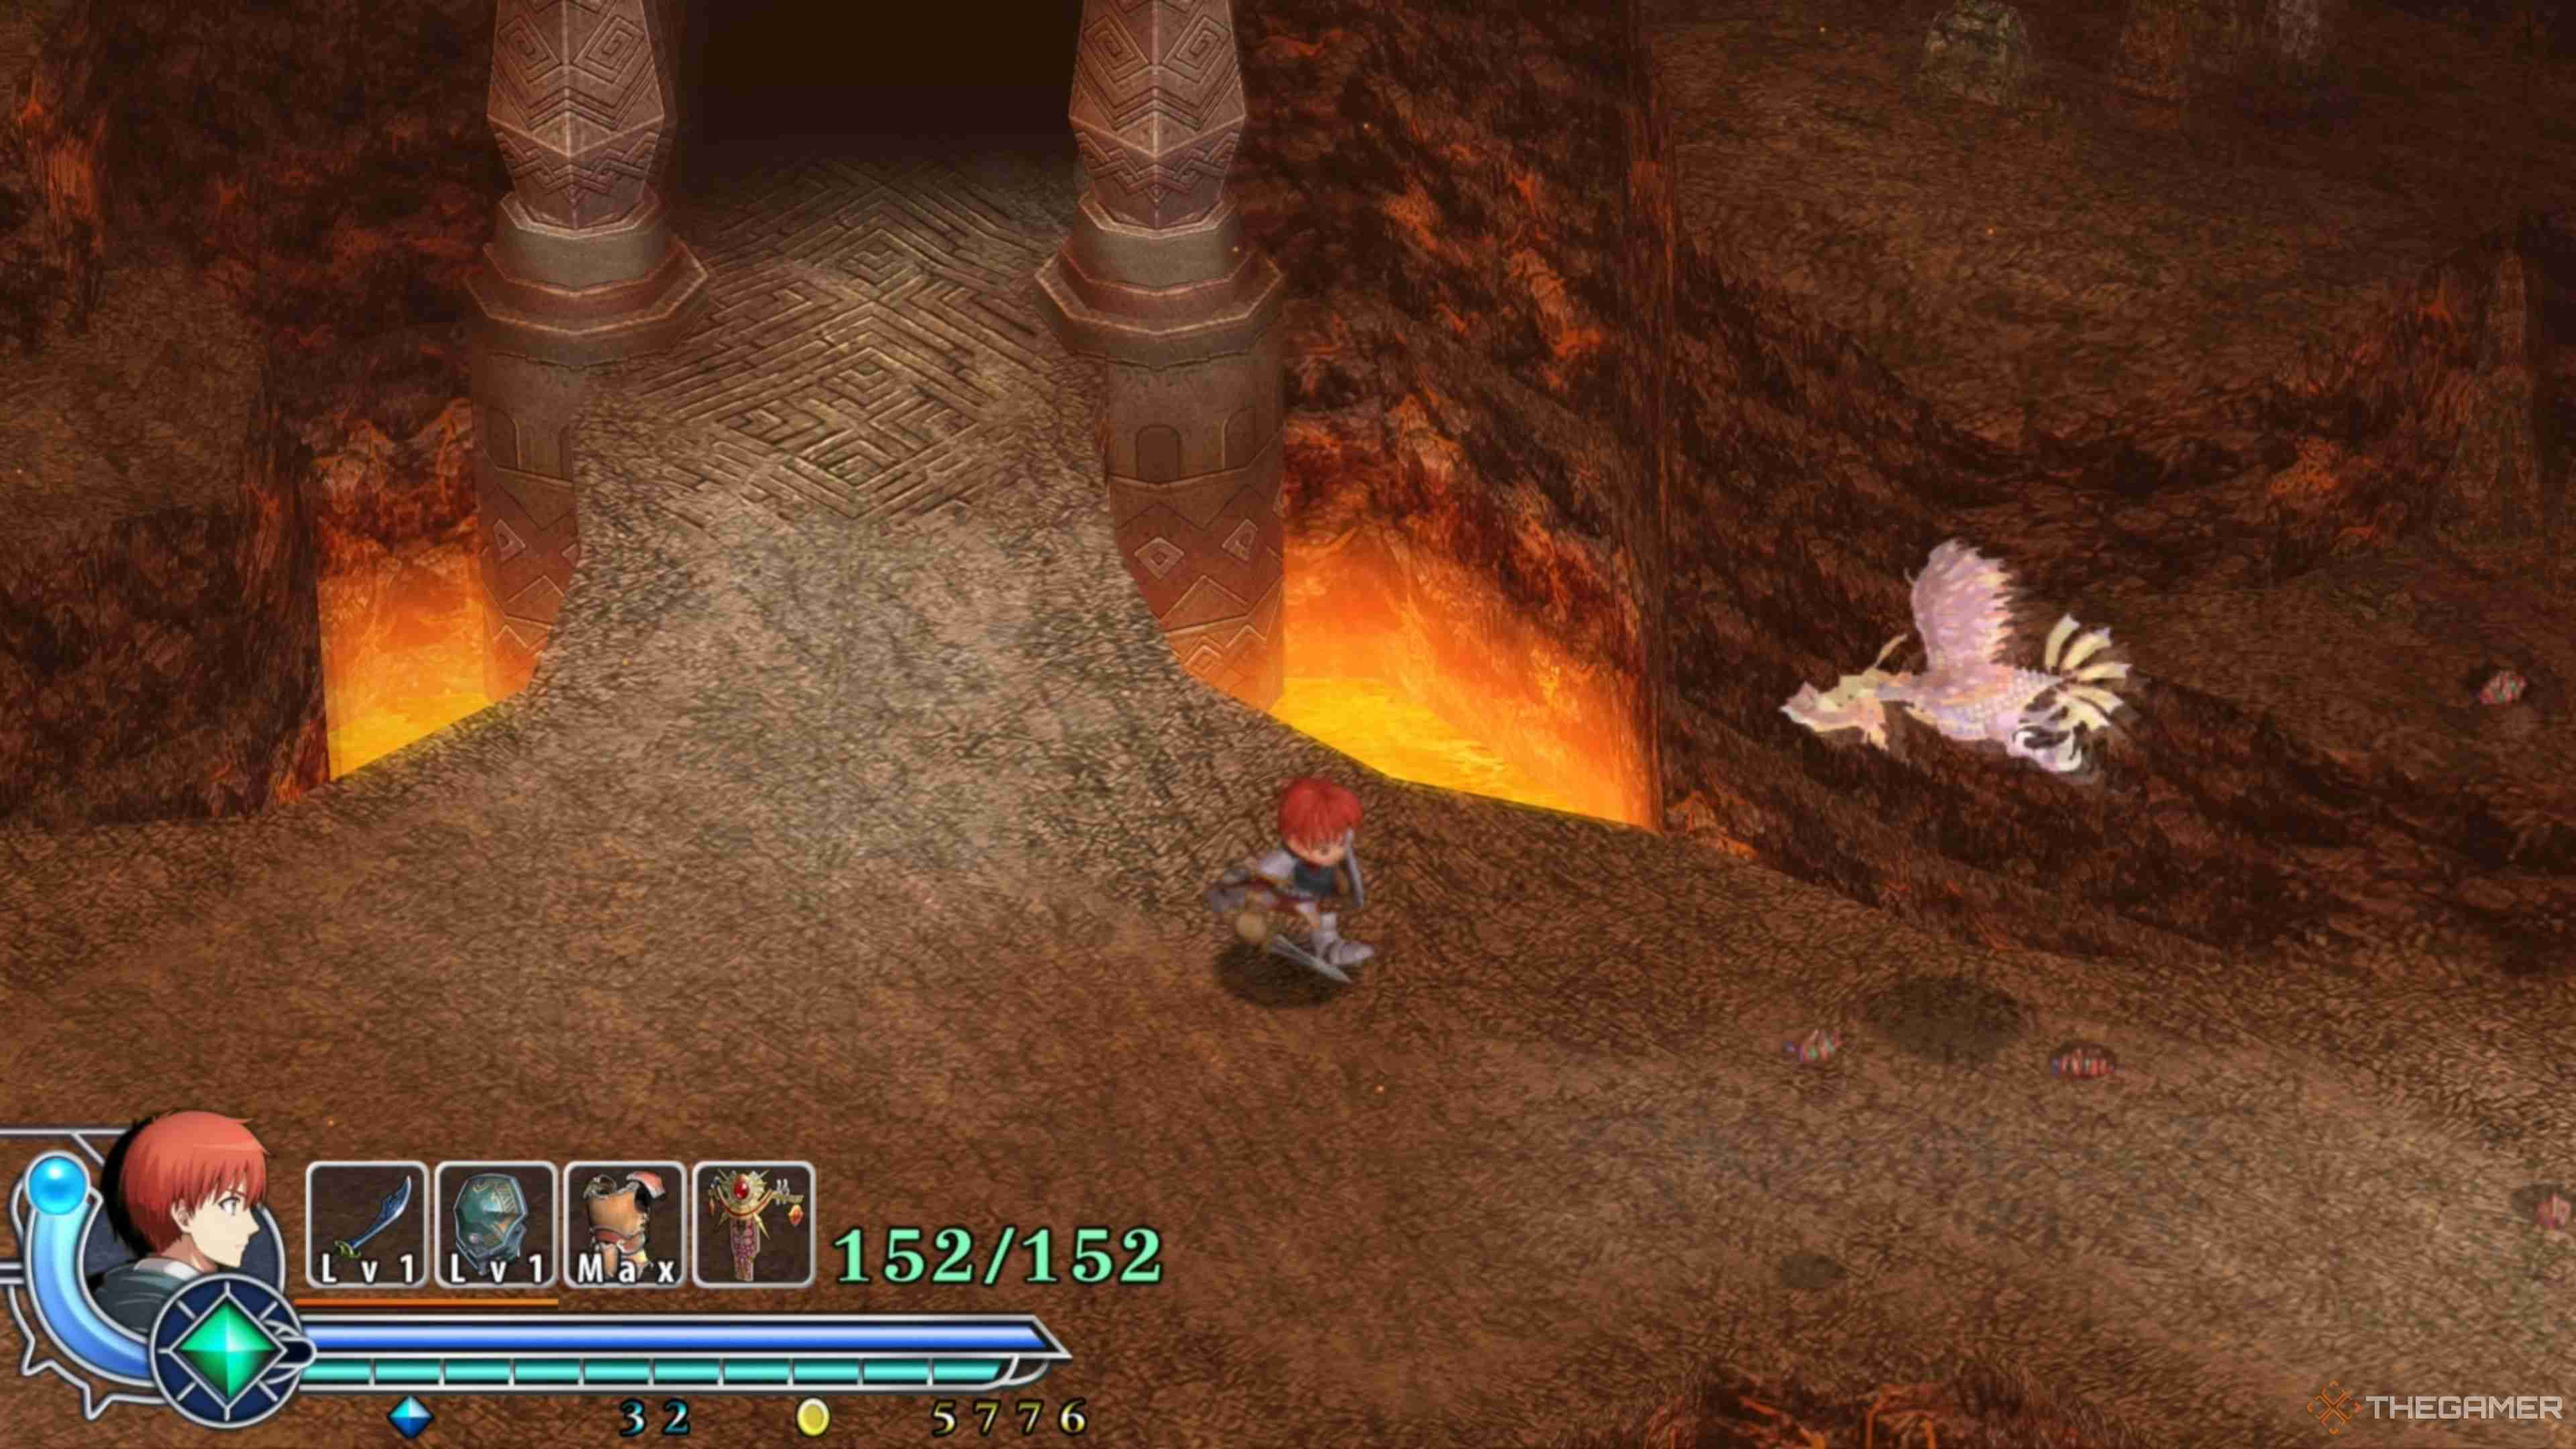
Exit the Save Room for, hopefully, the final time and take the right pathway this time around to run into another swarm of Mozgouz and a Kelzarl. Use your Ventus Bracelet to wipe them all out in a matter of seconds and clean up the stragglers before moving forward.
There will be a pathway that leads downward and another that leads on top of an elevated cliffside. Jump onto the cliffside, eliminate the Mozgouz and Kelzarl, and follow this pathway inside a cave. A lone Gewme will be inside the cave, so quickly eliminate it like always!
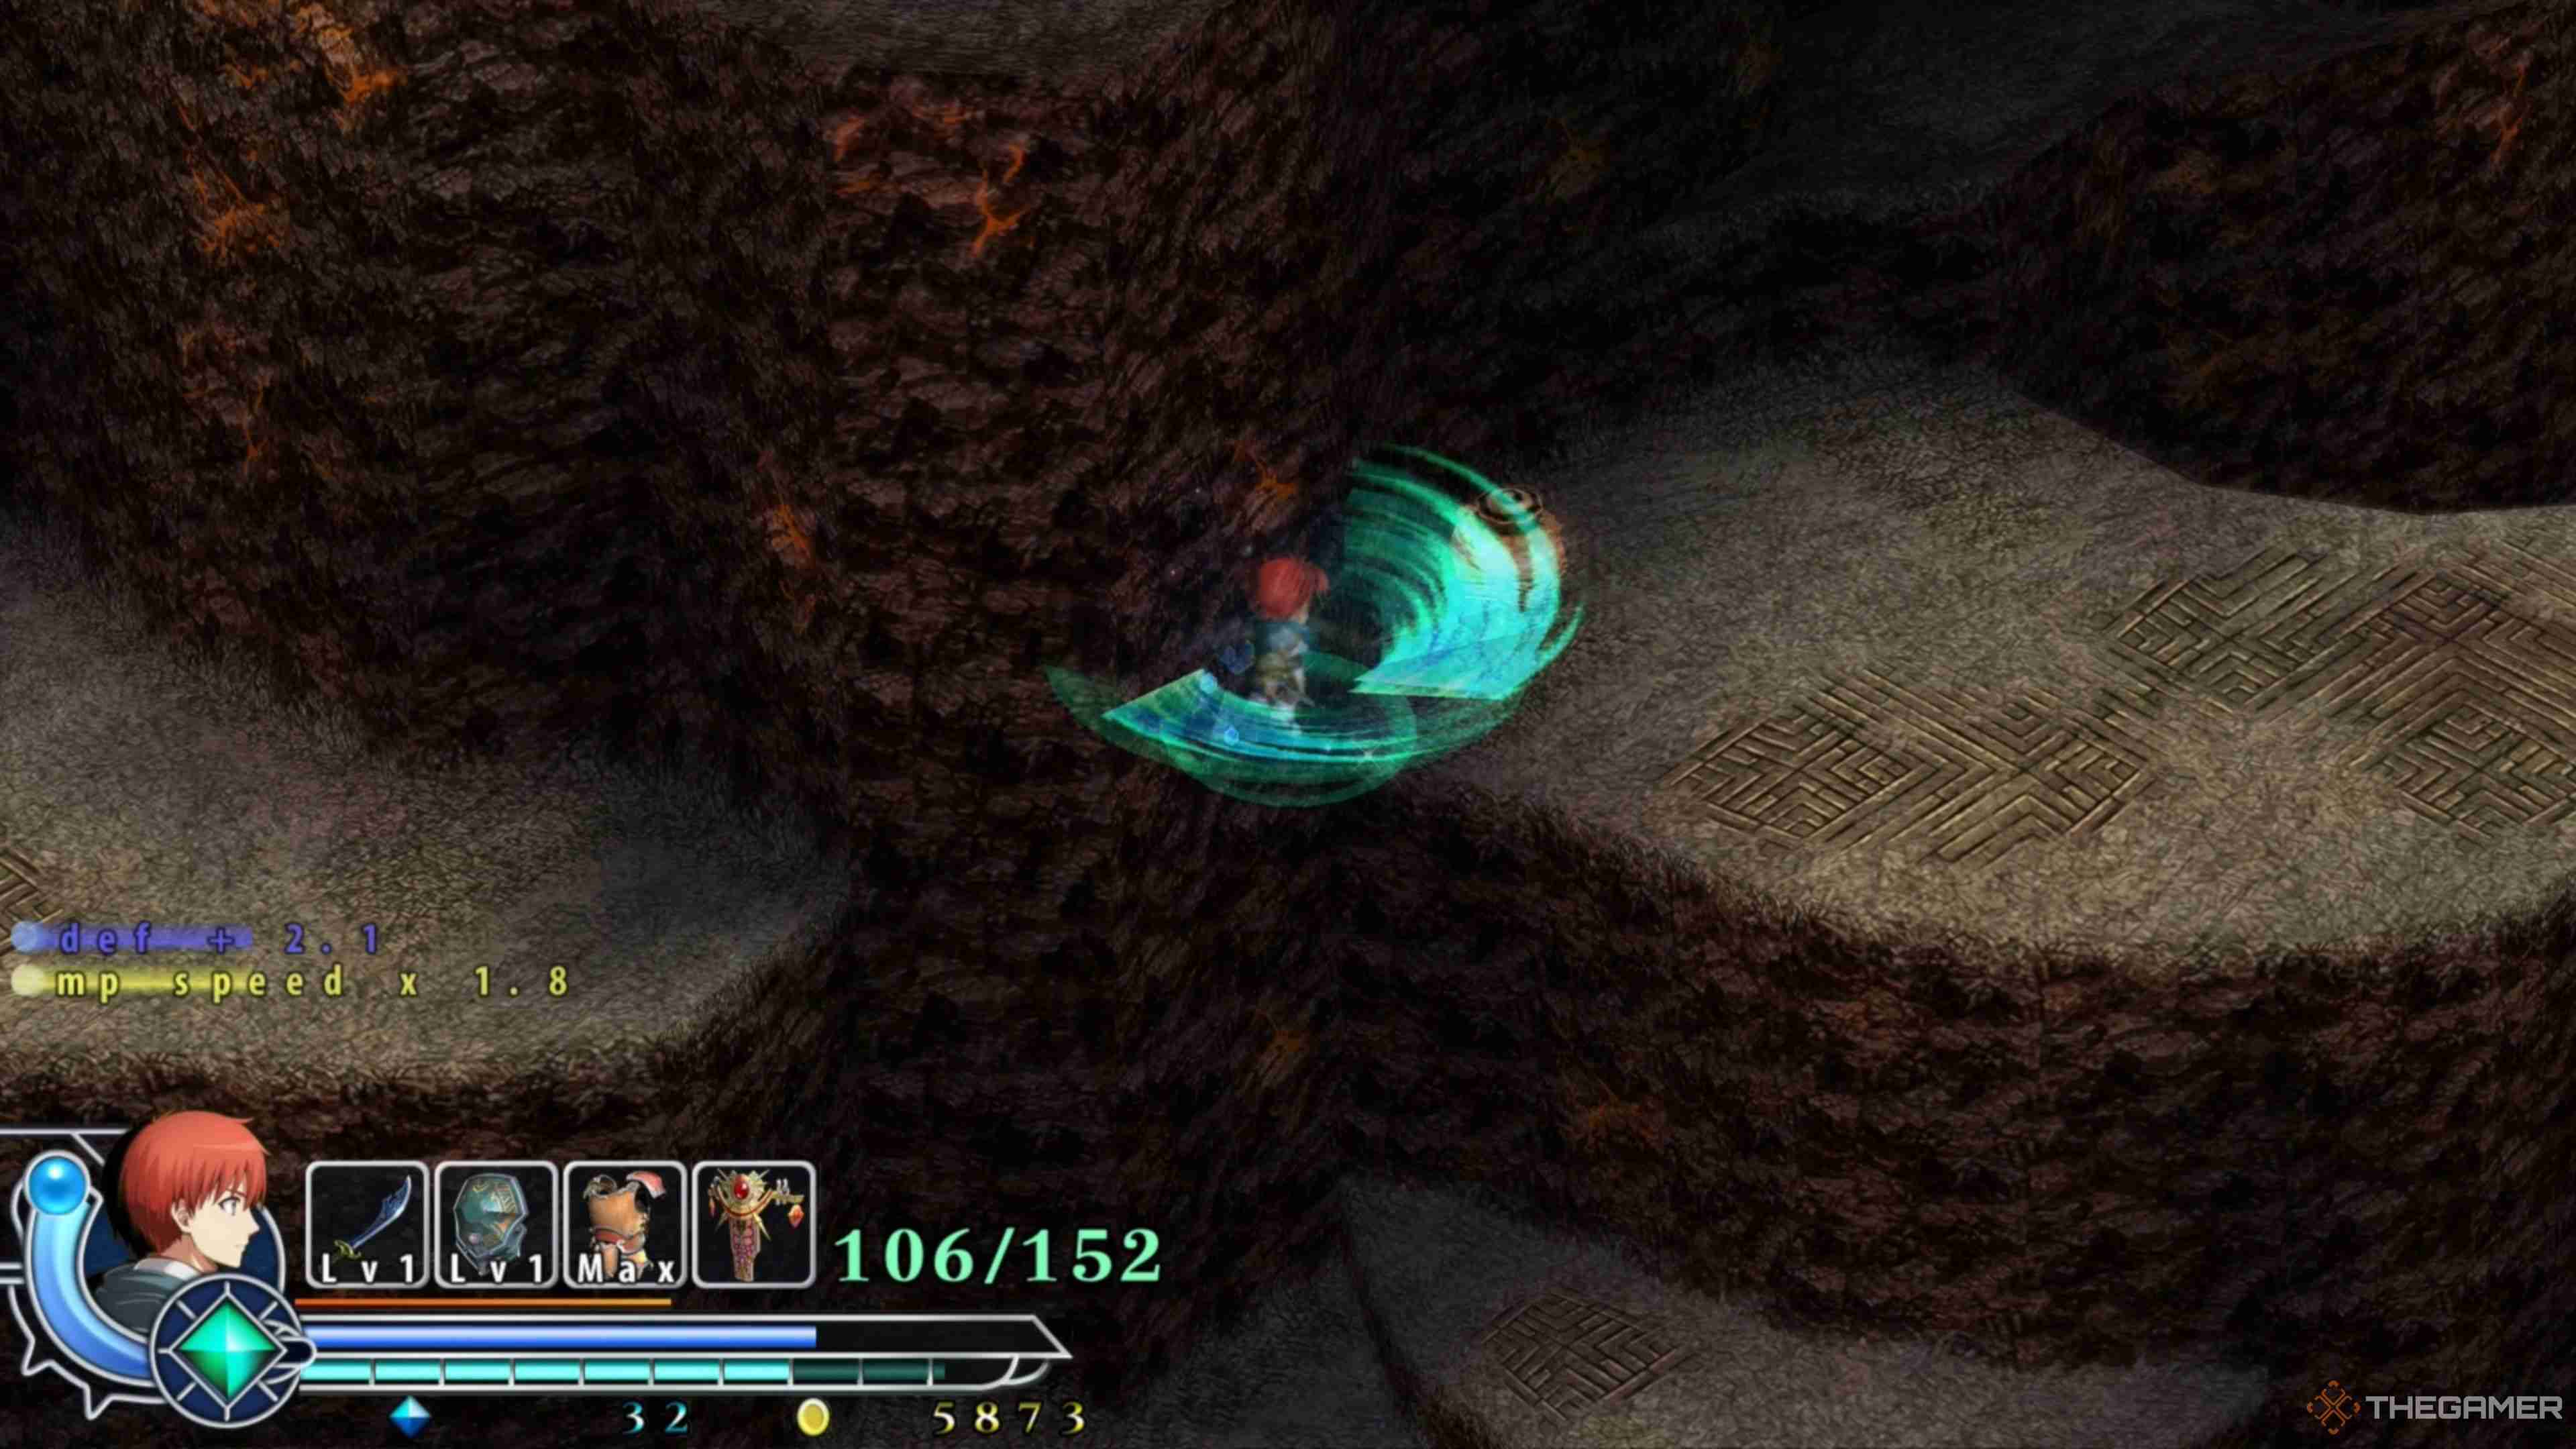
After defeating the Gewme, walk to the end of the platform it was on and look across the way to see an elevated walkway. Run as far to the edge as you can get, jump, and then use your Ventus Bracelet the moment you're in the air to soar across the gap to reach the new pathway.
From here, another pathway will be found across a sizable gap, having you perform the same action. This jump can be very challenging, as you have to jump as soon as you're at the edge of the pathway and activate your Ventus Bracelet as soon as you're airborne. Falling into this pit will essentially reset your progress, forcing you to make your way back up here!
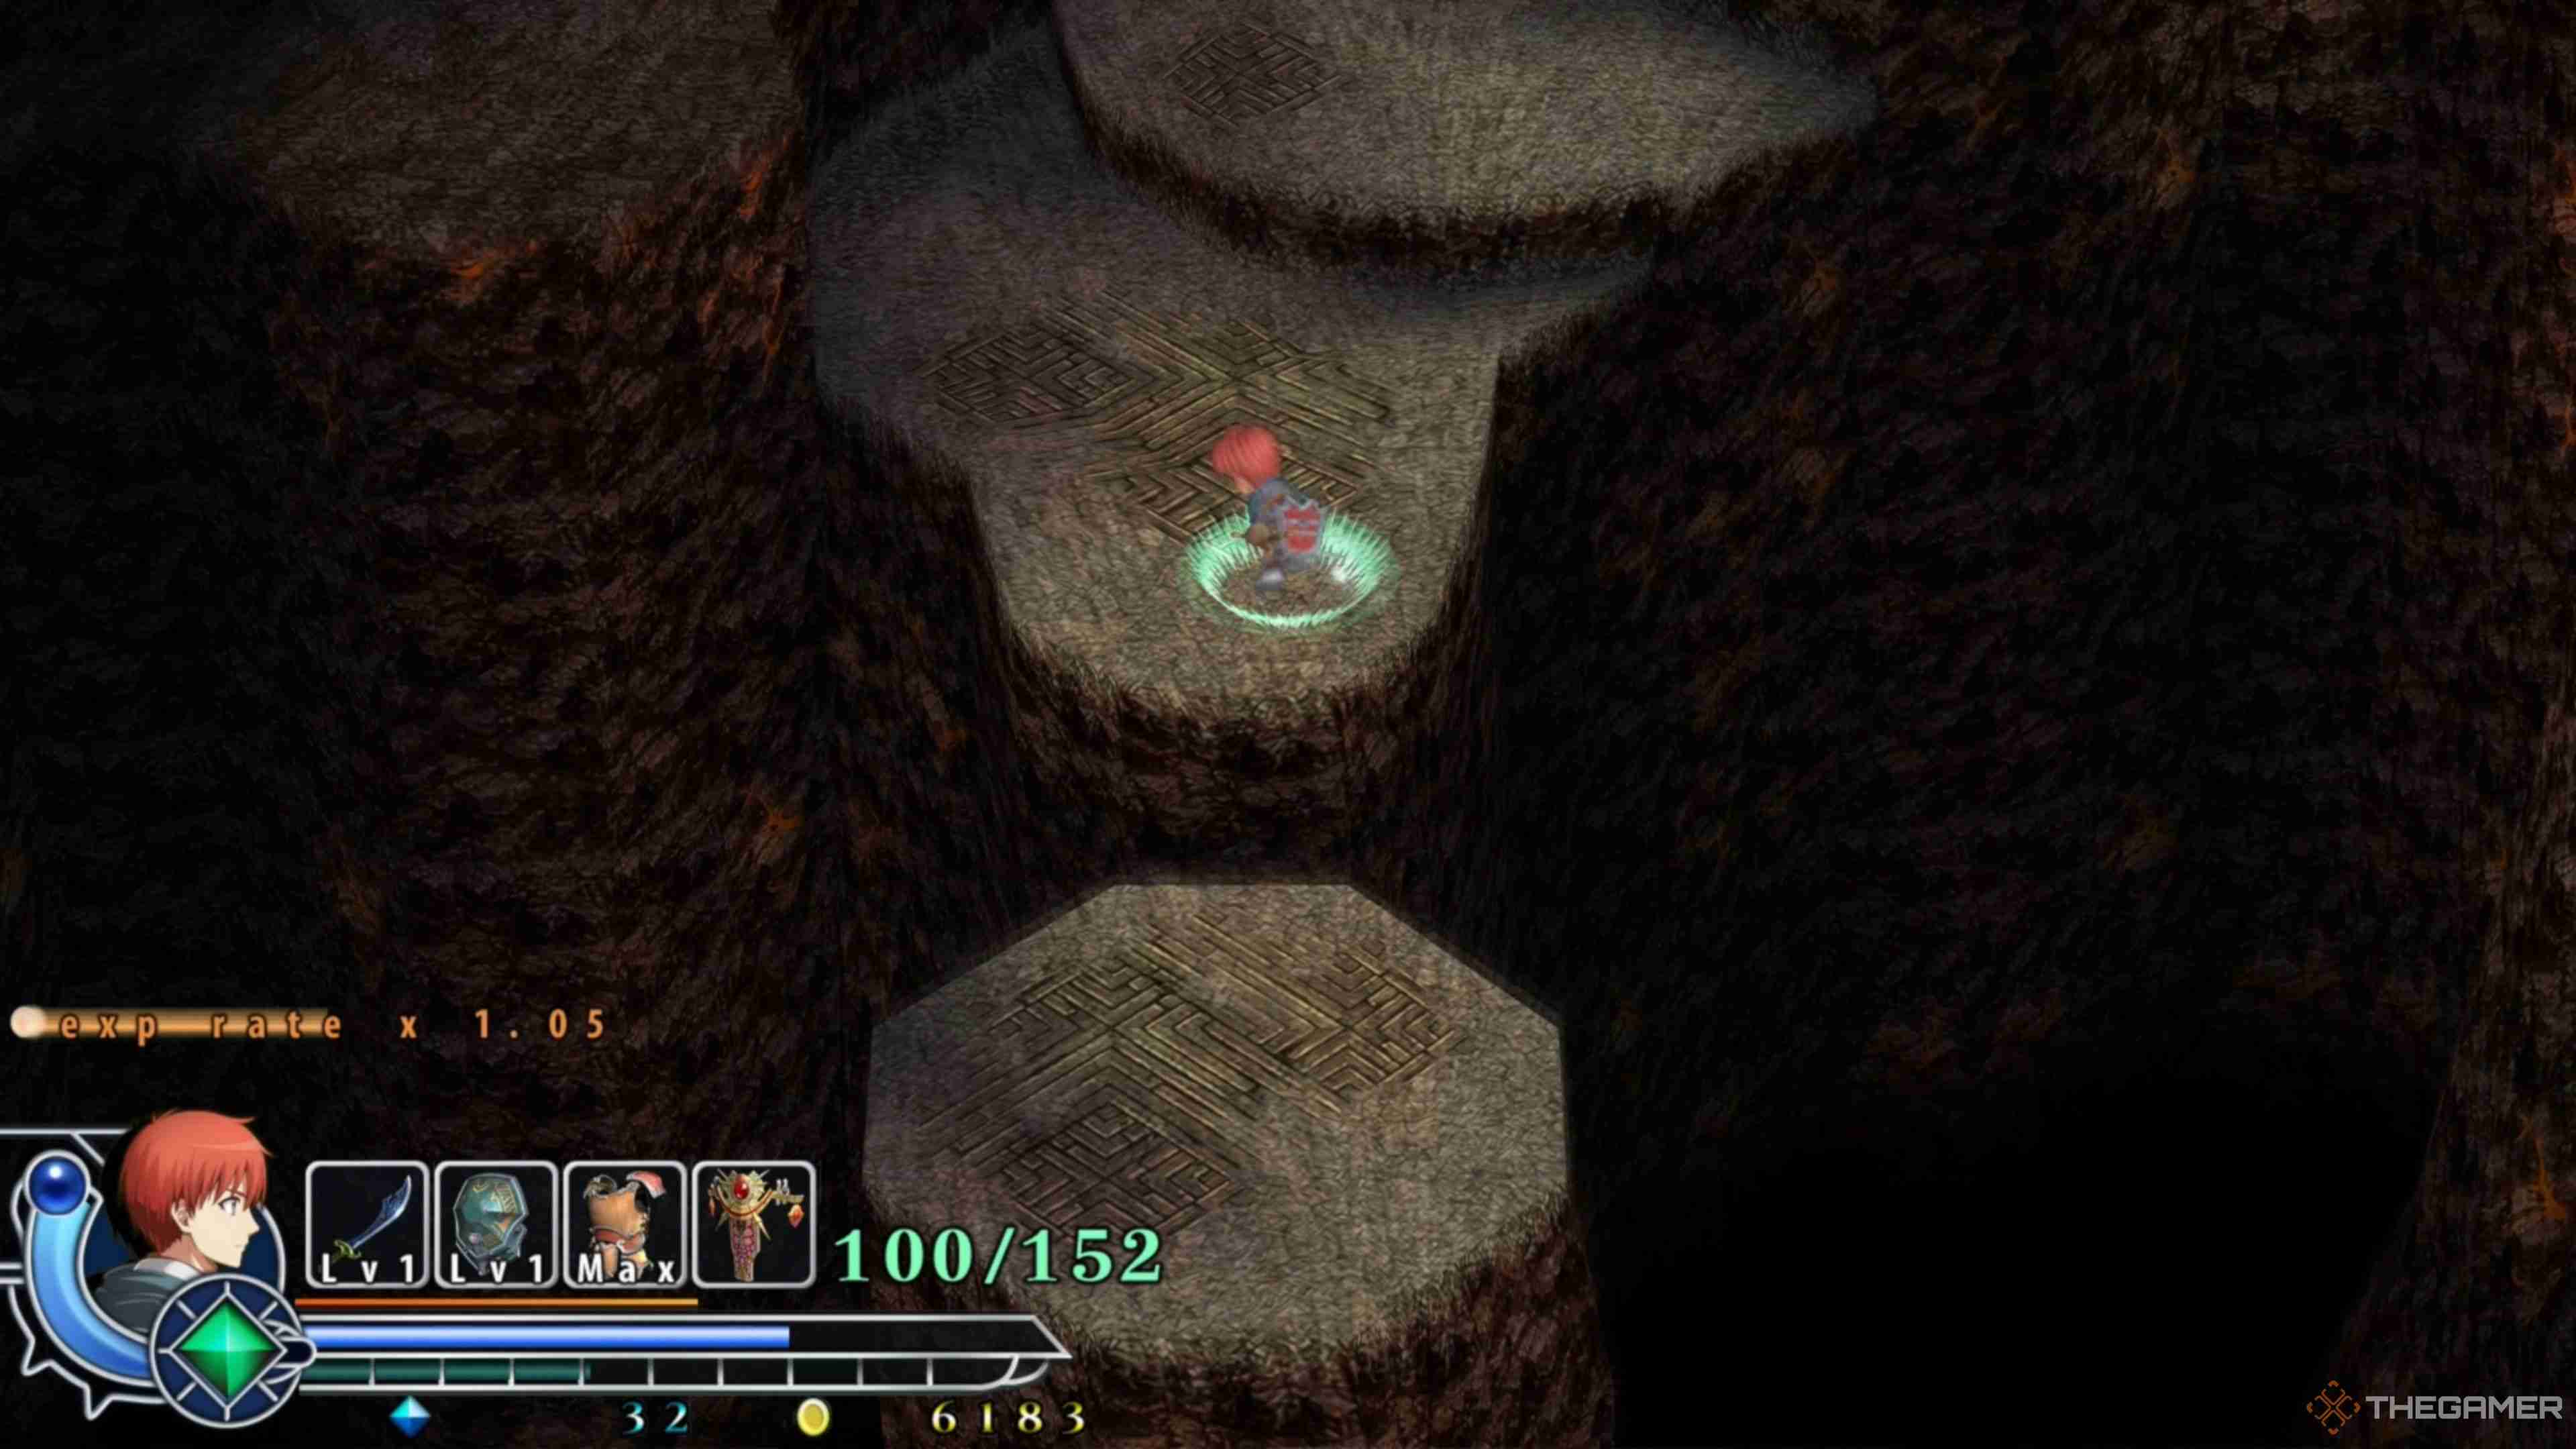
Following that, move a bit forward to find a much smaller jump and use your Ventus Bracelet to get over it, just in case. You don't want to risk anything here. Continue ahead until you reach an extremely narrow and winding pathway with Kelzarls flying around it.
Be patient here, and avoid engaging with the Kelzarls, as doing so will only increase your odds of being knocked off the narrow walkway. When you reach the end of the path, you will finally be on solid ground with no pits in sight. However, there will be more Kelzarls and a Gewme waiting for you.
Upon defeating the enemies in the area, follow the pathway straight ahead to reach the exit of the cave, which will take you into the next area and inch you closer and closer to the end of the dungeon!
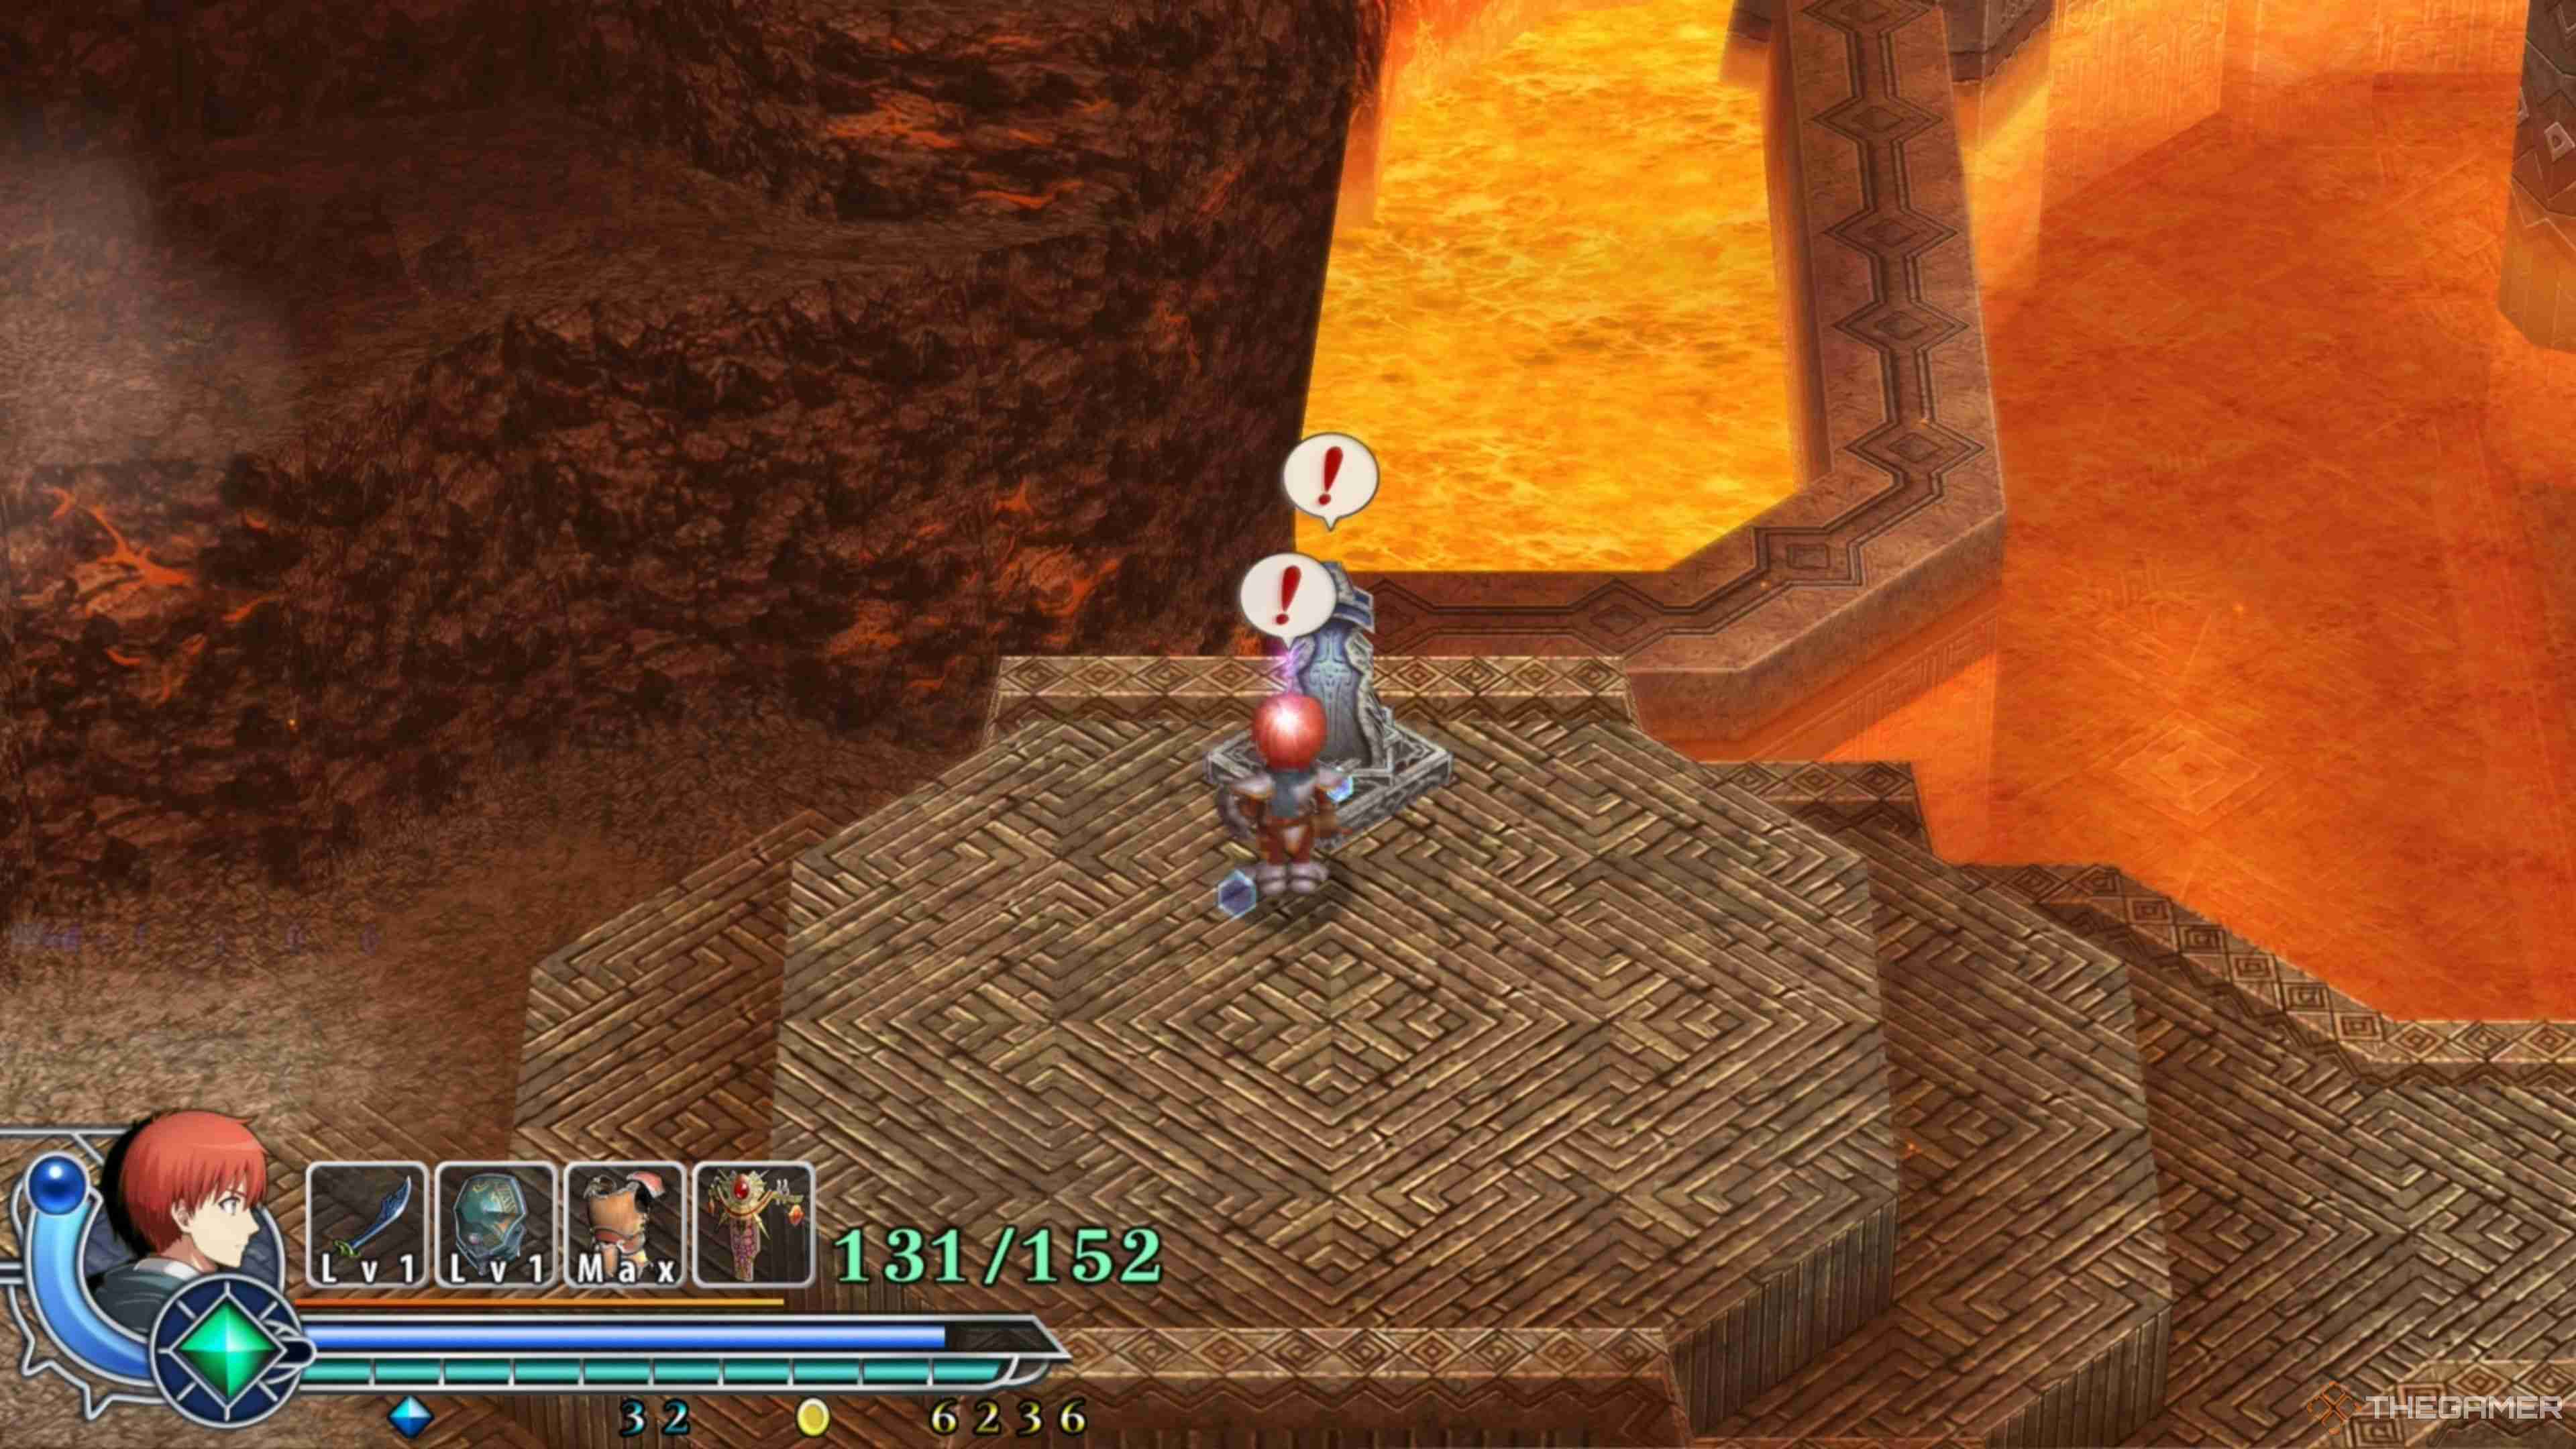
Emerge from the cave and continue moving full speed ahead until you find the third Travel Monument within the Zone of Lava. Activate it and Save your progress, then move further ahead slightly until you see a staircase that leads toward the lava and follow it up to the top.
At the top of these stairs is the Brocia Serum, a consumable item that grants Adol the ability to Dash, which changes everything drastically. The default way to Dash in Ys Memoire: The Oath in Felghana is by double-tapping the direction you're moving, but we suggest going into the settings and making it your default movement, as it is extremely good.
You can constantly Dash by enabling it in the settings, essentially making Adol run at full speed all the time, which is - in our experience - a godsend. Not only does this make navigating regions and dungeons much more manageable, but it will also make some encounters much easier to deal with. Try it out!
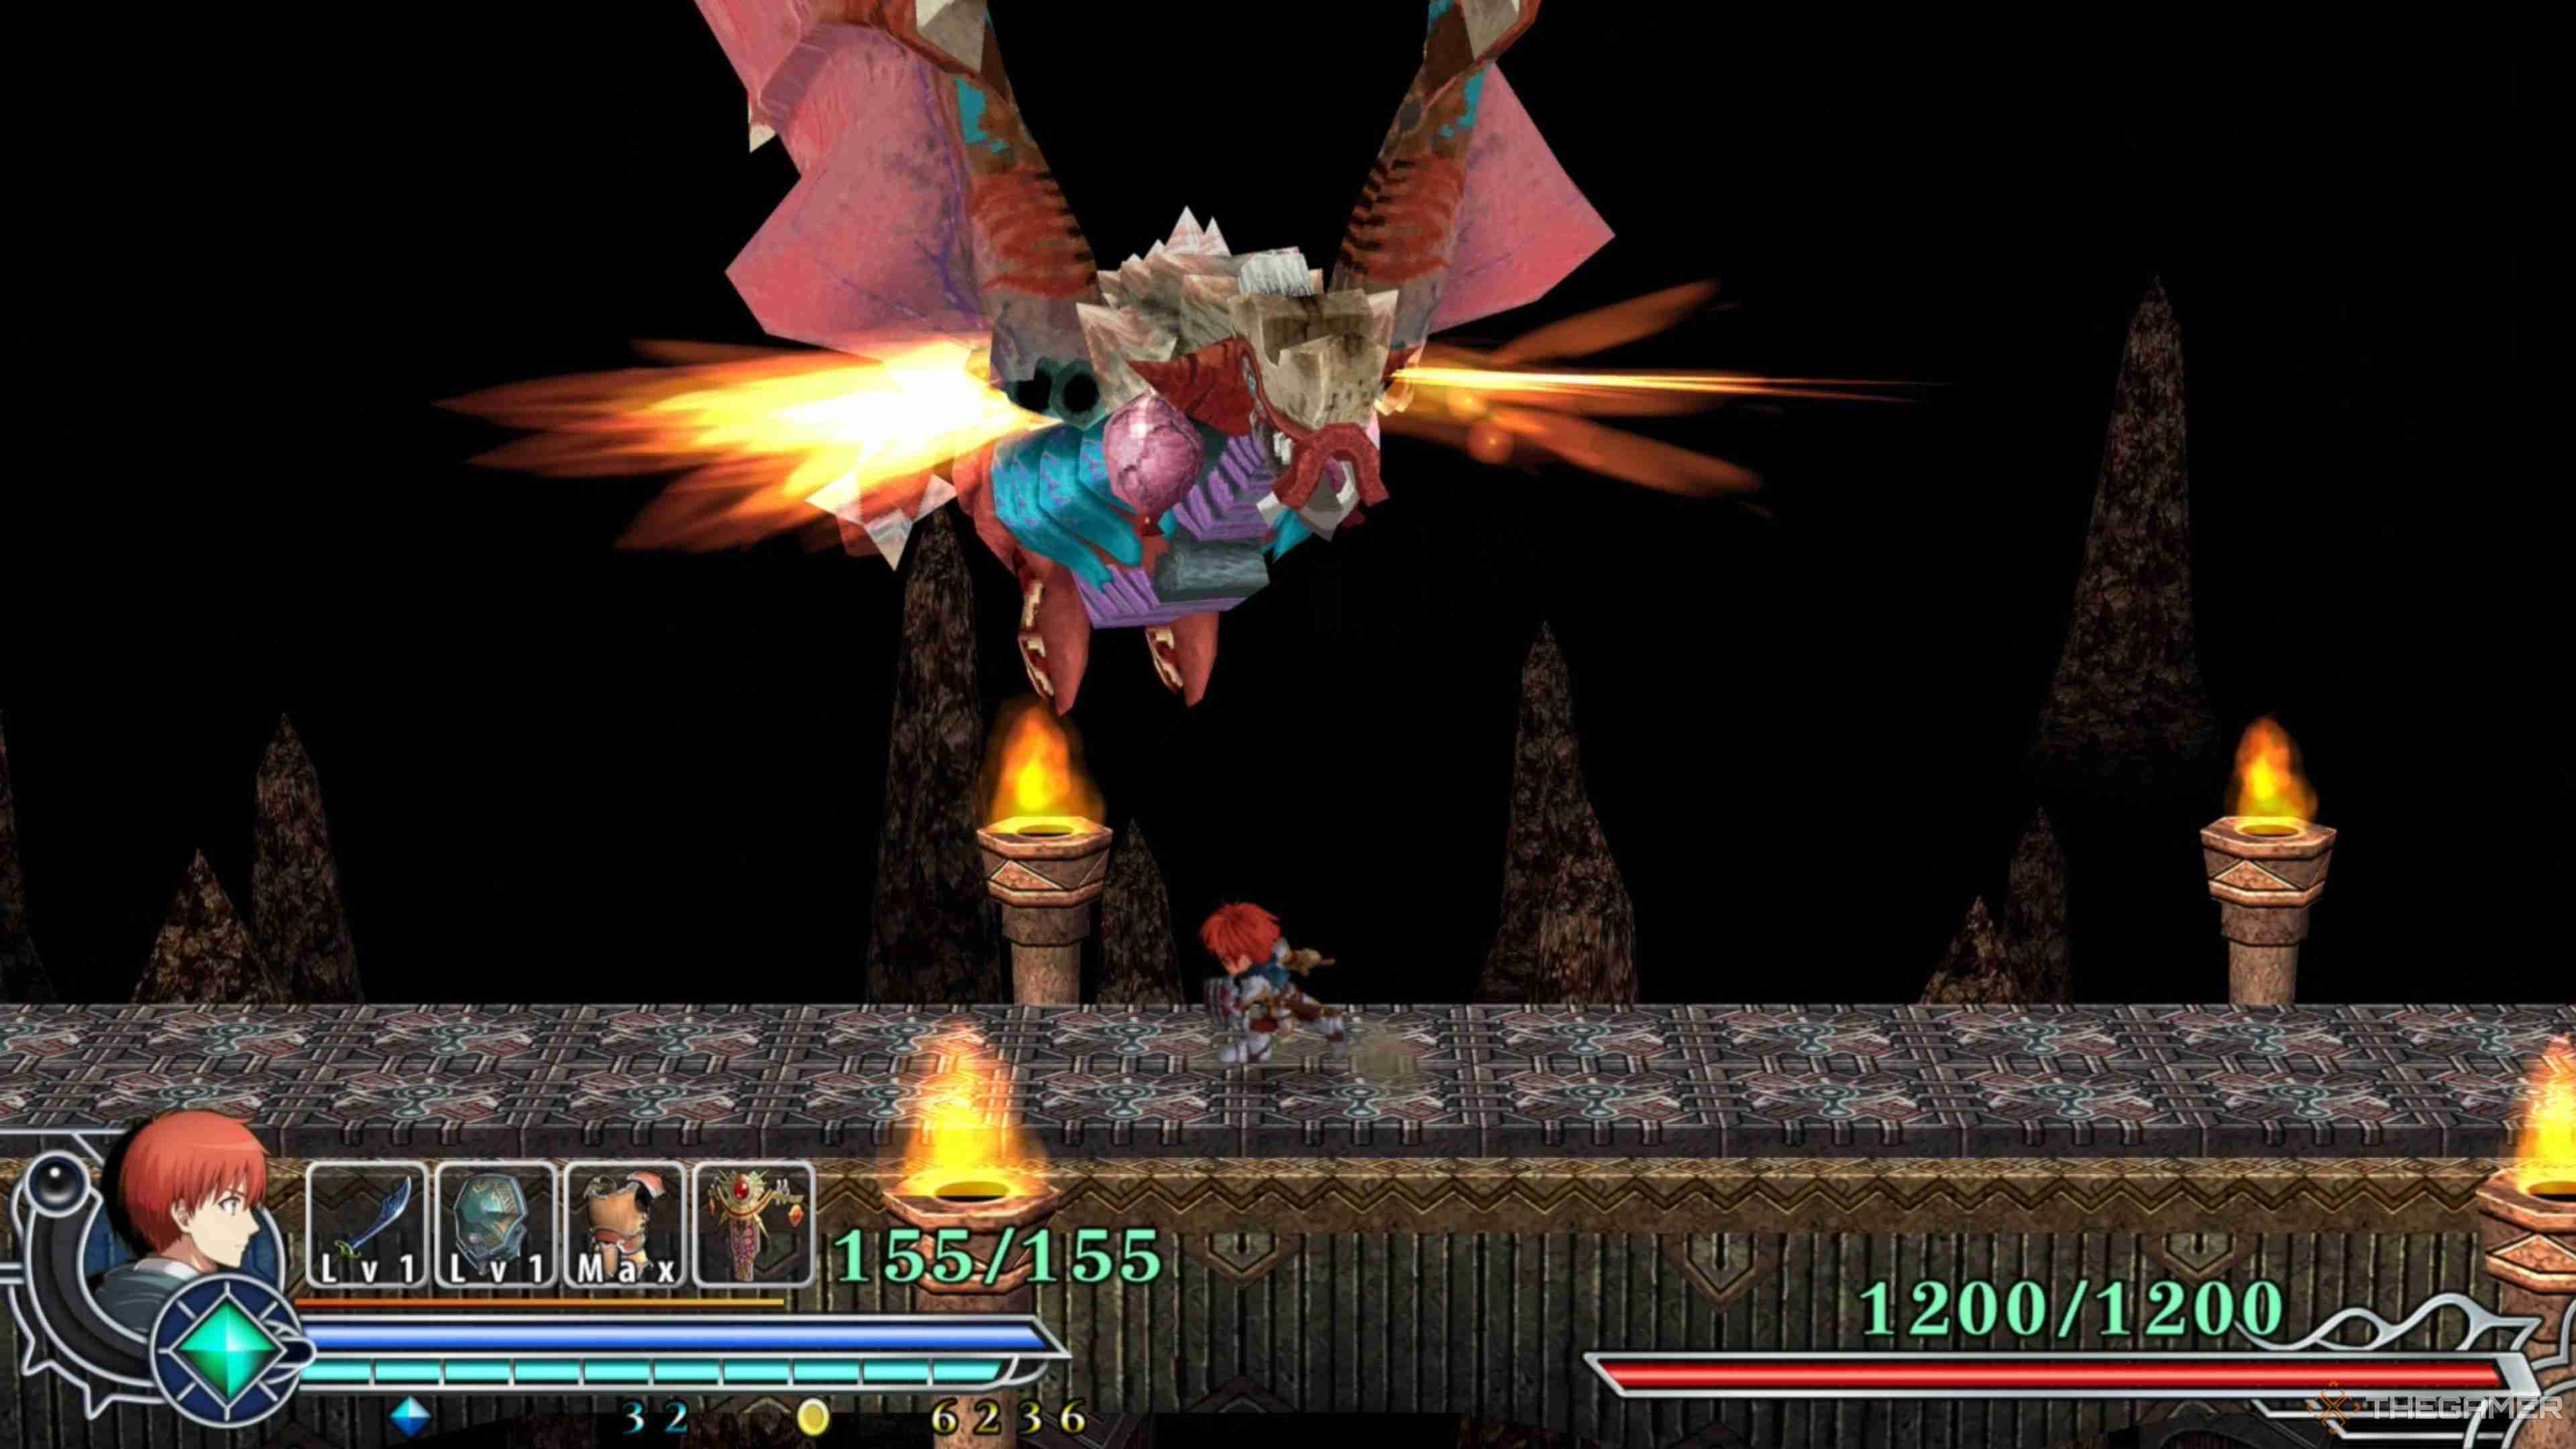
Dashing your way into the next area will trigger the appearance of Gyalva, the second boss encounter of the Zone of Lava. This encounter can be excruciating if you don't know how to react to specific actions or are still not used to the default Dash settings, so it may take a while before you can slay it.
Of course, we do have a much more detailed overview of Gyalva here, which covers all of its attacks, the best way to avoid them, and how to deal substantial damage to it to defeat it swiftly. After slaying Gyalva, follow the pathway out to the right to begin your escape from the Zone of Lava!
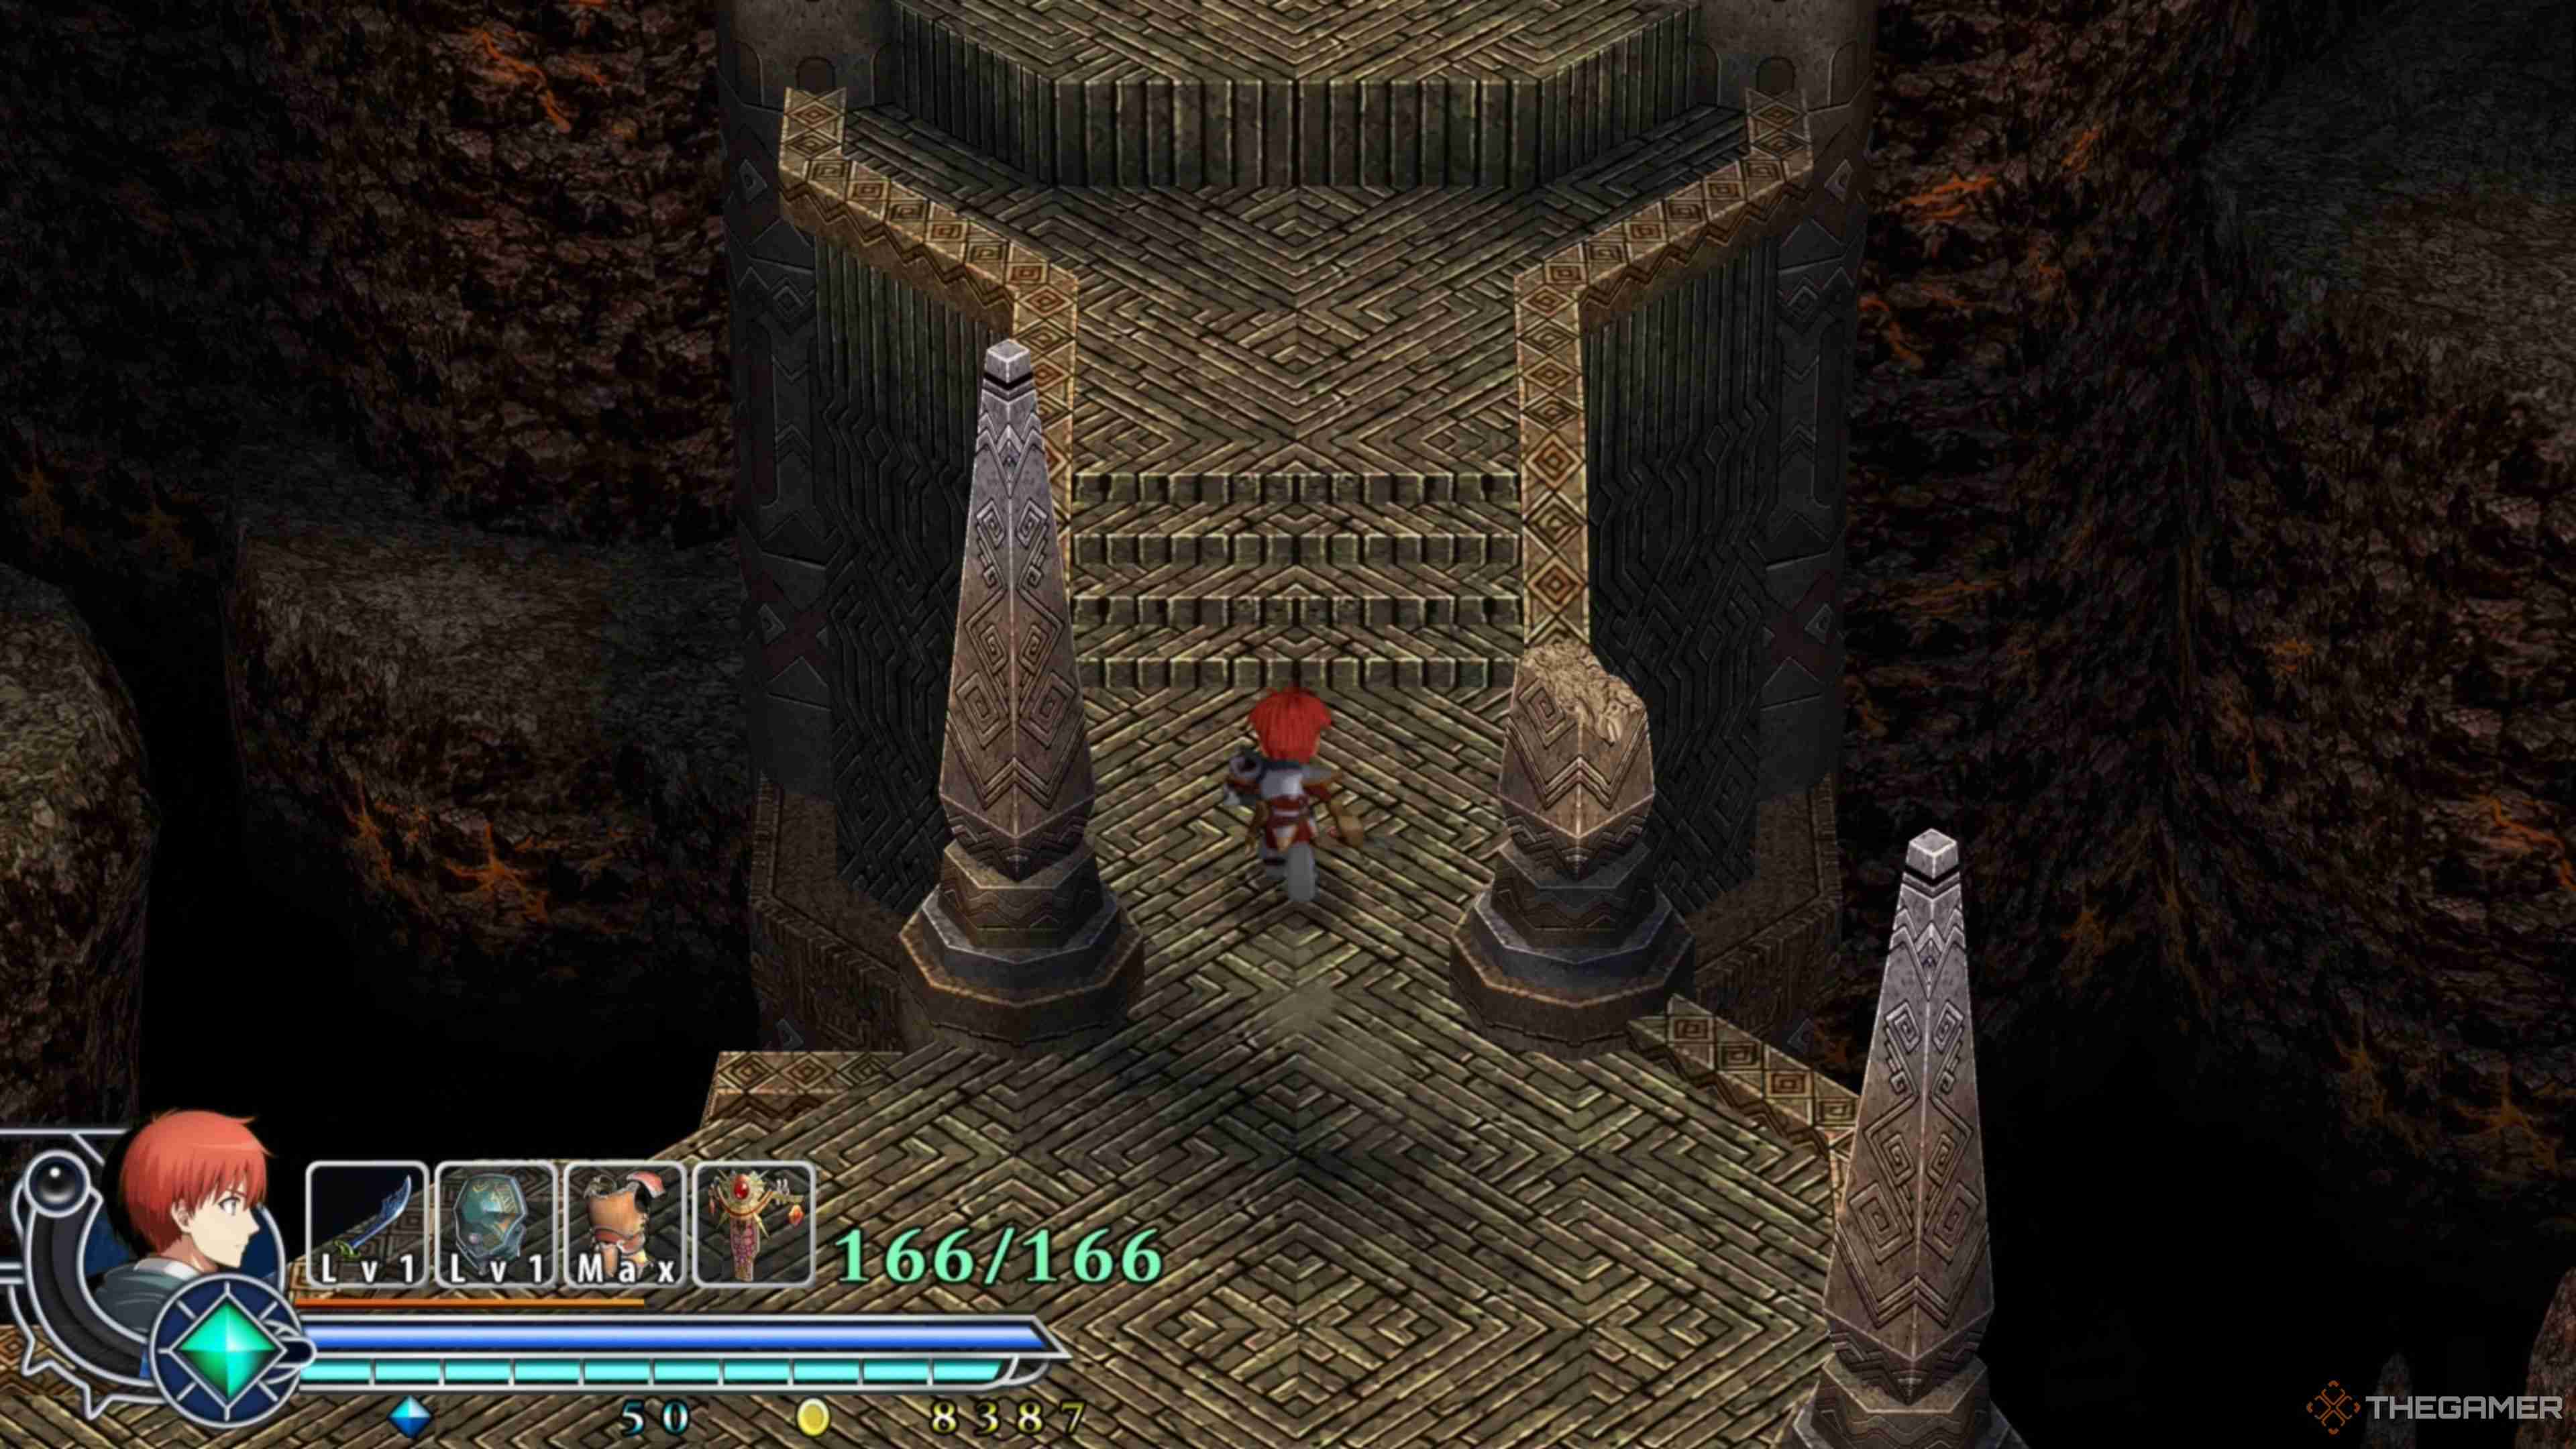
With the second big bad of the Zone of Lava defeated, you can begin your escape by following the East Path out, which will lead to a set of stairs leading to a long pathway. You will eventually reach a section of the walkway that has been destroyed, leading you to a large pit.
However, before jumping down, you will see that there is still a standing structure on the other side of the gap. Using your Ventus Bracelet, run and jump over the gap, using the Bracelet to propel Adol across it and onto the other side, where he will be met with several Almengers.
Eliminate the Almengers and open the Chest to obtain 12 Raval Ore, which you can put into use very soon. For real, this time!
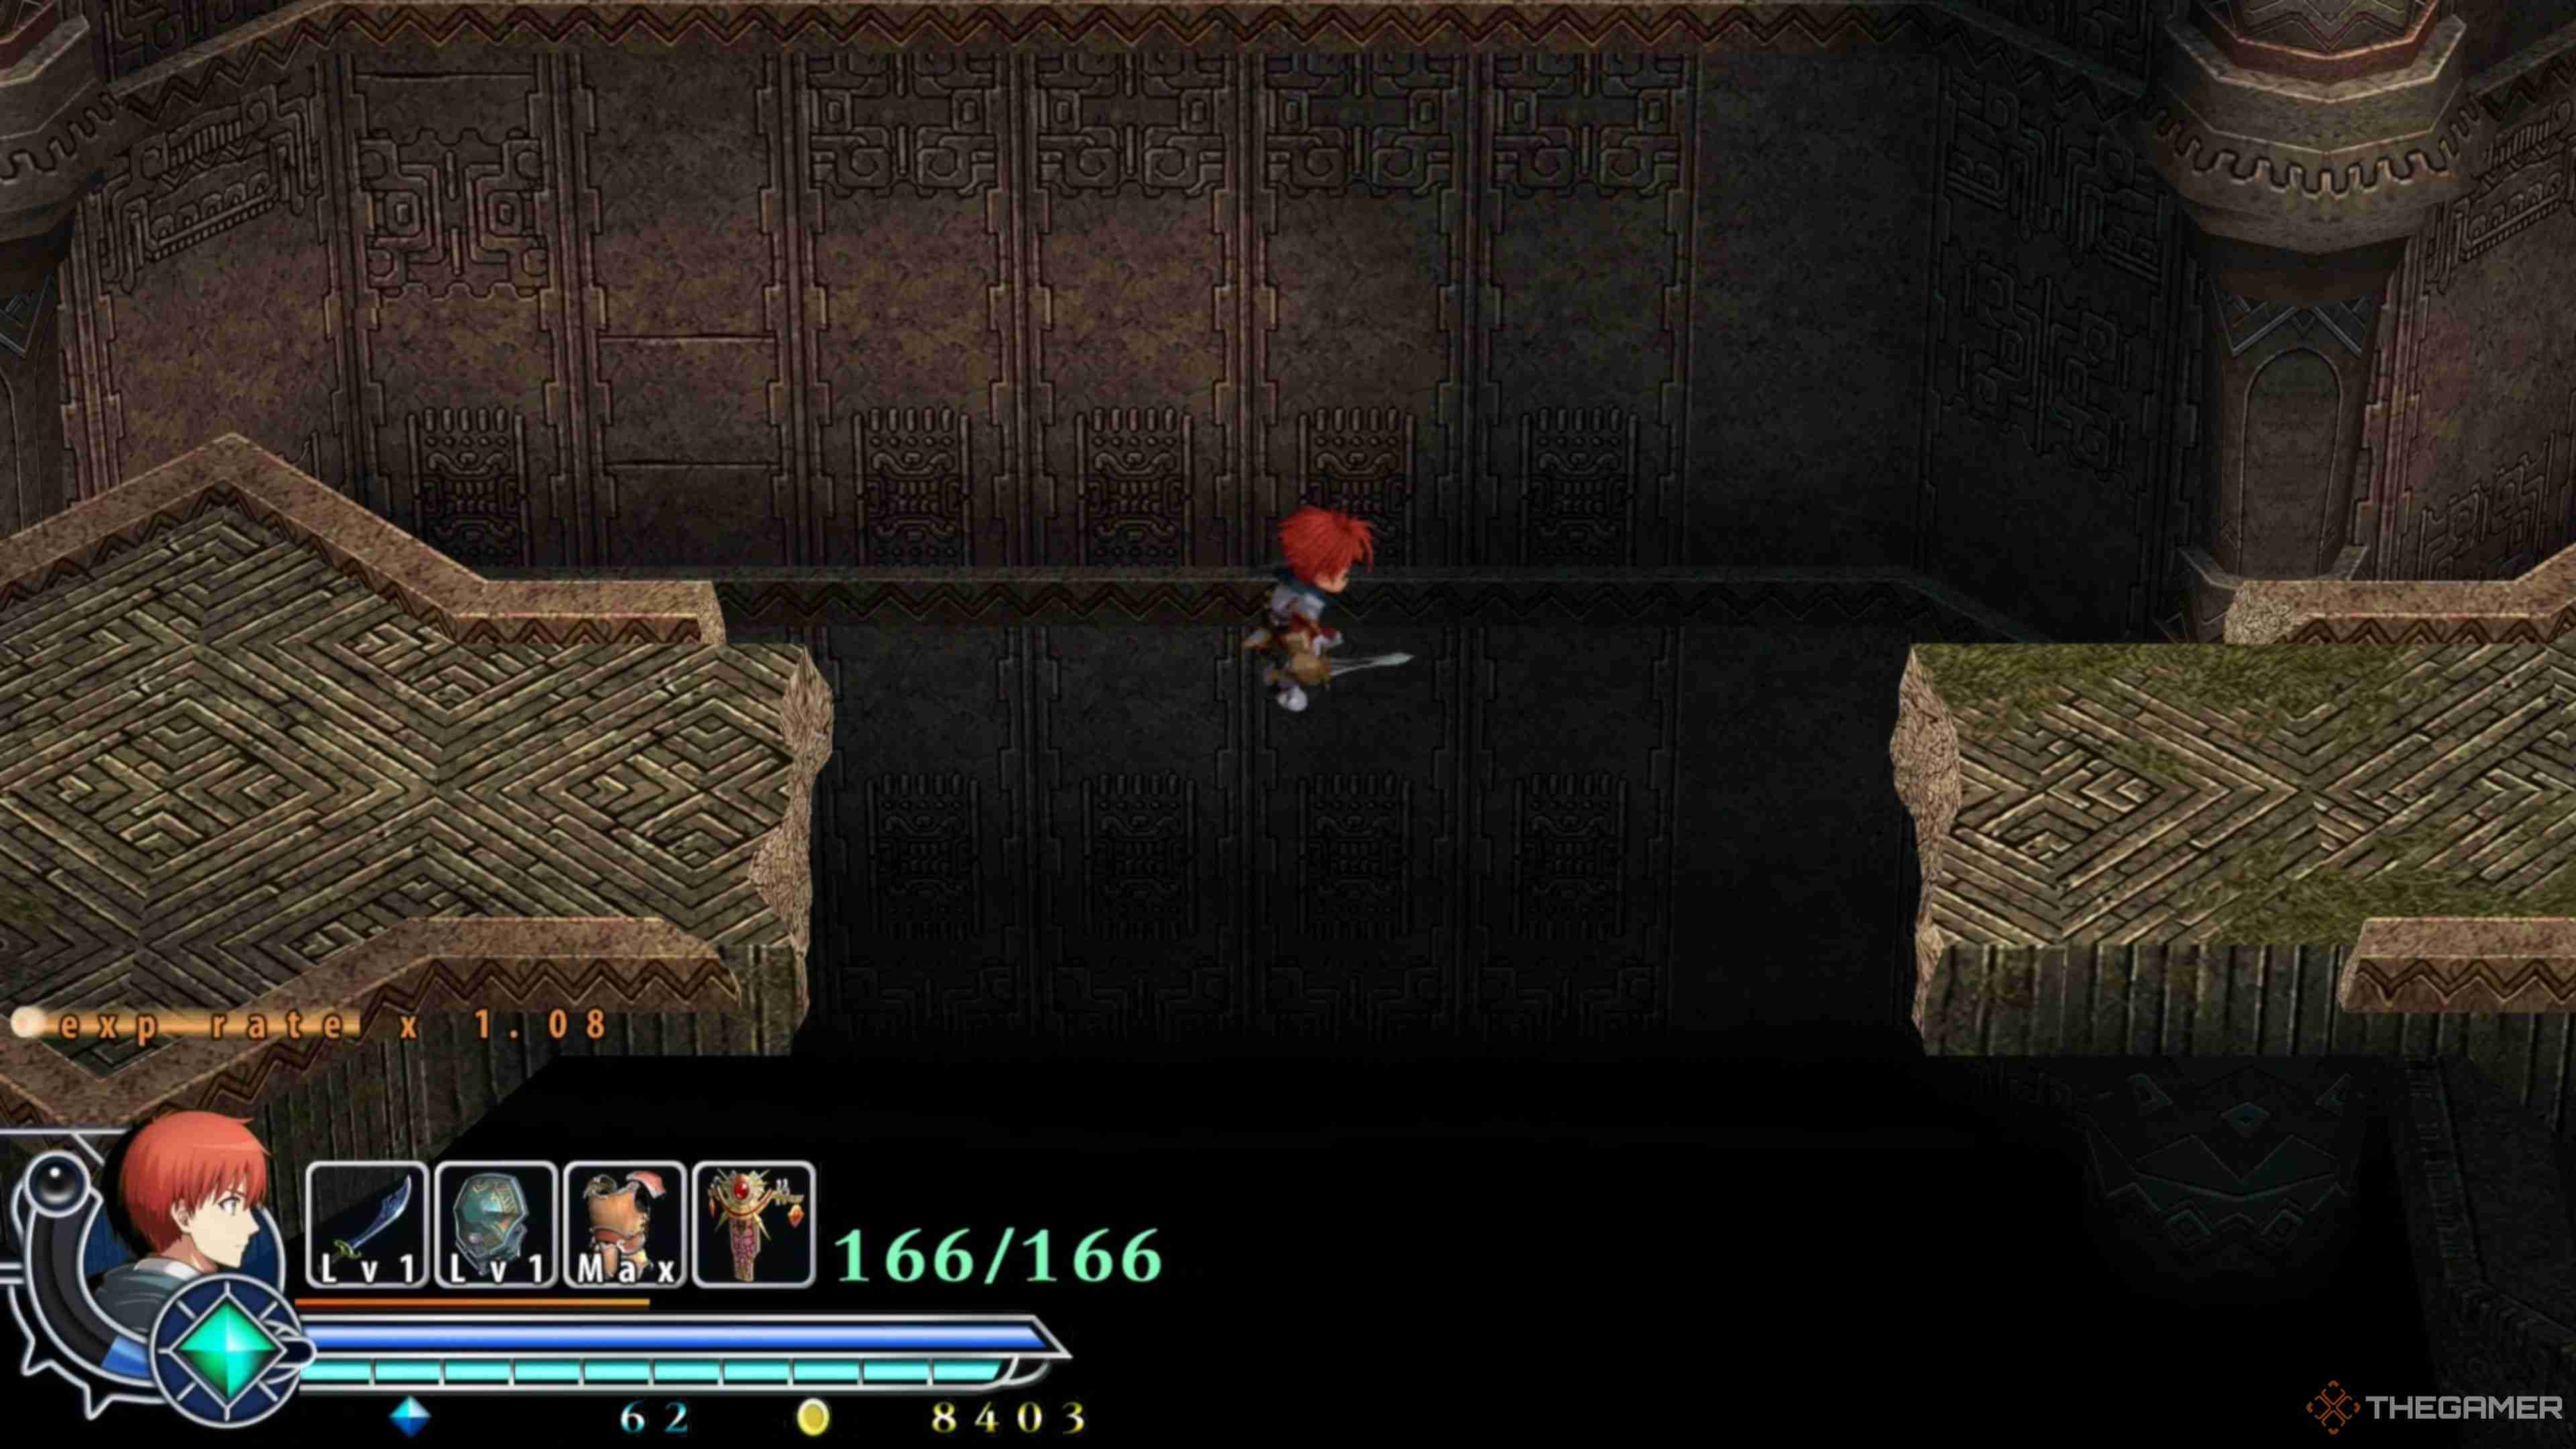
Gather the Raval Ore and then leap into the pit, sending you hurtling to the bottom of a very familiar place. That's right, you're back in the Illburns Ruins. From here, walk downward until you are interrupted by a voice, Chester, who has been awaiting your arrival.
After some dialogue, Chester will eventually be interrupted by Dogi and Elena, which will kick off more lines of dialogue. Listen to everyone to unravel more of the mystery behind the monsters and the Statues, ultimately leading to Chester leaving everyone alone for the time being. But rest assured, he will be back!
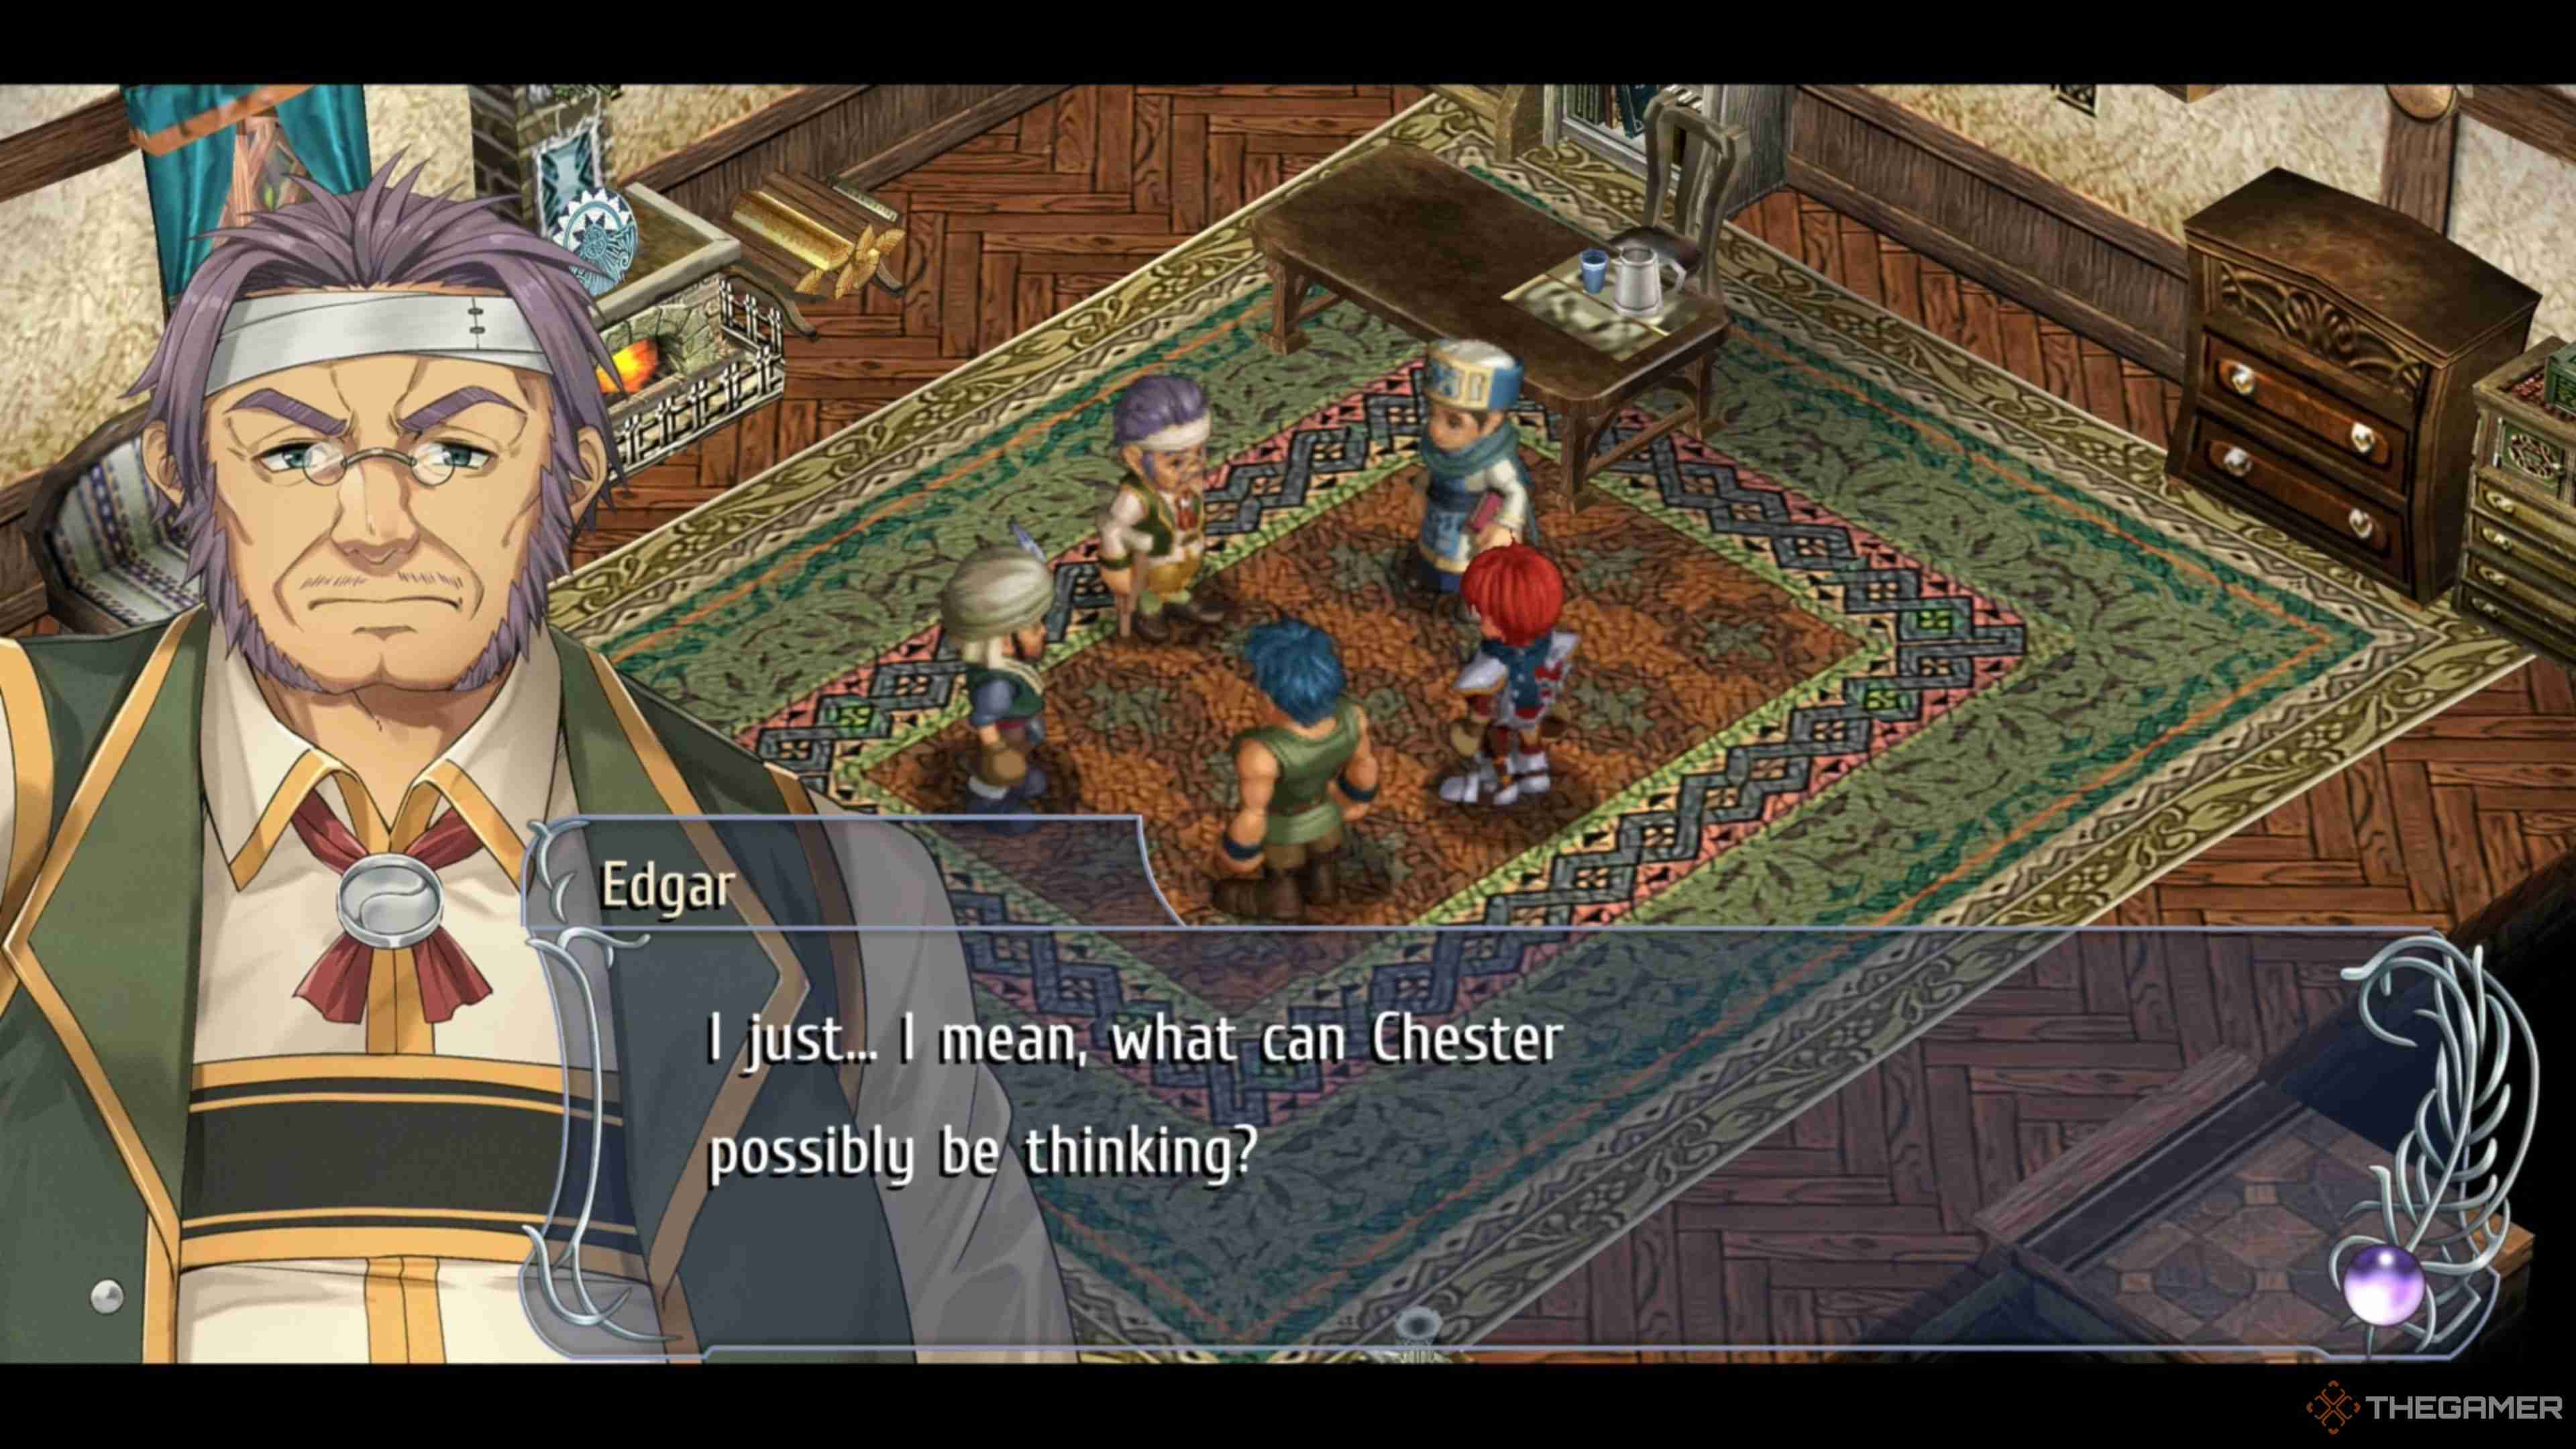
Exhausting all the dialogue between Chester, Dogi, and Elena will whisk Adol away, back to Redmond Town. Finally. Once here, you will be in Edgar's room with Dogi and some of the other residents, going over Chester's plans and the Statues. Listen to what they have to say to complete this long dungeon.
Lastly, once you can control Adol again, speak with Edgar to receive 20 Raval Ore from him for your continued efforts to help Redmont Town. Now that you're finally back, you can upgrade your gear, pick up more side quests, and much more before setting off on the next story beat!
The above is the detailed content of Ys Memoire: The Oath In Felghana - Zone Of Lava Walkthrough. For more information, please follow other related articles on the PHP Chinese website!


