How to create side titles of folders in Excel Creating side titles of Excel folders is a question that many people are concerned about recently. It can help categorize files and make them easier to manage. Through this tutorial by PHP editor Apple, you will learn a quick way to make it. This tutorial will detail how to use the shape tool to create side headers in Excel. It will guide you step by step and help you master this practical skill easily. Hurry up and enter the main text, learn how to make side titles and improve the efficiency of Excel file management!
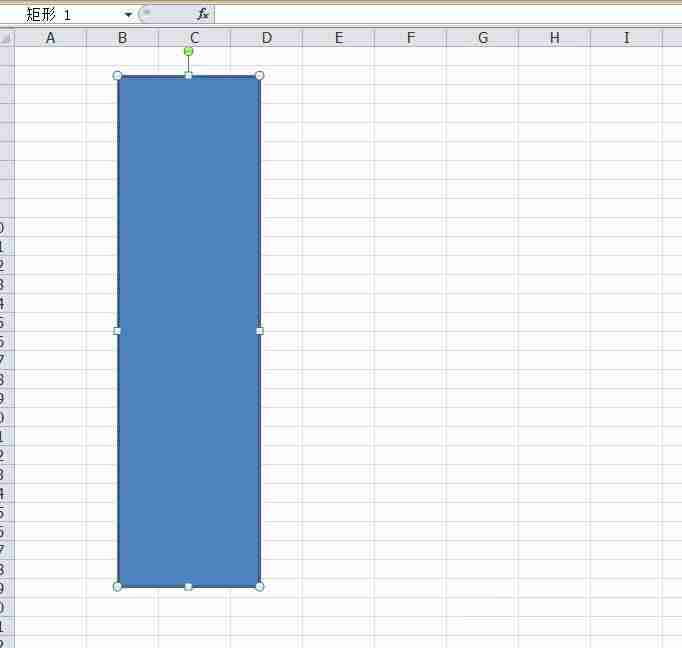
First click on Insert Shape, select Rectangle and draw a rectangle.

Fill the rectangle with your favorite color.

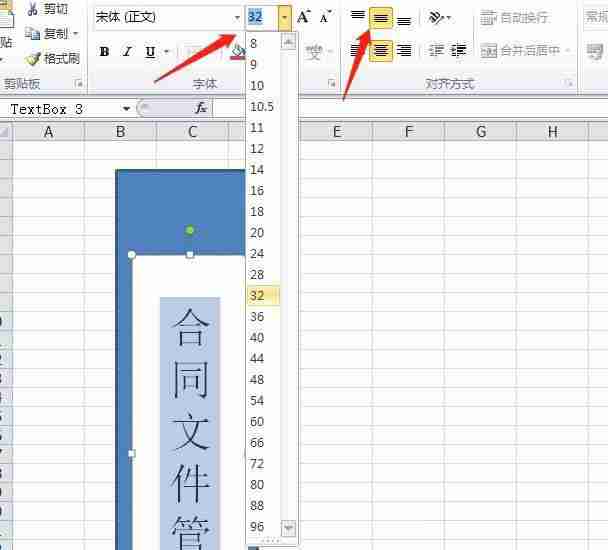
Then click Insert Shape, select vertical text, draw a text box, enter the text content, select the text, adjust the size and alignment of the text and select vertical centering.

Click Insert Shape again, select a logo, we draw a logo above, click the shape fill and select white.

We enter the code, select the code, and adjust the color of the code to black.

Hold down the CTRL key, select each graphic, right-click and select Group.

Hold down the CTRL key and move the mouse to copy multiple test labels and modify the content inside.

Finally, click Save file.

The above is the detailed content of How to make a folder side title in Excel Excel folder side title making tutorial. For more information, please follow other related articles on the PHP Chinese website!
 Win10 does not support the disk layout solution of Uefi firmware
 Computer shortcut keys collection
 How to buy Ripple
 How to use blockquote tag
 Database er diagram
 PHP programming software recommendation
 How many years do you have to pay for medical insurance to enjoy lifelong medical insurance?
 How to open pdb file


