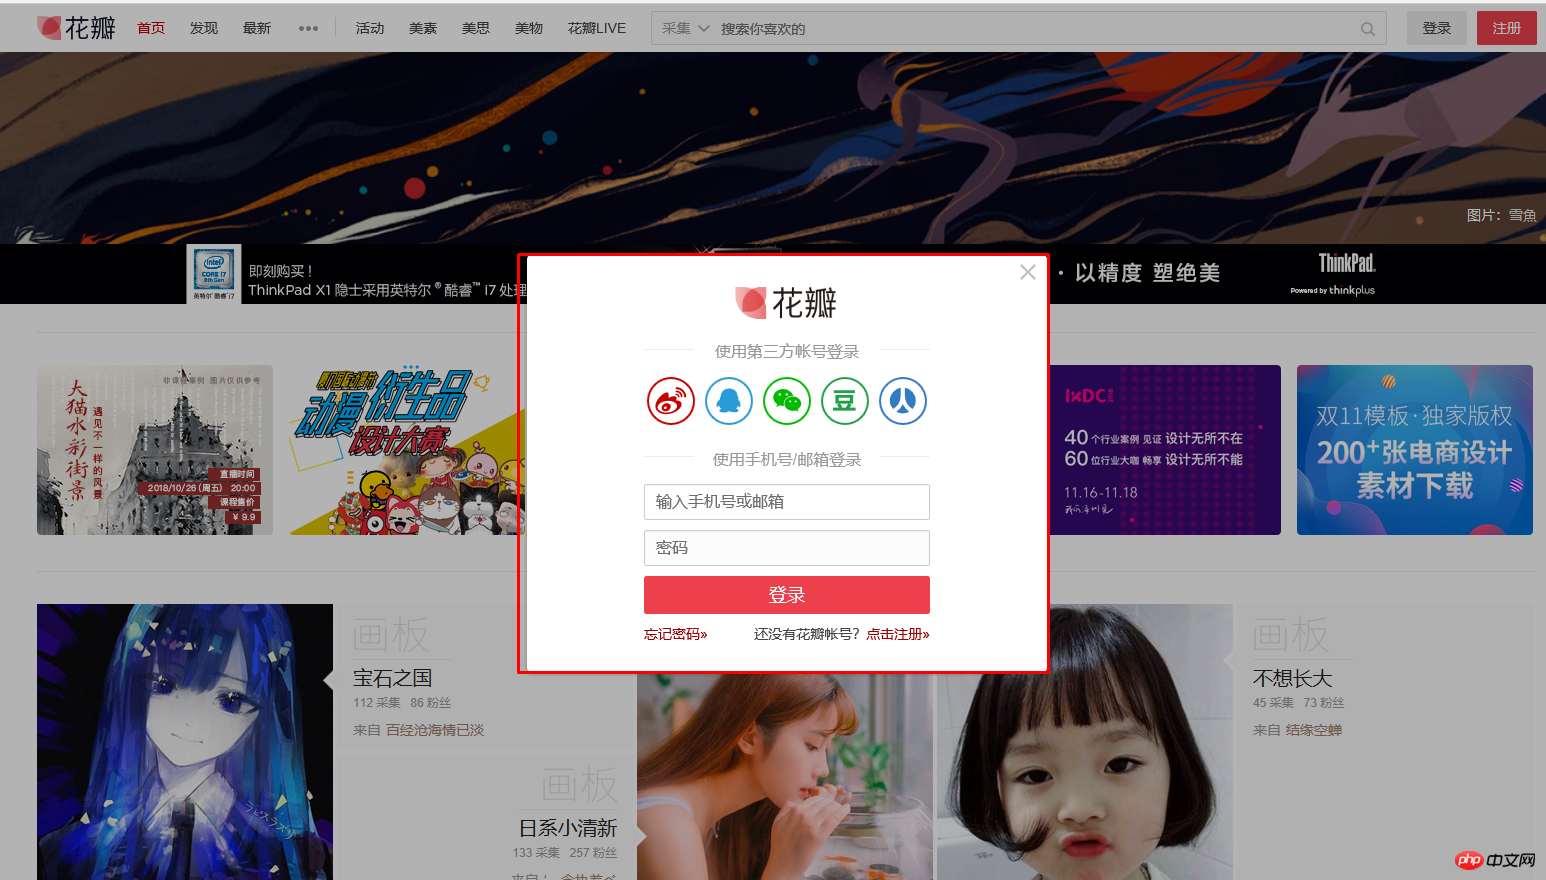
本篇文章给大家带来的内容是介绍如何仿花瓣网实现静态登陆页面?(代码实例)。有一定的参考价值,有需要的朋友可以参考一下,希望对你们有所帮助。
思路:
花瓣网(http://huaban.com/)

1、对页面进行分析
2、下载素材
3、对页面尺寸进行分析
4、实现
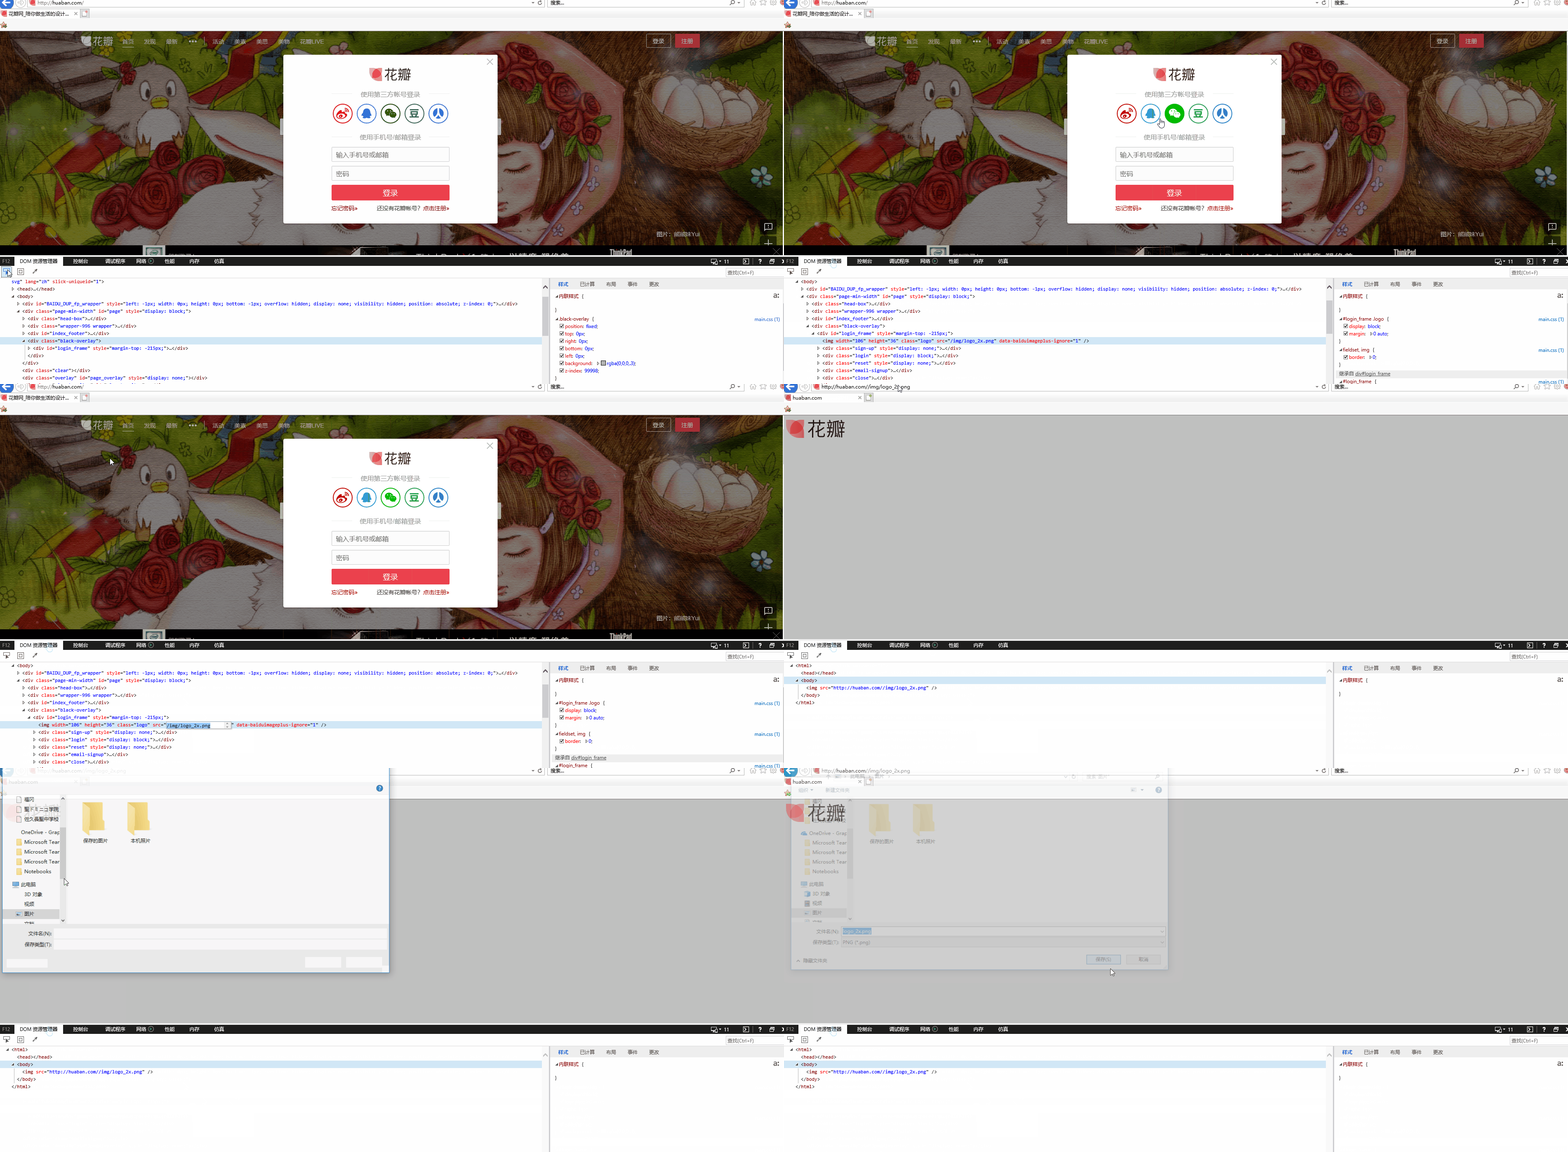
下载素材
将页面素材保存到本地,方法如下图

页面尺寸进行分析
只做了大概得尺寸,尺寸获取方法,使用截图得方法获取宽和高,注意获取过程中图片得大小不能有变化。将图片最大化后获取尺寸
实现
写一个元素,紧接着就css付样式
html实现
<!doctype <!DOCTYPE html>
<html>
<head>
    <meta charset="utf-8" />
    <meta http-equiv="X-UA-Compatible" content="IE=edge">
    <title>花瓣</title>
    <meta name="viewport" content="width=device-width, initial-scale=1">
    <link rel="stylesheet" type="text/css" media="screen" href="index.css" />
</head>
<body>
    <div id="login-frame">
        <div id="main">
            <div id="logo"></div>
            <div class="lable text-1">使用第三方账号登陆</div>
                <div class="other-login">
                    <ul>
                        <li><a  title="微博" class="weibo" href="http://www.cnblogs.com/tynam/"></a></li>
                        <li><a title="qq" class="qq" href="http://www.cnblogs.com/tynam/"></a></li>
                        <li><a title="微信" class="wechat" href="http://www.cnblogs.com/tynam/"></a></li>
                        <li><a title="豆瓣" class="douban" href="http://www.cnblogs.com/tynam/"></a></li>
                        <li><a title="人人" class="renren" href="http://www.cnblogs.com/tynam/"></a></li>
                    </ul>
                    <div class="clearn"></div>
                </div>
                <div class="lable text-2">使用手机/邮箱登陆</div>
                <form class="mail-login" action="login" method="POST">
                    <input id="email" name="email" type="text" placeholder="输入手机号或邮箱">
                    <input type="password" name="password" placeholder="密码">
                    <a id="btn-login" href="http://huaban.com/" type="button" onclick="return href">
                        <span class="text">登  陆</span>
                    </a>
                </form>
                <div id="forget-pwd">
                    <a class="forget-pwd" href="#">忘记密码>></a>
                </div>
                <div id="register">
                    <span class="no-accounter"></span>还没有花瓣账号?</span>
                    <a class="register" href="#">点击注册>></a>
                </div>
        </div>
    </div>

</body>
</html>
css样式
html,body{
    margin: 0;
    padding: 0;
}

body{
    background-color: rgb(86, 228, 221);
}

.clearn{
    float: none;
}

#login-frame{
    width: 600px;
    height: 430px;
    margin: 100px  auto 0;
    background-color: #fff;
}

#main{
    margin: 20px 90px auto;
}

#logo{

    width: 150px;
    height: 135px;
    margin: 85px auto 0;
    background-position: 0;
    background-image: url(img/logo.png);
    background-repeat: no-repeat;
    list-style: none;
}

.lable{
    font-size: 14px;
    color: hsla(0, 0%, 63%, 0.932);
    text-align: center;
    position: relative;
    margin: -30px auto;
}

.lable::before{
    content: "";
    border-top: #dadada solid 1px;
    position: absolute;
    width: 138px;
    left: 0;
    top: 11px;
}
.lable::after{
    content: "";
    border-top: #dadada solid 1px;
    position: absolute;
    width: 138px;
    right: 0;
    top: 11px;
}

.other-login{
    height: 80px;
    margin: 45px auto 0;
}
.other-login>ul>li{
    list-style: none;
    float: left;
    height: 45px;
    width: 20%;
    margin: 0 auto;
}
.other-login>ul>li>a{
    width: 60px;
    height: 70px;
    display: block;
    background-image: url(img/login_icons_tiny.png);
    background-repeat: no-repeat;
}
.weibo:hover{
    background-position:0 -80px;
}
.qq{
    background-position: -80px 0;
}
.qq:hover{
    background-position: -80px -80px;
}
.wechat{
    background-position: -160px 0;
}
.wechat:hover{
    background-position: -160px -80px;
}
.douban{
    background-position: -240px 0;
}
.douban:hover{
    background-position: -240px -80px;
}
.renren{
    background-position: -309px 0;
}
.renren:hover{
    background-position: -309px -80px;
}

.text-2{
    margin: -10px auto;
}

#main.mail-login{
    display: block;
    width: 100px;
}

#email{
margin: 25px auto 0;
}
.mail-login>input{
    height: 34px;
    width: 100%;
    margin: 10px auto 0;
    outline: 0;
    border: 1px solid #dadada;
    border-radius: 3px;
    text-indent: 10px;
    outline: none;
}

#btn-login{
    height: 34px;
    display: block;
    text-align: center;
    line-height: 34px;
    background: rgb(216, 83, 83);
    border-radius: 3px;
    font-size: 18px;
    color: #fff;
    text-decoration: none;
    margin-top: 10px;
}
#btn-login:hover{
    background: rgb(221, 15, 15);
}

#register-forgetpsd{
    margin: 10px auto 30px;
    font: 10px;
}
.forget-pwd,.register{
    color: rgb(158, 25, 25);
    float: left;
    text-decoration: none;
    list-style-type: none;
}
.forget-pwd:hover,.register:hover{
    text-decoration: underline;
}

#register{
    float: right;
}
.register{
    float: right;
}
.no-accounter{
    color: #292727;
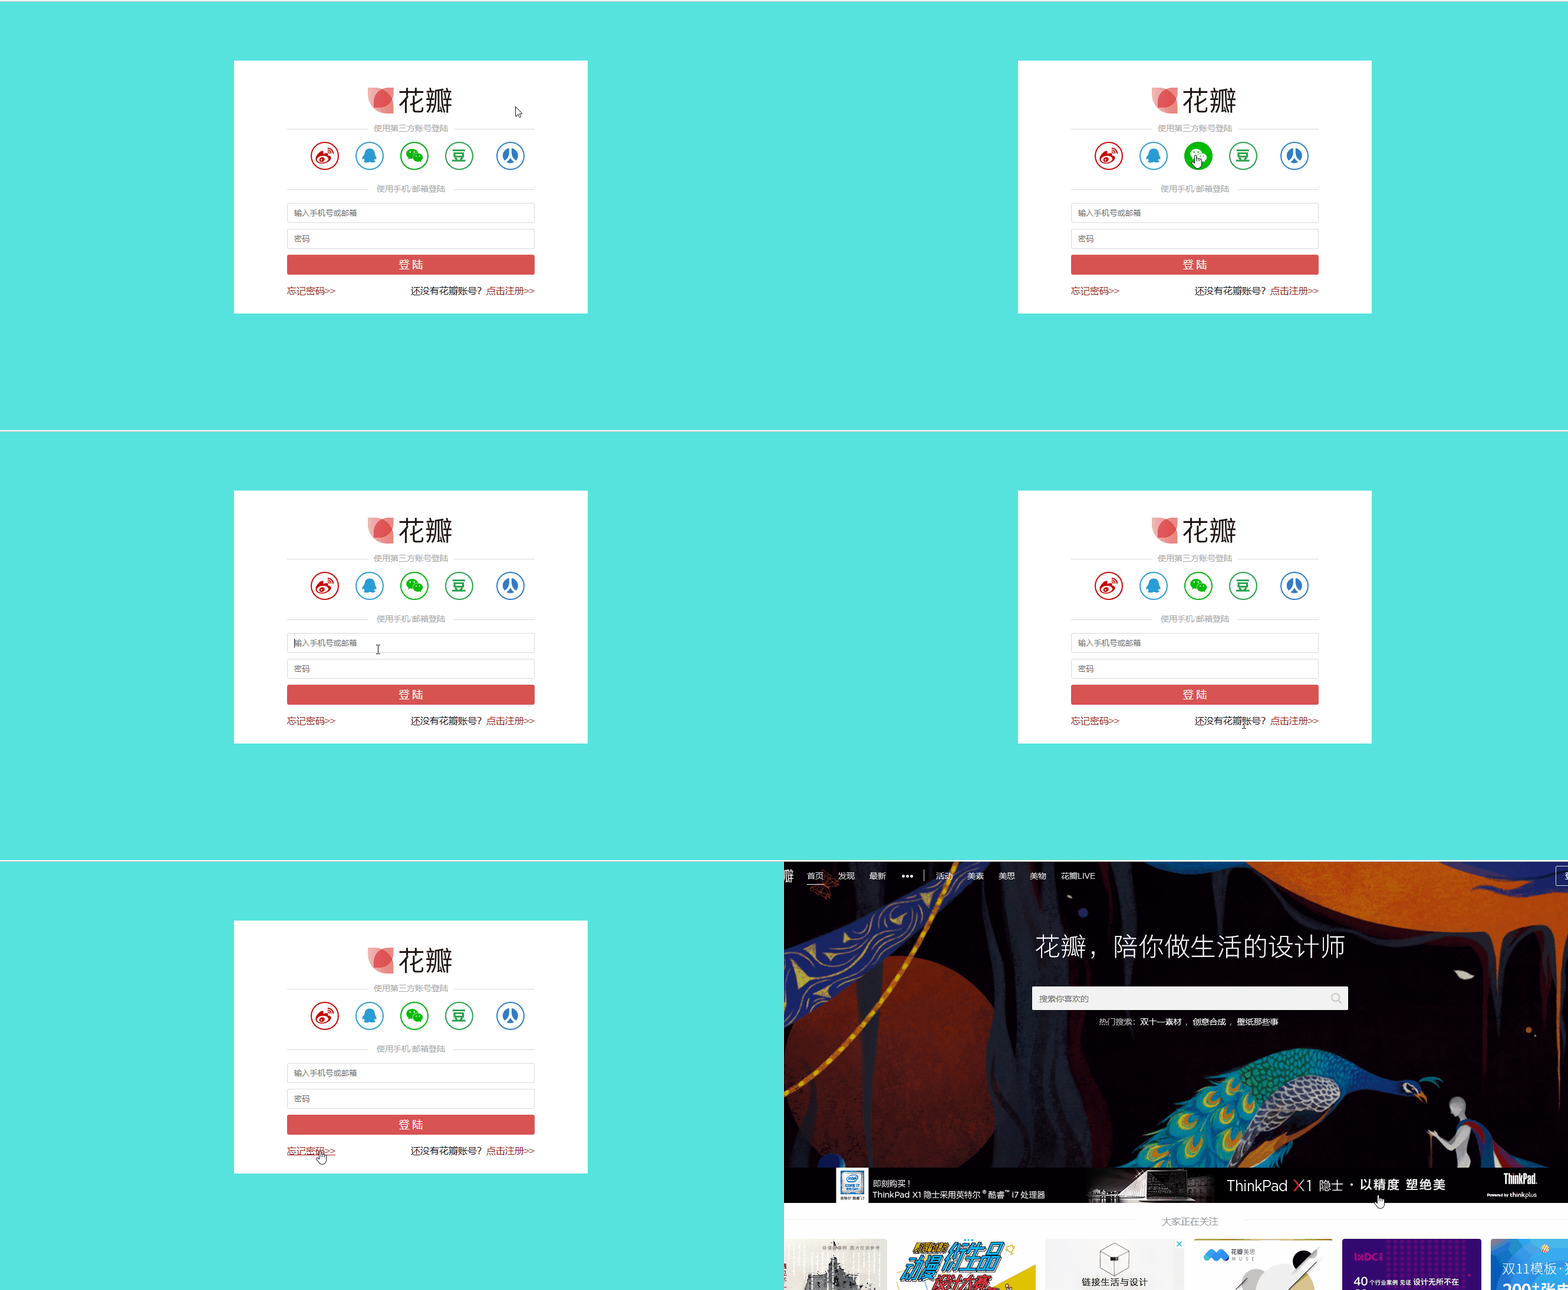
} 结果

以上是css+html如何仿花瓣网实现静态登陆页面?(代码实例)的详细内容。更多信息请关注PHP中文网其他相关文章!


