这篇文章主要介绍了html5使用html2canvas实现浏览器截图的示例,非常具有实用价值,需要的朋友可以参考下
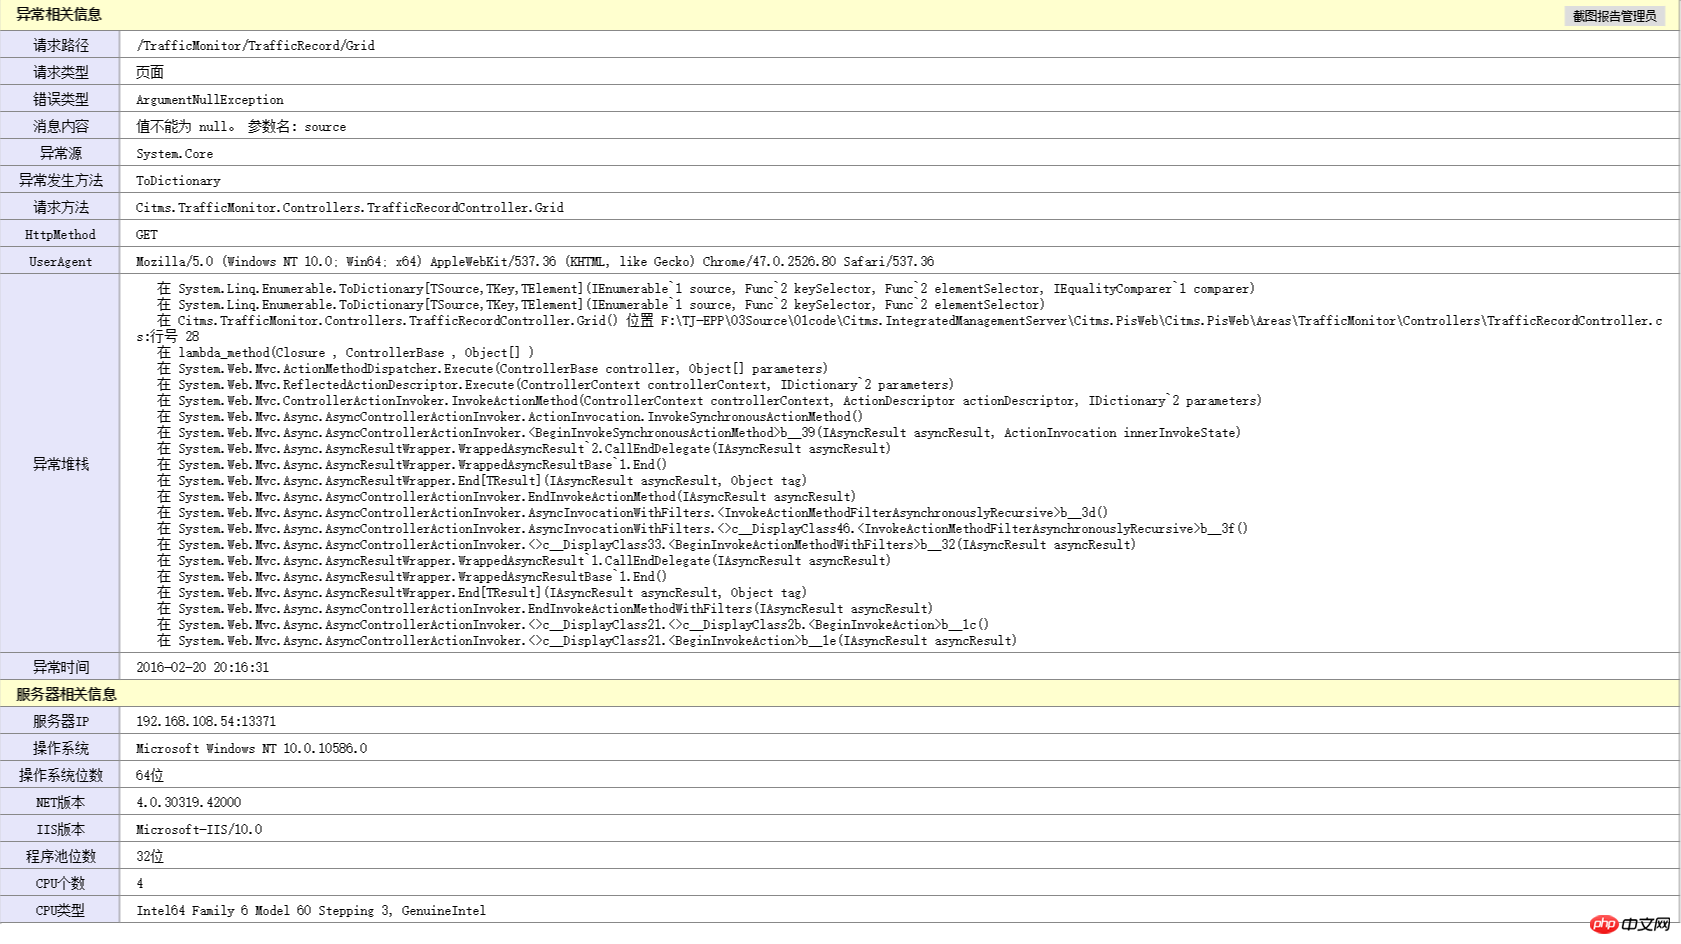
最近做项目为了解决全局异常信息记录,研究了一下浏览器全屏截图功能,方便用户发现异常时能够快速截图发给管理员。最终记录的异常信息如下,上面的【截图报告管理员】就是使用html2canvas前端插件实现的。

html2canvas介绍
以前我们只能通过其他的截图工具来截取图像。现代浏览器的功能已经越来越强,随着H5的逐渐普及,浏览器本身就可以截图啦。html2canvas就是这样一款前端插件,它的原理是将Dom节点在Canvas里边画出来。虽然很方便,但有以下限制:
不支持iframe
不支持跨域图片
不能在浏览器插件中使用
部分浏览器上不支持SVG图片
不支持Flash
不支持古代浏览器和IE,如果你想确认是否支持某个浏览器,可以用它访问 http://deerface.sinaapp.com/ 试试 :)
由于我的使用场景很简单,记录一下异常信息,并且异常页面也是由自己定义的,那么html2canvas 就足够使用了。
使用实例
引用jquery,html2canvas即可,使用代码也很简单。我这里使用的是 html2canvas 0.5.0 版本
 html2canvas($("#tbl_exception"), {
         onrendered: function (canvas) {
             var url = canvas.toDataURL();
              //以下代码为下载此图片功能
             var triggerDownload = $("<a>").attr("href", url).attr("download", getNowFormatDate()+"异常信息.png").appendTo("body");
               triggerDownload[0].click();
               triggerDownload.remove();
           }
});第一个参数是要截图的Dom对象,第二个参数时渲染完成后回调的canvas对象。
| Name | Type | Default | Description |
|---|---|---|---|
| allowTaint | boolean | false | Whether to allow cross-origin images to taint the canvas |
| background | string | #fff | Canvas background color, if none is specified in DOM. Set undefined for transparent |
| height | number | null | Define the heigt of the canvas in pixels. If null, renders with full height of the window. |
| letterRendering | boolean | false | Whether to render each letter seperately. Necessary ifletter-spacing is used. |
| logging | boolean | false | Whether to log events in the console. |
| proxy | string | undefined | Url to the proxy which is to be used for loading cross-origin images. If left empty, cross-origin images won't be loaded. |
| taintTest | boolean | true | Whether to test each image if it taints the canvas before drawing them |
| timeout | number | 0 | Timeout for loading images, in milliseconds. Setting it to 0 will result in no timeout. |
| width | number | null | Define the width of the canvas in pixels. If null, renders with full width of the window. |
| useCORS | boolean | false | Whether to attempt to load cross-origin images as CORS served, before reverting back to proxy |
问题分析
介绍完使用之后,说说自己使用中遇到的问题,截图只能截取当前屏幕内的内容。在查看插件源码,进行调试之后找到了解决方案。下面贴出源码和修改后的代码
源码:
 return renderDocument(node.ownerDocument, options, node.ownerDocument.defaultView.innerWidth, node.ownerDocument.defaultView.innerHeight, index).then(function(canvas) {
        if (typeof(options.onrendered) === "function") {
            log("options.onrendered is deprecated, html2canvas returns a Promise containing the canvas");
            options.onrendered(canvas);
        }
        return canvas;
});修改代码:
   //2016-02-18修改源码,解决BUG 对于部分不能截屏不能全屏添加自定义宽高的参数以支持
    var width = options.width != null ? options.width : node.ownerDocument.defaultView.innerWidth;
    var height = options.height != null ? options.height : node.ownerDocument.defaultView.innerHeight;
    return renderDocument(node.ownerDocument, options, width, height, index).then(function (canvas) {
        if (typeof(options.onrendered) === "function") {
            log("options.onrendered is deprecated, html2canvas returns a Promise containing the canvas");
            options.onrendered(canvas);
        }
        return canvas;
});主要是让用户调用时能够自定义需要截取Dom对象的宽和高,现在调用方式如下
            $("#btn_screen").on("click", function () {
                html2canvas($("#tbl_exception"), {
                    height: $("#tbl_exception").outerHeight() + 20,
                    onrendered: function (canvas) {
                        var url = canvas.toDataURL();
                        //以下代码为下载此图片功能
                        var triggerDownload = $("<a>").attr("href", url).attr("download", getNowFormatDate()+"异常信息.png").appendTo("body");
                        triggerDownload[0].click();
                        triggerDownload.remove();
                    }
                });
});以上就是本文的全部内容,希望对大家的学习有所帮助,更多相关内容请关注PHP中文网!
相关推荐:
以上是html5使用html2canvas实现浏览器截图的详细内容。更多信息请关注PHP中文网其他相关文章!


