在iconfont找到自己的專案的圖示選擇Symbol取得線上連結
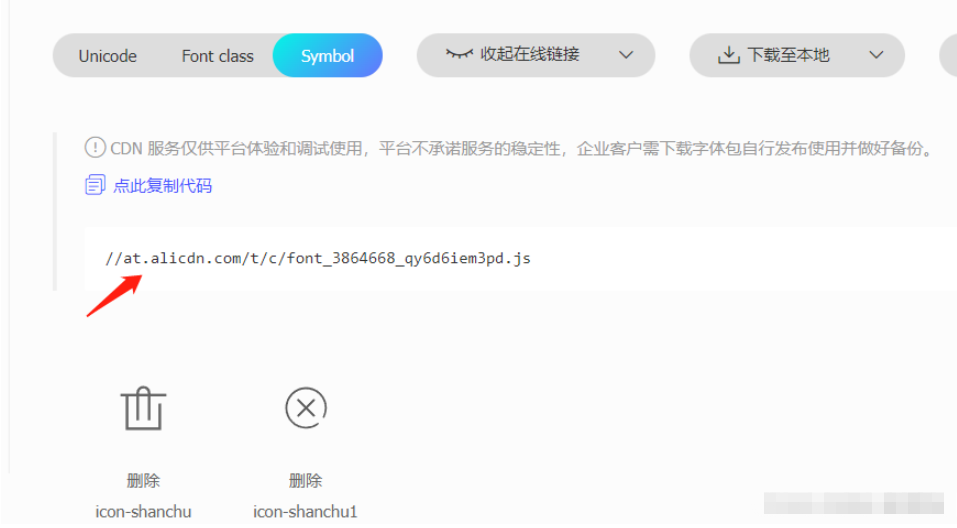
2:在vue3專案中找到public的index.html進行script進行引入

開啟瀏覽器看:這樣就會自動注入到body下方

在專案中直接使用
   //控制图标的大小
   <svg >
      <use href="#icon-shanchu" rel="external nofollow" ></use>
</svg>顯示出了刪除的圖示

1:新建一個專門取得svg圖示的元件
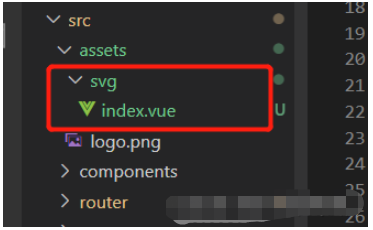
# #icon.vue (svg/index.vue)
 <template>
  <div>
    <svg :>
      <use :href="names" rel="external nofollow"  rel="external nofollow" ></use>
    </svg>
  </div>
</template>

<script setup>
import { defineProps, withDefaults } from "vue";
const props = defineProps({
  name: {
    type: String,
    default: "",
  },
  style: {
    type: Object,
    default: () => {
      return {
        width: 10,
        height: 10,
        color: "",
      };
    },
  },
});
const names = `#${props.name}`;
</script>

<style lang="scss" scoped></style>需要顯示圖示的介面
<template>
  <div class="home">
    <icon   :  name="icon-shanchu"  ></icon>
    <icon   :  name="icon-shanchu"  ></icon>
  </div>
</template>

<script setup>
import { ref } from "vue";
import icon from "../assets/svg/index.vue";
</script>
<style lang="scss">

</style>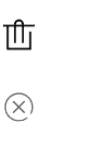
如果你使用了iconfont的圖標以及自訂的圖標,則可以將它們放在一起,並根據傳輸的名稱指定使用哪個圖標
icon.vue (svg/index .vue)
<template>
  <div>
    <svg :>
      <use :href="names" rel="external nofollow"  rel="external nofollow" ></use>
    </svg>
   // 自定义的图标
    <svg width="0" height="0">
      <defs>
        <symbol id="more" viewBox="0 0 100 100">
          <circle
            r="5"
            cx="20"
            cy="25"
            fill="transparent"
            stroke="green"
          ></circle>
          <circle r="5" cx="20" cy="50" fill="currentColor"></circle>
          <circle r="5" cx="20" cy="75" fill="currentColor"></circle>
          <line
            x1="40"
            y1="25"
            x2="90"
            y2="25"
            stroke-width="8"
            stroke="currentColor"
          ></line>
          <line
            x1="40"
            y1="50"
            x2="90"
            y2="50"
            stroke-width="8"
            stroke="currentColor"
          ></line>
          <line
            x1="40"
            y1="75"
            x2="90"
            y2="75"
            stroke-width="8"
            stroke="currentColor"
          ></line>
        </symbol>
      </defs>
    </svg>
  </div>
</template>

<script setup>
import { defineProps, withDefaults } from "vue";
const props = defineProps({
  name: {
    type: String,
    default: "",
  },
  style: {
    type: Object,
    default: () => {
      return {
        width: 10,
        height: 10,
        color: "",
      };
    },
  },
});
const names = `#${props.name}`;
</script>

<style lang="scss" scoped></style><template>
<div class="home">
<icon : name="icon-shanchu" ></icon>
<icon : name="icon-shanchu1" ></icon>
<icon : name="more"></icon>
</div>
</template>
<script setup>
import { ref } from "vue";
import icon from "../assets/svg/index.vue";
</script>
<style lang="scss">
</style>
#假如你是複製的iconfont官網的圖示svg的程式碼:
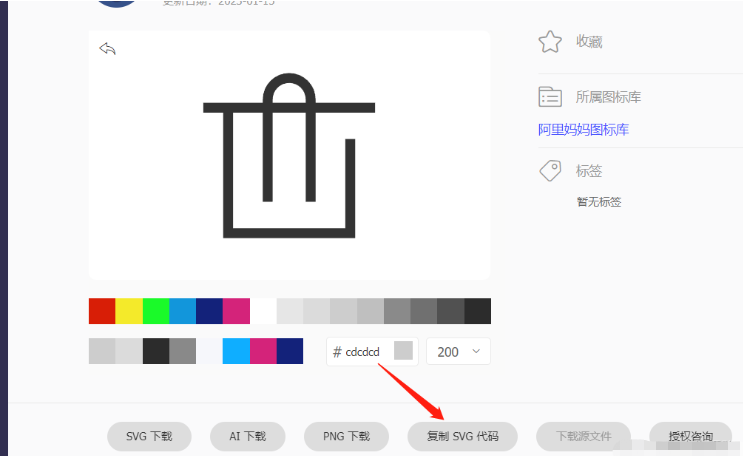

你直接cv到專案也可以直接使用:
<svg
      t="1673881805558"
      class="icon"
      viewBox="0 0 1024 1024"
      version="1.1"
      xmlns="http://www.w3.org/2000/svg"
      p-id="1076"
      width="200"
      height="200"
    >
      <path
        d="M658.276045 767.993958 658.276045 274.295l329.126 0L987.402045 219.44 658.276 219.44l0-18.281c0-80.787046-65.492992-146.284032-146.276045-146.284032-80.790016 0-146.276045 65.496986-146.276045 146.284032l0 18.281L36.597 219.44l0 54.855 109.695 0 0 694.83L877.7 969.125l0-548.55-54.855 0L822.845 914.27l-621.69 0L201.155 274.295l164.569 0 0 493.699 54.848 0L420.572 274.295l182.85 0 0 493.699L658.276 767.994zM420.571034 219.440026l0-18.281c0-50.492006 40.932966-91.420979 91.428966-91.420979 50.489037 0 91.420979 40.928973 91.420979 91.420979l0 18.281L420.571 219.440026z"
        p-id="1077"
      ></path>
    </svg>
我們也可以把上面的程式碼進行改造直接使用在icon.vue (svg/index.vue)改造

<svg t="1673881805558" class="icon" viewBox="0 0 1024 1024" version="1.1" xmlns="http://www.w3.org/2000/svg" p-id="1076" width="200" height="200" > <path d="M658.276045 767.993958 658.276045 274.295l329.126 0L987.402045 219.44 658.276 219.44l0-18.281c0-80.787046-65.492992-146.284032-146.276045-146.284032-80.790016 0-146.276045 65.496986-146.276045 146.284032l0 18.281L36.597 219.44l0 54.855 109.695 0 0 694.83L877.7 969.125l0-548.55-54.855 0L822.845 914.27l-621.69 0L201.155 274.295l164.569 0 0 493.699 54.848 0L420.572 274.295l182.85 0 0 493.699L658.276 767.994zM420.571034 219.440026l0-18.281c0-50.492006 40.932966-91.420979 91.428966-91.420979 50.489037 0 91.420979 40.928973 91.420979 91.420979l0 18.281L420.571 219.440026z" p-id="1077" ></path> </svg> //改造好了直接使用
以上是vue3怎麼使用svg圖標的詳細內容。更多資訊請關注PHP中文網其他相關文章!


