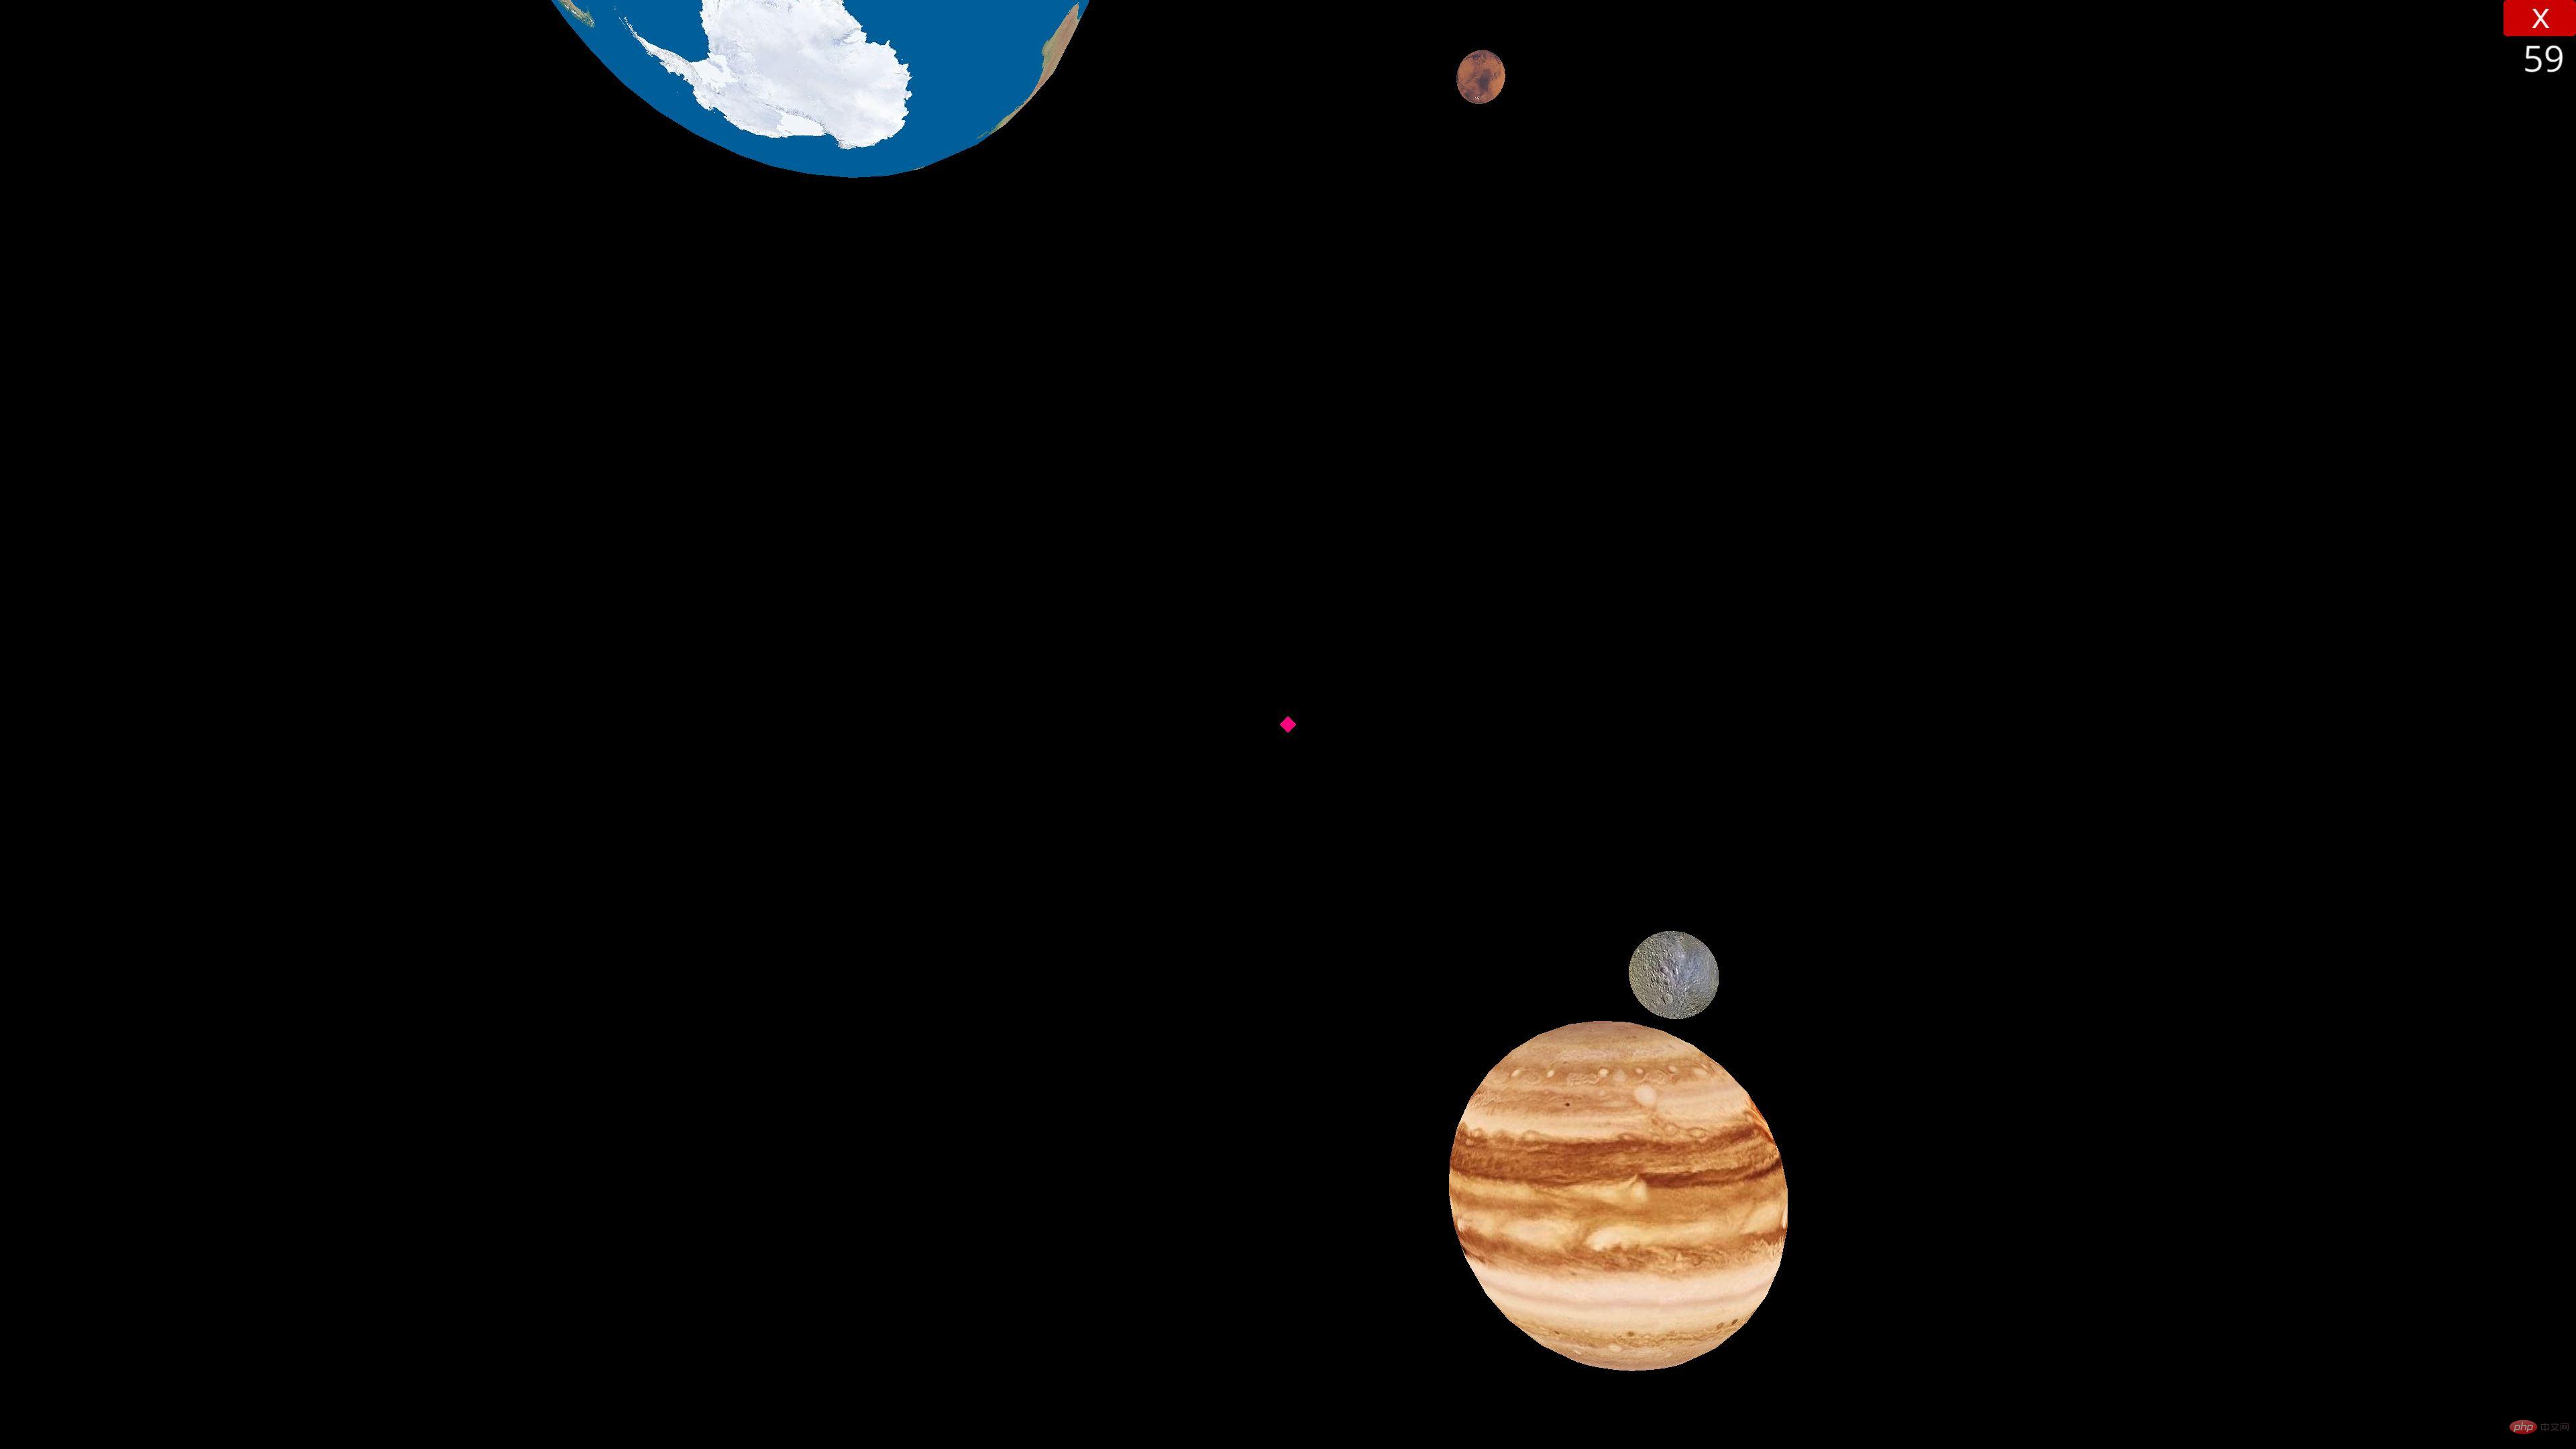
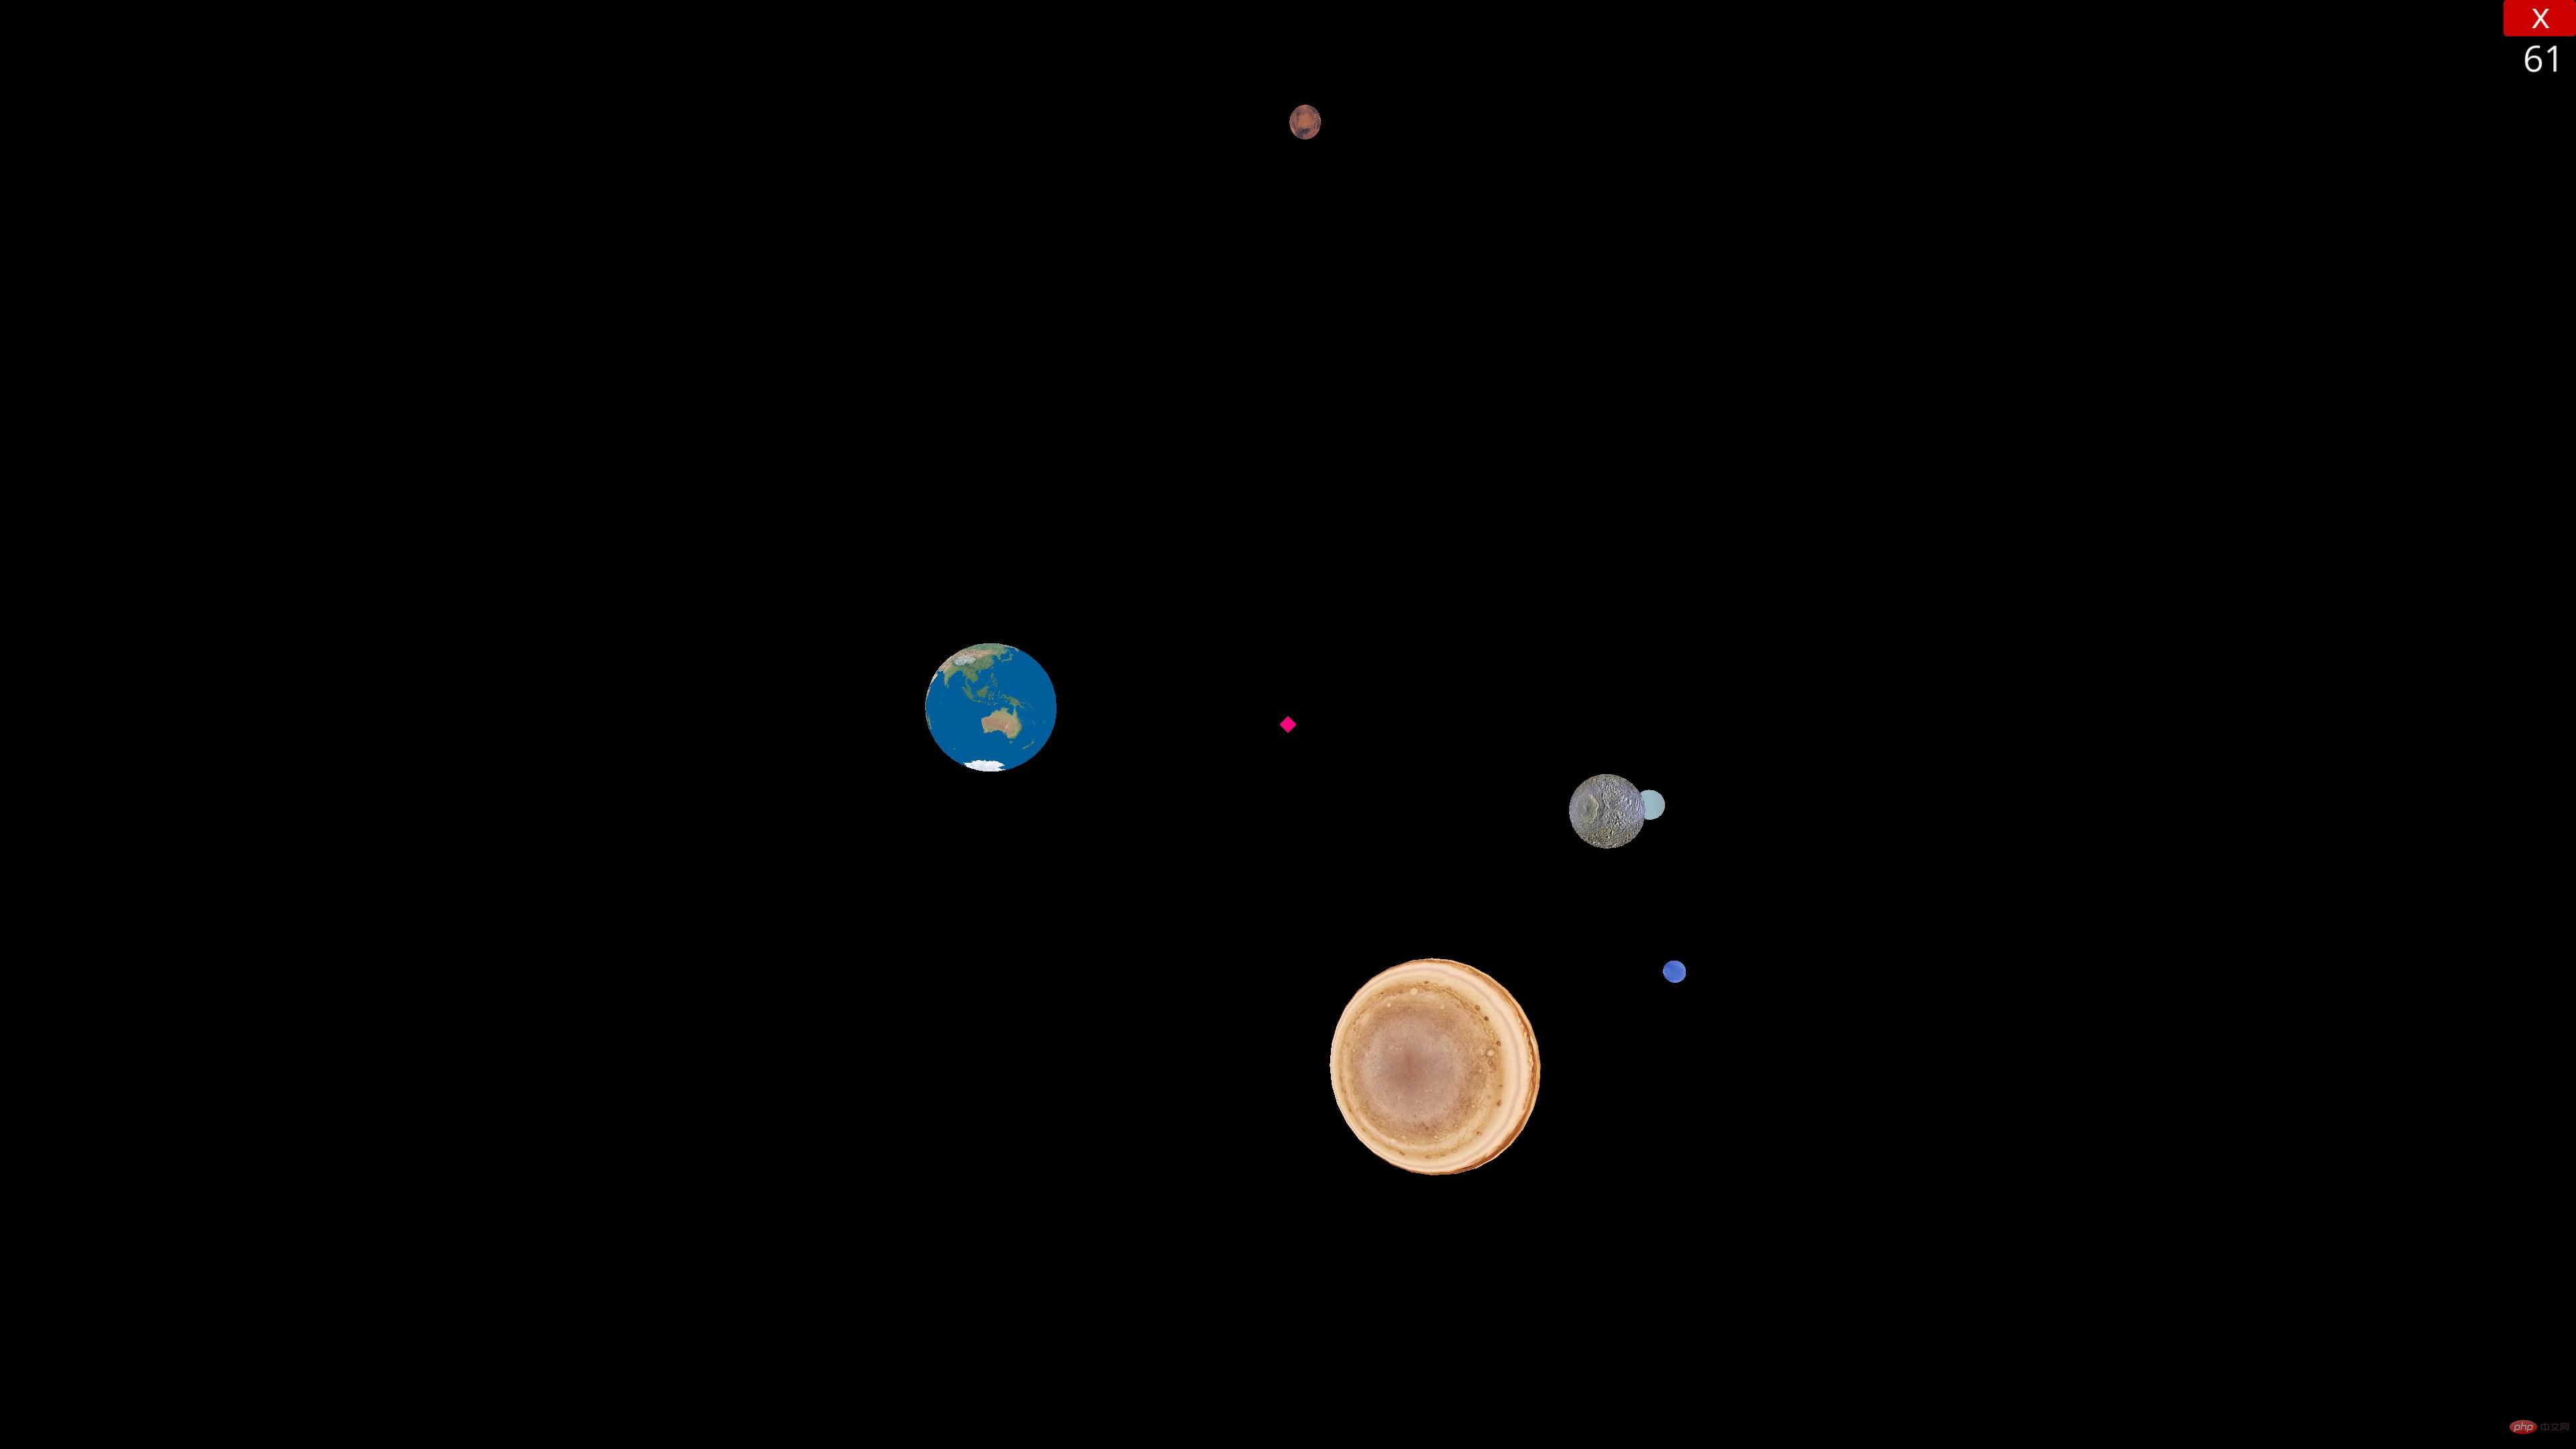
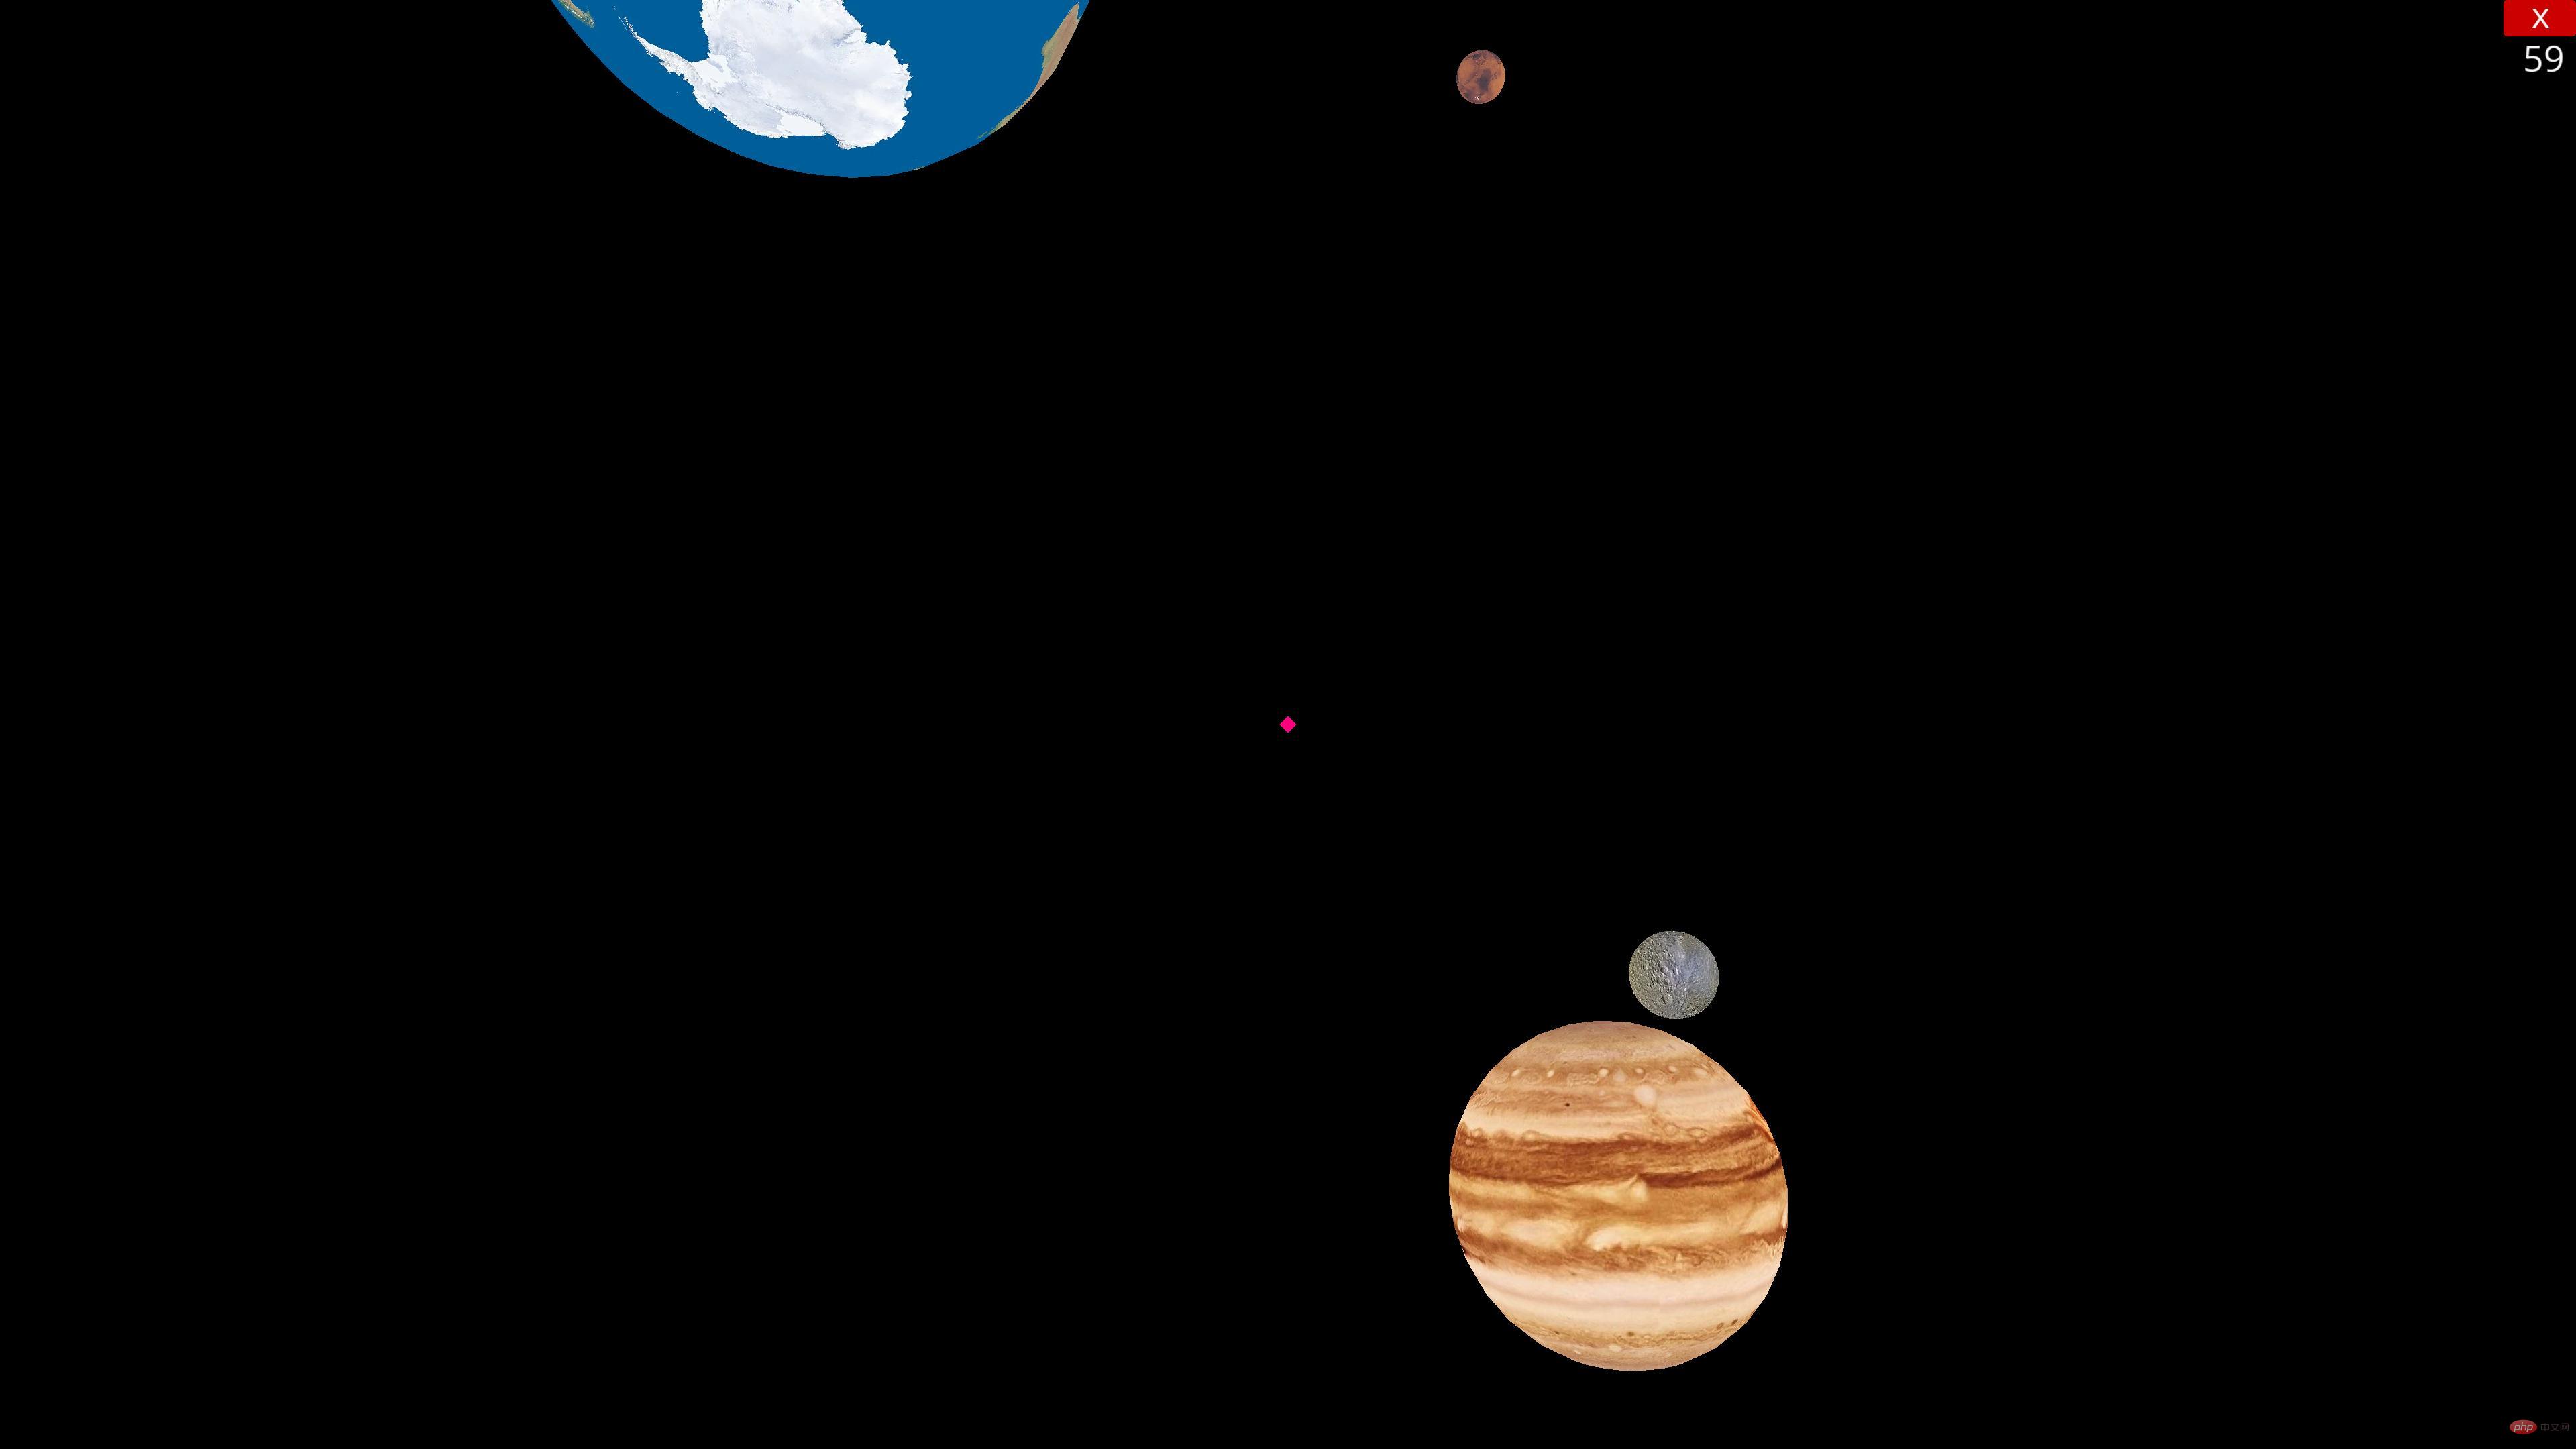
這次,我們要實現的效果如下
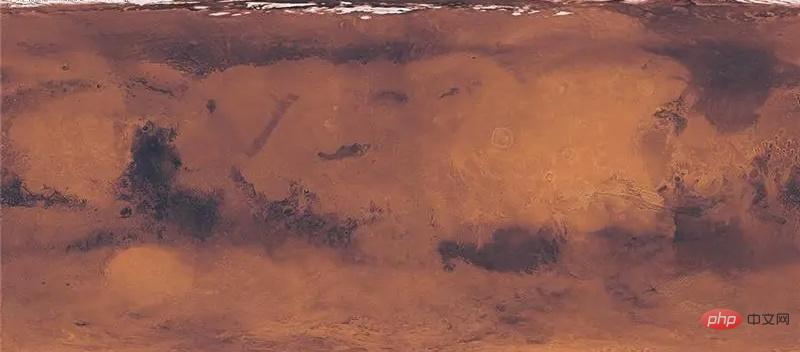
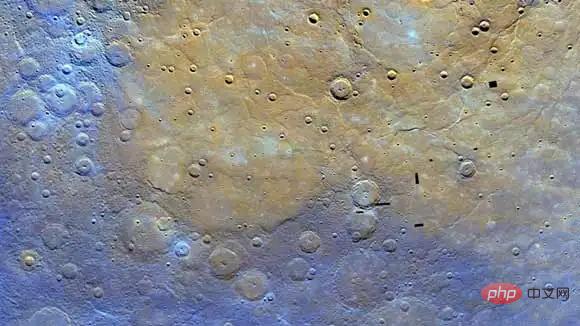
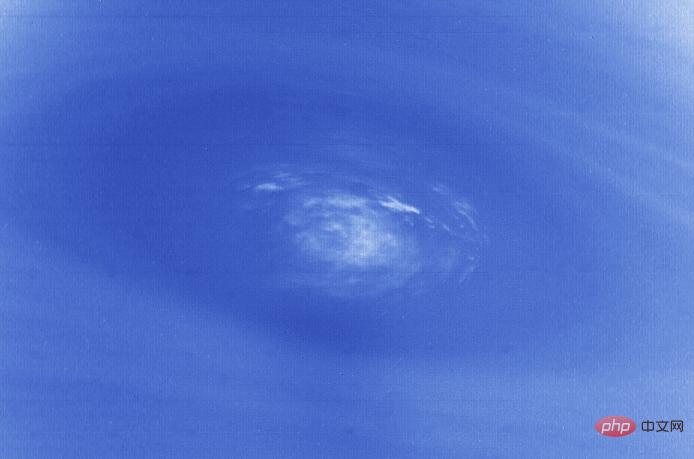
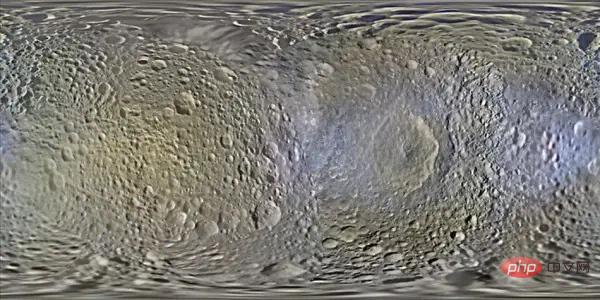
#首先,送上本次需要用到的資源
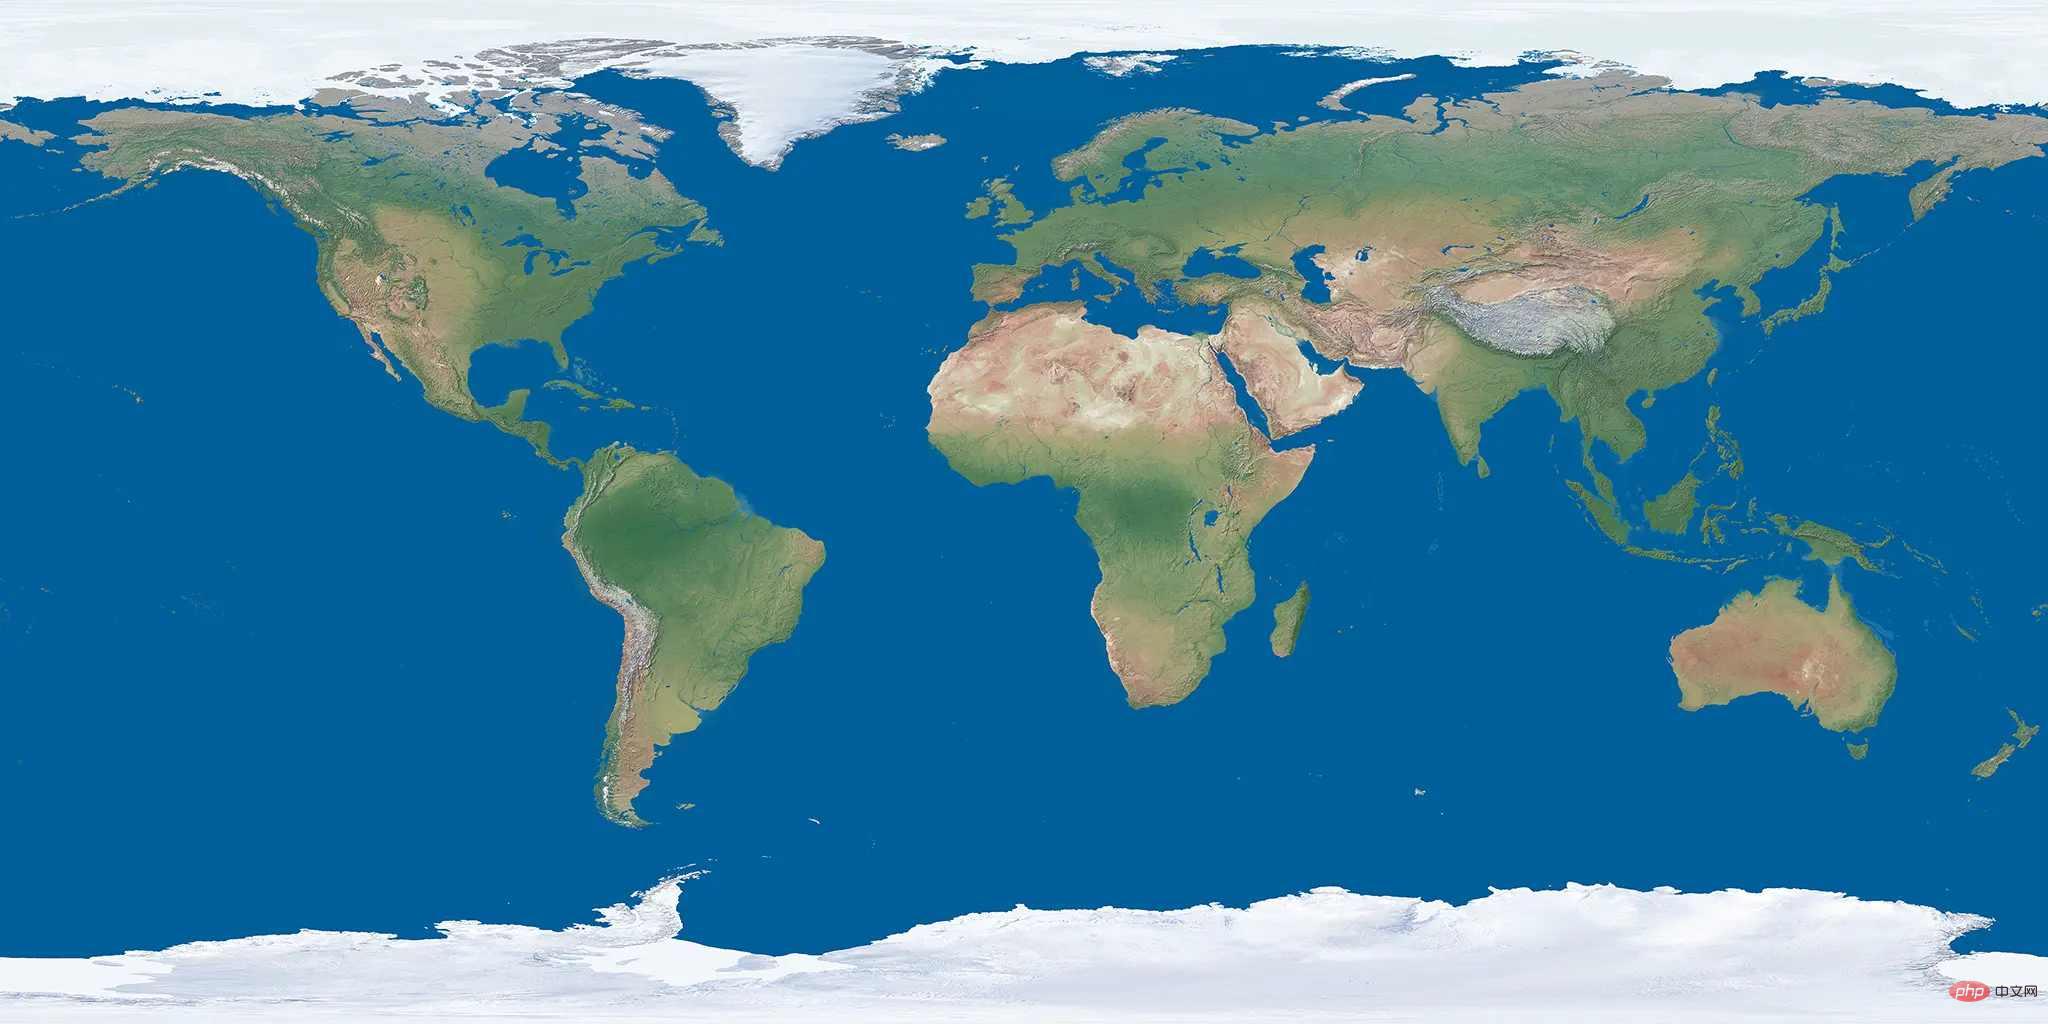
Earth.jpg
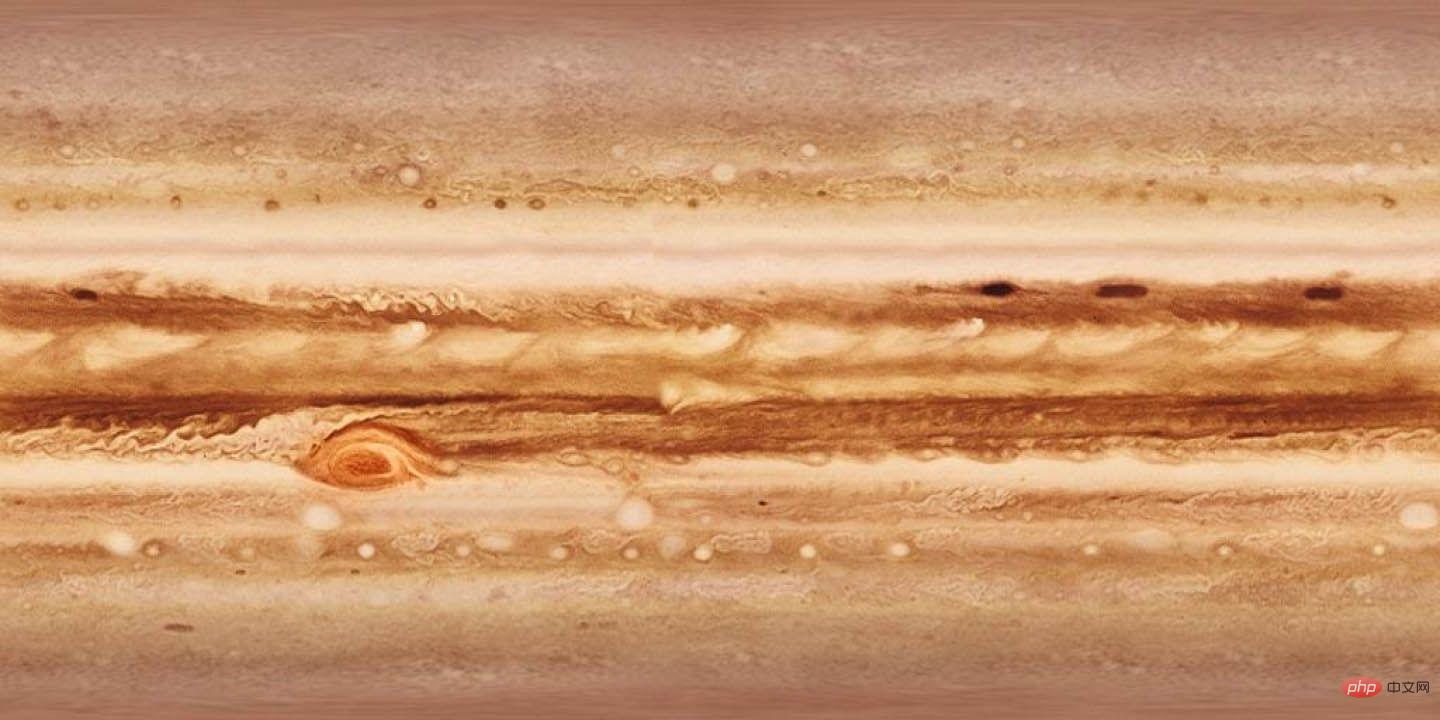
Jupiter.jpg
Mars.jpg
Mercury.jpg
Neptune.jpg
Saturn.jpg
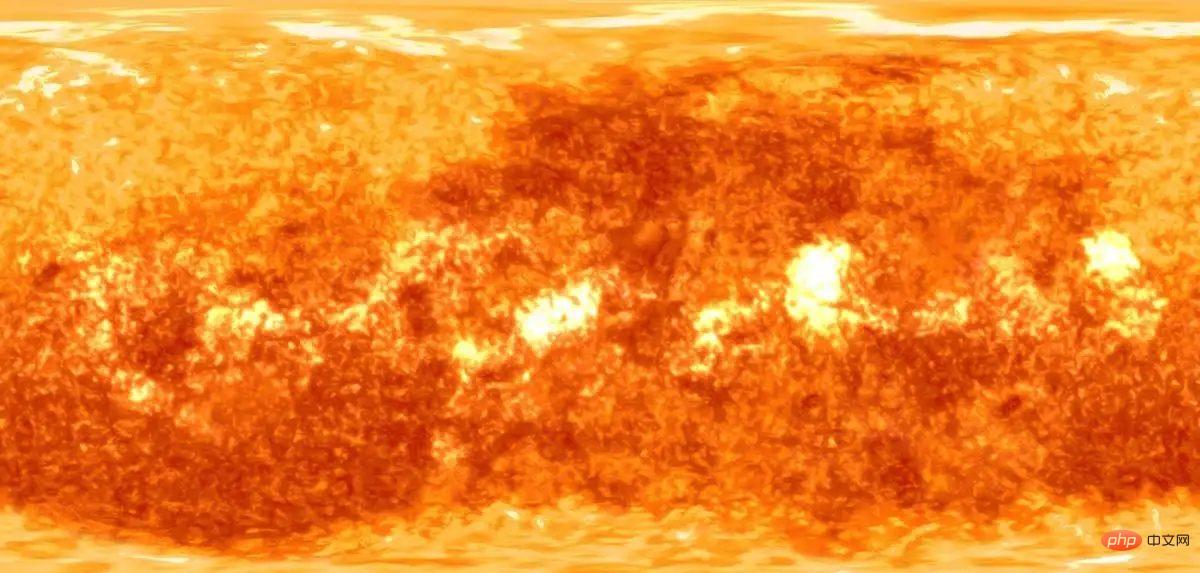
#Sun.jpg
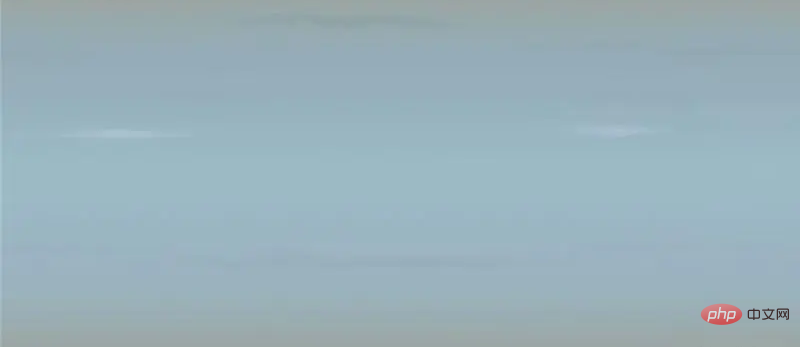
Uranus.jpg
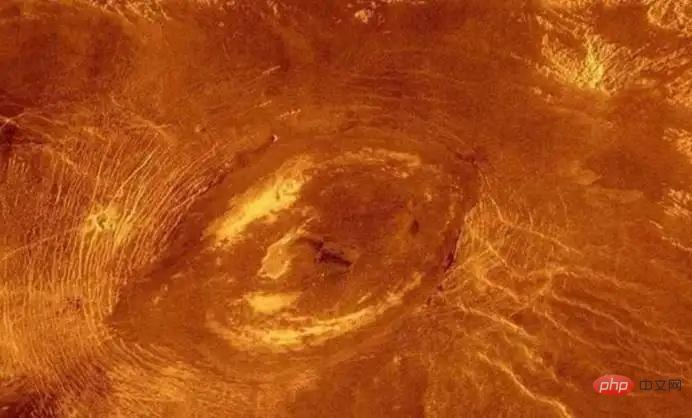
Venus.jpg
現在,就開始寫程式吧!
首先,導入我們需要的模組,導入3D引擎ursina,數學庫math,ursina中自帶的第一人稱,sys,random隨機庫
from ursina import *
from math import *
from ursina.prefabs.first_person_controller import FirstPersonController
import sys
import random as rd
然後,創建app
app=Ursina()
將視窗設為全屏,並設定背景顏色
window.fullscreen=True
window.color=color.black
定義一個列表,來儲存生成的星
planets=[]
引入所有星球的材質
sun_texture=load_texture("texture/Sun.png")
mercury_texture=load_texture("texture/Mercury.png")
venus_texture=load_texture("texture/Venus.png")
earth_texture=load_texture("texture/Earth.png")
mars_texture=load_texture("texture/Mars.png")
jupiter_texture=load_texture("texture/Jupiter.png")
saturn_texture=load_texture("texture/Saturn.png")
uranus_texture=load_texture("texture/Uranus.png")
neptune_texture=load_texture("texture/Neptune.png")創建一個類別Planet,繼承自實體Entity,傳入_type是星的類型,pos是位置,scale是縮放
angle:每次更新的時候行星圍繞太陽轉的弧度
# fastMode的值為1或0,表示是否讓行星繞太陽公轉速度增加到200倍
rotation:星球傾斜度,這裡我們隨機產生
rotspeed:星球自轉的速度
rotMode:表示沿著xyz軸的其中一條進行旋轉,自動選擇
_type儲存星球類型
texture則是材質,透過eval取得該變數
接著進行超類別的初始化,model是sphere,也就是球體形狀,texture表示貼圖,color顏色設定為white,position傳入座標
定義turn方法,傳入angle,只要不是太陽,就進行自轉公轉操作,如果是快速模式,則速度增加到200倍,然後計算得出新的xy座標,並用exec進行自傳操作
最後定義input方法,接受使用者輸入,注意,這裡方法名必須用input,因為它是系統自動調用的,它總是會向其傳入一個參數,為按下的按鍵名字,我們就進行判斷,如果按下回車,則進行快速模式和普通模式間的切換
class Planet(Entity):
    def __init__(self,_type,pos,scale=2):
        self.angle=rd.uniform(0.0005,0.01)
        self.fastMode=0
        self.rotation=(rd.randint(0,360) for i in range(3))
        self.rotspeed=rd.uniform(0.25,1.5)
        self.rotMode=rd.choice(["x","y","z"])
        self._type=_type
        texture=eval(f"{_type}_texture")
        super().__init__(model="sphere",
                         scale=scale,
                         texture=texture,
                         color=color.white,
                         position=pos)

    def turn(self,angle):
        if self._type!="sun":
            if self.fastMode:
                angle*=200
            self.x=self.x*cos(radians(angle))-self.y*sin(radians(angle))
            self.y=self.x*sin(radians(angle))+self.y*cos(radians(angle))
            exec(f"self.rotation_{self.rotMode}+=self.rotspeed")

    def input(self,key):
        if key=="enter":
self.fastMode=1-self.fastMode接下來,我們定義Player類,繼承自FirstPersonController
為什麼不直接用FirstPersonController呢?
因為ursina自帶的FirstPersonController自帶重力,我們這裡只是作為第一人稱的視角使用,不需要重力,然後還有一些功能我們不需要用到,所以我們就寫一個類別繼承下來,然後重寫它的一部分程式碼即可。首先,引入全域變數planets,超類別初始化,視野設定為90,將初始位置設定為地球的位置,重力(gravity)設定為0,表示沒有重力,vspeed表示上升下降時的速度,speed表示水平方向移動的速度,mouse_sensitivity是滑鼠靈敏度,需要用Vec2的形式,注意,上面除了vspeed變數可以自己命名,其它的都不可以修改。接下來,重寫input,只接收esc按鍵的訊息,當我們按下esc時,如果滑鼠為鎖定,則釋放,如果已經釋放,則退出程式。然後建立_update方法,這裡我們不重寫ursina自動呼叫的update方法,因為系統程式碼裡面,update方法還有很多操作,如果我們要重寫的話,可能還要加上把系統程式碼複製過來,程式碼過於繁瑣,這裡我們自己定義一個名字,在接下來會講到的程式碼中自己呼叫它,在該方法中,監聽滑鼠左鍵、左shift和空格的事件,空格原本是跳躍,這裡我們設定為上升,系統代碼是在input中接收空格鍵的資訊的,我們已經重寫過了,所以這裡不會觸發系統代碼的跳躍方法。
这里讲一下input和update中进行按键事件监听操作的不同,input每次只接收一个按键,而且,如果我们一个按键一直按下,它不会一直触发,只会触发一次,然后等到该按键释放,才会重新对该按键进行监听;update相当于主循环,在任何于ursina有关的地方(比如继承自Entity、Button这样的类,或者是主程序)写update方法,ursina都会进行自动调用,我们不需要手动调用它,在update方法中监听事件,我们用到了held_keys,不难发现,held_keys有多个元素,只要按下就为True,所以每次运行到这里,只要按键按下,就执行,而input传入的key本身就是一个元素,所以只有一个,我们按下esc的操作不能连续调用,所以用input,其它移动玩家的代码时可以重复执行的,所以写在update(应该说是用held_keys)中。
class Player(FirstPersonController):
    def __init__(self):
        global planets
        super().__init__()
        camera.fov=90
        self.position=planets[3].position
        self.gravity=0
        self.vspeed=2
        self.speed=600
        self.mouse_sensitivity=Vec2(160,160)
        self.on_enable()

    def input(self,key):
        if key=="escape":
            if mouse.locked:
                self.on_disable()
            else:
                sys.exit()

    def _update(self):
        if held_keys["left mouse"]:
            self.on_enable()
        if held_keys["left shift"]:
            self.y-=self.vspeed
        if held_keys["space"]:
self.y+=self.vspeed然后在主程序中写update方法,并在其中调用我们刚刚写的player中的_update方法,再对星球进行自转公转操作
def update():
    global planets,player
    for planet in planets:
        planet.turn(planet.angle)
player._update()接下来,我们定义两个列表,分别表示星球名称和星球的大小,其实在实际的大小比例中,和这个相差很多,如果地球是1,太阳则大约为130000,木星和图形分别为1500多和700多,这样相差太大,做在程序里看起来很不寻常,所以我们这里对大多数星球的大小进行放大缩小,把它们大小的相差拉近点。然后遍历并绘制,每颗星球的间隔为前一个的10倍
ps=["sun","mercury","venus","earth","mars","jupiter","saturn","uranus","neptune"]
cp=[200,15,35,42,20,160,145,90,80]
x,y,z=0,0,0
for i,p in enumerate(ps):
    newPlanet=Planet(p,(x,y,z),cp[i])
    planets.append(newPlanet)
x+=cp[i]*10最后实例化player,并运行app
player=Player()

if __name__ == '__main__':
app.run()然后就能实现文章前面展示的效果啦~
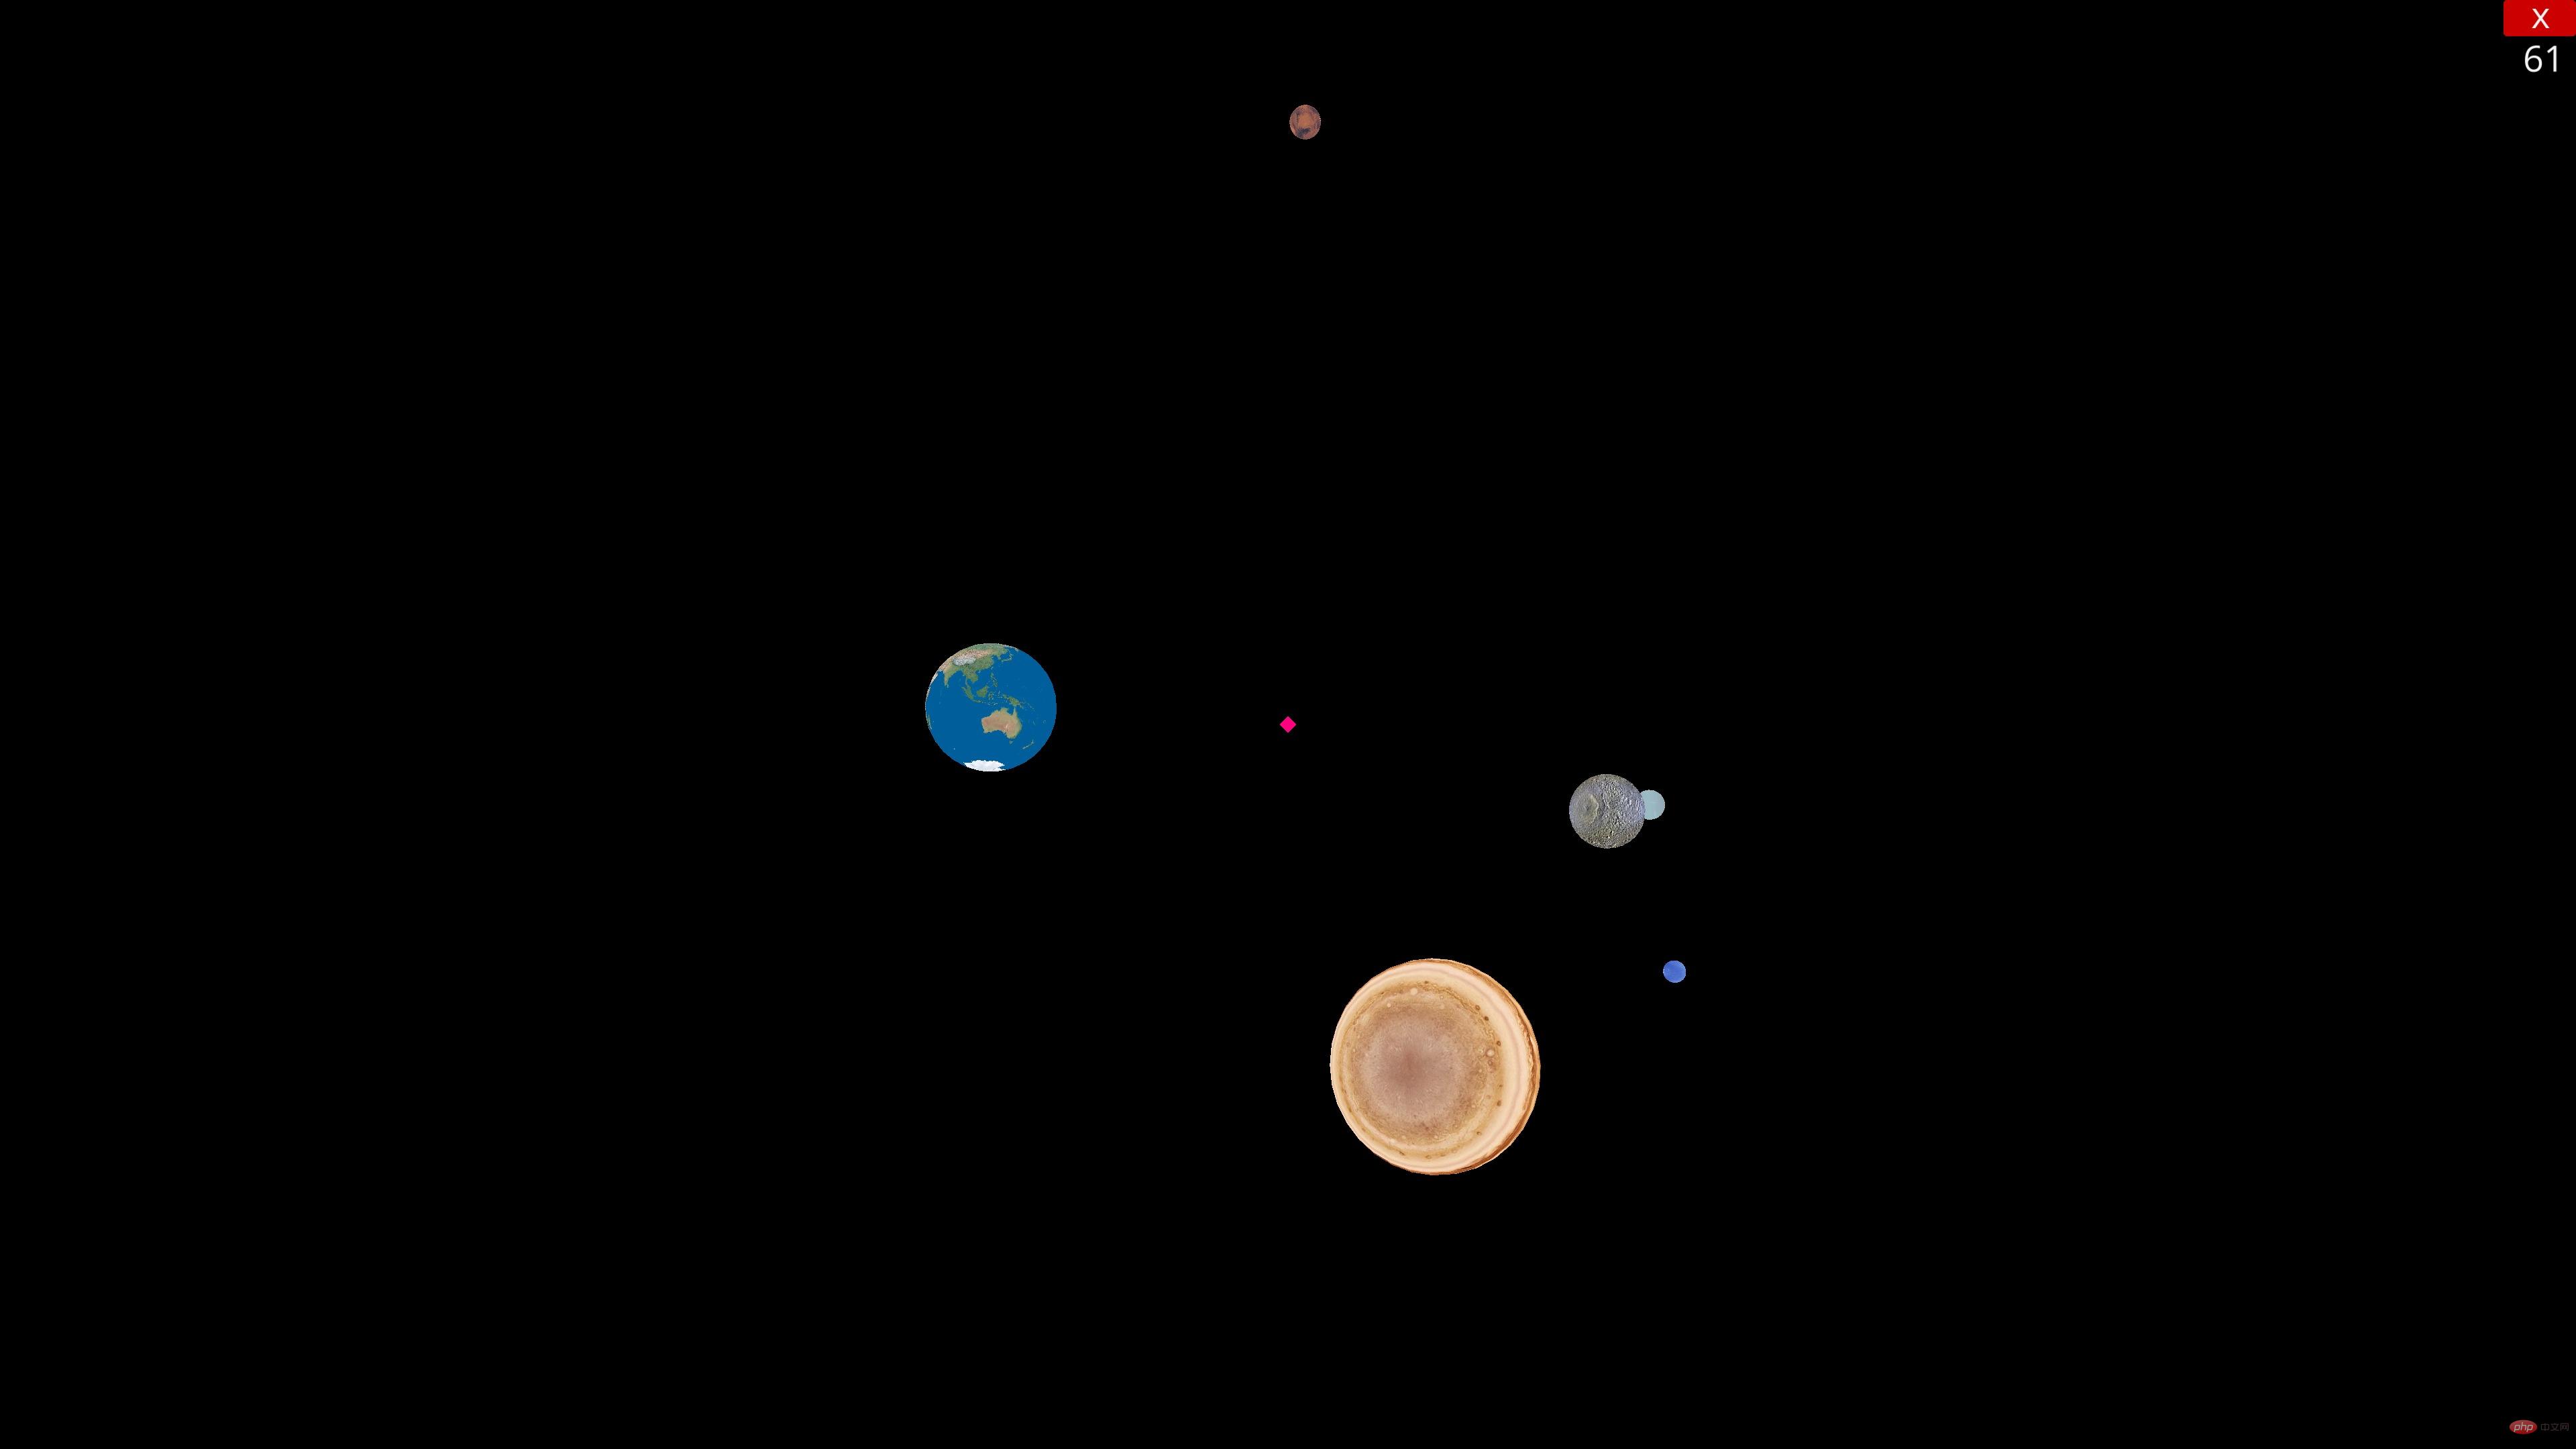
最后,附上代码
from ursina import *
from math import *
from ursina.prefabs.first_person_controller import FirstPersonController
import sys
import random as rd

app=Ursina()
window.fullscreen=True
window.color=color.black

planets=[]

class Planet(Entity):
    def __init__(self,_type,pos,scale=2):
        self.angle=rd.uniform(0.0005,0.01)
        self.fastMode=0
        self.rotation=(rd.randint(0,360) for i in range(3))
        self.rotspeed=rd.uniform(0.25,1.5)
        self.rotMode=rd.choice(["x","y","z"])
        self._type=_type
        texture=eval(f"{_type}_texture")
        super().__init__(model="sphere",
                         scale=scale,
                         texture=texture,
                         color=color.white,
                         position=pos)

    def turn(self,angle):
        if self._type!="sun":
            if self.fastMode:
                angle*=200
            self.x=self.x*cos(radians(angle))-self.y*sin(radians(angle))
            self.y=self.x*sin(radians(angle))+self.y*cos(radians(angle))
            exec(f"self.rotation_{self.rotMode}+=self.rotspeed")

    def input(self,key):
        if key=="enter":
            self.fastMode=1-self.fastMode

class Player(FirstPersonController):
    def __init__(self):
        global planets
        super().__init__()
        camera.fov=90
        self.position=planets[3].position
        self.gravity=0
        self.vspeed=2
        self.speed=600
        self.mouse_sensitivity=Vec2(160,160)
        self.on_enable()

    def input(self,key):
        if key=="escape":
            if mouse.locked:
                self.on_disable()
            else:
                sys.exit()

    def _update(self):
        if held_keys["left mouse"]:
            self.on_enable()
        if held_keys["left shift"]:
            self.y-=self.vspeed
        if held_keys["space"]:
            self.y+=self.vspeed

def update():
    global planets,player
    for planet in planets:
        planet.turn(planet.angle)
    player._update()

sun_texture=load_texture("texture/Sun.png")
mercury_texture=load_texture("texture/Mercury.png")
venus_texture=load_texture("texture/Venus.png")
earth_texture=load_texture("texture/Earth.png")
mars_texture=load_texture("texture/Mars.png")
jupiter_texture=load_texture("texture/Jupiter.png")
saturn_texture=load_texture("texture/Saturn.png")
uranus_texture=load_texture("texture/Uranus.png")
neptune_texture=load_texture("texture/Neptune.png")

ps=["sun","mercury","venus","earth","mars","jupiter","saturn","uranus","neptune"]
cp=[200,15,35,42,20,160,145,90,80]
x,y,z=0,0,0
for i,p in enumerate(ps):
    newPlanet=Planet(p,(x,y,z),cp[i])
    planets.append(newPlanet)
    x+=cp[i]*10

player=Player()

if __name__ == '__main__':
app.run()以上是Python怎麼用3D引擎做一個太陽系行星模擬器的詳細內容。更多資訊請關注PHP中文網其他相關文章!


