

本文主要和大家分享阿里雲PHP SMS簡訊服務驗證碼如何發送,希望能幫助大家。
開通SMS服務
首先去這個網站開通阿里雲的SMS簡訊服務:https://www.aliyun.com/product/sms?spm=5176.8142029.388261.295.vU5T5g
建立簽章、模板
要使用簡訊伺服器需要先建立簽章和模板,並提交給阿里雲審核通過才可以正常使用簡訊服務。
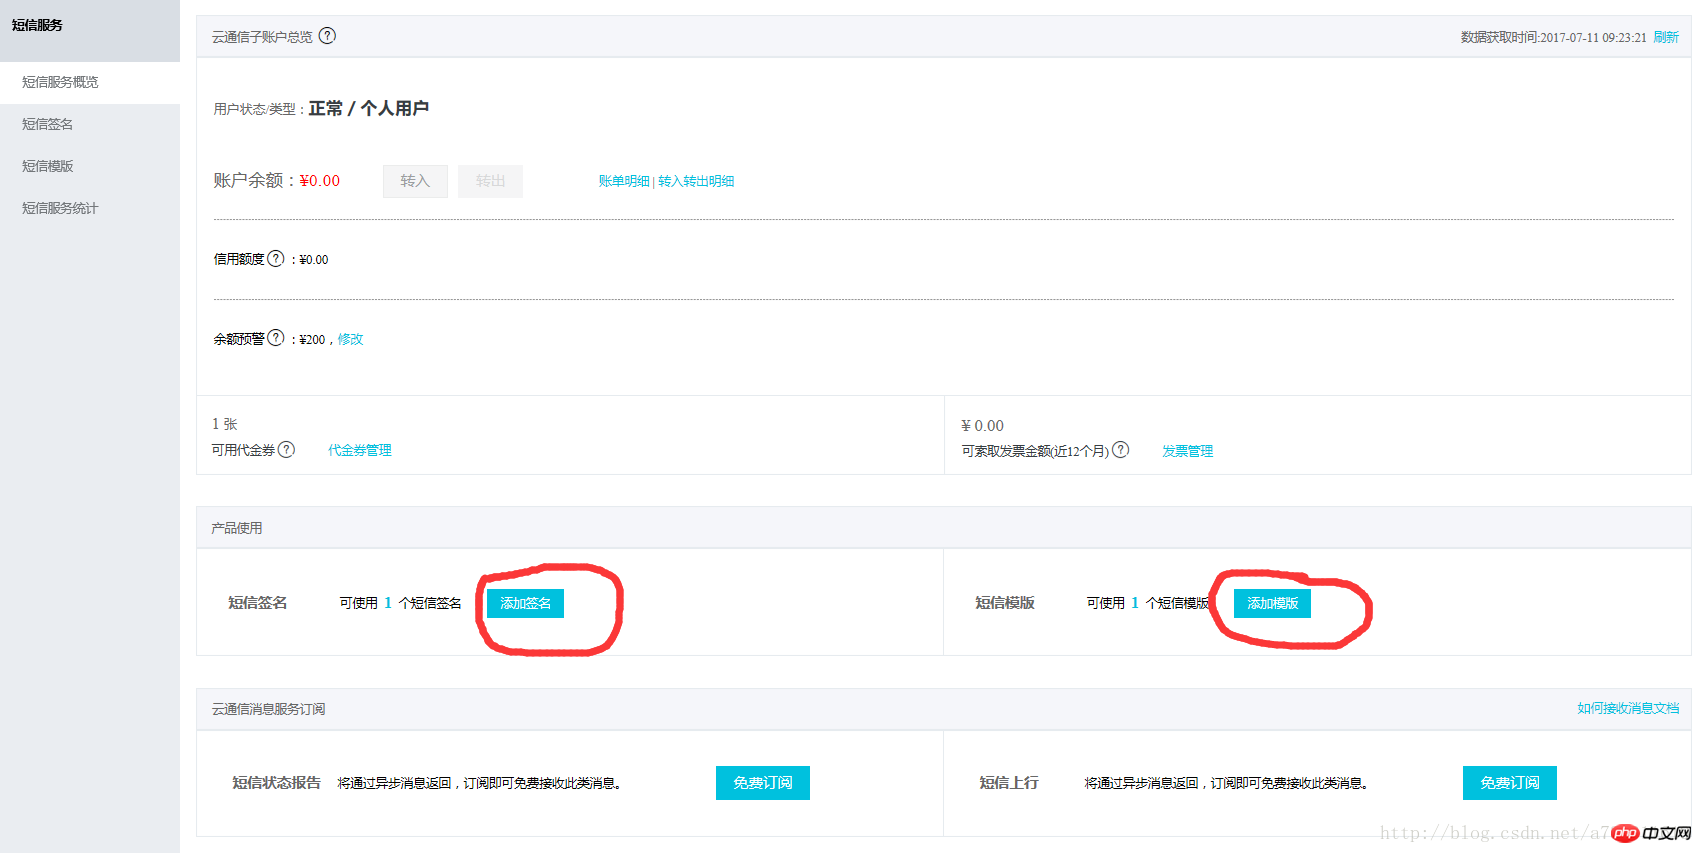
建立簽章
建立簽章的時候注意一下簽章名稱,其他的話就不累贅了。

記住簽章名稱
現在請記住你建立的簽章名稱,一會在程式碼中需要使用。
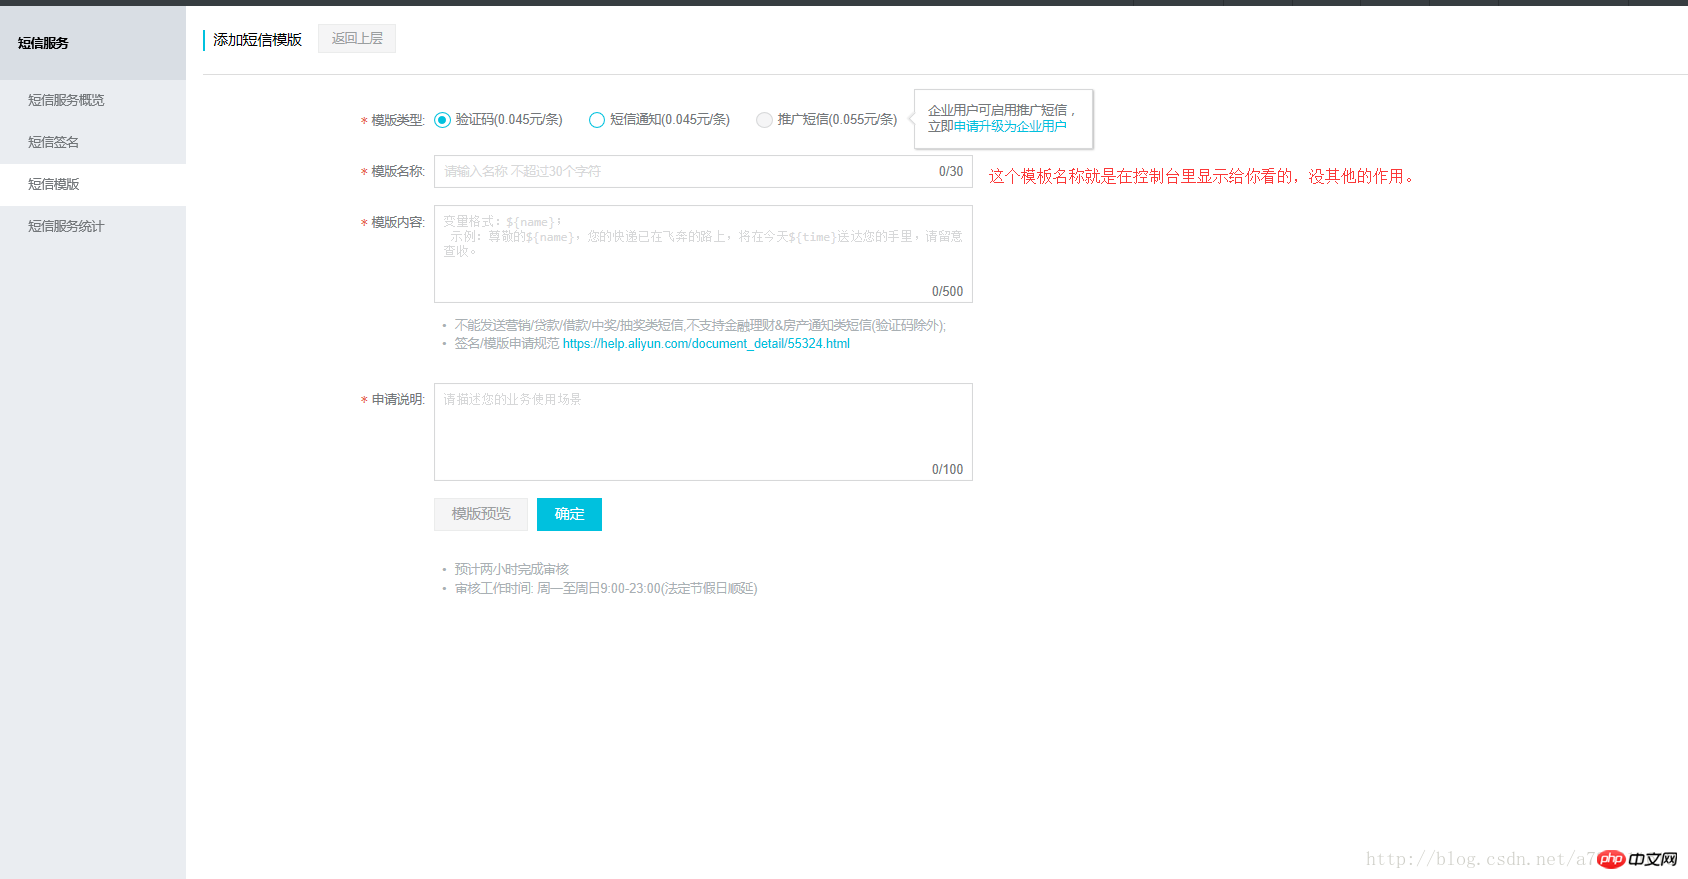
建立範本
建立範本也很簡單,阿里雲已經把要如何填寫寫的很清楚了。
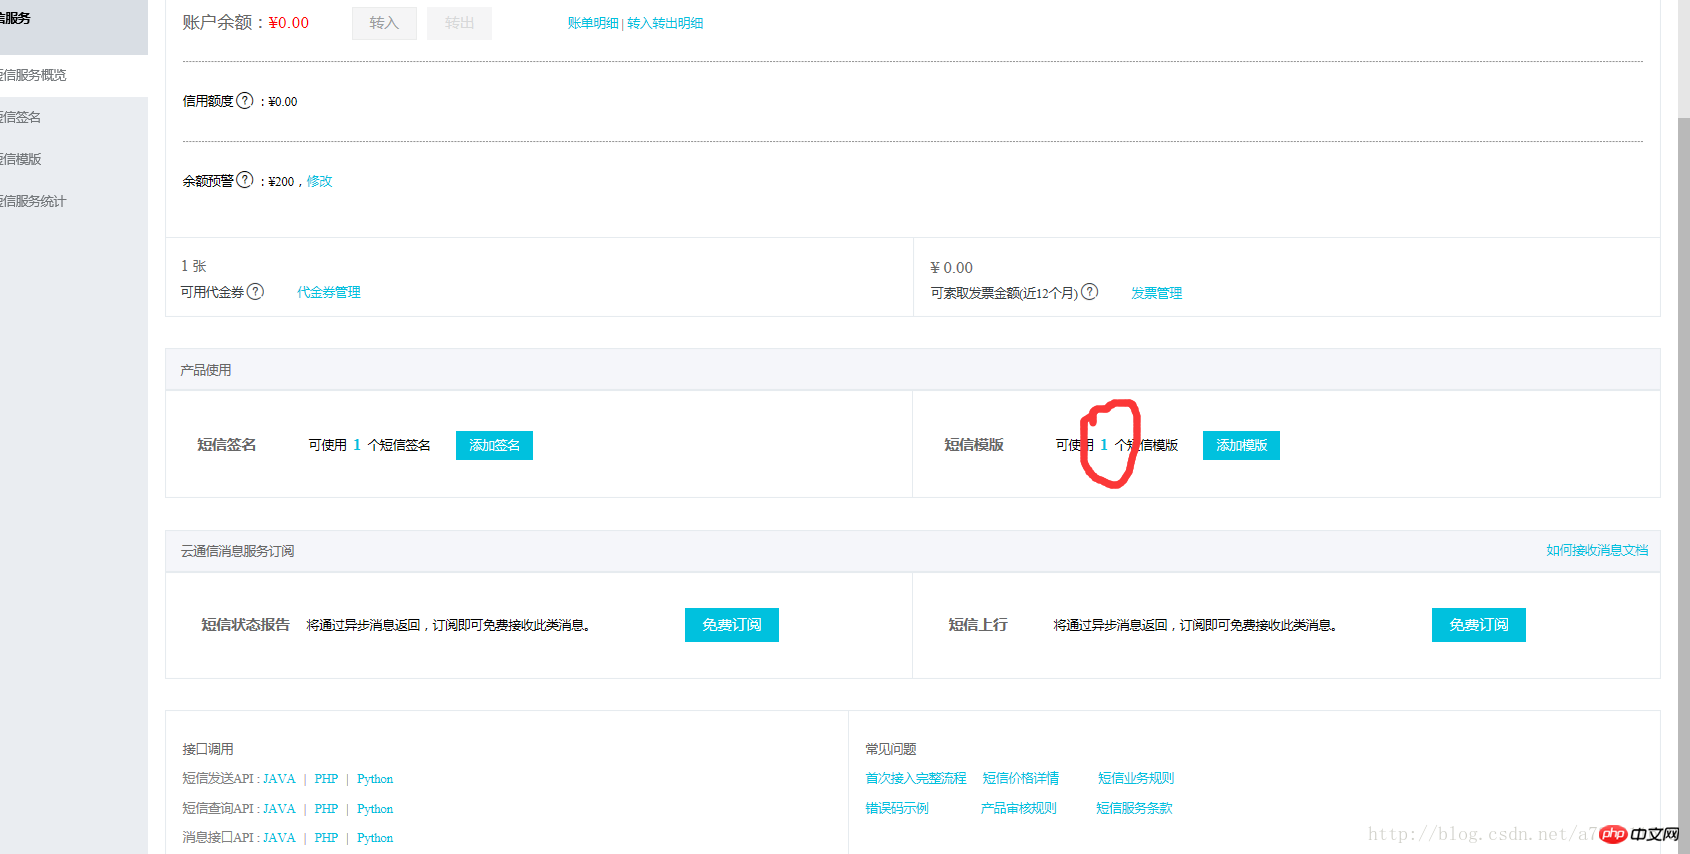
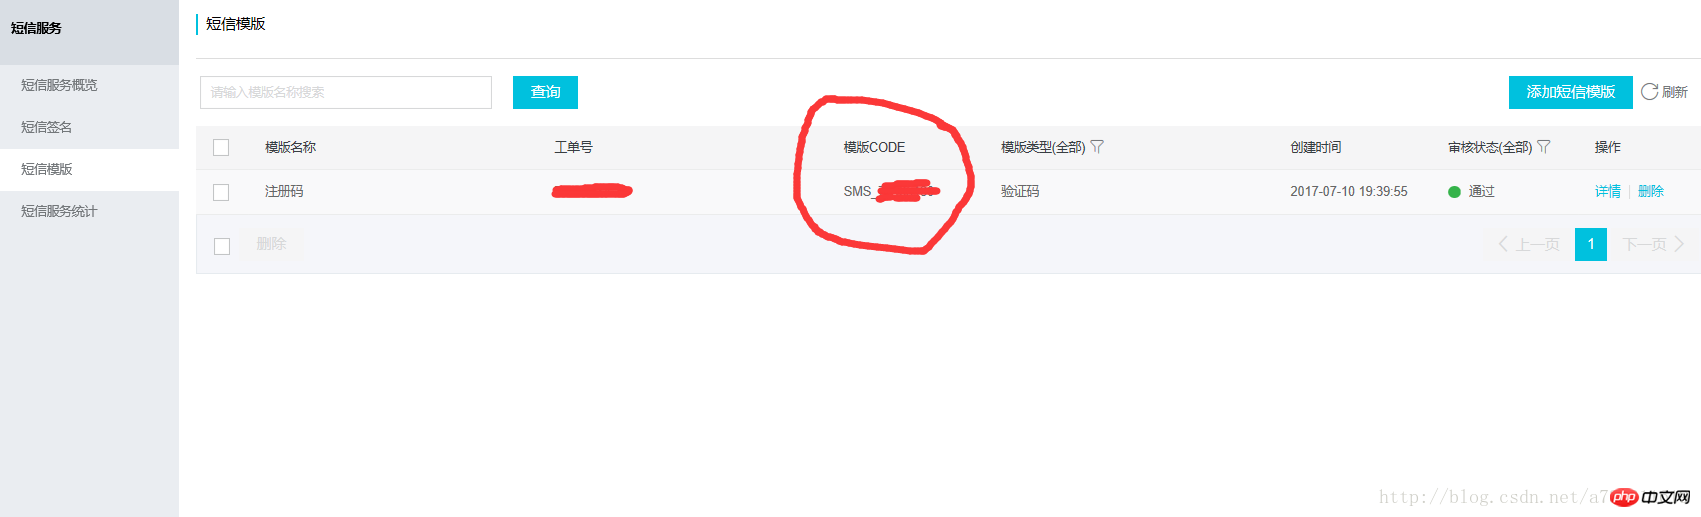
檢視並記住範本CODE
傳回你的控制台,當你的範本審核通過時這就會出現大於0的數。
點選這個數,會進入範本管理面板就能看到你的範本CODE了,請記得他。
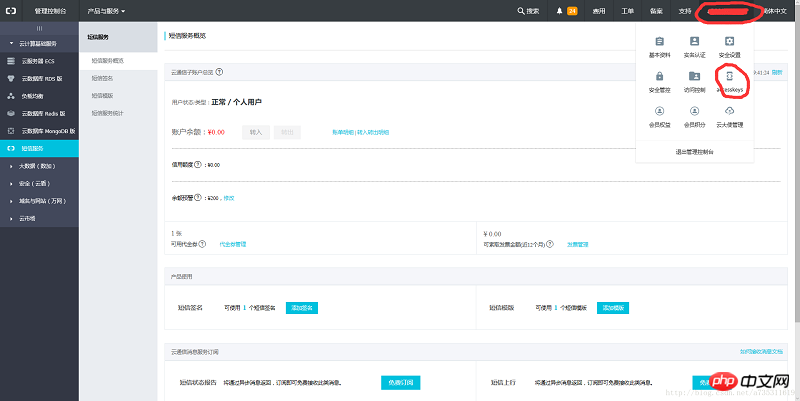
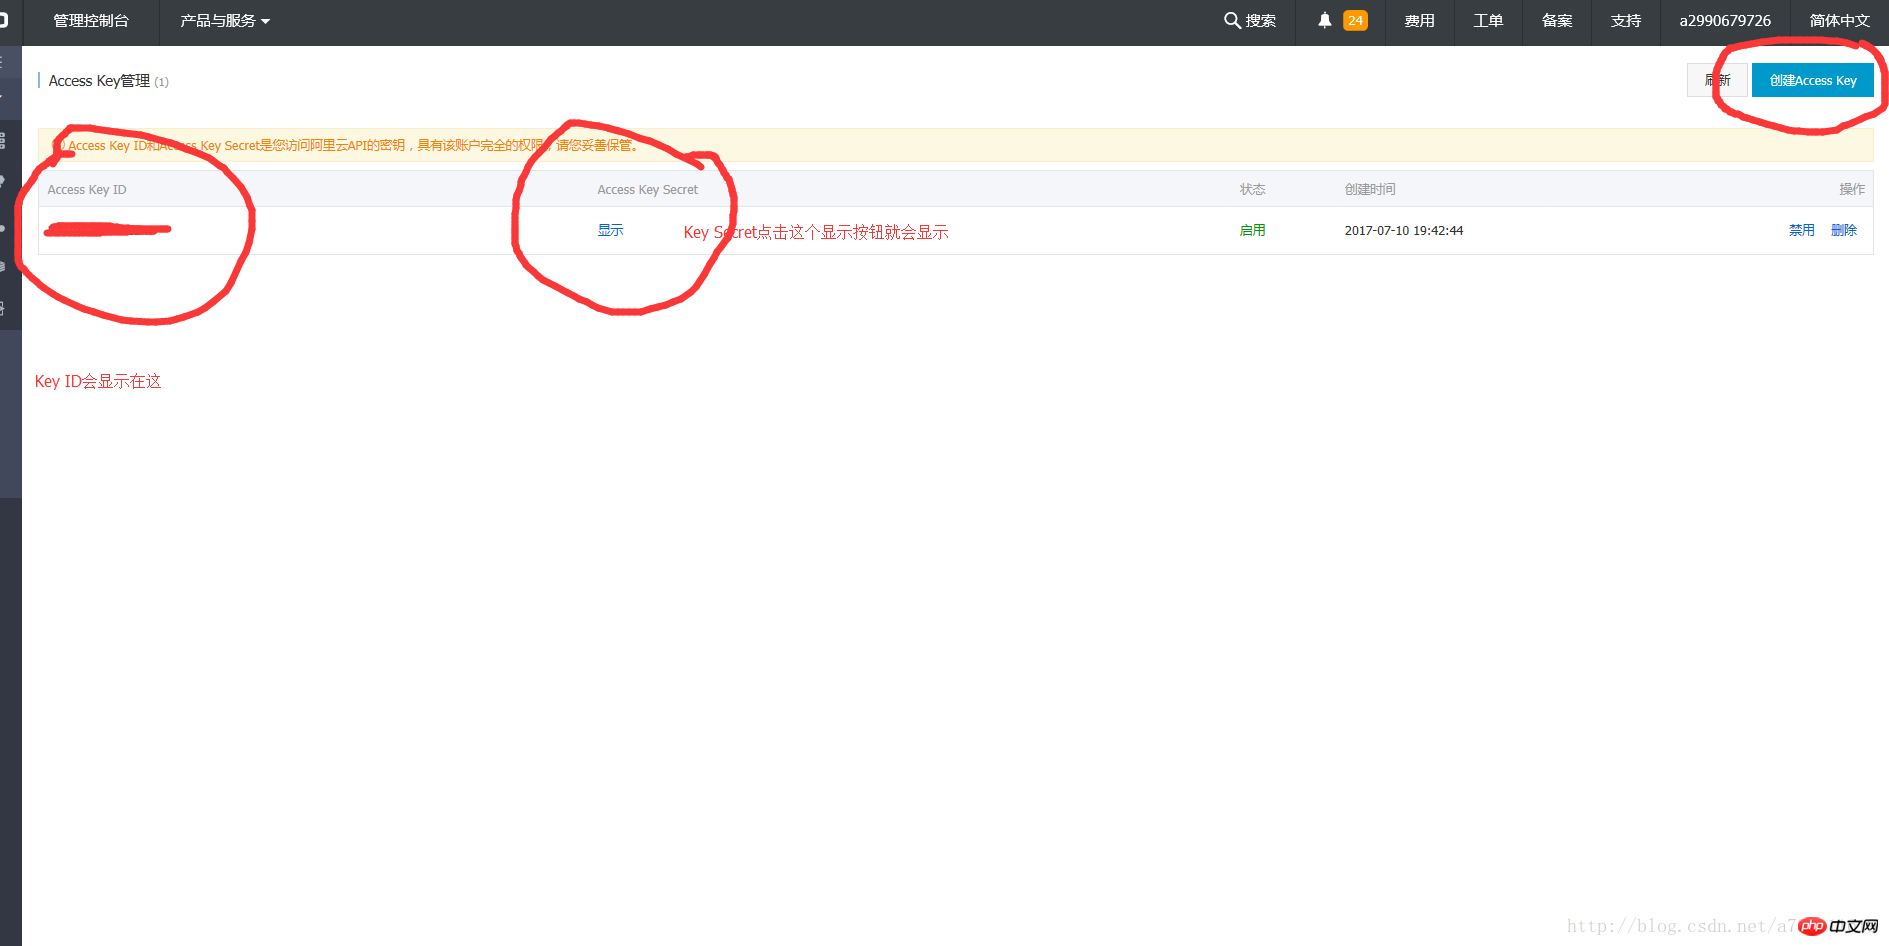
建立並記住KeyId和KeySecret
到控制台,把滑鼠放到右上角你的用戶名的位置會出現一個accessKeySecret點進去就可以創建KeyId和KeySecret了,如果他提醒你用RAM安全什麼的,你看你要不要給你的員工分配權限,如果要的話就用RAM,否則就直接點擊繼續使用就行了。
下載阿里雲簡訊伺服器PHP-SDK
官方下載位址:https: //help.aliyun.com/document_detail/55359.html?spm=5176.8195934.507901.12.b1ngGK
本教學使用SDK下載網址:http://pan.baidu.com/s/1bpF5B8z
F5B密匙:pult
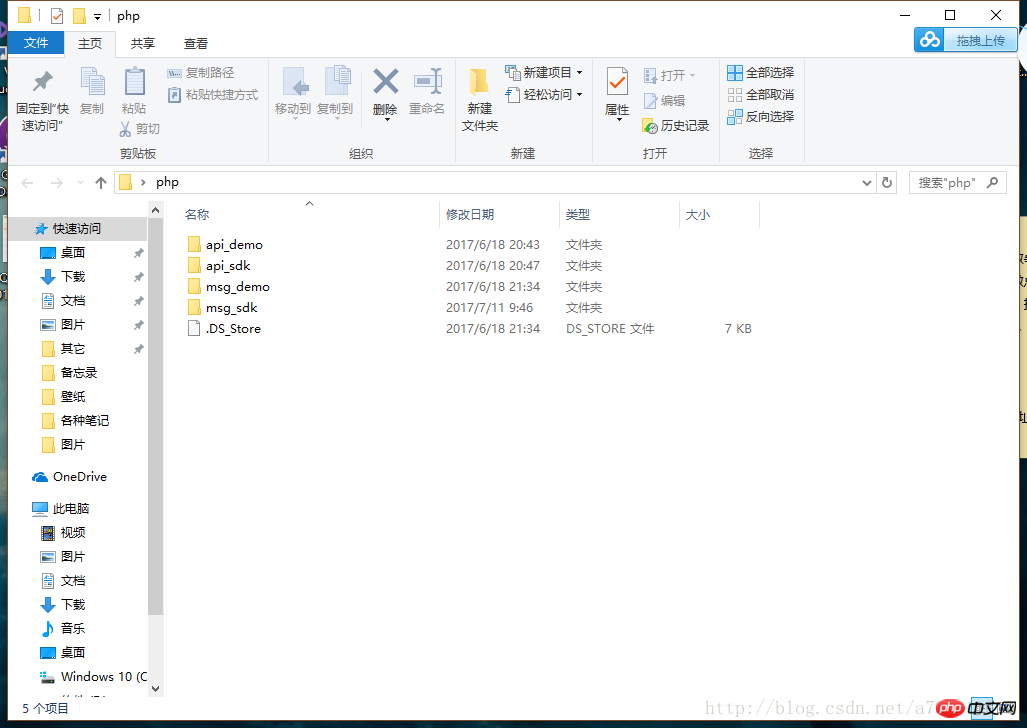
建立PHP-SMS專案
 建立你的程式碼文件,並把這個檔案放在剛才下載的SDK資料夾中的api_sdk的aliyun-php-sdk-core目錄下,並把一下程式碼寫入程式碼檔案。
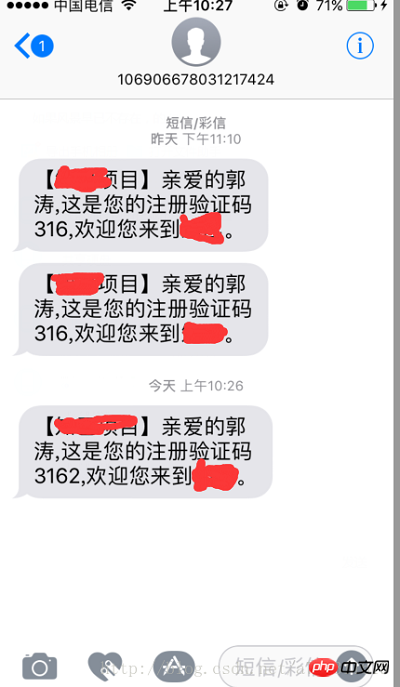
<?php include 'Config.php';
include_once 'Request/V20170525/SendSmsRequest.php';
include_once 'Request/V20170525/QuerySendDetailsRequest.php';
$accessKeyId = "LTAIvAaNs61JeBiN";
//阿里云KeyId
$accessKeySecret = "Y3H7durYJ6GIqmJJrsdbJwPi6E8O8M";
//阿里云KeySecret
//短信API产品名
$product = "Dysmsapi";
//照写就行了
//短信API产品域名
$domain = "dysmsapi.aliyuncs.com";
//照着写就行了
//暂时不支持多Region
$region = "cn-hangzhou";
//照着写就行了
//初始化访问的acsCleint
$profile = DefaultProfile::getProfile($region, $accessKeyId, $accessKeySecret);
DefaultProfile::addEndpoint("cn-hangzhou", "cn-hangzhou", $product, $domain);
$acsClient= new DefaultAcsClient($profile);
$request = new SendSmsRequest;
//必填-短信接收号码。支持以逗号分隔的形式进行批量调用,批量上限为20个手机号码,批量调用相对于单条调用及时性稍有延迟,验证码类型的短信推荐使用单条调用的方式
$request->setPhoneNumbers("123456789");
//这里填你要发送的电话号码
//必填-短信签名
$request->setSignName("xx项目");
//这里就是刚才让你记住的项目签名
//必填-短信模板Code
$request->setTemplateCode("SMS_123456");
//这里就是模板CODE
//选填-假如模板中存在变量需要替换则为必填(JSON格式)
$request->setTemplateParam("{\"name\":\"郭涛\",\"number\":\"316\"}");
//选填-发送短信流水号
$request->setOutId("1234");//照填就行了
//发起访问请求
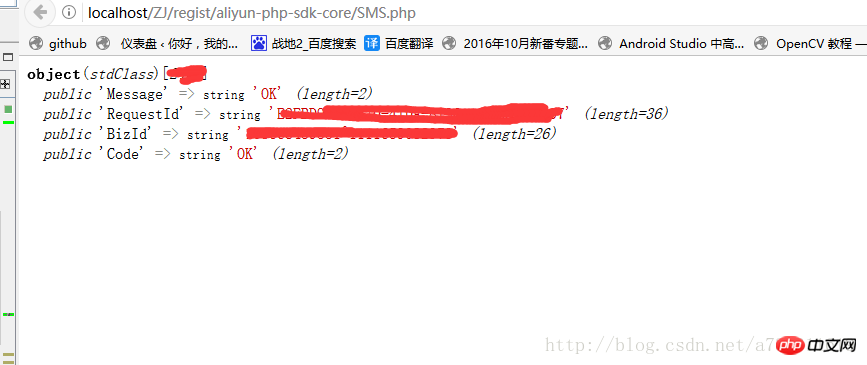
$acsResponse = $acsClient->getAcsResponse($request);
var_dump($acsResponse);//返回结果#還是在下載的SDK資料夾中的api_sdk目錄下,有一個交Dysmsapi的資料夾,開啟這個資料夾就會看到一個叫Request的資料夾,把這個Reques。的件夾複製貼上到aliyun-php-sdk-core裡面。說實在的我搞不清阿里雲這個為什麼要這樣分開裝SDK,可能是我使用的姿勢不對吧,如果有大神搞得清,還勞煩賜教小弟,好人一生平安。 移入後,開啟Request\V20170525目錄裡有一個SendSmsRequest.php的來源檔。請屏蔽第一行的空間命名。 也就是這一行namespace Dysmsapi\Reqest\V20170525;最後效果如下
<?php /*
 * Licensed to the Apache Software Foundation (ASF) under one
 * or more contributor license agreements. See the NOTICE file
 * distributed with this work for additional information
 * regarding copyright ownership. The ASF licenses this file
 * to you under the Apache License, Version 2.0 (the
 * "License"); you may not use this file except in compliance
 * with the License. You may obtain a copy of the License at
 *
 *   http://www.apache.org/licenses/LICENSE-2.0
 *
 * Unless required by applicable law or agreed to in writing,
 * software distributed under the License is distributed on an
 * "AS IS" BASIS, WITHOUT WARRANTIES OR CONDITIONS OF ANY
 * KIND, either express or implied. See the License for the
 * specific language governing permissions and limitations
 * under the License.
 */
//namespace Dysmsapi\Request\V20170525;//就是屏蔽这一行代码!!!!
class SendSmsRequest extends \RpcAcsRequest
{
  function __construct()
  {
    parent::__construct("Dysmsapi", "2017-05-25", "SendSms");
  }
  private $outId;
  private $signName;
  private $ownerId;
  private $resourceOwnerId;
  private $templateCode;
  private $phoneNumbers;
  private $resourceOwnerAccount;
  private $templateParam;
  public function getOutId() {
    return $this->outId;
  }
  public function setOutId($outId) {
    $this->outId = $outId;
    $this->queryParameters["OutId"]=$outId;
  }
  public function getSignName() {
    return $this->signName;
  }
  public function setSignName($signName) {
    $this->signName = $signName;
    $this->queryParameters["SignName"]=$signName;
  }
  public function getOwnerId() {
    return $this->ownerId;
  }
  public function setOwnerId($ownerId) {
    $this->ownerId = $ownerId;
    $this->queryParameters["OwnerId"]=$ownerId;
  }
  public function getResourceOwnerId() {
    return $this->resourceOwnerId;
  }
  public function setResourceOwnerId($resourceOwnerId) {
    $this->resourceOwnerId = $resourceOwnerId;
    $this->queryParameters["ResourceOwnerId"]=$resourceOwnerId;
  }
  public function getTemplateCode() {
    return $this->templateCode;
  }
  public function setTemplateCode($templateCode) {
    $this->templateCode = $templateCode;
    $this->queryParameters["TemplateCode"]=$templateCode;
  }
  public function getPhoneNumbers() {
    return $this->phoneNumbers;
  }
  public function setPhoneNumbers($phoneNumbers) {
    $this->phoneNumbers = $phoneNumbers;
    $this->queryParameters["PhoneNumbers"]=$phoneNumbers;
  }
  public function getResourceOwnerAccount() {
    return $this->resourceOwnerAccount;
  }
  public function setResourceOwnerAccount($resourceOwnerAccount) {
    $this->resourceOwnerAccount = $resourceOwnerAccount;
    $this->queryParameters["ResourceOwnerAccount"]=$resourceOwnerAccount;
  }
  public function getTemplateParam() {
    return $this->templateParam;
  }
  public function setTemplateParam($templateParam) {
    $this->templateParam = $templateParam;
    $this->queryParameters["TemplateParam"]=$templateParam;
  }
}以上是阿里雲PHP SMS簡訊服務驗證碼如何傳送的詳細內容。更多資訊請關注PHP中文網其他相關文章!


