; id 為 messages ,這是我們將載入所有以 HTML 形式出現的伺服器訊息的容器。記住訊息模板,是的,這就是訊息清單將進入的地方。
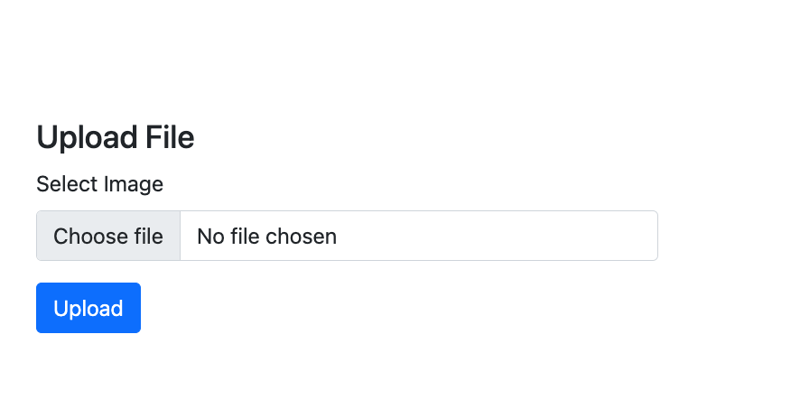
之後,我們將表單輸入元素設為 file 以確保它顯示檔案上傳小工具。我們已為其指定名稱 avatar 以在後端引用它,但您可以為其指定任何名稱。我給它頭像是因為我用它來上傳個人資料圖片。
中帶有訊息 ID。
這三個定義了我們將檔案上傳到後端的設定。
下面是我們頁面的預覽:
Processing the File Upload
Now that we have our templates, it’s time to write the code that will display our upload page and also handle our file uploads.
To begin, at the root of the Go project, create a uploads folder. This is the folder where all our uploaded files will be stored.
With that in place, let’s write our main file.
Create the file main.go at the root of your project and add the following code:
package main import ( "html/template" "log" "net/http" "io" "os" "path/filepath" "github.com/google/uuid" "github.com/gorilla/mux" ) var tmpl *template.Template func init(){ tmpl, _ = template.ParseGlob("templates/*.html") } func main() { router := mux.NewRouter() router.HandleFunc("/", homeHandler).Methods("GET") router.HandleFunc("/upload", UploadHandler).Methods("POST") log.Println("Server starting on :8080") log.Fatal(http.ListenAndServe(":8080", router)) } func homeHandler(w http.ResponseWriter, r *http.Request) { tmpl.ExecuteTemplate(w, "upload", nil) } func UploadHandler(w http.ResponseWriter, r *http.Request) { // Initialize error messages slice var serverMessages []string // Parse the multipart form, 10 MB max upload size r.ParseMultipartForm(10 << 20) // Retrieve the file from form data file, handler, err := r.FormFile("avatar") if err != nil { if err == http.ErrMissingFile { serverMessages = append(serverMessages, "No file submitted") } else { serverMessages = append(serverMessages, "Error retrieving the file") } if len(serverMessages) > 0 { tmpl.ExecuteTemplate(w, "messages", serverMessages) return } } defer file.Close() // Generate a unique filename to prevent overwriting and conflicts uuid, err := uuid.NewRandom() if err != nil { serverMessages = append(serverMessages, "Error generating unique identifier") tmpl.ExecuteTemplate(w, "messages", serverMessages) return } filename := uuid.String() + filepath.Ext(handler.Filename) // Append the file extension // Create the full path for saving the file filePath := filepath.Join("uploads", filename) // Save the file to the server dst, err := os.Create(filePath) if err != nil { serverMessages = append(serverMessages, "Error saving the file") tmpl.ExecuteTemplate(w, "messages", serverMessages) return } defer dst.Close() if _, err = io.Copy(dst, file); err != nil { serverMessages = append(serverMessages, "Error saving the file") tmpl.ExecuteTemplate(w, "messages", serverMessages) return } serverMessages = append(serverMessages, "File Successfully Saved") tmpl.ExecuteTemplate(w, "messages", serverMessages) }
登入後複製
Yope, that’s a bunch of code. Don’t worry, we’ll go through it all step by step to figure out what this is all doing.
First we define our package main and import a bunch of libraries we will be making use of. These imports include the Gorilla mux router and the Google UUID library that we installed earlier.
After that, I create a global tmpl variable to hold all the HTML templates in the project and in the init() function, the templates are all loaded from the templates folder.
The main() Function
Now to the main() function. Here, we have initlialized the Gorilla Mux router and set up two routes.
The GET / base route which will be handled by a homeHandler function and displays our upload form, and the POST /upload route that will be handled by UploadHandler and handles the upload itself.
Finally, we print out a message to indicate that our server is running, and run the server on port 8080.
The Handler Functions
First we have homeHandler . This is the function that handles our base route, and it simply calls ExecuteTemplate on the tmpl variable with the name we gave to our template
tmpl.ExecuteTemplate(w, "upload", nil)
登入後複製
This call is enough to simply render our upload page to the screen when we visit the base route.
After that is the UploadHandler function. This is where the real magic happens, so let’s walk through the function.
First, we create a slice of strings called serverMessages to hold any message we want to send back to the client.
After that, we call ParseMultipartForm on the request pointer to limit the size of uploaded files to within 20MB.
r.ParseMultipartForm(10 << 20)
登入後複製
Next, we get a hold on our file by referencing the name of the file field with FormFile on the request pointer.
With our reference to the file, we check if there is actually a file, and if not, we return a message saying that no file was submitted or an error was encountered when trying to retrieve the file to account for other errors.
file, handler, err := r.FormFile("avatar") if err != nil { if err == http.ErrMissingFile { serverMessages = append(serverMessages, "No file submitted") } else { serverMessages = append(serverMessages, "Error retrieving the file") } if len(serverMessages) > 0 { tmpl.ExecuteTemplate(w, "messages", serverMessages) return } }
登入後複製
At this point, if our messages slice is not empty, we return the messages to the client and exit the function.
If a file is found, we keep the file open and move to generating a new name for it with the UUID library and also handle the errors in that process accordingly.
We build a new file name with the generated string and the file extension and set it’s path to the uploads folder.
uuid, err := uuid.NewRandom() if err != nil { serverMessages = append(serverMessages, "Error generating unique identifier") tmpl.ExecuteTemplate(w, "messages", serverMessages) return } filename := uuid.String() + filepath.Ext(handler.Filename) // Create the full path for saving the file filePath := filepath.Join("uploads", filename)
登入後複製
Once the new file path is constructed, we then use the os library to create the file path
After that, we use the io library to move the file from it’s temporary location to the new location and also handle errors accordingly.
dst, err := os.Create(filePath) if err != nil { serverMessages = append(serverMessages, "Error saving the file") tmpl.ExecuteTemplate(w, "messages", serverMessages) return } defer dst.Close() if _, err = io.Copy(dst, file); err != nil { serverMessages = append(serverMessages, "Error saving the file") tmpl.ExecuteTemplate(w, "messages", serverMessages) return }
登入後複製
If we get no errors from the file saving process, we then return a successful message to the client using our messages template as we have done with previous messages.
serverMessages = append(serverMessages, "File Successfully Saved") tmpl.ExecuteTemplate(w, "messages", serverMessages)
登入後複製
And that’s everything.
Now let’s take this code for a spin.
Testing the File Upload
Save the file and head over to the command line.
At the root of the project, use the command below to run our little file upload application:
Now go to your browser and head over to http://localhost:8080, you should see the upload screen displayed.
Try testing with no file to see the error message displayed. Then test with an actual file and also see that you get a successful message.
Check the uploads folder to confirm that the file is actually being saved there.
And Wholla! You can now upload files to your Go servers using HTMX.
Conclusion
If you have enjoyed this article, and will like to learn more about building projects with HTMX, I’ll like you to check outHTMX + Go: Build Fullstack Applications with Golang and HTMX, andThe Complete HTMX Course: Zero to Pro with HTMXto further expand your knowledge on building hypermedia-driven applications with HTMX.


