

Both Windows 11 and Windows 10 make it super easy to clear your Windows Update cache. You can use a graphical method or a command line option to delete the saved update files. We’ll show you your available options.
There are many reasons you might want to clear your Windows Update cache.
You might be facing issues finding or installing updates, and clearing the cache often fixes the problem. Clearing the cache fixes issues with Windows Updates by forcing Windows to re-download all the required files.
Another reason is to free up storage space. Update cache files often use a huge chunk of the storage, and you can reclaim that by deleting those cached files. (Windows does delete some update files after installing those updates, but not all.)
An easy graphical way to delete the update cache is to use File Explorer. This method deletes all the update cache files.
To use this method, open the Run dialog box by pressing Windows+R. Type the following in the box and press Enter:
services.msc
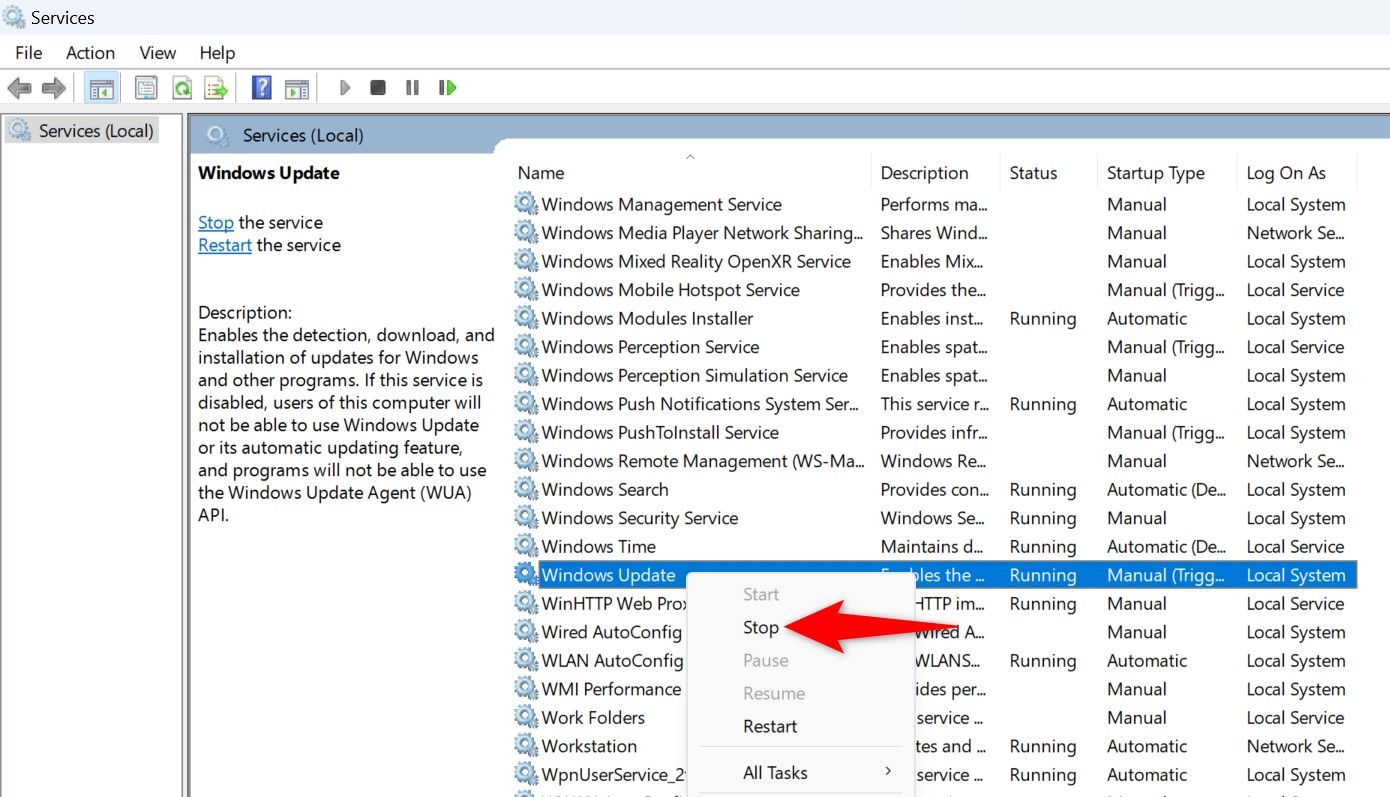
In the Services window, find the Windows Update service. Right-click it and select "Stop." Keep this window open as you’ll come back here later.
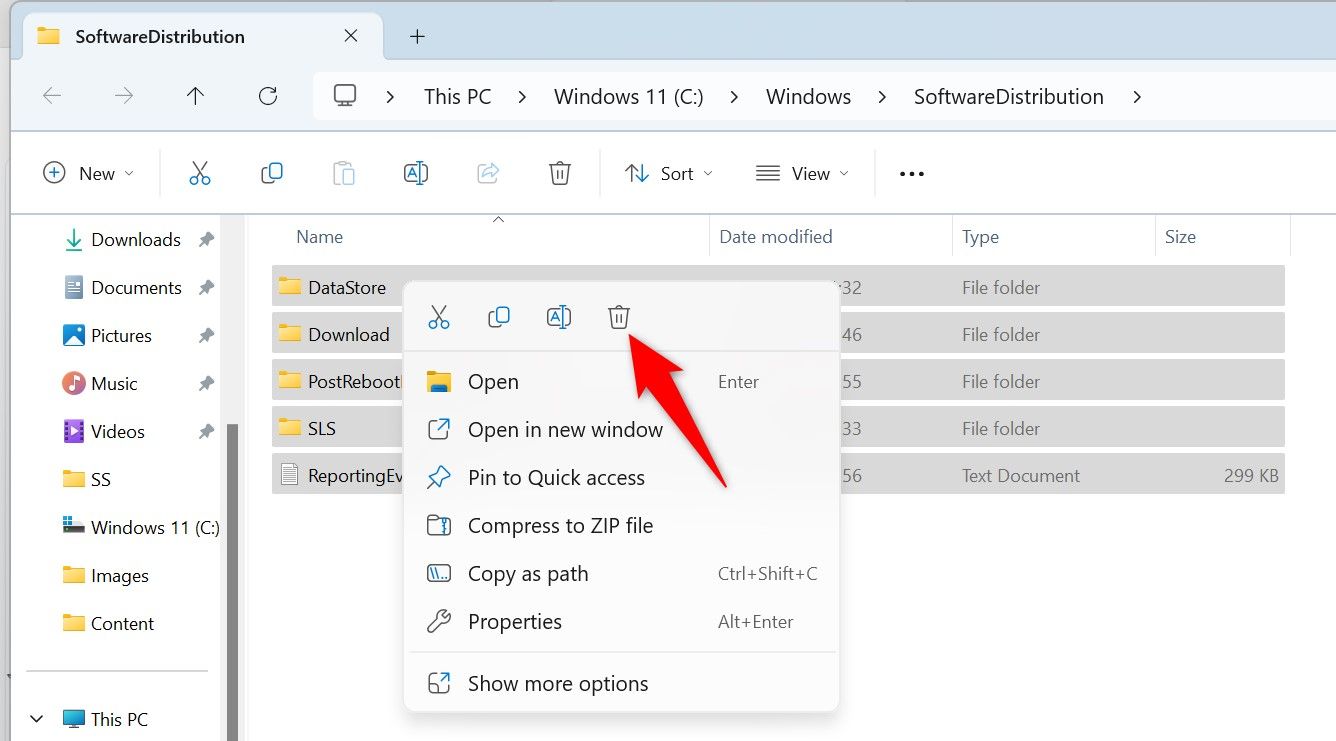
Launch Run again using Windows+R, type the path below in the box, and press Enter. The following is the path to the Windows Update cache folder. It assumes that Windows is installed on your C: drive. However, if that’s not the case, just change the drive letter in the path.
C:WindowsSoftwareDistribution
Press Ctrl+A to select all files in the open folder. Right-click a selected file and choose the trash can icon (Windows 11) or "Delete" (Windows 10).
Close File Explorer and empty the Recycle Bin.
Then, return to the "Services" window, right-click "Windows Update," and choose "Start."
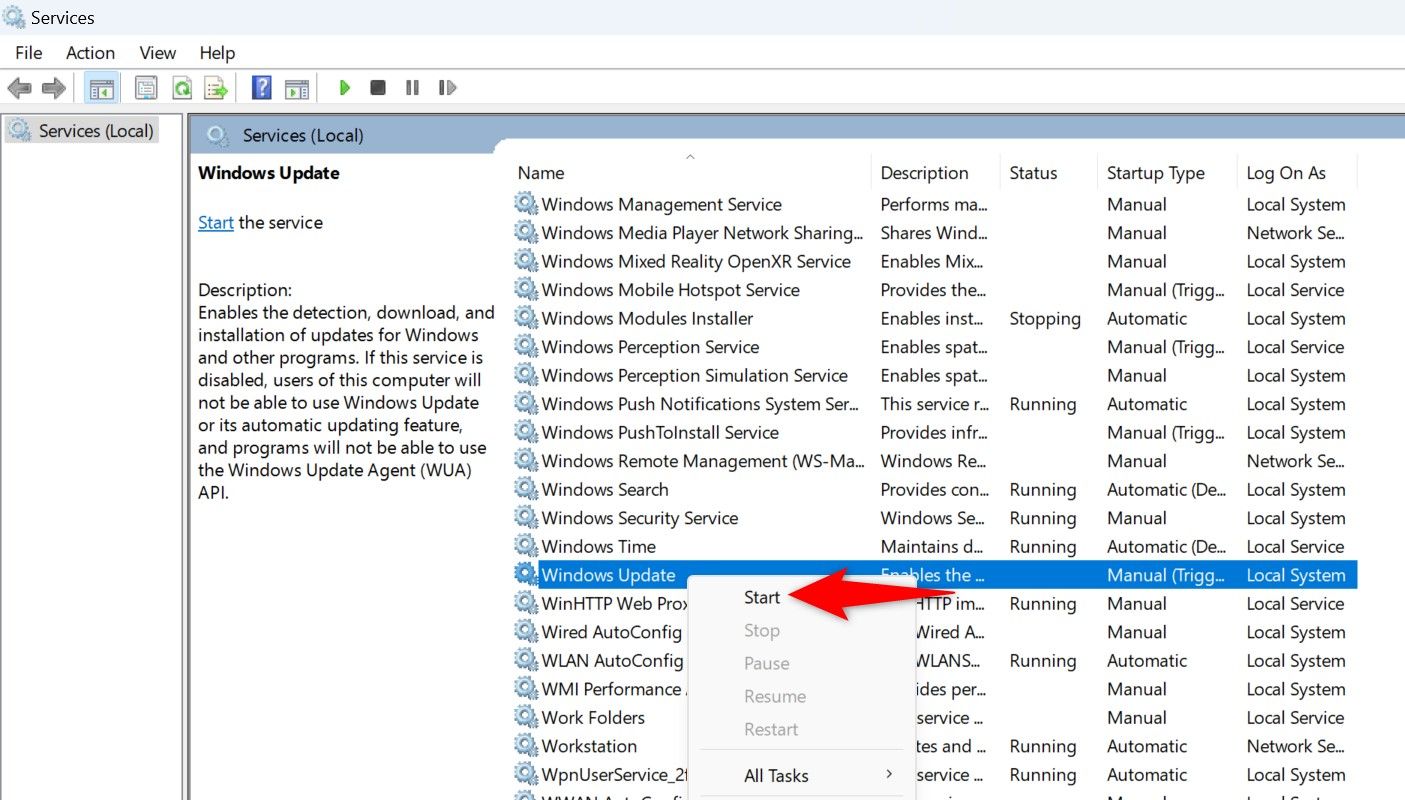
This ensures your PC can continue to look for the latest updates.
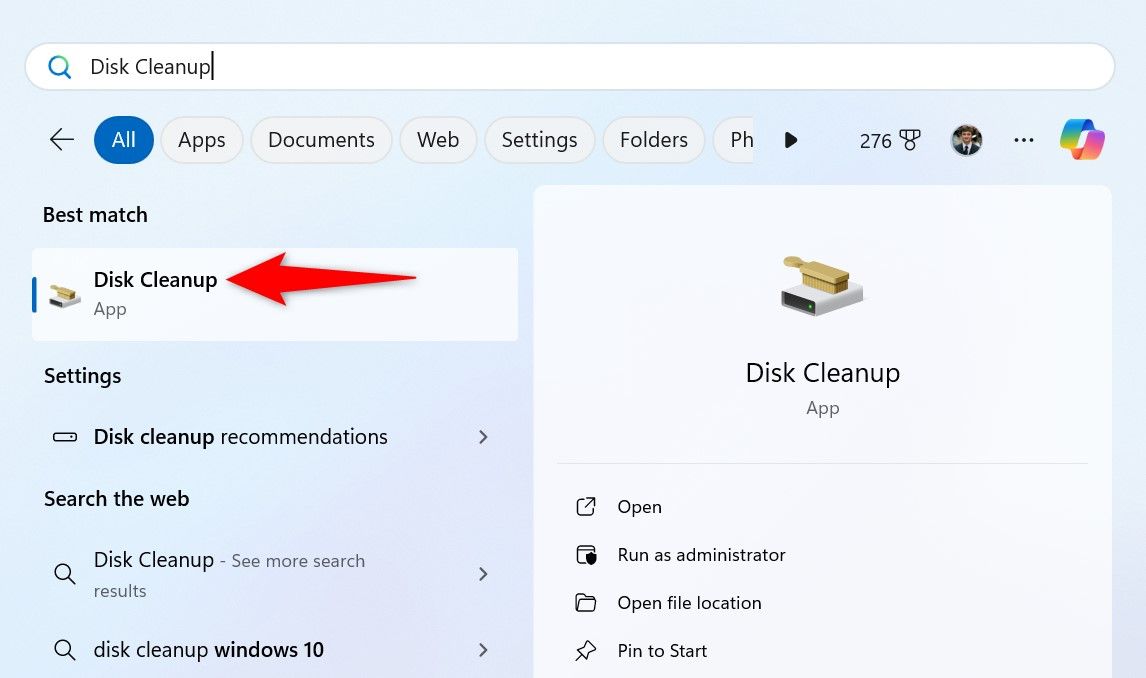
Windows’s built-in Disk Cleanup utility helps delete some Windows Update cache files.
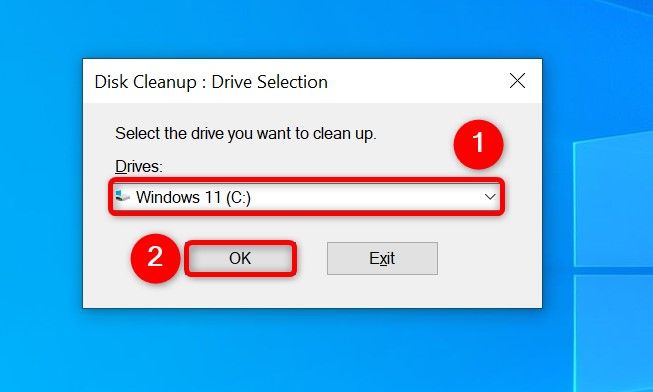
To use it, open the Start Menu, search for Disk Cleanup, and launch the utility.
Select your Windows installation drive and choose "OK."
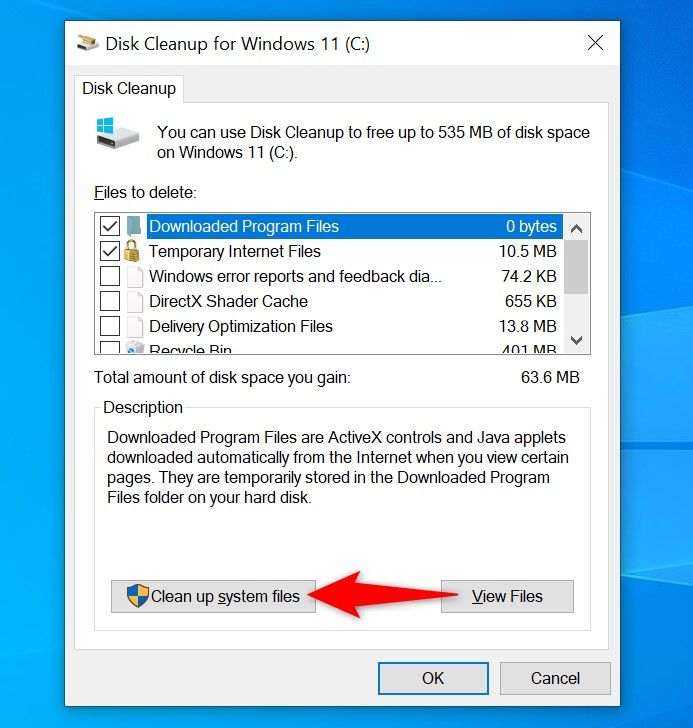
Select "Clean Up System Files."
Choose your Windows installation drive again and select "OK."
In Disk Cleanup, enable the "Windows Update Cleanup" option. Feel free to enable other options if you’d like to delete those files as well. Then, at the bottom, click "OK."
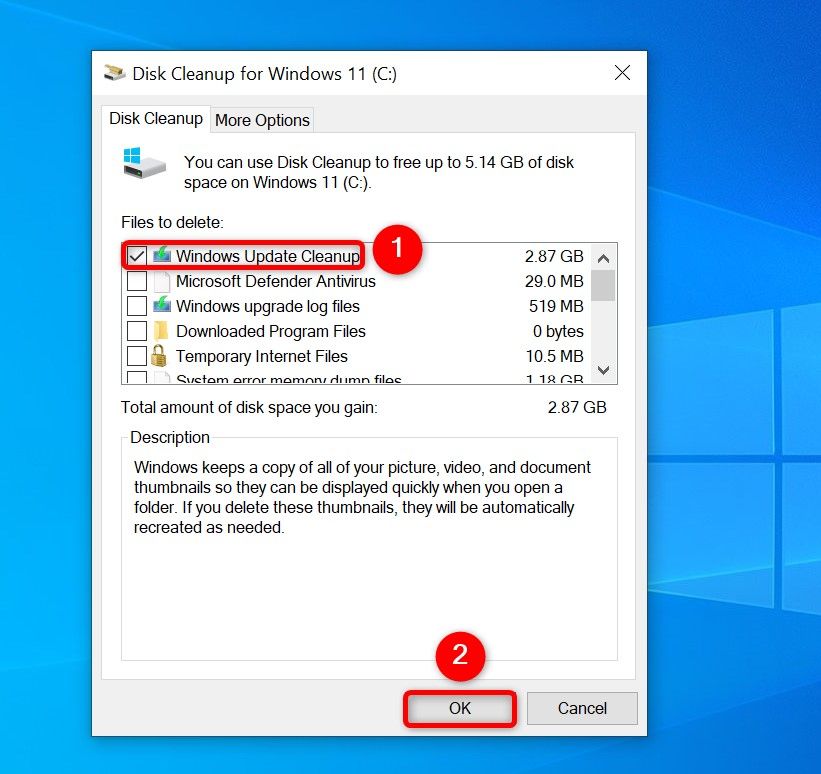
The tool will begin cleaning up the update cache files.
If you prefer command line methods over graphical ones, use a few commands in Command Prompt (or PowerShell) to remove the update cache.
Begin by opening the Start Menu, searching for Command Prompt, and selecting "Run as Administrator."
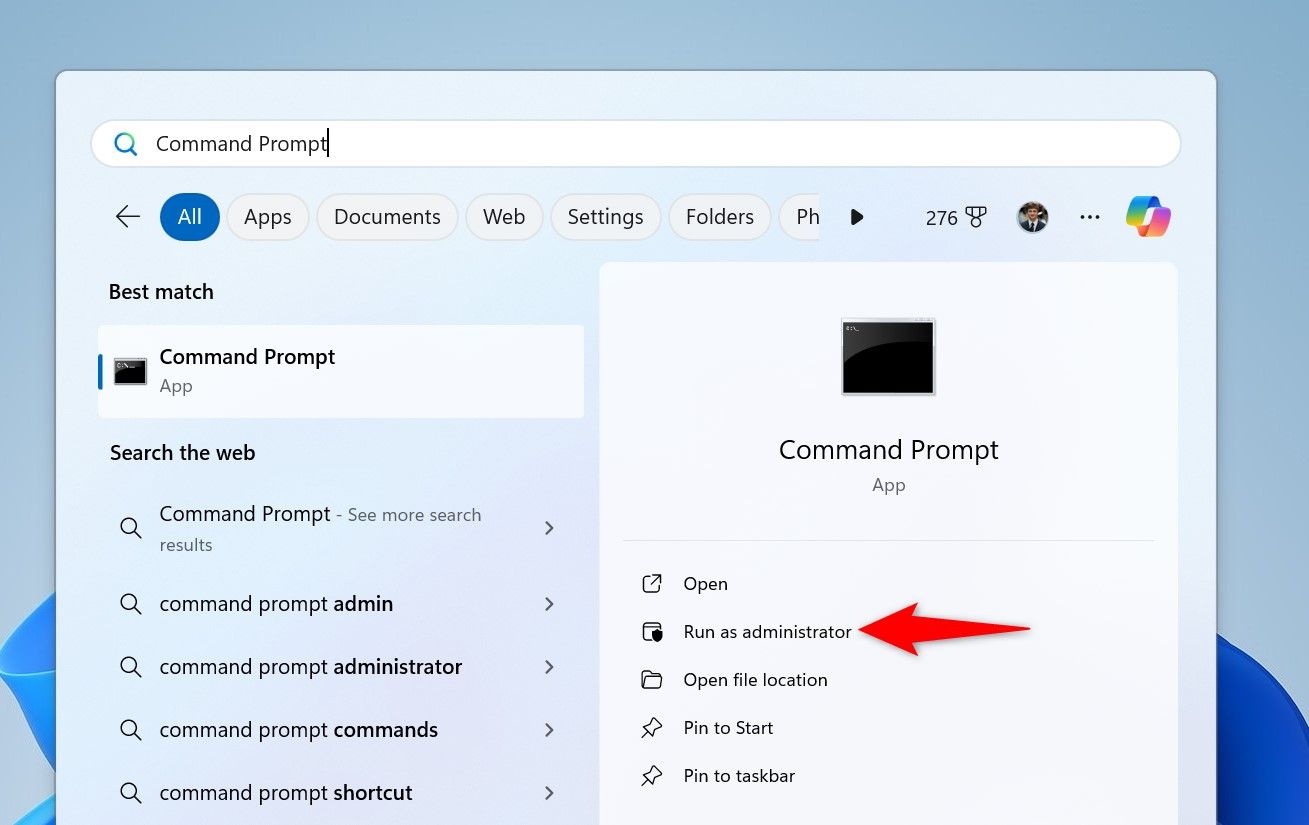
In the "User Account Control" (UAC) prompt, select "Yes."
Type the following lines in Command Prompt, and press Enter after each line. The first command disables the Windows Update service and the second command turns off the Background Intelligent Transfer Service service.
net stop wuauservnet stop bits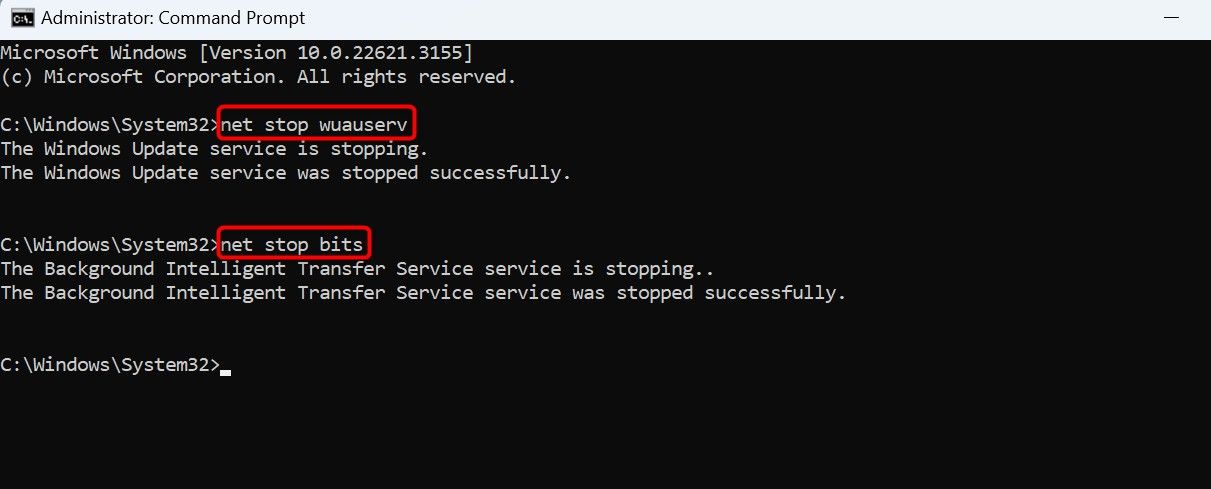
Next up, run the following command to make the Windows Update cache folder the current working directory.
cd %windir%SoftwareDistribution
Type the following command and press Enter to delete the update cache.
del /f /s /q *.*

After clearing the cache, restart the services you stopped above. Do that by typing the following commands and pressing Enter after each line.
net start wuauservnet start bitsYou’re done.
You can make a batch file out of the commands above to clear your Windows Update cache in just a single click. This is a convenient method if you delete your update cache files often.
To make that script, open the Start Menu, search for Notepad, and launch the app. Copy the code below and paste it in your Notepad document.
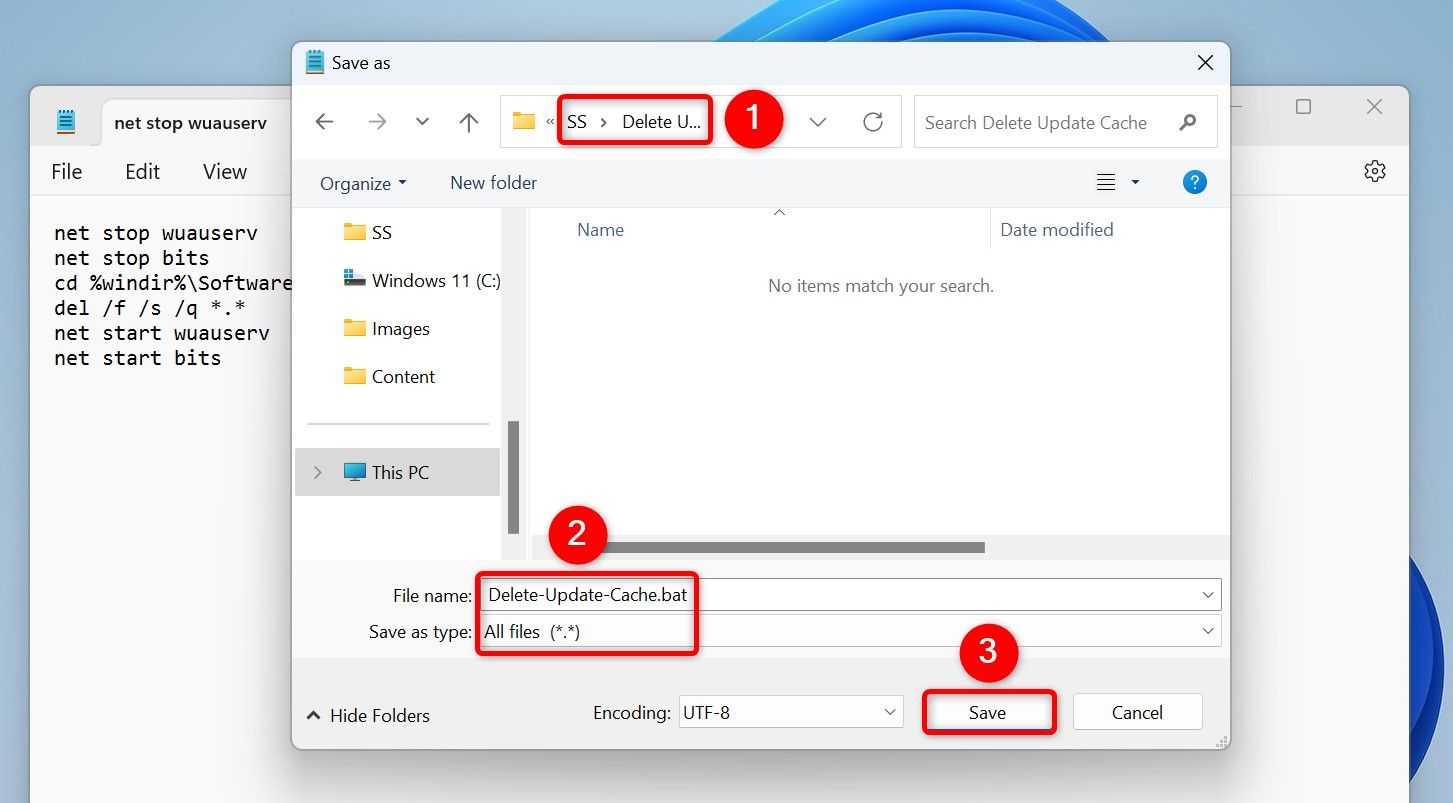
net stop wuauservnet stop bitscd %windir%SoftwareDistributiondel /f /s /q *.*net start wuauservnet start bitsSave the file by choosing File > Save from the menu bar.
In the "Save As" window, select the folder where you want to save the script. Click the "Save as Type" drop-down menu and choose "All Files." Select the "File Name" field and enter a name of your choice. Then, append .bat at the end of the file name. This ensures Notepad saves the file as a batch script.
Then, click "Save."
In the future, to clear your Windows Update cache using the script, right-click the script file and select "Run as Administrator." In the User Account Control prompt, choose "Yes." The script will stop certain services, deletes the update cache files, and restarts the stopped services.
And that’s how you get rid of the update cache files using various ways on your Windows 11 or Windows 10 computer. We hope you find the methods useful.
以上是如何清除 Windows 11 和 10 上的更新快取的詳細內容。更多資訊請關注PHP中文網其他相關文章!


