Course Intermediate 11386
Course Introduction:"Self-study IT Network Linux Load Balancing Video Tutorial" mainly implements Linux load balancing by performing script operations on web, lvs and Linux under nagin.

Course Advanced 17699
Course Introduction:"Shangxuetang MySQL Video Tutorial" introduces you to the process from installing to using the MySQL database, and introduces the specific operations of each link in detail.

Course Advanced 11397
Course Introduction:"Brothers Band Front-end Example Display Video Tutorial" introduces examples of HTML5 and CSS3 technologies to everyone, so that everyone can become more proficient in using HTML5 and CSS3.
Vue.js disable/enable dropdown menu if checkbox is checked?
2023-08-29 23:14:07 0 1 652
Is there a CSS parent selector?
2023-08-23 10:53:50 0 2 521
2023-08-31 10:43:09 0 1 563
Change input quantity step value of simple product based on weight in WooCommerce
2023-09-04 21:55:45 0 1 588
Ways to fix issue 2003 (HY000): Unable to connect to MySQL server 'db_mysql:3306' (111)
2023-09-05 11:18:47 0 1 889

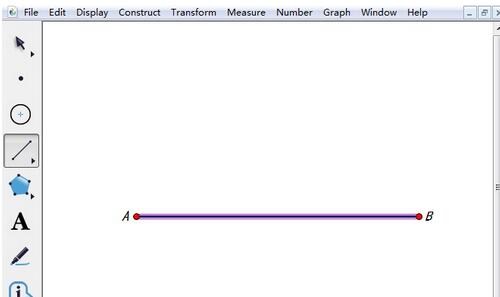
Course Introduction:Open the geometric sketchpad, click the [Data] menu in the upper menu bar, select the [New Parameter] command from the pop-up drop-down option, enter any value in the pop-up new parameter dialog box, the unit here must be distance, click OK, and the new parameter is created. The parameters are shown in the figure below. Draw points. After creating the new parameters, select [Point Tool] to draw a point A on the drawing board as an endpoint of the line segment. Construct a circle. Use the move tool to select only point A and the newly created parameters, click the [Construct] menu on the upper menu bar, and select the [Construct a circle with center and radius] command from its drop-down option, and you will get the circle as shown in the figure below. Use the [Point Tool] to pick any point B on the circle, use the move tool to select points A and B, click the [Construction] menu in the upper menu bar, and select [Line Segment] from its drop-down option.
2024-04-16 comment 0 986

Course Introduction:1. First open the application and click Terminal on the menu. 2. Then click New Terminal on the drop-down menu. 3. Then select the project to run. 4. Finally, the running results are displayed on the terminal.
2024-04-09 comment 0 1079

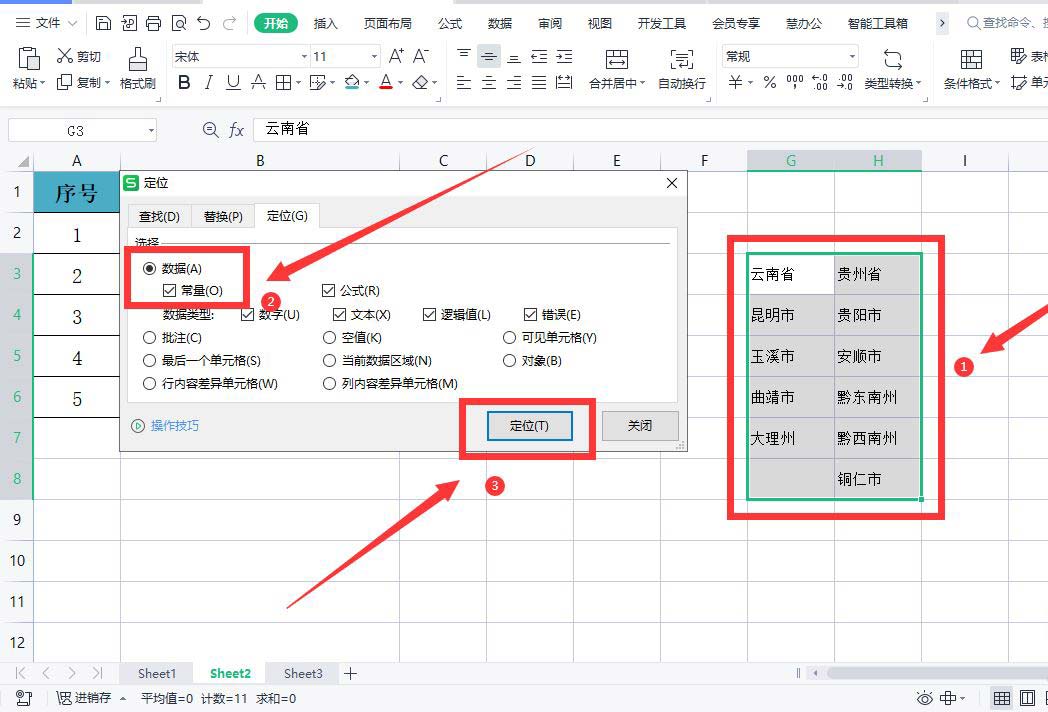
Course Introduction:We will need to make a drop-down menu when using WPS tables, so many users are asking how to make a WPS secondary linkage drop-down menu? Users who are unclear can take a look at the relevant strategies on how to set up secondary linkage drop-down menu options in WPS brought to you by this website. How to set the secondary linkage drop-down menu option in WPS Method 1. Open the WPS table, select the secondary linkage menu corresponding table, use the key combination [CtrI+G] to open the positioning dialog box, select [Constant], and click [Position]. 2. Click [Specify] under the [Formula] menu. 3. Select [First Line] in the pop-up dialog box and click [OK]. 4. Select the [Province] column, click [Data] - [Validity], select [Sequence], and select [Source]
2024-09-05 comment 0 520

Course Introduction:BitForex Trading Platform APP Download Guide How to download BitForex Mobile APP? Downloading BitForex Mobile APP is very simple, just follow the steps below: Step 1: Visit the BitForex website and visit the BitForex official website: bitforex.com. Step 2: Select Mobile Client In the menu at the top of the website, select "Mobile Client". Step 3: Select your operating system to download iOS and Android apps. Select the option that corresponds to the operating system your device uses. Step 4: Download the APP According to your operating system, choose the following method to download the APP: iOS: Click the "AppStore" button. Androi
2024-12-07 comment 0 405

Course Introduction:Draw the reflective surface. Open the geometric sketchpad, select the [Line Segment Tool] on the left sidebar, click once in the right working area to determine an endpoint of the line segment, then hold down the Shift key, drag the mouse to the right, and click at the appropriate location to draw Draw line segment AB, take the midpoint C of line segment AB and draw a perpendicular line. Select the line segment AB, click the [Construction] menu in the upper menu bar, and select the [Midpoint] command from its drop-down option, so that the midpoint C of the line segment AB is obtained. Select point C and line segment AB, click the [Construction] menu on the upper menu bar, and select the [Perpendicular Line] command from its drop-down option, thus obtaining the perpendicular line of line segment AB. With C as the endpoint, draw a ray. Select [Ray Tool] on the left sidebar, click point C, then drag the mouse to the upper right, and click on the appropriate
2024-06-02 comment 0 448