Course Intermediate 11312
Course Introduction:"Self-study IT Network Linux Load Balancing Video Tutorial" mainly implements Linux load balancing by performing script operations on web, lvs and Linux under nagin.

Course Advanced 17626
Course Introduction:"Shangxuetang MySQL Video Tutorial" introduces you to the process from installing to using the MySQL database, and introduces the specific operations of each link in detail.

Course Advanced 11329
Course Introduction:"Brothers Band Front-end Example Display Video Tutorial" introduces examples of HTML5 and CSS3 technologies to everyone, so that everyone can become more proficient in using HTML5 and CSS3.
Ways to fix issue 2003 (HY000): Unable to connect to MySQL server 'db_mysql:3306' (111)
2023-09-05 11:18:47 0 1 815
Experiment with sorting after query limit
2023-09-05 14:46:42 0 1 719
CSS Grid: Create new row when child content overflows column width
2023-09-05 15:18:28 0 1 610
PHP full text search functionality using AND, OR and NOT operators
2023-09-05 15:06:32 0 1 571
Shortest way to convert all PHP types to string
2023-09-05 15:34:44 0 1 1000

Course Introduction:1. As shown in the figure, we want the fonts in the document to be displayed from horizontal to vertical directions. 2. First, we select all the text content that needs to change the text direction. 3. Click [Page Layout] in the toolbar. 4. Select [Text Direction] in the [Page Layout] menu. 5. In the [Text Direction] drop-down menu, the [Horizontal Direction] display is currently selected. 6. To change it to vertical direction, we select [Vertical direction from right to left] or [Vertical direction from left to right] in the [Text direction] drop-down menu. They are both vertical direction settings, but the starting direction is different. 7. As shown in the figure, select [Vertical direction from right to left], and you can see that the text content starts to display from the right. 8. If you select [Vertical direction from left to right], the text content will start vertically from the left.
2024-03-27 comment 0 1240

Course Introduction:WPS Office is a very easy-to-use document office software. When using this software to edit documents, many friends will need to display multiple windows in the same window. This will make your documents cleaner and more concise. Then Many friends still don’t know how to operate it. Next, the editor will teach you the specific operation method. Method introduction: Click View, open wps, and select the view option at the top of the interface. Click Window Rearrangement and select the window rearrangement option in the interface. To select horizontal/vertical tiles, click Horizontal or Vertical Tile in the extension list.
2024-06-28 comment 0 662

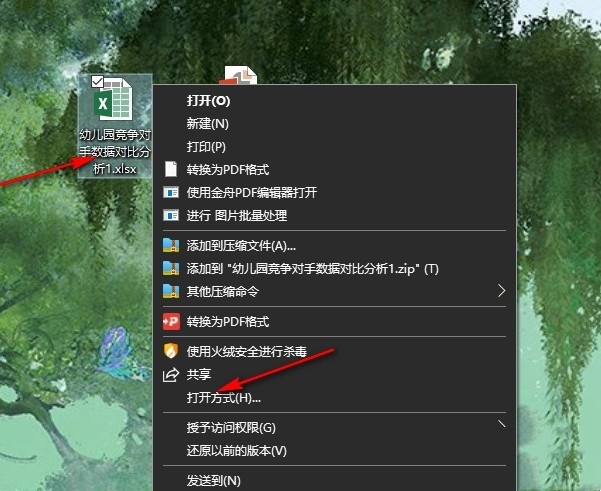
Course Introduction:How to set the horizontal and vertical centering of Excel table document printing? The method is very simple. Users can directly click Print under the file option, and then select Page Setup to perform the operation. Let this site carefully introduce to users how to set the horizontal and vertical centering settings for Excel table document printing. How to set the horizontal and vertical centering for Excel table document printing 1. In the first step, we select a table document, then right-click and click the Open With option, and then click to select the Excel option. 2. In the second step, after opening the table document, we first click the open file option in the upper left corner of the page on the table document editing page. 3. The third step, after entering the file options page of Excel, we will
2024-08-20 comment 0 1211

Course Introduction:Center an image in Dreamweaver: Select the image you want to center. In the Properties panel, set Horizontal Alignment to Center. (Optional) Set Vertical Alignment to Center or Bottom.
2024-04-08 comment 0 1417

Course Introduction:The method of calling up the scrolling text box is as shown in the figure. Microsoft has disabled it by default. Switch to the [Development Tools] tab and select the second one in the [Control Group] - Text Box. Draw a text box on the slide. Right mouse button - property sheet, change ScrollBars to 2-fmScrollBarsVertical, which is the third vertical scroll bar. Tip: Each item in the ScrollBars scroll bar needs to be explained. 0-fmScrollBarsNone no scroll bar 1-fmScrollBarsHorizontal horizontal scroll bar 2-fmScrollBarsVertical vertical scroll bar 3-fmScrollBarsboth horizontal and vertical
2024-04-17 comment 0 1074