
Course Intermediate 11425
Course Introduction:"Self-study IT Network Linux Load Balancing Video Tutorial" mainly implements Linux load balancing by performing script operations on web, lvs and Linux under nagin.

Course Advanced 17717
Course Introduction:"Shangxuetang MySQL Video Tutorial" introduces you to the process from installing to using the MySQL database, and introduces the specific operations of each link in detail.

Course Advanced 11416
Course Introduction:"Brothers Band Front-end Example Display Video Tutorial" introduces examples of HTML5 and CSS3 technologies to everyone, so that everyone can become more proficient in using HTML5 and CSS3.
2017-05-19 10:29:25 0 5 803
javascript - Mobile selection plug-in, but the data is defined by itself
2017-06-14 10:54:06 0 2 673
How to remove transition delay in Vue transition?
2023-08-17 17:36:49 0 1 526
javascript - About highchart data rendering
2017-06-26 10:53:06 0 1 892
Use Tailwind CSS to ensure fixed width and height of cards in CSS grid
2024-03-26 21:34:28 0 1 503
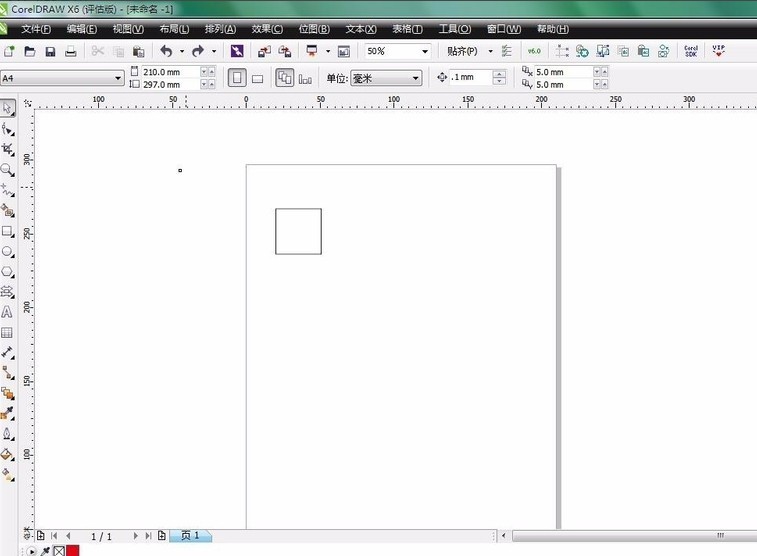
Course Introduction:1. Create a new blank document and use the rectangle tool to draw a square. Of course, it can also be a rectangle, depending on your personal preference. 2. Hold down ctrl, drag the square with the mouse, move it to the appropriate position, right-click once, and release the mouse. Copy 9 squares 3. Import the pre-selected image 4. Select 9 squares and merge them. 5. Then select [Effect] - [Precise Frame Cut] - [Place inside the frame] 6. Finally, hold down ALT and left-click the image to move and adjust the position and size of the image. Okay, so the effect of the nine-square grid comes out.
2024-05-08 comment 0 822
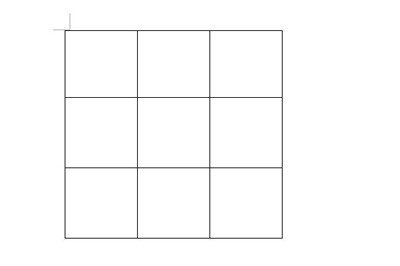
Course Introduction:First, we create a 3×3 nine-square grid picture in Word, and then adjust the size of the table to make it a regular nine-square grid. Then we insert the image below the table and set the image wrapping type to [Below the text]. Then drag the icon below the table. Finally, we select the table, right-click and select [Borders and Shading] from the menu, set the width to 4.5 points and the color to white. After we click OK, the nine-square grid image is ready. If the size is wrong, you can quickly customize it and adjust it. Isn't it very convenient? How can a simple Word be used to create a liberalized picture of each of the nine palaces? You no longer need to crop the pictures with various professional picture processing software. Come and try it, friends.
2024-06-12 comment 0 1509

Course Introduction:The biggest pain point for ordinary people when taking photos casually is that they cannot position the subject in the right position, so that they cannot compose the picture perfectly. If you know how to use an iPhone, you can also take perfect photos by using the built-in nine-square composition function of the iPhone camera and combining it with iPhone photography skills. Nine-square grid composition, also called tic-tac-toe composition, is a simplified version of the golden section composition and one of the most common photography composition techniques. The nine-square grid composition refers to dividing the picture into nine spaces with horizontal and vertical straight lines. After the equal division is completed, the picture will form a nine-square grid line. Four intersection points will be formed in the picture of the nine-square grid. These intersection points are called interesting center points. Use the interesting center points to compose the picture, so as to take photos with stories. The following is Apple iPhone
2024-01-12 comment 0 1652

Course Introduction:Bilibili Jiugongge Dynamic is a dynamic form published on the Bilibili platform, which is characterized by displaying multiple pictures or videos in a Jiugongge layout. Recently, some friends asked the editor about how to post the Jiugongge updates on Bilibili. Let’s learn with the editor! How to post the Jiugongge dynamic on Bilibili 1. First open Bilibili and select the dynamic column at the bottom. 2. Then select the Publish Update option at the bottom. 3. Then enter the publishing page, select the nine-square grid above, then enter the content, and finally click the publish button in the upper right corner!
2024-07-16 comment 0 1007
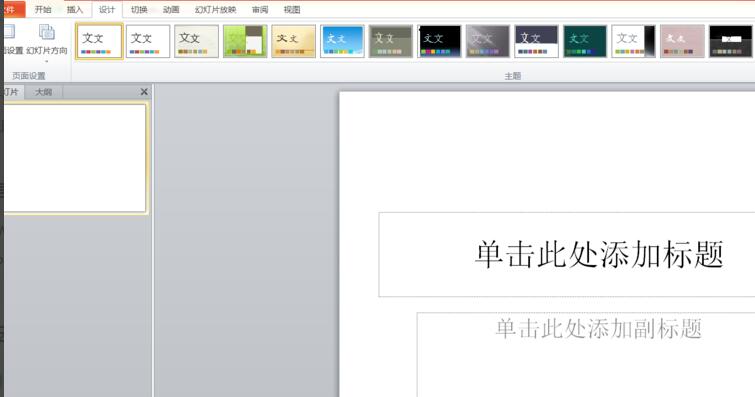
Course Introduction:The first step is to open the word presentation. Create a presentation and create a slideshow. In the second step, delete the text box, and go to [Page Setup], adjust the height and width, and set the slide to portrait. The third step, as shown in the figure, is a flow chart we need to make. The fourth step is to select the corresponding shape in the [Insert] option to create a flow chart. The fifth step is to make connecting lines. Step six, the effect is as shown in the figure. The seventh step is to set the shape fill to [No Fill Color] in the "Drawing Tools" [Format]. Step 8: Set the [Alignment] method in [Drawing Tools] [Format]. Step 9: The effect is as shown in the figure. You can see that the connecting lines move with the movement of the graphics. Then enter content in each text box.
2024-04-25 comment 0 609