This project uses the architecture solution of TP+Redis+Nginx+nginx-rtmp-module+ffmpeg+HLS +Swoole


Advantages Introduction
Background nginx-rtmp installation explanation
There are two main types of rtmp servers, commercial and open source. Commercial ones support more functions than open source ones. You can choose according to your needs.
Commercial ones include FMS Wowza
Open source RTMP server
red5 java java After using it a lot, the performance is pretty good!
crtmpserver c++ supports multiple rtmp protocols, mobile devices and IPTV related network protocols http://www.rtmpd.com/ Erlyvideo erlong has open source and commercial versions https//github.com /erlyvideo/erlyvideo h
aXeVideo haXe An experimental, lightweight server http://code.google.com/p/haxevideo/
FluorineFx .Net To be defined http://www/fluorinefx.com
- ##nginx-rtmp c nginx module supports rtmp and HLS https://github.com/ arut/nginx-rtmp-module
I use the fifth Nginx-rtmp. Next, I will explain the installation process.
Install Nginx-rtmp
1. Download nginx-rtmp-module: The official github address of nginx-rtmp-module: https://github.com/arut/nginx-rtmp-module
Use command:
git clone https://github.com/arut/nginx-rtmp-module.git
Copy after login
Download nginx-rtmp-module to linux.
2. Install nginx: The official website of nginx is: http://nginx.org/en/download.html
wget http://nginx.org/download/nginx-1.8.1.tar.gz
tar -zxvf nginx-1.8.1.tar.gz
cd nginx-1.8.1
./configure --prefix=/usr/local/nginx --add-module=../nginx-rtmp-module --with-http_ssl_module
make && make install
Copy after login
The default installation directory this time is: /root, add-module It is the downloaded nginx-rtmp-module file path. During installation, an error may be reported. OpenSSL is not installed. You need to execute the command:
yum -y install openssl openssl-devel
Copy after login
3. Modify the nginx configuration file:
vi /usr/local/nginx/conf/nginx.conf
Copy after login
Add the following content:
rtmp {
server {
    listen 1935;  #监听的端口
    chunk_size 4000;


    application hls {  #rtmp推流请求路径
        live on;
        hls on;
        hls_path /usr/share/nginx/html/hls;
        hls_fragment 5s;
    }
}
}
Copy after login
hls_path required Read and write permissions. Modify the server module in http:
server {listen 81;server_name localhost;
#charset koi8-r;
#access_log  logs/host.access.log  main;
location / {
    root   /usr/share/nginx/html;
    index  index.html index.htm;
}
#error_page  404              /404.html;
# redirect server error pages to the static page /50x.html
#
error_page   500 502 503 504  /50x.html;
location = /50x.html {
    root   html;
}
Copy after login
Of course, root can be modified according to your own needs. Then start nginx:
/usr/local/nginx/sbin/nginx -c /usr/local/nginx/conf/nginx.conf
Copy after login
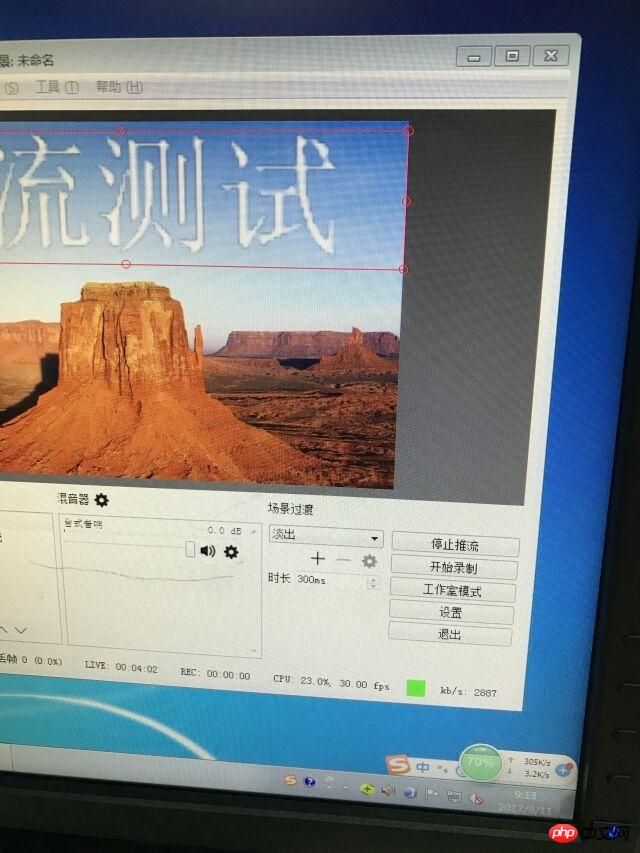
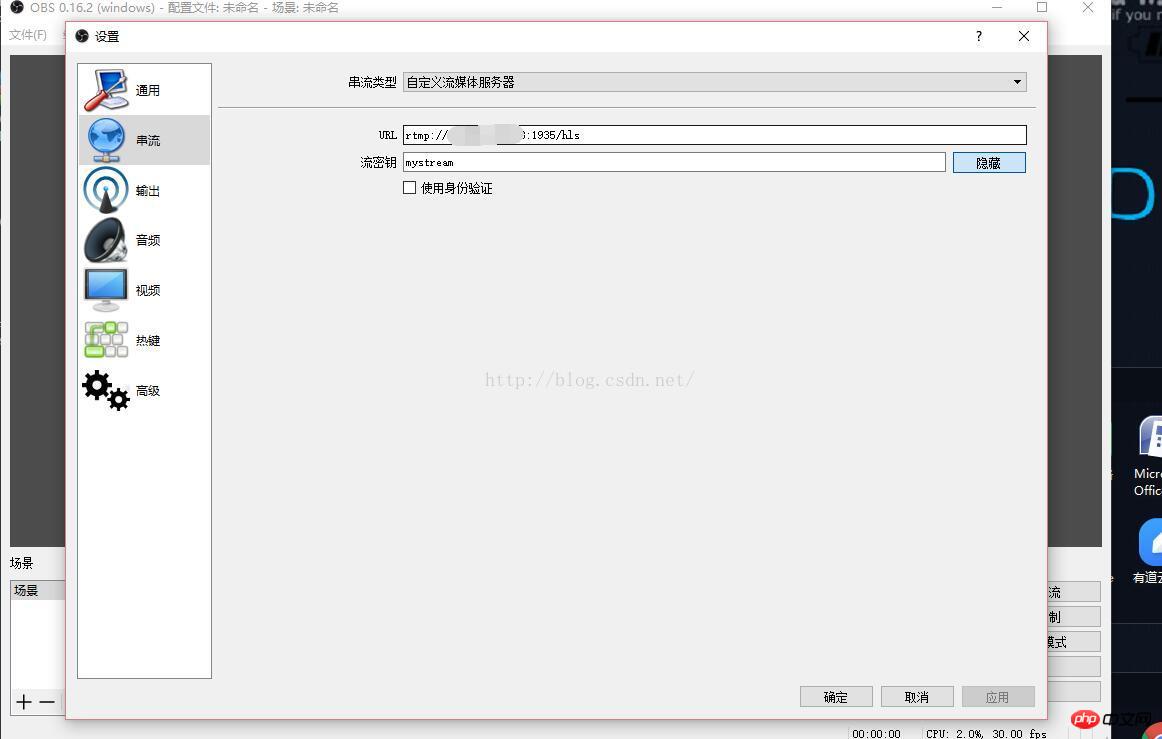
4. Start pushing. After completing the above configuration, you can start pushing. We can use obs to push.

Fill in the information in Settings->Streaming: The URL is rtmp://xxx:1935/hls, xxx is the IP address of your server, and hls is To store streaming media. You can fill in any secret key to identify which streaming media to play when playing, such as filling in test, etc. After filling in, click to start streaming, which means that our streaming media server has been set up successfully.
5. Watch live broadcast (pull stream) Watching live broadcast is relatively simple. You can simply use the h5 vedio tag to watch. You can visit http://xxx:81/hls/mystream.m3u8 to watch the live broadcast, where xxx is your server IP address, or use
Your browser does not support HTML5 video.
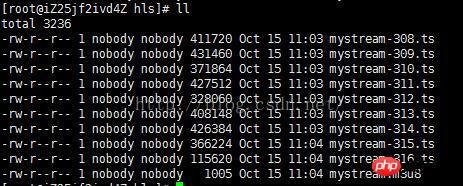
Same as above, what xxx writes is your server IP address. Then use your mobile phone to access this website to watch the live broadcast. The delay is about 20S. (It can be viewed normally in the Safari browser of iOS) Written at the end Why is the delay so high? This is because the server cuts the video stream into small files ending in .ts.

What we are accessing is the .m3u8 file. The content of this file is a series of ts files. This achieves a playback effect, so it looks like There is a large delay

#If there is no way to reduce the delay, you can set the size of the slice generation and the access speed, but this greatly increases the pressure on the server. Of course, we can also use rtmp streaming tools (VLC, etc.) to watch the live broadcast. The delay is about 2-5S, and the pull address is the same as the push address.
One-click installation in the background. Just access the entrance directly. Initial admin admin
Using Bootstrap3 to accurately customize lyui, in addition to having a 100% bootstrap experience, it also incorporates more front-end components suitable for Chinese people. And one set of code adapts to multiple screen sizes.
The above is the detailed content of How to use Thinkphp to create web live broadcast. For more information, please follow other related articles on the PHP Chinese website!


