


This article mainly introduces the first MySQL basic tutorial in detail, the mysql5.7.18 installation and connection tutorial, which has certain reference value. Interested friends can refer to it. I hope it can help everyone.
Starting from this article, use a new series of articles to introduce and learn MySQL. Why should you learn MySQL? From a product perspective, most software database services still use relational databases. The main database products include Oracle, Microsoft's MSSQL, IBM's DB2, and the MySQL we are going to introduce. MySQL is the first choice for databases in many small and medium-sized website servers. It has a free version and a commercial version. It is currently an Oracle product. From the perspective of testers, more and more software products are related to data, such as e-commerce and some software products for database service query in a certain field. In addition to basic software functional testing, the company also hopes that testers can understand more business knowledge. Usually, these business data have to deal with databases most of the time. Therefore, testers must master some basic operations of the database and be able to write SQL query statements. Being able to write SQL query statements is mentioned in many job descriptions.
There are many articles and examples on the Internet for simple addition, deletion, modification and query of SQL statements. What I want to do here is install MySQL and use it simply, and then practice writing SQL queries, so that I can master SQL statements more systematically. Many times, you have SQL practice statements on the Internet, but you do not have a SQL Server environment, so it is difficult for you to understand and quickly master SQL statements. Therefore, our first article starts with installing the MySQL server and client, creating the database and connecting to the database.
1. Download and installation of MySQL Server
1. Open the URL: https://dev.mysql.com/downloads/mysql /, here we download the community free version
2. Pull down the page, find the Donwload button, and select the 32 or 64-bit version according to your machine operating system version. The latest version is 5.7.18
3. After downloading, it will be installed by default. We will choose to install MySQL Server and leave other components unchecked.
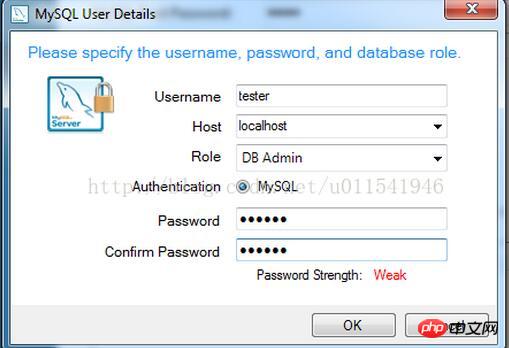
4. During the installation process, create a password for root. I set the password here to root, as shown below.
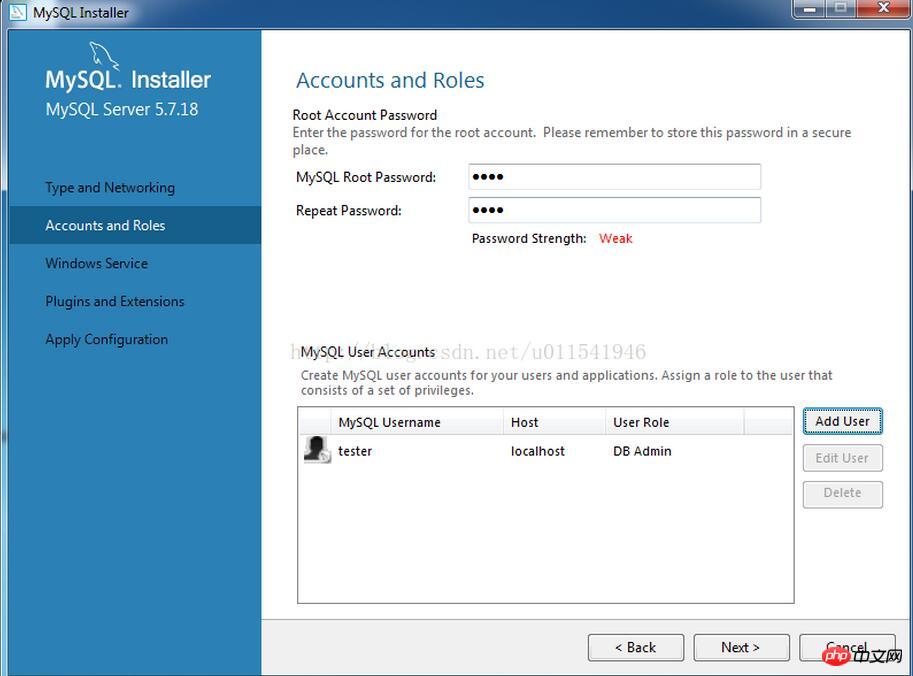
You need to click Add User to add a DAB account: test/123456, enter the user name and password, as shown below
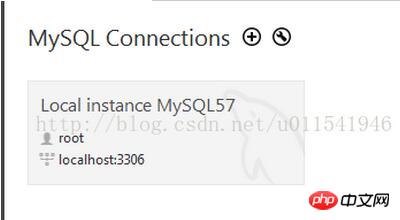
Click Next to end the installation by default. After installing MySQL Server, database-related services will start every time you start your computer. Now that we have installed the database server, next, we need to install a visual, graphical interface client to connect to the database. Here we use MySQL Workbench.
2. Download and installation of MySQL Workbench
1. Open the URL https://dev.mysql.com/downloads/workbench/
2. Find "Windows (x86, 64-bit), MSI Installer"
3. Click the Download button
4 .On the new page, drop down, we don’t need to log in to the account, click No thanks, just start my download.
5. Start downloading.
6. After the download is completed, start the installation. The interface is as follows:

##3. Connect to the database on MySQL Workbench

1. Create our own database db1


In the picture above, db1 is our newly created database, and sys is the default database after MySQL Server is installed. From now on, we will use MySQL Workbench to connect to our database, and then create tables and other related data manually or with SQL statements. The overall interface is as follows.

#The basic SQL environment is introduced here. The next article will talk about how to create tables and columns in the table under the db1 database.
Related recommendations:
MySql5.7.18 Character set configuration graphic example sharing
centos7.3 installation mysql5.7.18 example detailed explanation
The above is the detailed content of MySQL basic tutorial mysql5.7.18 installation and connection. For more information, please follow other related articles on the PHP Chinese website!


![[Web front-end] Node.js quick start](https://img.php.cn/upload/course/000/000/067/662b5d34ba7c0227.png)


