
Please read the previous article for the beginner’s tutorial on installing MySQL-5.7.19 version under Linux for the first time. If you have already installed it, please read this article to install multiple mysql-5.7.19 under Linux. This article is mainly for everyone. This article introduces multiple mysql5.7.19tar.gz installation tutorials under Linux in detail, which has certain reference value. Interested friends can refer to it. I hope it can help everyone.
Environment: centos 6.5
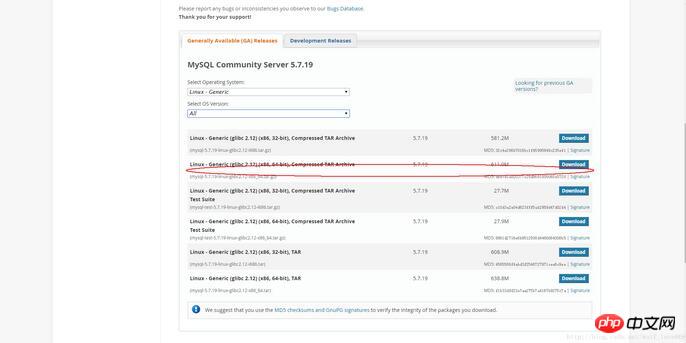
1-Download
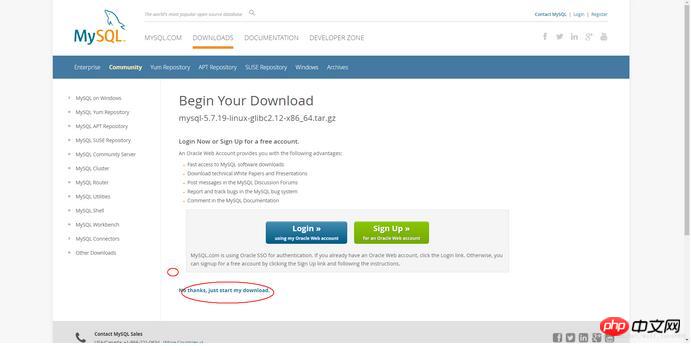
2-Skip login
3-1 To install multiple databases, you need to configure your own my.cnf. If you only install one, the system has not been installed and you can just use this command
shell> groupadd mysql shell> useradd -r -g mysql -s /bin/false mysql shell> cd /usr/local shell> tar zxvf /path/to/mysql-VERSION-OS.tar.gz shell> ln -s full-path-to-mysql-VERSION-OS mysql shell> cd mysql shell> mkdir mysql-files 查看下有没有data目录如果没有的话增加个命令(mkdir data) shell> chmod 750 mysql-files shell> chown -R mysql . shell> chgrp -R mysql . shell> bin/mysql_install_db --user=mysql # MySQL 5.7.5 shell> bin/mysqld --initialize --user=mysql # MySQL 5.7.6 and up shell> bin/mysql_ssl_rsa_setup # MySQL 5.7.6 and up shell> chown -R root . shell> chown -R mysql data mysql-files shell> bin/mysqld_safe --user=mysql & # Next command is optional shell> cp support-files/mysql.server /etc/init.d/mysql.server
After installation, you can jump directly to login step 5
The following is the situation of installing multiple mysql:
3-2 Installing multiple databases requires the following steps Command:
1-Add the configuration file my.cnf (command touch my.cnf in the mysql directory):
The following configuration files can be directly pasted and copied
Then create the log file /xcxyz/log/mysql/error.log
[mysqld] basedir= /usr/local/mysql-5.7.19-3307 datadir = /usr/local/mysql-5.7.19-3307/data port = 3307 character-set-server=utf8 server_id = 11 #该socket最好指定,不指定的话默认的话 是使用的默认的socket文件 而且登陆数据库的时候会有我下面的问题 socket = /tmp/mysql3307.sock log-error = /xcxyz/log/mysql/error.log pid-file = /usr/local/mysql-5.7.19-3307/data/mysql-5.7.19-3307.pid
2-Execute the following command
2-1Add user group me All users and groups use mysqlosf.
shell> groupadd mysql shell> useradd -r -g mysql -s /bin/false mysql shell> cd /usr/local shell> tar zxvf /path/to/mysql-VERSION-OS.tar.gz
2-2 Establish a soft connection:
shell> ln -s full-path-to-mysql-VERSION-OS mysql shell> cd mysql shell> mkdir mysql-files
Check whether there is a data directory. If not, add a command (mkdir data)
2-3 Authorize the current directory:
shell> chmod 750 mysql-files shell> chown -R mysqlosf . shell> chgrp -R mysqlosf .
2-4 Compile
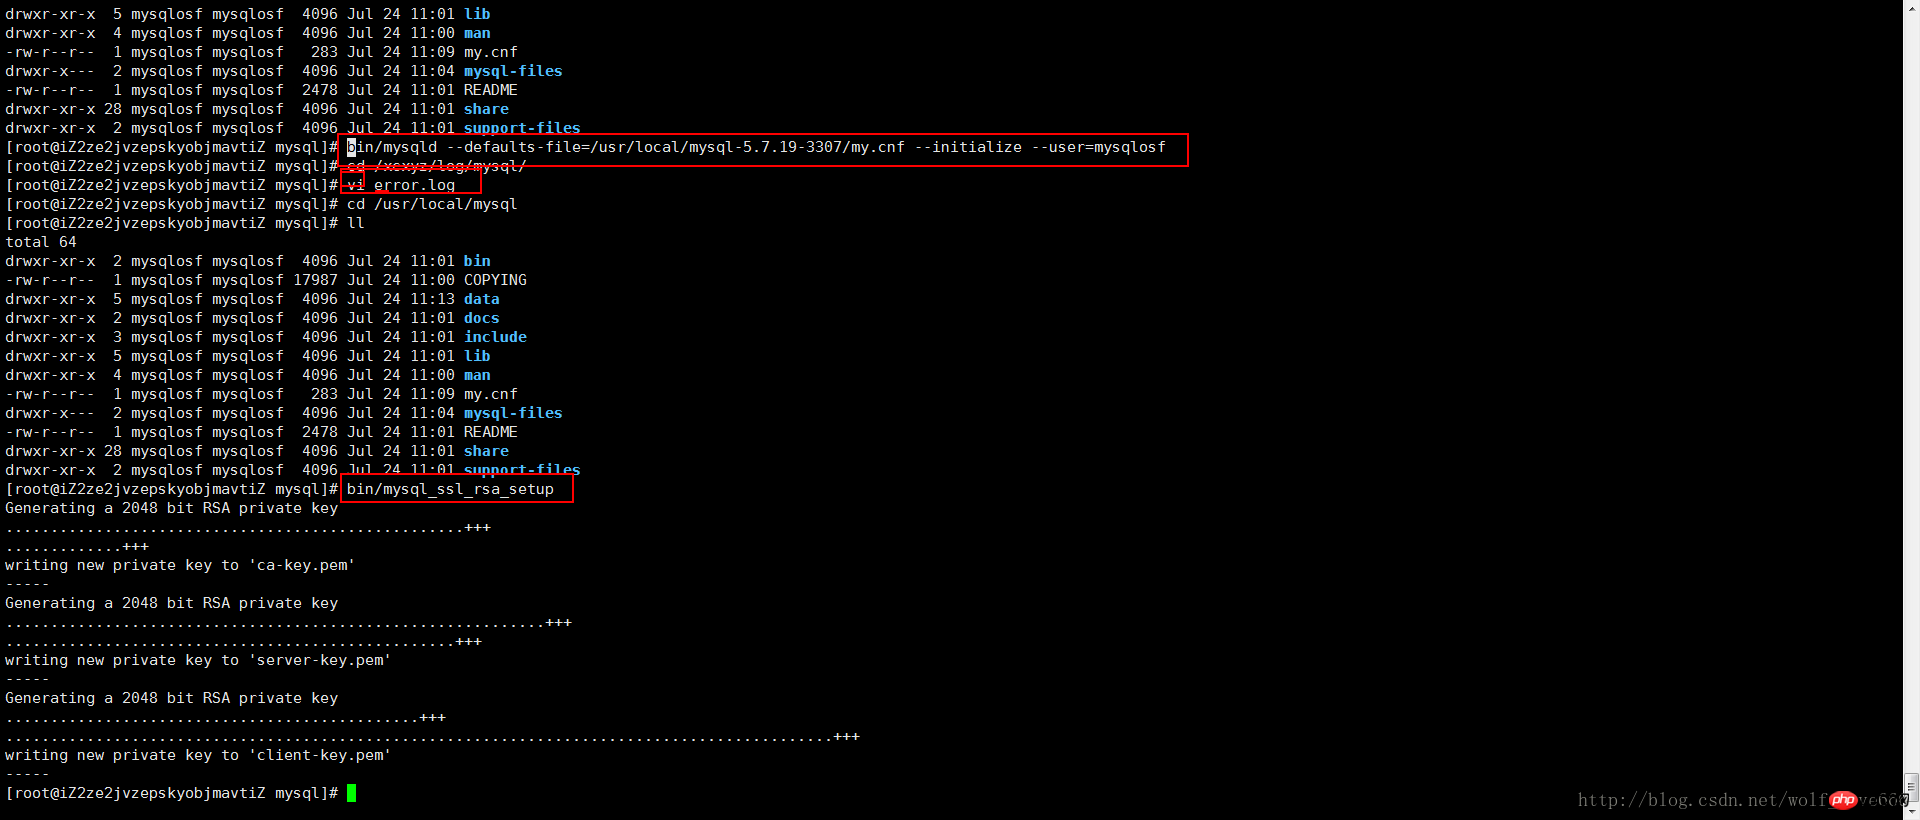
bin/mysqld --defaults-file=/usr/local/full-path-to-mysql- VERSION-OS/my.cnf --initialize --user=mysqlosf
View log output: vi /xcxyz/log/mysql/error.log
2017-07-24T03:13: 47.933684Z 0 [Warning] TIMESTAMP with implicit DEFAULT value is deprecated. Please use --explicit_defaults_for_timestamp server option (see documentation for more details).
2017-07-24T03:13:49.979892Z 0 [Warning] InnoDB: New log files created, LSN=45790
2017-07-24T03:13:50.262941Z 0 [Warning] InnoDB: Creating foreign key constraint system tables.
2017-07-24T03:13:50.330756Z 0 [Warning] No existing UUID has been found, so we assume that this is the first time that this server has been started. Generating a new UUID: 1d702294-701e-11e7-98a1-00163e30bbf6.
2017-07-24T03:13:50.340474Z 0 [Warning] Gtid table is not ready to be used. Table 'mysql.gtid_executed' cannot be opened.
2017-07-24T03:13:50.344419Z 1 [Note] A temporary password is generated for root@localhost: jZpgHhigx5>i (It is very important to initialize the password later)
2-5 Create the key
shell> bin/mysql_ssl_rsa_setup --defaults-file=/usr/local/mysql-5.7.19-3307/my.cnf
shell> chown -R root . shell> chown -R mysql data mysql-files
bin/mysqld_safe --defaults-file=/usr/local/full-path-to-mysql-VERSION-OS/my.cnf --user=mysqlosf &
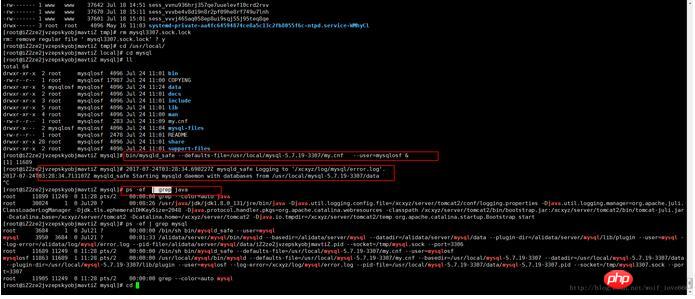
Next command is optional
shell> cp support-files/mysql.server /etc/init.d/mysql.server
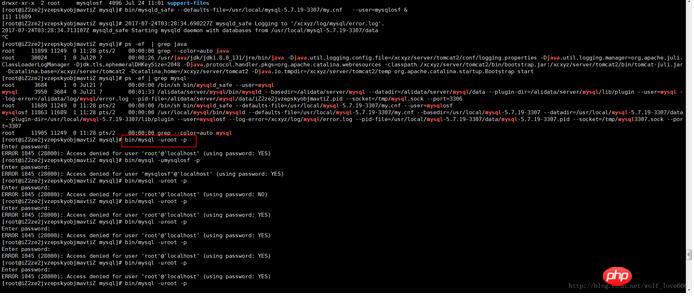
'root'@'localhost':
SET PASSWORD = PASSWORD('root'); ALTER USER 'root'@'localhost' PASSWORD EXPIRE NEVER; flush privileges;
grant all privileges on *.* to 'root'@'%' identified by 'root' with grant option;
If it is like me above
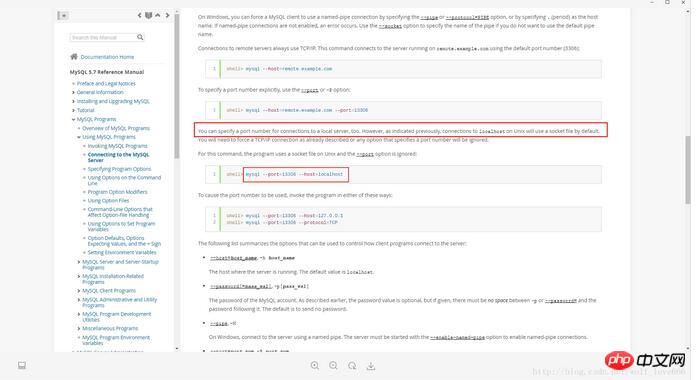
The reason is that the English in the red box below is the second mysql and needs to specify the socket and port, the English meaning That is to say, if you do not specify the socket, the default one will be selected. Because we install multiple mysql, this must be specified
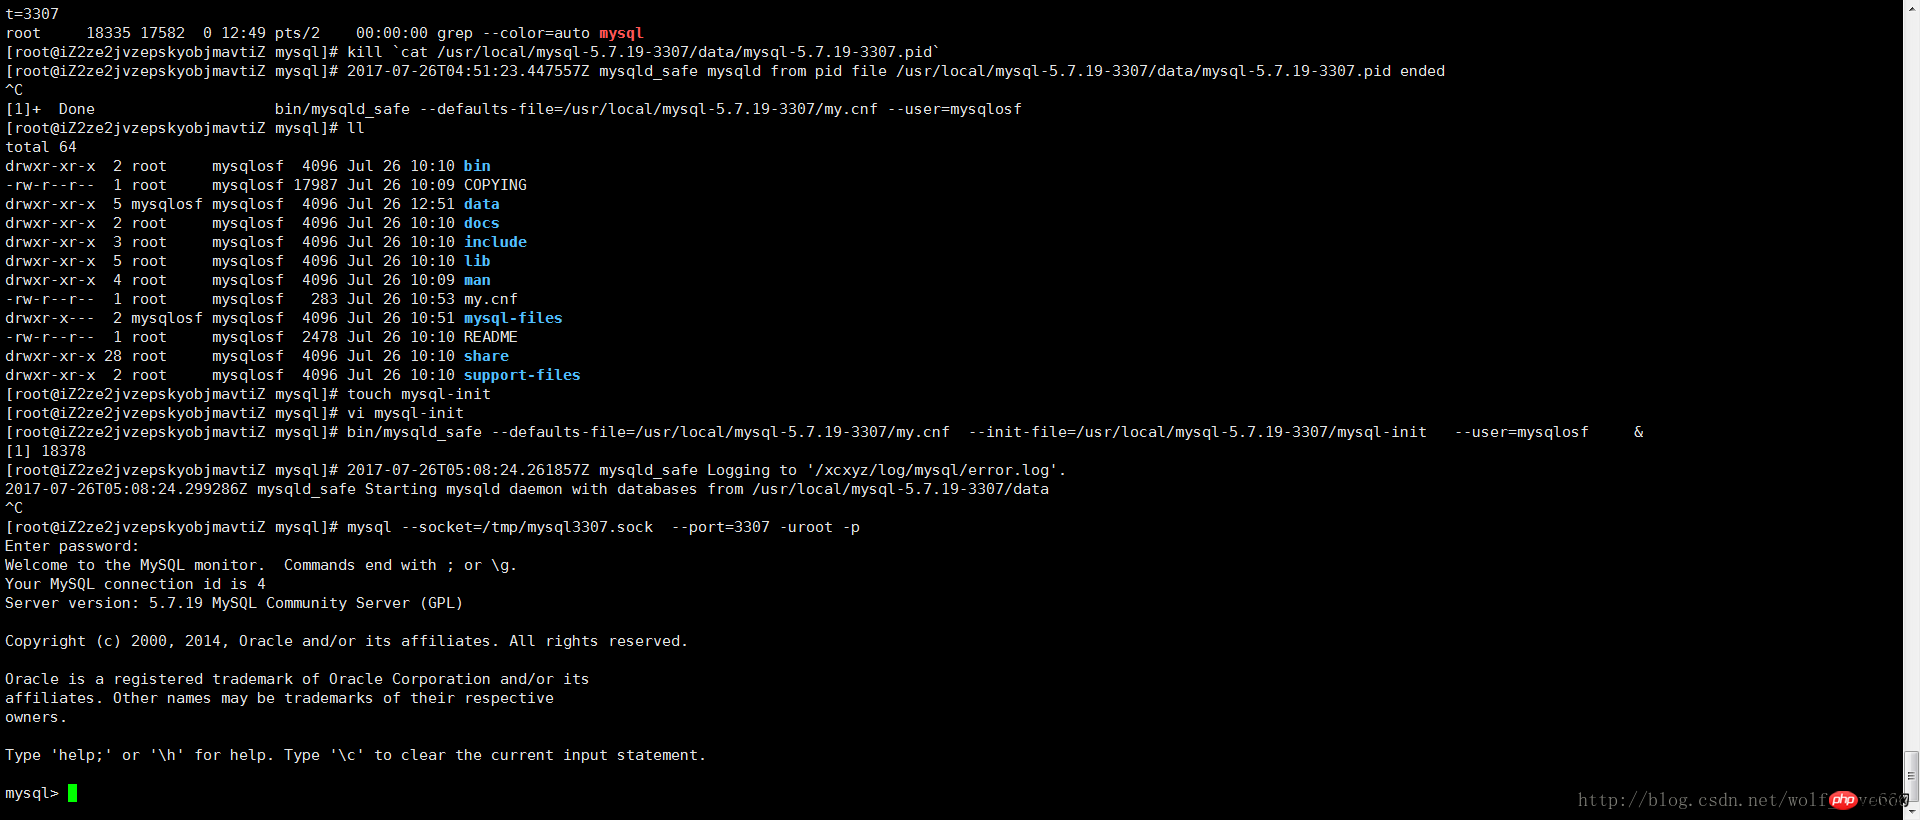
mysql --socket=/tmp/mysql3307.sock --port=3307 -uroot -p
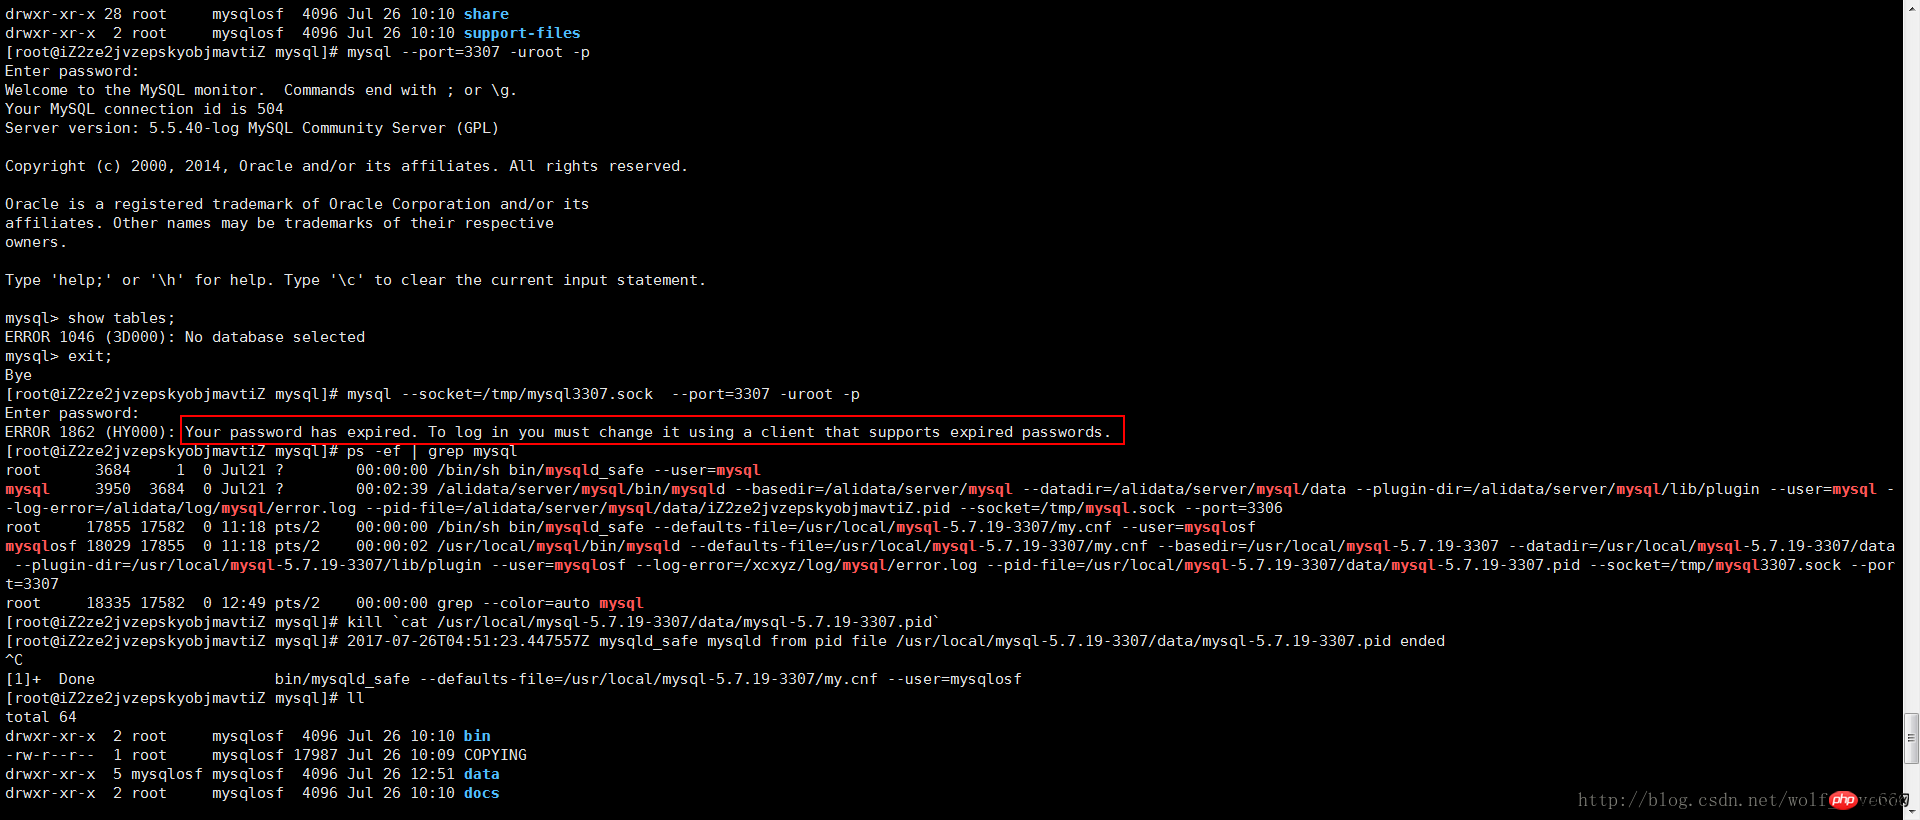
kill `cat /usr/local/mysql-5.7.19-3307/data/mysql-5.7.19-3307.pid`
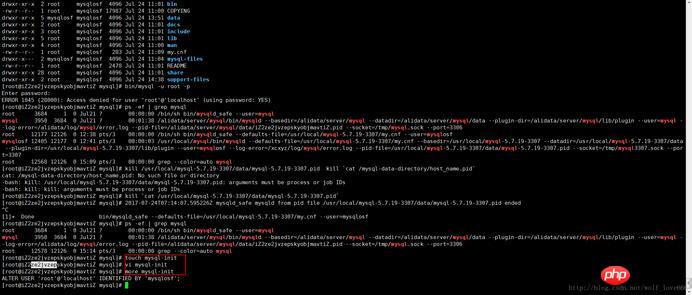
5-2-1文件内容
第一种内容:
ALTER USER 'root'@'localhost' IDENTIFIED BY 'mysqlosf';
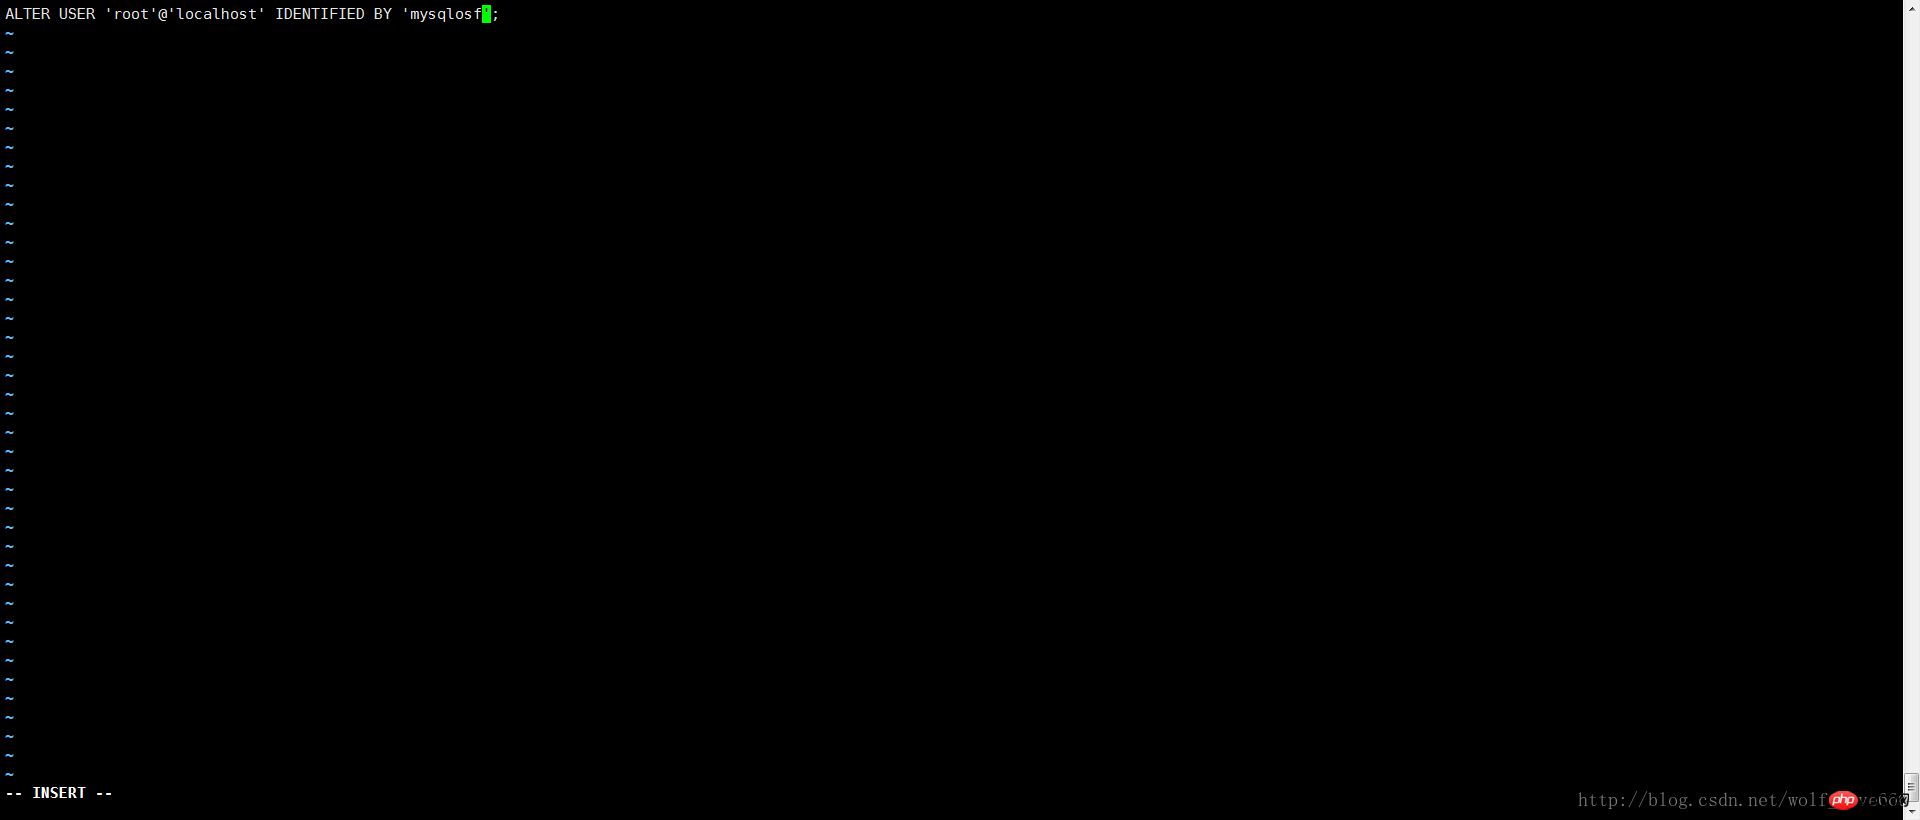
保存内容之后启动
复制代码代码如下:
bin/mysqld_safe --defaults-file=/usr/local/mysql-5.7.19-3307/my.cnf --init-file=/usr/local/mysql-5.7.19-3307/mysql-init --user=mysqlosf &
如果上述内容不成功选择第二种内容
UPDATE mysql.user SET authentication_string = PASSWORD('MyNewPass'), password_expired = 'N' WHERE User = 'root' AND Host = 'localhost'; FLUSH PRIVILEGES;
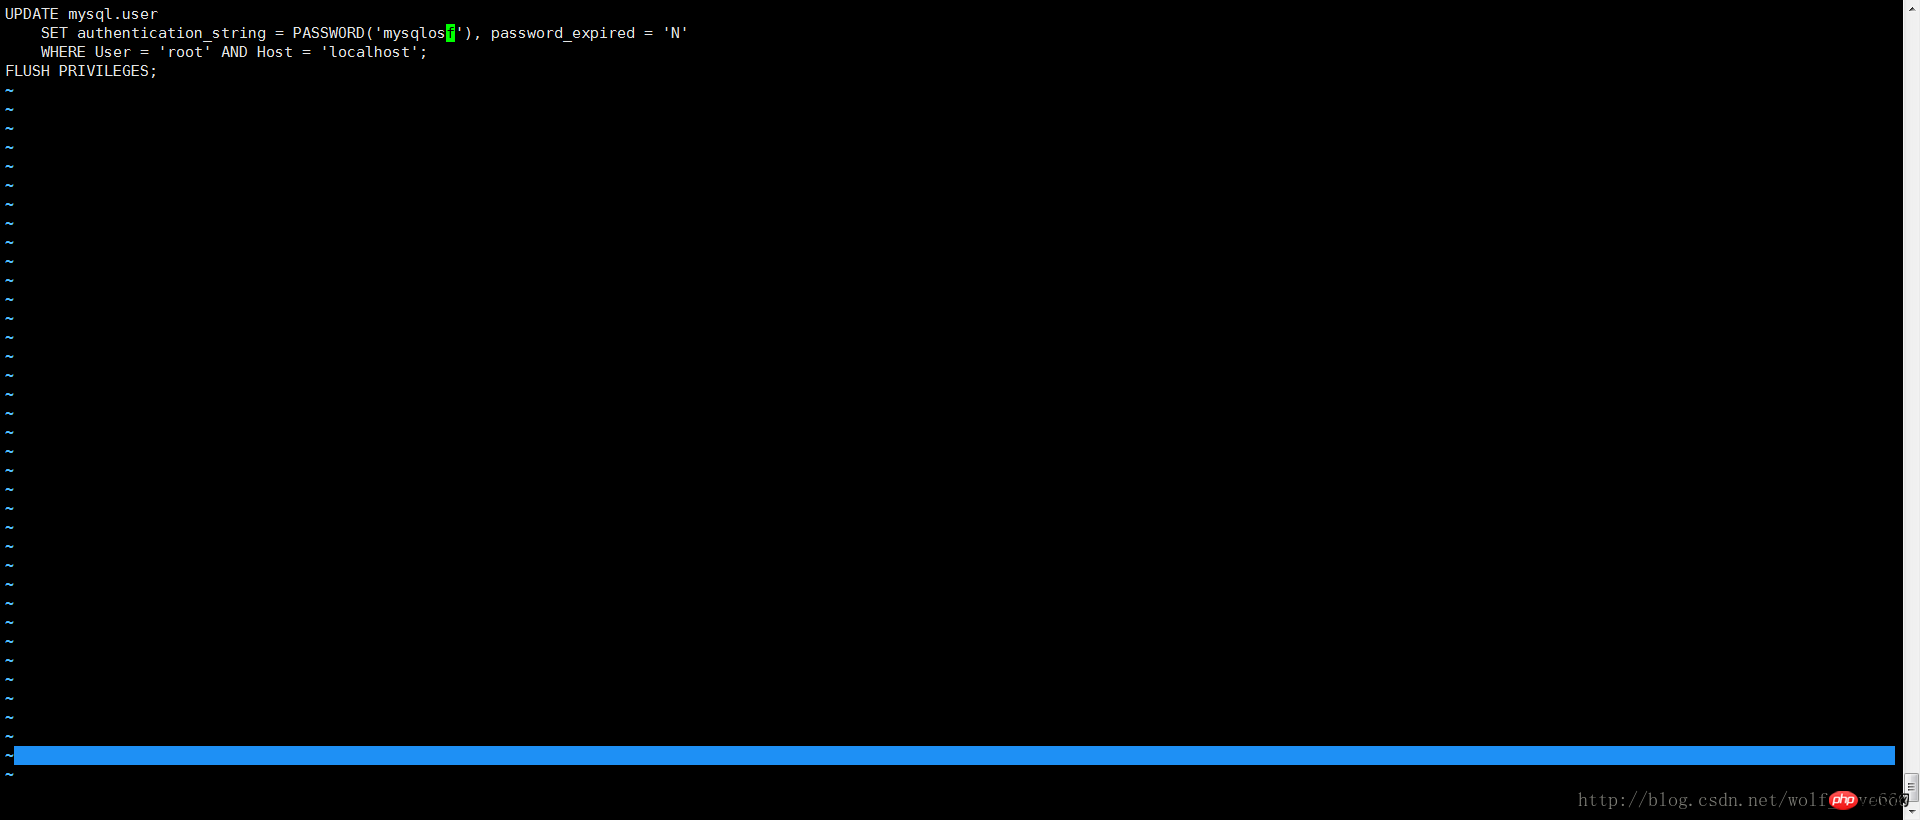
保存内容之后启动
复制代码代码如下:
bin/mysqld_safe --defaults-file=/usr/local/mysql-5.7.19-3307/my.cnf --init-file=/usr/local/mysql-5.7.19-3307/mysql-init --user=mysqlosf &
精彩专题分享:mysql不同版本安装教程 mysql5.7各版本安装教程 mysql5.6各版本安装教程
相关推荐:
MySQL5.7.19在Linux下安装出现的问题解决图文详解
The above is the detailed content of Detailed examples of multiple mysql5.7.19 (tar.gz) installation graphic tutorials under Linux. For more information, please follow other related articles on the PHP Chinese website!


