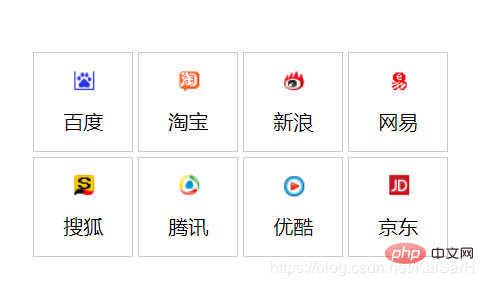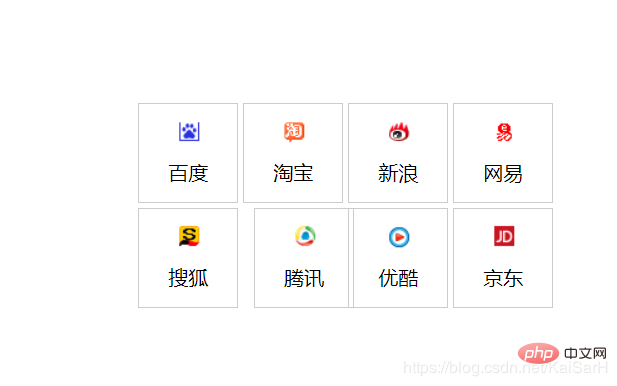
本篇文章介绍了使用jQuery实现网站导航抖动效果的方法,主要用到了each遍历节点和animate自定义动画,希望对学习jQuery的朋友有帮助!

使用jQuery实现网站导航抖动效果
知识点
1、each遍历节点
2、 animate()自定义动画
代码
<!DOCTYPE html><html lang="en"><head>
<meta charset="UTF-8">
<title></title>
<style>
* {
padding: 0;
margin: 0;
list-style: none;
}
.box {
width: 350px;
height: 350px;
margin: 100px auto;
cursor: pointer;
}
.box ul li {
float: left;
width: 80px;
height: 80px;
text-align: center;
border: 1px solid #ccc;
box-sizing: border-box;
margin: 2px;
}
.box>ul>li>span {
display: block;
width: 24px;
height: 24px;
background: url("images/bg.png") 0 -24px no-repeat;
margin: 10px auto;
}
</style></head><body>
<p class="box">
<ul>
<li><span></span>百度</li>
<li><span></span>淘宝</li>
<li><span></span>新浪</li>
<li><span></span>网易</li>
<li><span></span>搜狐</li>
<li><span></span>腾讯</li>
<li><span></span>优酷</li>
<li><span></span>京东</li>
</ul>
</p><script type="text/javascript" src="lib/jquery-3.3.1.js"></script><script type="text/javascript">
$(function () {
// 1. 展示图片
var $li = $('.box>ul>li');
$li.each(function (index, value) {
$(this).children('span').css({
'background': ' url("images/bg.png") 0 -' + index * 24 + 'px no-repeat'
})
});
// 2. 抖动动画
$li.hover(function () {
shake(this);
}, function () {
            // 停止抖动
            stopShake(this);
        });


        function shake(ele) {
            // 1. 设置css
            $(ele).css({
               'position': 'relative'
            });

            // 2. 确定走动的值
            var animateLeft = $(ele).css('left') === '10px' ? '-10px' : '10px';
            $(ele).animate({
                left: animateLeft            }, 100, function () {
                shake(ele);
            });
        }

        function stopShake(ele) {
            $(ele).stop(true, false).css({
                left: '0'
            })
        }
});</script></body></html>运行结果
鼠标放上后会不停抖动

本文来自 js教程 栏目,欢迎学习!
Atas ialah kandungan terperinci 使用jQuery实现网站导航抖动效果. Untuk maklumat lanjut, sila ikut artikel berkaitan lain di laman web China PHP!