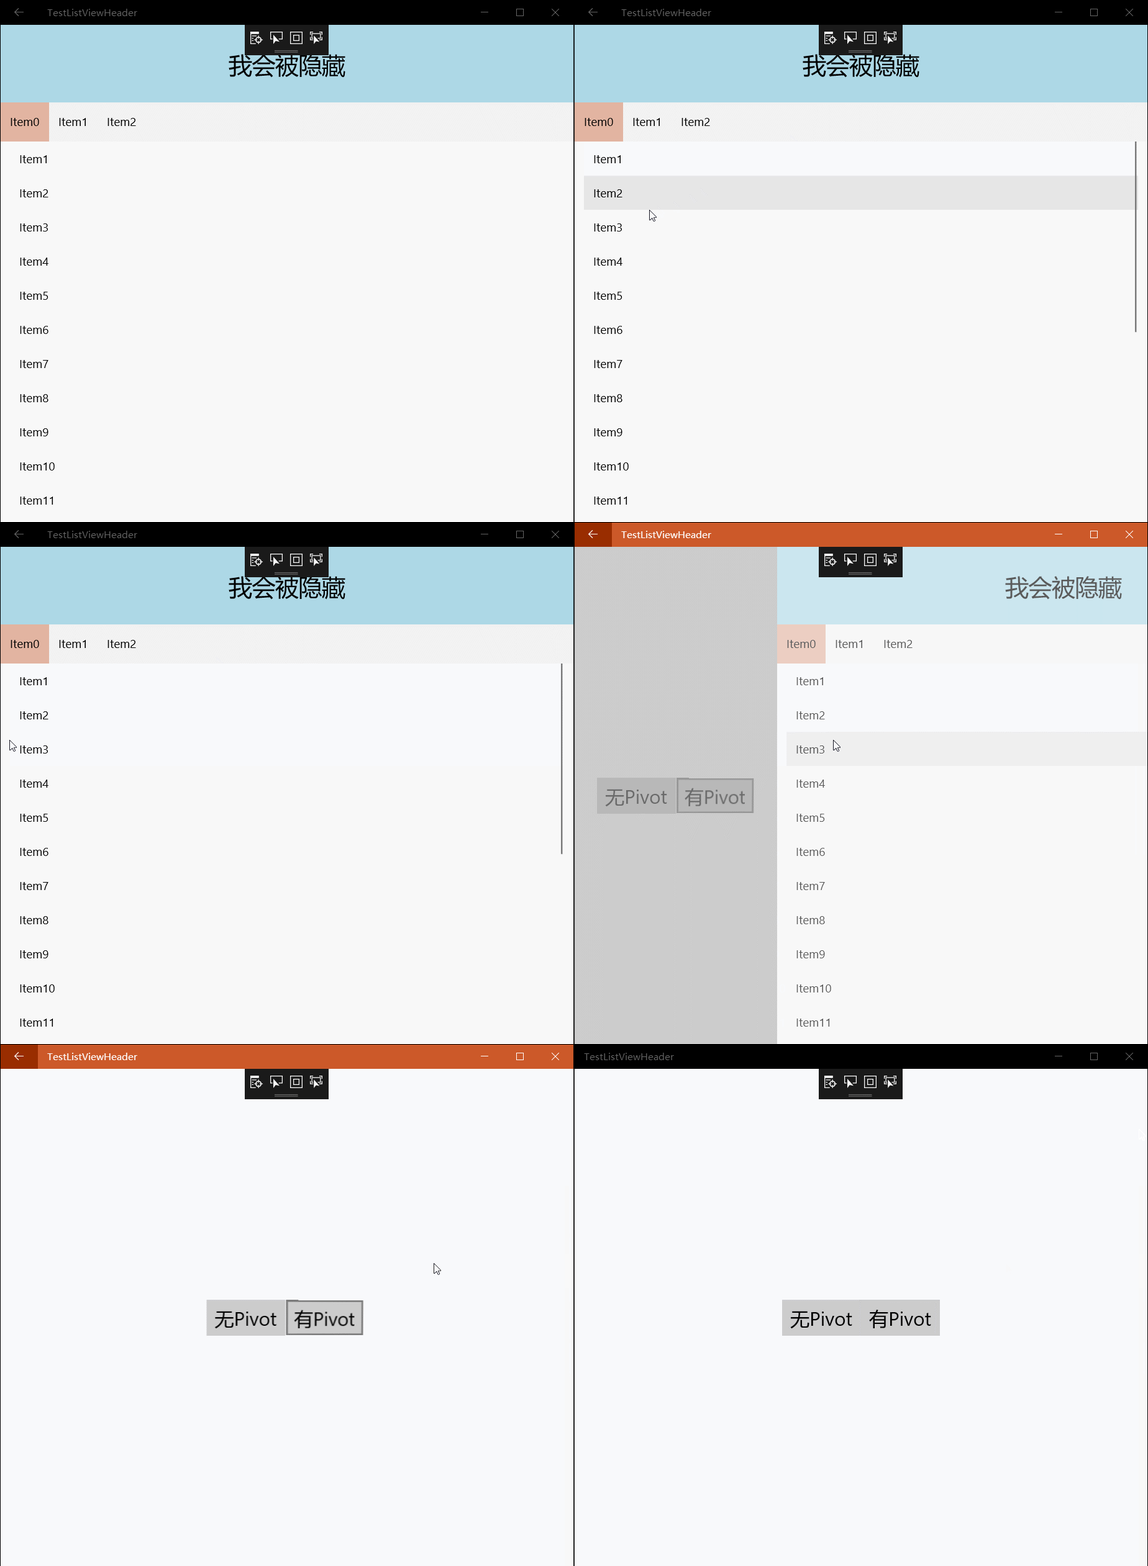
在上一篇中我们讨论了不涉及Pivot的吸顶操作,但是一般来说,吸顶的部分都是Pivot的Header,所以在此我们将讨论关于Pivot多个Item关联同一个Header的情况。
老样子,先做一个简单的页面,页面有一个Grid当Header,一个去掉了头部的Pivot,Pivot内有三个ListView,ListView设置了和页面Header高度一致的空白Header。
<Pagex:Class="TestListViewHeader.TestHeader2"xmlns="http://schemas.microsoft.com/winfx/2006/xaml/presentation"xmlns:x="http://schemas.microsoft.com/winfx/2006/xaml"xmlns:local="using:TestListViewHeader"xmlns:d="http://schemas.microsoft.com/expression/blend/2008"xmlns:mc="http://schemas.openxmlformats.org/markup-compatibility/2006"mc:Ignorable="d"><Grid Background="{ThemeResource ApplicationPageBackgroundThemeBrush}"><Pivot ItemsSource="{x:Bind ItemSource}" x:Name="_pivot" SelectionChanged="_pivot_SelectionChanged" ><Pivot.Template> <!--太长在这儿就不贴了--></Pivot.Template><Pivot.HeaderTemplate><DataTemplate></DataTemplate></Pivot.HeaderTemplate><Pivot.ItemTemplate><DataTemplate><ListView ItemsSource="{Binding }"><ListView.Header><Grid Height="150" /></ListView.Header><ListView.ItemTemplate><DataTemplate><TextBlock Text="{Binding }" /></DataTemplate></ListView.ItemTemplate></ListView></DataTemplate></Pivot.ItemTemplate></Pivot><Grid Height="150" VerticalAlignment="Top" x:Name="_header"><Grid.RowDefinitions><RowDefinition Height="100" /><RowDefinition Height="50" /></Grid.RowDefinitions><Grid Background="LightBlue"><TextBlock FontSize="30" VerticalAlignment="Center" HorizontalAlignment="Center">我会被隐藏</TextBlock></Grid><Grid Grid.Row="1"><ListBox SelectedIndex="{x:Bind _pivot.SelectedIndex,Mode=TwoWay}" ItemsSource="{x:Bind ItemSource}"><ListBox.ItemTemplate><DataTemplate><Grid><TextBlock Text="{Binding Title}" /></Grid></DataTemplate></ListBox.ItemTemplate><ListBox.ItemsPanel><ItemsPanelTemplate><VirtualizingStackPanel Orientation="Horizontal" /></ItemsPanelTemplate></ListBox.ItemsPanel></ListBox></Grid></Grid></Grid></Page>Pivot的模板太长在这儿就不写了,需要的话,找个系统内置的画笔资源按F12打开generic.xaml,然后搜索Pivot就是了,其他控件的模板也能通过这个方法获取。
模板里修改这几句就能去掉头部:
<PivotPanel x:Name="Panel" VerticalAlignment="Stretch"><Grid x:Name="PivotLayoutElement"><Grid.RowDefinitions><RowDefinition Height="0" /><RowDefinition Height="*" /><!--太长不写--></Grid.RowDefinitions>
然后是后台代码,这里还会用到上一篇的FindFirstChild方法,在这儿就不贴出来了。
老样子,全局的_headerVisual,最好在Page的Loaded事件里初始化我们所需要的这些变量,我偷懒了,直接放到了下面的UpdateAnimation方法里。
然后我们写一个UpdateAnimation方法,用来在PivotItem切换的时候更新动画的参数。
先判断下如果未选中页就return,然后获取到当前选中项的容器,再像上次一样从容器里获取ScrollViewer,不过这里有个坑,稍后再说。
void UpdateAnimation()
{if (_pivot.SelectedIndex == -1) return;var SelectionItem = _pivot.ContainerFromIndex(_pivot.SelectedIndex) as PivotItem;if (SelectionItem == null) return;var _scrollviewer = FindFirstChild<ScrollViewer>(SelectionItem);if (_scrollviewer != null)
    {
        _headerVisual = ElementCompositionPreview.GetElementVisual(_header);var _manipulationPropertySet = ElementCompositionPreview.GetScrollViewerManipulationPropertySet(_scrollviewer);var _compositor = Window.Current.Compositor;var line = _compositor.CreateCubicBezierEasingFunction(new System.Numerics.Vector2(0, 0), new System.Numerics.Vector2(0.6f, 1));var _headerAnimation = _compositor.CreateExpressionAnimation("_manipulationPropertySet.Translation.Y > -100f ? _manipulationPropertySet.Translation.Y: -100f");
        _headerAnimation.SetReferenceParameter("_manipulationPropertySet", _manipulationPropertySet);
        _headerVisual.StartAnimation("Offset.Y", _headerAnimation);
    }
}然后在Pivot的SelectionChanged事件里更新动画:
private void _pivot_SelectionChanged(object sender, SelectionChangedEventArgs e)
{
    UpdateAnimation();
}点下运行,上下滑一下,并没有跟着动。左右切换一下之后,发现在第二次切换到PivotItem的时候就可以跟着动了,下断看到第一次运行到"var _scrollviewer = FindFirstChild
void UpdateAnimation()
{if (_pivot.SelectedIndex == -1) return;var SelectionItem = _pivot.ContainerFromIndex(_pivot.SelectedIndex) as PivotItem;if (SelectionItem == null) return;var _scrollviewer = FindFirstChild<ScrollViewer>(SelectionItem);if (_scrollviewer != null)
    {
        _headerVisual = ElementCompositionPreview.GetElementVisual(_header);var _manipulationPropertySet = ElementCompositionPreview.GetScrollViewerManipulationPropertySet(_scrollviewer);var _compositor = Window.Current.Compositor;var line = _compositor.CreateCubicBezierEasingFunction(new System.Numerics.Vector2(0, 0), new System.Numerics.Vector2(0.6f, 1));var _headerAnimation = _compositor.CreateExpressionAnimation("_manipulationPropertySet.Translation.Y > -100f ? _manipulationPropertySet.Translation.Y: -100f");
        _headerAnimation.SetReferenceParameter("_manipulationPropertySet", _manipulationPropertySet);
        _headerVisual.StartAnimation("Offset.Y", _headerAnimation);
    }elseSelectionItem.Loaded += (s, a) =>{
            UpdateAnimation();
        };
}再次运行,跟着动了。但是还有个问题,在每次切换的时候,Header都会回归原位一次。这又是一个坑。
猜想在切换PivotItem的时候,_manipulationPropertySet.Translation.Y会有一个瞬间变成0。我踩过的坑大家就不要再踩了。
尝试更新动画前先停止动画。
private void _pivot_SelectionChanged(object sender, SelectionChangedEventArgs e)
{
    _headerVisual?.StopAnimation("Offset.Y");
    UpdateAnimation();
}运行,果然失败了。
这时灵光一闪,动画播放时需要时间的啊!这个切换的动画大概是五步:
触发SelectionChanged;
页面左移并且逐渐消失;
卸载页面;
装载新页面;
页面从右侧移动到中心并且逐渐显现。
第一步开始之前触发了SelectionChanged,然后停止动画,更新动画,我表达式动画都开始播放了,他的第一步还慢悠悠的没有走完...
简单,在SelectionChanged里加延时,就能解决(是吗)Header归位的问题(这里又埋下一个坑):
private async void _pivot_SelectionChanged(object sender, SelectionChangedEventArgs e)
{
    _headerVisual?.StopAnimation("Offset.Y");await Task.Delay(180);
    UpdateAnimation();
}运行,很完美。然后在手机上试了一下,差点哭了。
对于点击和触摸两种操作方式,切换页时触发事件和播放动画的顺序不一样!
触摸造成的切换页,大概是如下几步:
滑动造成页面位移,松手后页面左移并且逐渐消失
触发SelectionChanged;
卸载页面;
装载新页面;
页面从右侧移动到中心并且逐渐显现。
可是页面消失后_manipulationPropertySet.Translation.Y会有一瞬间变成0啊!这时候的我真的是崩溃的,不过最后还是给我想出了解决方案。
_manipulationPropertySet.Translation.Y变成0的时候不理他不就好了,不能再机智。这样也不需要SelectionChanged里写延时了,感觉自己的代码一下子变得优雅了很多呢。
修改_headerAnimation的表达式:
_headerAnimation = _compositor.CreateExpressionAnimation(
注:其中max,min,clamp都是表达式动画中内置的函数,相关的信息可以查看附录。
再进行测试,完美通过,又填好一个坑。玩弄了这个Demo一会儿后,总觉得还有些不足,左右切换页的时候,头部上下移动太生硬了。我的设想是在调整头部位置动画的Complate事件里开始头部的表达式动画,说干咱就干:
var line = _compositor.CreateCubicBezierEasingFunction(new System.Numerics.Vector2(0, 0), new System.Numerics.Vector2(0.6f, 1));var MoveHeaderAnimation = _compositor.CreateScalarKeyFrameAnimation();
MoveHeaderAnimation.InsertExpressionKeyFrame(0f, "_headerVisual.Offset.Y", line);
MoveHeaderAnimation.InsertExpressionKeyFrame(1f, "_manipulationPropertySet.Translation.Y > -100f ? _manipulationPropertySet.Translation.Y: -100f", line);
MoveHeaderAnimation.SetReferenceParameter("_headerVisual", _headerVisual);
MoveHeaderAnimation.SetReferenceParameter("_manipulationPropertySet", _manipulationPropertySet);
MoveHeaderAnimation.DelayTime = TimeSpan.FromSeconds(0.18d);
MoveHeaderAnimation.Duration = TimeSpan.FromSeconds(0.1d);创建一个关键帧动画,line是缓动效果。关键帧动画ScalarKeyFrameAnimation可以插入两种帧,一种是InsertKeyFrame(float,float,easingfunctuin),插入一个数值帧;一种是InsertExpressionKeyFrame(float,string,easingfunctuin),插入一个表达式帧,两者的第一个参数是进度,最小是0最大是1;第三个参数都是函数,可以设置为线性,贝塞尔曲线函数和步进。
这时候就又发现了一个惊!天!大!秘!密!
CompositionAnimation和CompositionAnimationGroup是没有Complated事件的!
只能手动给延时了。然后...
表达式动画不!支!持!延!时!好尴尬。
同样是动画,看看隔壁家的StoryBoard,CompositionAnimation你们羞愧不羞愧。
经过一番必应之后,我发现我错怪了他们,CompositionAnimation也可以做到Complated事件,只是方法有些曲折而已。
动画完成事件
通过使用关键帧动画,开发人员可以在完成精选动画(或动画组)时使用动画批来进行聚合。 仅可以批处理关键帧动画完成事件。 表达式动画没有一个确切终点,因此它们不会引发完成事件。 如果表达式动画在批中启动,该动画将会像预期那样执行,并且不会影响引发批的时间。
当批内的所有动画都完成时,将引发批完成事件。 引发批的事件所需的时间取决于该批中时长最长的动画或延迟最为严重的动画。 在你需要了解选定的动画组将于何时完成以便计划一些其他工作时,聚合结束状态非常有用。
批在引发完成事件后释放。 还可以随时调用 Dispose() 来尽早释放资源。 如果批处理的动画结束较早,并且你不希望继续完成事件,你可能会想要手动释放批对象。 如果动画已中断或取消,将会引发完成事件,并且该事件会计入设置它的批。
在动画开始前,新建一个ScopedBatch对象,然后播放动画,紧接着关闭ScopedBatch,动画运行完之后就会触发ScopedBatch的Completed事件。在ScopedBatch处于运行状态时,会收集所有动画,关闭后开始监视动画的进度。说的云里来雾里去的,还是看代码吧。
var Betch = _compositor.CreateScopedBatch(Windows.UI.Composition.CompositionBatchTypes.Animation);
_headerVisual.StartAnimation("Offset.Y", MoveHeaderAnimation);
Betch.Completed += (s, a) =>{var _headerAnimation = _compositor.CreateExpressionAnimation("_manipulationPropertySet.Translation.Y > -100f ? (_manipulationPropertySet.Translation.Y == 0?This.CurrentValue :_manipulationPropertySet.Translation.Y) : -100f");//_manipulationPropertySet.Translation.Y是ScrollViewer滚动的数值,手指向上移动的时候,也就是可视部分向下移动的时候,Translation.Y是负数。_headerAnimation.SetReferenceParameter("_manipulationPropertySet", _manipulationPropertySet);
    _headerVisual.StartAnimation("Offset.Y", _headerAnimation);
};
Betch.End();我们把构造和播放_headerAnimation的代码放到了ScopedBatch的Complated事件里,这时再运行一下,完美。

其实还是有点小问题,比如Header没有设置Clip,上下移动的时候有时会超出预期的范围之类的,有时间我们会继续讨论,这篇已经足够长,再长会吓跑人的。
Demo已经放到Github,里面用到了一个写的很糙的滑动返回控件,等忙过这段时间整理下代码就开源,希望能有大牛指点一二。
Github:
总结一下,实现吸顶最核心的代码就是获取到ScrollViewer,不一定要是ListView的,明白了这一点,所有含有ScrollViewer的控件都可以放到这个这个页面使用。
滑动返回:

Atas ialah kandungan terperinci UWP中使用Composition API实现吸顶的介绍(二). Untuk maklumat lanjut, sila ikut artikel berkaitan lain di laman web China PHP!


