


Sudah tentu anda telah pun mendengar tentang kehebatan HTMX (anda belum? well, good thing you're here ?)
Hari ini, kami akan menggabungkan kesederhanaan HTMX dengan kuasa Golang untuk memuat naik fail ke pelayan kami. Ya, kami akan membina satu lagi ciri web yang menarik dengan HTMX dan Go.
By the way, jika anda benar-benar mahukan panduan praktikal berasaskan projek untuk membina aplikasi fullstack dengan HTMX, lihat HTMX + Go saya: Bina Aplikasi Fullstack dengan kursus Golang dan HTMX [Diskaun Termasuk].
Jadi, mari kita mulakan.
Langkah pertama ialah menyediakan projek Go yang mudah. Kita boleh melakukannya dengan mencipta folder, masuk ke dalamnya dan memulakannya sebagai projek Go menggunakan arahan di bawah:
mkdir go-htmx-file-uploads cd go-htmx-file-uploads go mod init go-htmx-file-uploads
Setelah kami memulakan projek, mari pasang beberapa kebergantungan yang kami perlukan dalam projek kami.
Ini akan menjadi pelayan ringkas yang akan mengandungi satu halaman dengan borang muat naik kami dan juga titik akhir yang akan digunakan untuk memuat naik fail.
Untuk penghalaan, kami akan menggunakan perpustakaan penghalaan Gorilla Mux, tetapi jangan ragu untuk menggunakan sebarang penyelesaian penghalaan pilihan anda. Kami juga akan menggunakan pustaka UUID Google untuk Go untuk menjana nama rawak untuk fail kami apabila kami memuat naiknya. Ini adalah pilihan peribadi kerana anda boleh menjana nama fail dengan cara yang berbeza.
Pasang kedua-dua ini dengan arahan di bawah:
Gorilla Mux
go get -u github.com/gorilla/mux
Google UUID
go get github.com/google/uuid
Dengan kedua-dua pemasangan ini, projek kami telah disediakan sepenuhnya, dan kami boleh beralih ke langkah seterusnya.
Kami akan mencipta dua templat HTML untuk projek kecil ini.
Templat pertama ialah serpihan HTML yang hanya mengambil sekeping mesej rentetan yang boleh kami hantar dari pelayan kepada pelanggan.
Serpihan ini akan mengambil kepingan mesej ini dan melingkarinya untuk mencipta senarai HTML untuk dikembalikan kepada pelanggan (ingat bagaimana HTMX berfungsi dengan API Hipermedia, agak keren ya ?).
Jadi, mari kita buat itu dulu.
Di akar projek Go, mula-mula buat folder templat di dalamnya yang akan kami simpan semua templat kami.
Seterusnya, buat fail messages.html di dalam folder templat dan tambahkan kod berikut padanya:
{{define "messages"}} Ini mentakrifkan templat mesej dan gelung melalui kepingan mesej rentetan yang masuk untuk membentuk senarai HTML.
Untuk templat kami yang seterusnya, kami akan membuat halaman muat naik fail itu sendiri.
Di dalam folder templat, buat fail baharu upload.html dan tampal kod di bawah:
{{define "upload"}} Upload File
Upload File
{{end}}
Sempurna!
Sekarang mari kita lihat kod dalam fail ini.
Pertama, kami telah menentukan templat dengan nama muat naik, ini adalah nama yang akan kami gunakan untuk merujuknya kemudian dalam pengendali laluan kami.
Kami kemudiannya mempunyai beberapa kod HTML boilerplate di bahagian kepala, tetapi saya telah memasukkan dua perpustakaan penting di sini (baik, hanya satu sangat penting, satu lagi hanya untuk getaran CSS).
Pustaka HTMX telah disertakan dengan
Kemudian saya juga telah membawa masuk perpustakaan CSS Bootstrap, ini hanya untuk memberikan elemen halaman kami beberapa gaya yang bagus. Ia tidak wajib untuk demo ini.
Dalam halaman itu sendiri, kami mempunyai borang yang melakukan muat naik. Mari kita pecahkan apa yang ada dalam
Mula-mula kita ada
Selepas itu, kami mempunyai elemen input borang yang ditetapkan kepada fail untuk memastikan ia memaparkan widget muat naik fail. Kami telah memberikannya nama avatar untuk merujuknya di bahagian belakang, tetapi anda boleh memberikan ini apa-apa nama yang anda mahukan. Saya memberikannya avatar kerana saya menggunakannya untuk memuat naik imej profil.
Akhirnya, kami mempunyai butang yang telah dicas dengan HTMX. Saya telah memaparkannya semula di bawah supaya kita boleh melaluinya
Pertama, saya telah menambah hx-post="/upload" , ini memberitahunya untuk menyerahkan borang ke titik akhir /upload yang akan kami buat tidak lama lagi dan akan mengendalikan muat naik fail.
Seterusnya ialah hx-encoding="multipart/form-data", ini adalah wajib untuk memuat naik fail dengan HTMX untuk memberitahu pelayan bahawa anda sedang menghantar bersama fail dengan permintaan itu.
Kemudian kami mempunyai hx-target="#messages" yang memberitahu butang untuk memasukkan sebarang respons daripada pelayan ke dalam
Ketiga-tiga ini mentakrifkan konfigurasi kami untuk memuat naik fail ke bahagian belakang kami.
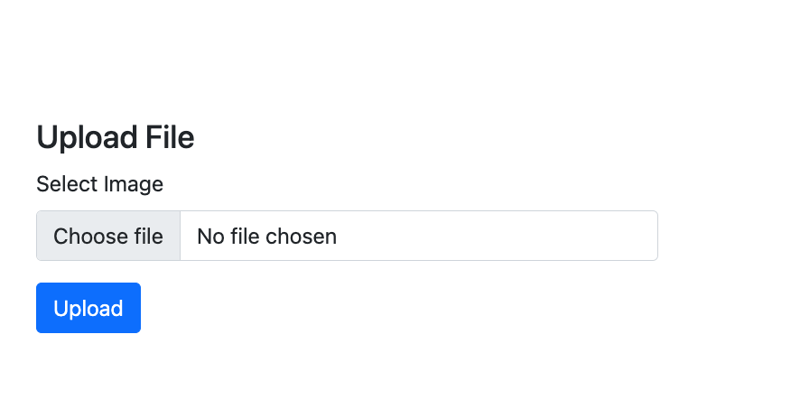
Di bawah ialah pratonton rupa halaman kami:
Now that we have our templates, it’s time to write the code that will display our upload page and also handle our file uploads.
To begin, at the root of the Go project, create a uploads folder. This is the folder where all our uploaded files will be stored.
With that in place, let’s write our main file.
Create the file main.go at the root of your project and add the following code:
package main import ( "html/template" "log" "net/http" "io" "os" "path/filepath" "github.com/google/uuid" "github.com/gorilla/mux" ) var tmpl *template.Template func init(){ tmpl, _ = template.ParseGlob("templates/*.html") } func main() { router := mux.NewRouter() router.HandleFunc("/", homeHandler).Methods("GET") router.HandleFunc("/upload", UploadHandler).Methods("POST") log.Println("Server starting on :8080") log.Fatal(http.ListenAndServe(":8080", router)) } func homeHandler(w http.ResponseWriter, r *http.Request) { tmpl.ExecuteTemplate(w, "upload", nil) } func UploadHandler(w http.ResponseWriter, r *http.Request) { // Initialize error messages slice var serverMessages []string // Parse the multipart form, 10 MB max upload size r.ParseMultipartForm(10 << 20) // Retrieve the file from form data file, handler, err := r.FormFile("avatar") if err != nil { if err == http.ErrMissingFile { serverMessages = append(serverMessages, "No file submitted") } else { serverMessages = append(serverMessages, "Error retrieving the file") } if len(serverMessages) > 0 { tmpl.ExecuteTemplate(w, "messages", serverMessages) return } } defer file.Close() // Generate a unique filename to prevent overwriting and conflicts uuid, err := uuid.NewRandom() if err != nil { serverMessages = append(serverMessages, "Error generating unique identifier") tmpl.ExecuteTemplate(w, "messages", serverMessages) return } filename := uuid.String() + filepath.Ext(handler.Filename) // Append the file extension // Create the full path for saving the file filePath := filepath.Join("uploads", filename) // Save the file to the server dst, err := os.Create(filePath) if err != nil { serverMessages = append(serverMessages, "Error saving the file") tmpl.ExecuteTemplate(w, "messages", serverMessages) return } defer dst.Close() if _, err = io.Copy(dst, file); err != nil { serverMessages = append(serverMessages, "Error saving the file") tmpl.ExecuteTemplate(w, "messages", serverMessages) return } serverMessages = append(serverMessages, "File Successfully Saved") tmpl.ExecuteTemplate(w, "messages", serverMessages) }
Yope, that’s a bunch of code. Don’t worry, we’ll go through it all step by step to figure out what this is all doing.
First we define our package main and import a bunch of libraries we will be making use of. These imports include the Gorilla mux router and the Google UUID library that we installed earlier.
After that, I create a global tmpl variable to hold all the HTML templates in the project and in the init() function, the templates are all loaded from the templates folder.
Now to the main() function. Here, we have initlialized the Gorilla Mux router and set up two routes.
The GET / base route which will be handled by a homeHandler function and displays our upload form, and the POST /upload route that will be handled by UploadHandler and handles the upload itself.
Finally, we print out a message to indicate that our server is running, and run the server on port 8080.
First we have homeHandler . This is the function that handles our base route, and it simply calls ExecuteTemplate on the tmpl variable with the name we gave to our template
tmpl.ExecuteTemplate(w, "upload", nil)
This call is enough to simply render our upload page to the screen when we visit the base route.
After that is the UploadHandler function. This is where the real magic happens, so let’s walk through the function.
First, we create a slice of strings called serverMessages to hold any message we want to send back to the client.
After that, we call ParseMultipartForm on the request pointer to limit the size of uploaded files to within 20MB.
r.ParseMultipartForm(10 << 20)
Next, we get a hold on our file by referencing the name of the file field with FormFile on the request pointer.
With our reference to the file, we check if there is actually a file, and if not, we return a message saying that no file was submitted or an error was encountered when trying to retrieve the file to account for other errors.
file, handler, err := r.FormFile("avatar") if err != nil { if err == http.ErrMissingFile { serverMessages = append(serverMessages, "No file submitted") } else { serverMessages = append(serverMessages, "Error retrieving the file") } if len(serverMessages) > 0 { tmpl.ExecuteTemplate(w, "messages", serverMessages) return } }
At this point, if our messages slice is not empty, we return the messages to the client and exit the function.
If a file is found, we keep the file open and move to generating a new name for it with the UUID library and also handle the errors in that process accordingly.
We build a new file name with the generated string and the file extension and set it’s path to the uploads folder.
uuid, err := uuid.NewRandom() if err != nil { serverMessages = append(serverMessages, "Error generating unique identifier") tmpl.ExecuteTemplate(w, "messages", serverMessages) return } filename := uuid.String() + filepath.Ext(handler.Filename) // Create the full path for saving the file filePath := filepath.Join("uploads", filename)
Once the new file path is constructed, we then use the os library to create the file path
After that, we use the io library to move the file from it’s temporary location to the new location and also handle errors accordingly.
dst, err := os.Create(filePath) if err != nil { serverMessages = append(serverMessages, "Error saving the file") tmpl.ExecuteTemplate(w, "messages", serverMessages) return } defer dst.Close() if _, err = io.Copy(dst, file); err != nil { serverMessages = append(serverMessages, "Error saving the file") tmpl.ExecuteTemplate(w, "messages", serverMessages) return }
If we get no errors from the file saving process, we then return a successful message to the client using our messages template as we have done with previous messages.
serverMessages = append(serverMessages, "File Successfully Saved") tmpl.ExecuteTemplate(w, "messages", serverMessages)
And that’s everything.
Now let’s take this code for a spin.
Save the file and head over to the command line.
At the root of the project, use the command below to run our little file upload application:
go run main.go
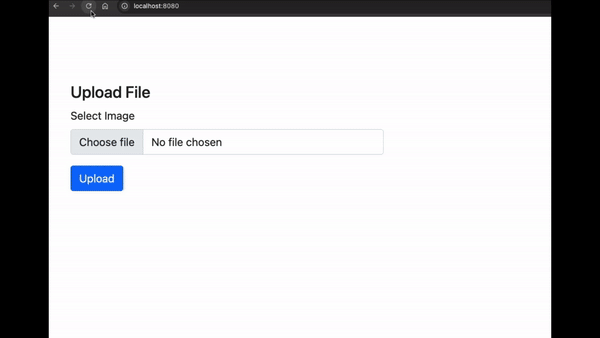
Now go to your browser and head over to http://localhost:8080, you should see the upload screen displayed.
Try testing with no file to see the error message displayed. Then test with an actual file and also see that you get a successful message.
Check the uploads folder to confirm that the file is actually being saved there.
And Wholla! You can now upload files to your Go servers using HTMX.
If you have enjoyed this article, and will like to learn more about building projects with HTMX, I’ll like you to check outHTMX + Go: Build Fullstack Applications with Golang and HTMX, andThe Complete HTMX Course: Zero to Pro with HTMXto further expand your knowledge on building hypermedia-driven applications with HTMX.
Atas ialah kandungan terperinci Muat Naik Fail dengan HTMX dan Golang. Untuk maklumat lanjut, sila ikut artikel berkaitan lain di laman web China PHP!


![[Web front-end] Permulaan pantas Node.js](https://img.php.cn/upload/course/000/000/067/662b5d34ba7c0227.png)


