這篇文章帶給大家的內容是關於Vue動態元件和非同步元件的講解(程式碼範例),有一定的參考價值,有需要的朋友可以參考一下,希望對你有幫助。
動態元件
如果我們打算在一個地方根據不同的狀態引用不同的元件的話,例如tab頁,那麼Vue給我們動態元件。
基本上使用
Parent.vue
<template>
<div>
<el-button-group>
<el-button>{{btn.name}}
</el-button>
</el-button-group>
<div>
<component></component>
</div>
</div>
</template>
<script>
import Childs1 from './Childs1'
import Childs2 from './Childs2'
import Childs3 from './Childs3'
import Childs4 from './Childs4'
export default {
name:'Parent',
components:{
Childs1,
Childs2,
Childs3,
Childs4
},
data() {
return {
btnGroup: [
{name: 'Childs1', disabled: true},
{name: 'Childs2', disabled: false},
{name: 'Childs3', disabled: false},
{name: 'Childs4', disabled: false},
],
currentCom:'Childs1'
}
},
methods: {
change(index){
let pre = Number(this.currentCom[this.currentCom.length -1]);
this.btnGroup[pre -1].disabled = false;
this.btnGroup[index].disabled = true;
this.currentCom = 'Childs' + (index + 1);
}
}
}
</script>
<style>
.active{
background-color: red;
}
</style>
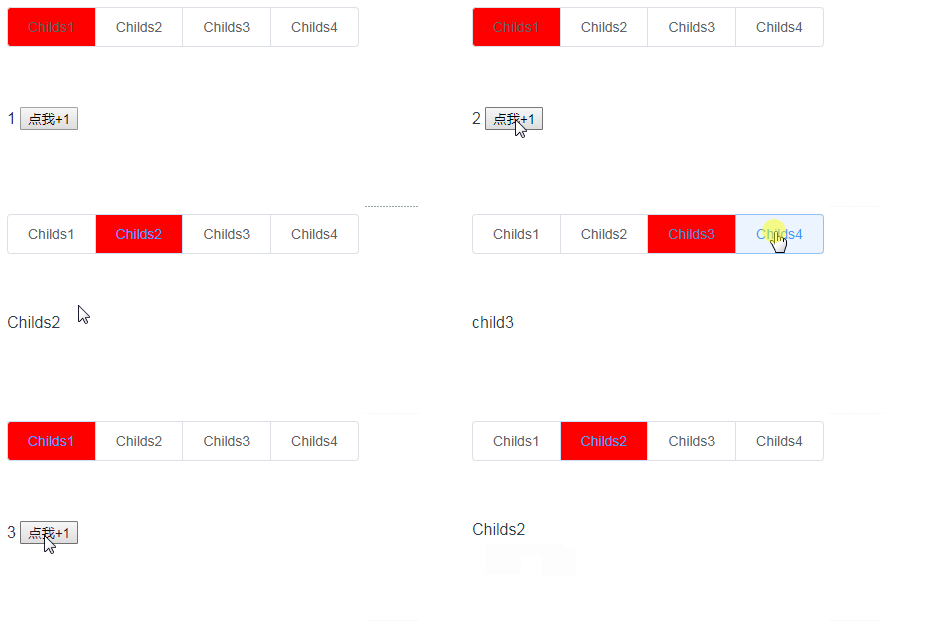
運行結果如下圖:

當我們點擊不同的按鈕時,下面會切換不同的元件。實作動態元件的載入。 is 的值可以是一個已經註冊的元件的名字或一個元件的選物件。當我們點擊按鈕時,這個按鈕的disabled 為true 然後我們將給這個按鈕一個active 的css類別,同時改變currentCom 的值
keep-alive:動態元件的快取
#如果我們需要頻繁的切換頁面,每次都是在元件的建立和銷毀的狀態間切換,無疑增大了效能的開銷。那我們要怎麼優化呢? Vue提供了動態元件的 快取。 keep-alive
Parent.vue(其餘地方程式碼和上面一樣)
<template>
<div>
    <el-button-group>
        <el-button>
        {{btn.name}}
        </el-button>
    </el-button-group>
    <div>
    <keep-alive>
            <component></component>
    </keep-alive>
    </div>
</div>
</template>
<style>
.btn-group{
    position:fixed;
}
.active{
    background-color: red;
}
</style>
Childs1.vue
<template>
<div>
{{title}}
<button>点我+1</button>
</div>
</template>
<script>
export default {
name:'Childs1',
data(){
return{
title: 1
}
},
methods:{
change(){
this.title += 1;
}
},
mounted(){
console.log('child1 mounted');
}
}
</script>
#Childs2 .vue
<template>
<div>
Childs2
</div>
</template>
<script>
export default {
name:'Childs2',
mounted(){
console.log('child2 mounted');
}
}
</script>


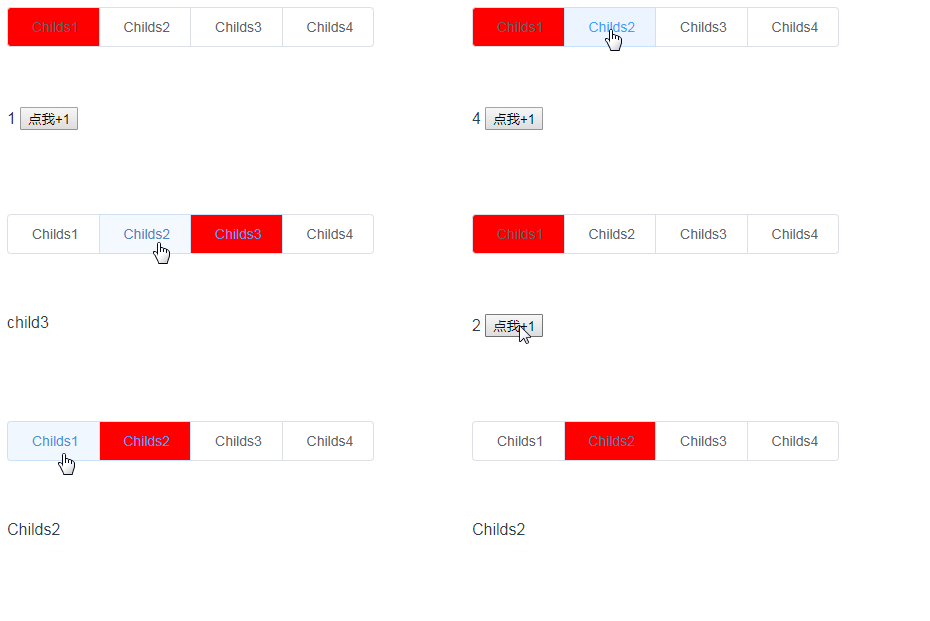
##比較:如果我們將< ;keep-alive>去掉,運行結果如下圖:


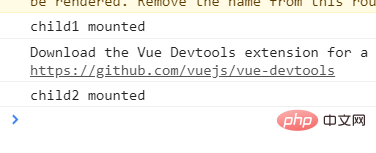
#前一組圖片在切換元件的時候,title從1加到3,然後等下次再切換回來的時候,title還是停留在3,從控制台可以看出,Childs1.vue這個元件的mounted的鉤子函數只有一次。後一組圖片,title一開始加到3,下一次進入這個組件的時候title
tips
非同步元件存在的意義在於載入當一個體量很大的頁面時,如果我們不設定載入的優先級的話,那麼可能頁面在載入影片等資訊的時候會非常佔用時間,然後主要資訊就會阻塞在後面在載入。這對用戶來說無疑不是一個很差的體驗。但是如果我們設定載入的順序,那麼我們可以優先優先那些最重要的資訊優先顯示,優化了整個專案。一般來說我們是將載入元件和 路由 (
以上是Vue動態元件和非同步組件的講解(程式碼範例)的詳細內容。更多資訊請關注PHP中文網其他相關文章!