
Home > Article > WeChat Applet > Basics of Mini Program Development: Data Binding (8)

Tutorial continues from WeChat Mini Program Development Tutorial (Basics) 7-Data Binding. When you need to display a set of data, you can use wx:for
//.wxml{{index}}: {{item.message}} //.js age({ data: { array: [{ message: 'foo', }, { message: 'bar' }] } })
whereindex is the default variable name of the current data index, item is the default variable name of the current data item.
You can also use wx:for-item and wx:for-index to specify the alias
{{idx}}: {{itemName.message}}
can also be used in nested form, as shown below. Nine multiplication table
{{i}} * {{j}} = {{i * j}}
Similar to block wx:if, you can also use wx:for on the 2b5957c2850173214f4ea7f1261e9a0f tag to render a block containing multiple Structural block of node
   {{index}}:
   {{item}}
To understand why wx:key is needed, first look at an example:
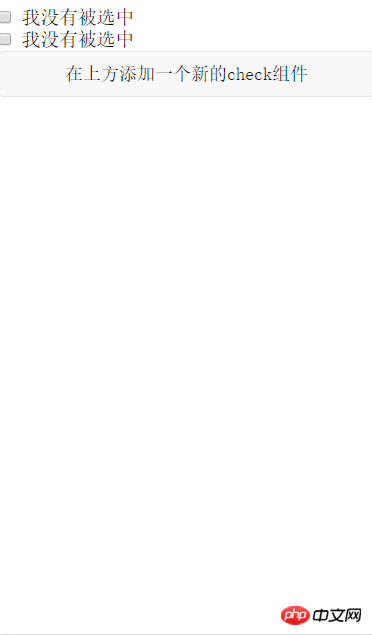
//.wxml{{item.name}} //.js Page({ data: { objectArray: [ {id: 1, name: '我没有被选中'}, {id: 2, name: '我没有被选中'}, ], }, addToFront: function(e) { const length = this.data.objectArray.length this.data.objectArray = [{id: length, name: '我没有被选中'}].concat(this.data.objectArray) this.setData({ objectArray: this.data.objectArray }) }, })
The above code Two checkbox components and a button are created. When the button is clicked, a checkbox component will be added at the top.
Compile the code and the following interface will be displayed:
Write the picture description here
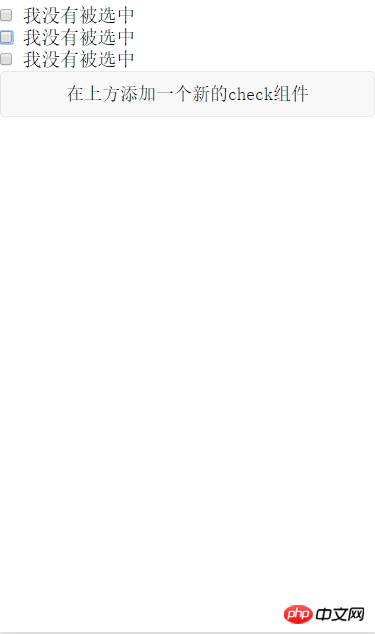
Click the button and the interface will be as follows:
Write the picture description here
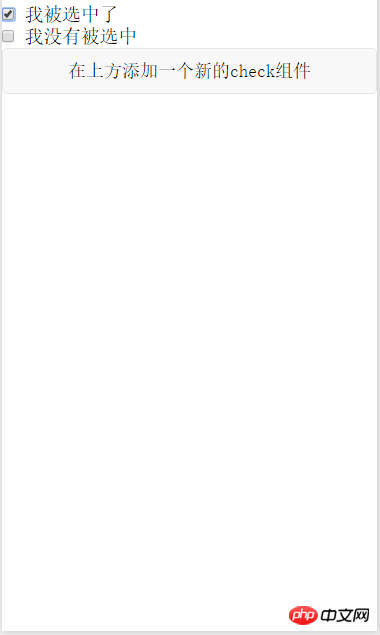
ok, everything is normal here. In order to better explain the problem, add the processing of the checkbox selection event. When the checkbox is selected, Change the text to "I was selected", the relevant code is as follows:
//wxml//js Page({ data: { objectArray: [ {id: 1, name: '我没有被选中'}, {id: 2, name: '我没有被选中'}, ], }, addToFront: function(e) { const length = this.data.objectArray.length this.data.objectArray = [{id: length + 1, name: '我没有被选中'}].concat(this.data.objectArray) this.setData({ objectArray: this.data.objectArray }) }, checkboxChange: function(e){ console.log('checkboxChange') const length = this.data.objectArray.length let checkBoxArray = this.data.objectArray for (let i = 0; i < length; i++) { let ischecked = false for (let j = 0; j < e.detail.value.length; j++){ if (checkBoxArray[i].id == e.detail.value[j]){ checkBoxArray[i].name = '我被选中了' ischecked = true } } if (!ischecked){ checkBoxArray[i].name = '我没有被选中' } } this.setData({ objectArray: this.data.objectArray }) } }) {{item.name}}
When the first checkbox is selected, the interface is as follows
Write picture description here
What will happen if you click the Add Component button at this time? The expected effect should be as follows
Write picture here Description
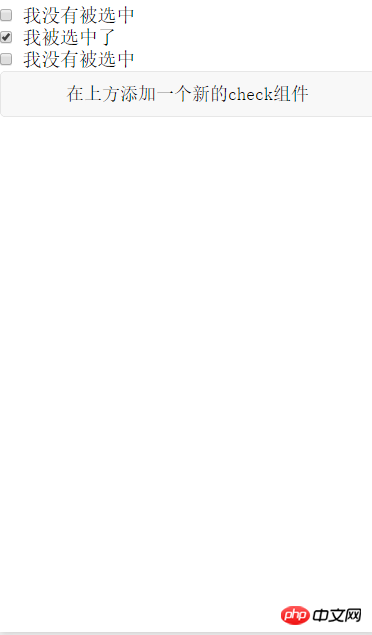
However, the actual effect is indeed like the picture below
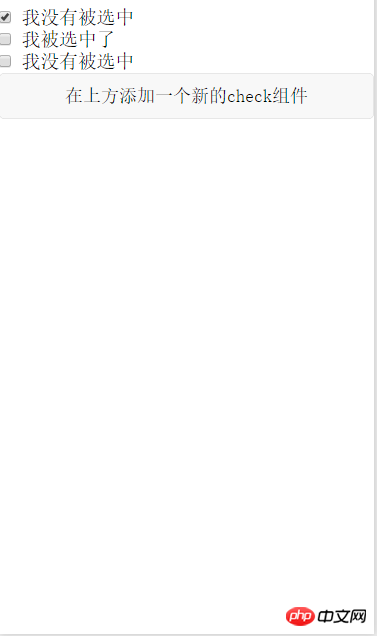
Write the picture description here
You can see that the rendering engine and The selected effect is not bound to the data, resulting in unexpected results. If you want to achieve the expected effect, you need to use wx:key
{{item.name}}
to modify the .wxml file as shown in the above code. You can achieve the expected effect. The key point is wx :key = "id" This sentence
If the position of the items in the list will change dynamically or new items are added to the list, and you want the items in the list to maintain their own characteristics and Status (such as the input content in 0f0306f9b187f2e363126bc29c8b1420
, the selected status of 698d939a2c9041f2302734cfeb04788e), you need to usewx:keyto specify the unique identifier of the item in the list.
wx:keyThe value is provided in two forms
1 String, representing a property of the item in the array of the for loop, the value of the property needs to be in the list A unique string or number that cannot be changed dynamically.
2 Reserved keywords*thisrepresents the item itself in the for loop. This representation requires the item itself to be a unique string or number,
quoted above From WeChat official tutorial. In addition to maintaining the state of view components, using wx:key also helps improve rendering efficiency
When data changes trigger the rendering layer to re-render, the band will be corrected For components with keys, the framework will ensure that they are reordered rather than recreated to ensure that the components maintain their own state and improve the efficiency of list rendering.
The above is the detailed content of Basics of Mini Program Development: Data Binding (8). For more information, please follow other related articles on the PHP Chinese website!