What are the functions of the PHP programmer toolbox on the PHP Chinese website? How is it installed and used?
PHP中文网2018-07-12 16:49:29
"PHP Toolbox", the full name is: "PHP Programmer Toolbox", as the name suggests, this tool is a tool customized and developed for the majority of PHP programmers. It is not only an integrated development environment, but also a learning and experience environment. It has built-in a large number of teaching videos and development manuals, and is closely integrated with the PHP Chinese website (m.sbmmt.com).
Download address: //m.sbmmt.com/xiazai/gongju/714
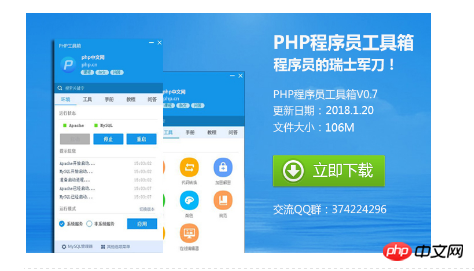
Click to download later
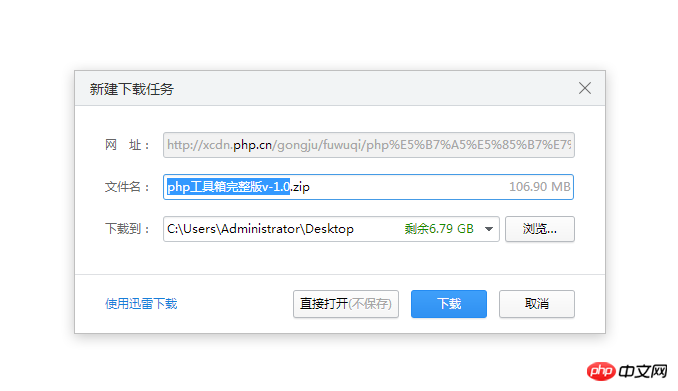
You will get a compressed package of the php toolbox, and then decompress the compressed package

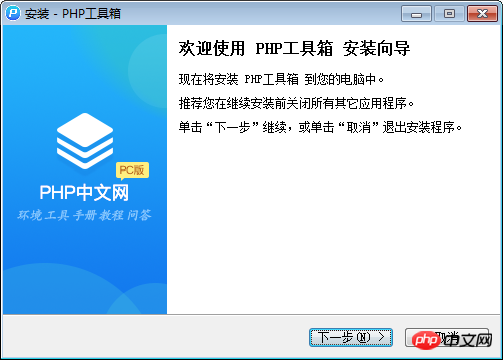
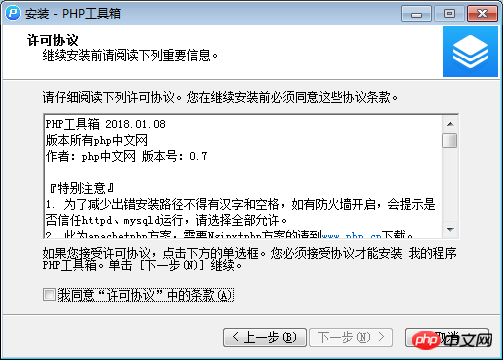
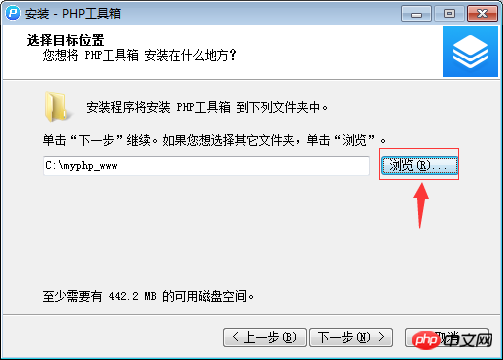
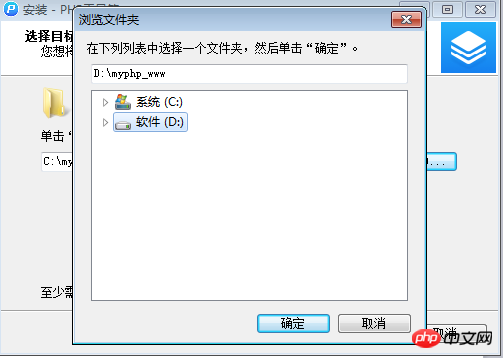
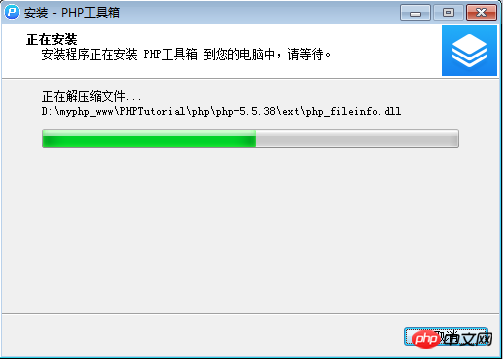
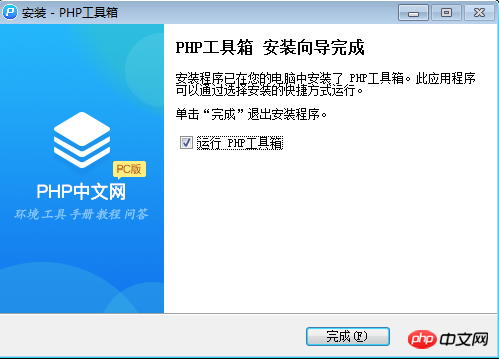
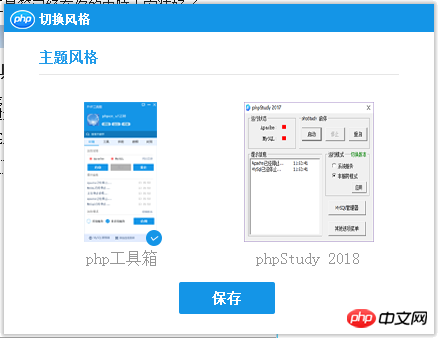
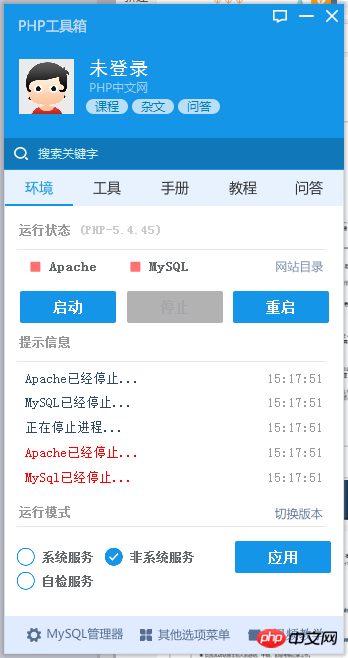
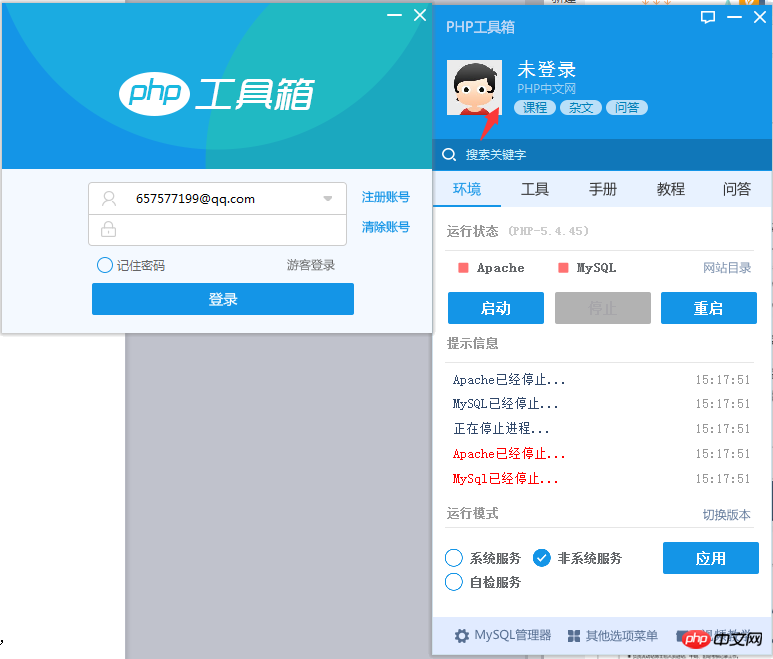
Of course, it doesn’t matter if you don’t have an account. The PHP toolbox can be used without logging in, and it does not affect the function. Of course, the editor still recommends logging in, so that you can travel with the vast number of friends on the Chinese website. Now that you are in the ocean of knowledge, you are still a little excited when you think about it. So what are you waiting for? Hurry up and register a php Chinese website account (php Chinese website currently only supports WeChat account registration, and more registration methods will be opened in the future) . Closer to home, the php toolbox is installed, now how to open the website, the editor below will teach you the specific operations.
First, we need to start the php environment, click the start button, as shown below
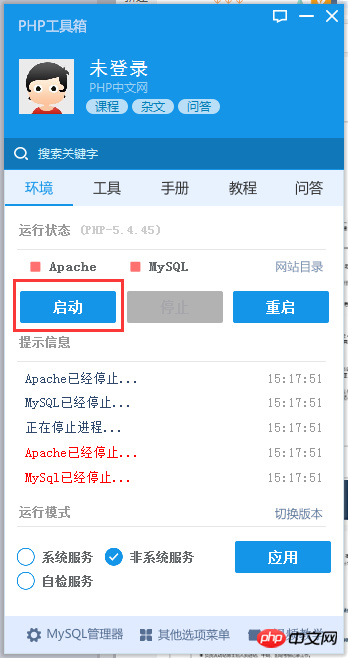
When the Apache and MySql icons turn green, it means that our The PHP environment has been started, and we can develop our website locally.
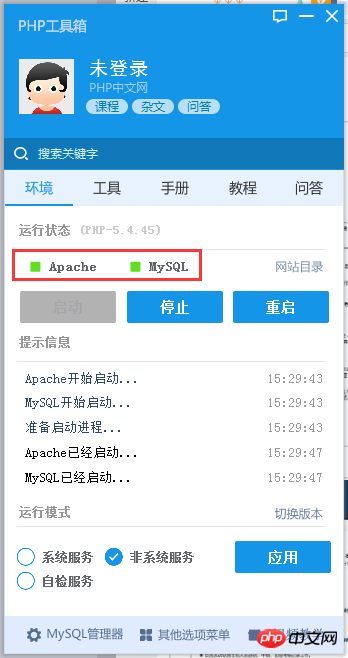
Above the green icon, the currently running PHP version will be displayed. Generally, a slightly higher version will be selected. The new version will be compatible with most program codes on the market. For details on how to operate, please see the picture below
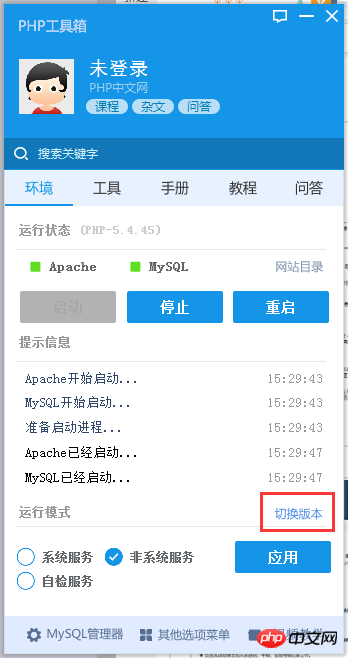
Click to switch version and select PHP7.2+Apache, as shown below

Then wait for a while, the program is restarting the PHP environment. After restarting, it will be as shown in the figure below
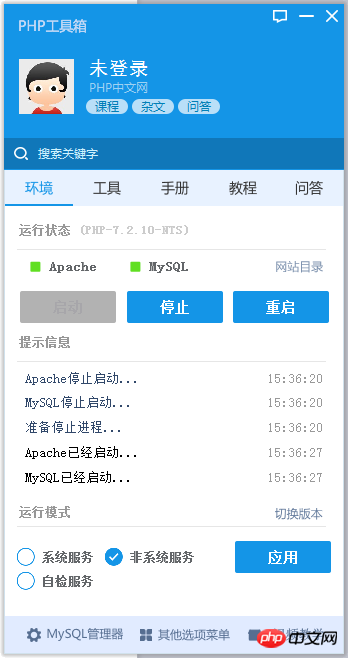
At this time, look at the running status of the PHP toolbox. It has been It has become PHP7.2, so you don’t have to worry about the error of the program version being too low in the future. Some friends may want to ask, now that I have installed the toolbox and the environment is up to date, how do I open my local program? Don’t worry, I will tell you now.
When our programmer toolbox is installed and the PHP environment has been switched to the latest one, you can run the PHP program. At this time, open the browser and enter localhost in the address bar. I believe everyone knows this. Press Enter and the page will output hello world. Where does this hello world come from? Everyone still remembers that when I was installing, I told everyone that it would be enough to install it in the root directory of drive D. So at this time, we just go to the root directory of drive D to find the folder of the php toolbox. Double-click My Computer, open drive D, and find this Folder
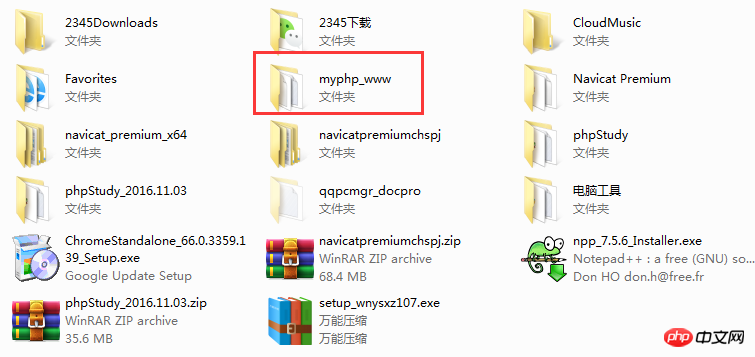
Double-click, you can see the following directory
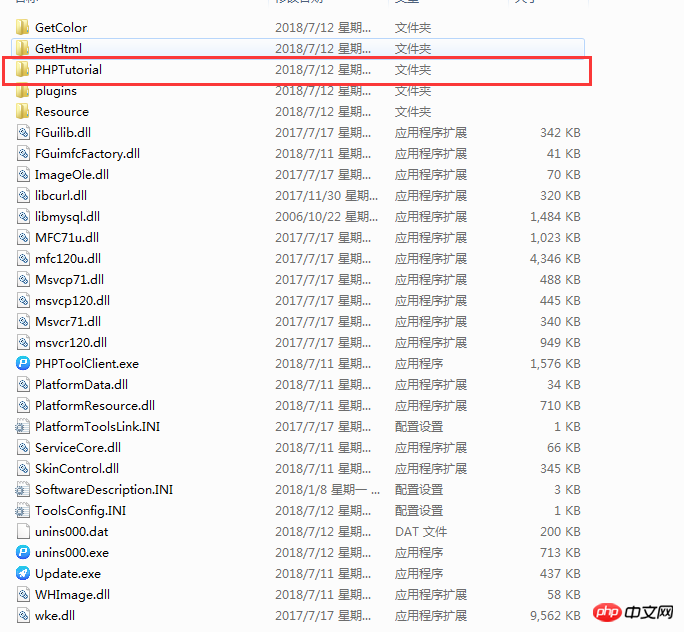
There are so many files, it doesn’t matter if you can’t understand them. At this time, pay attention to the folder marked in the picture. Let’s click in and see what’s inside.
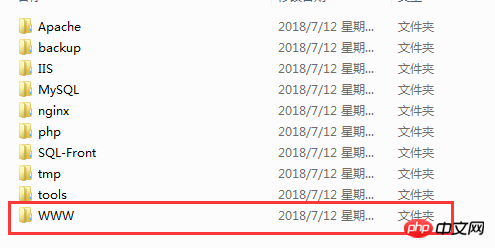
Click on it to see what the specific folder is used for, as shown in the picture above. We will talk about it later. Today our main task is to find where this hello world comes from. Everyone should pay attention to the WWW folder here. This The folder is where our PHP code is stored. The programs, PHP codes and files developed in the future are placed in this directory before debugging or developing PHP programs in the browser. This also shows that our hello world The source file must be here, let's click in and see if it is.

There are four files in the WWW file by default. The phpMyAdmin folder is our database directory. When we need to view the database file in the browser, directly in the browser Open localhost/phpmyadmin in the address bar, enter the username and password to enter the database graphical management interface, as shown in the figure below, the default username and password of the database are
root, root.
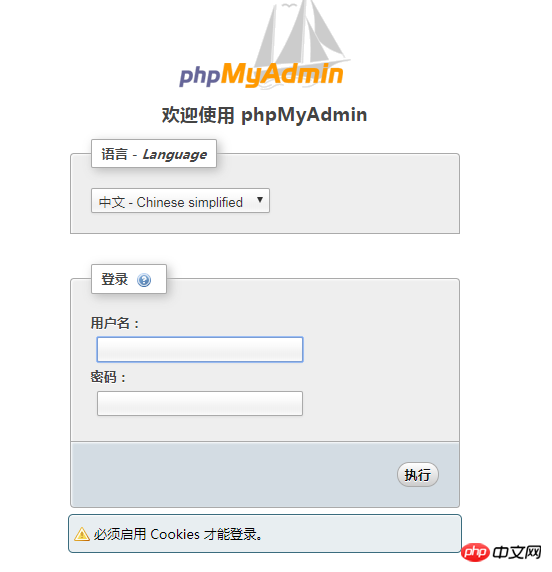
Then we can think of it. When I open other files, I should also enter localhost followed by the file name to open other php files in the directory. Enter localhost/index.php in the browser and see what happens.
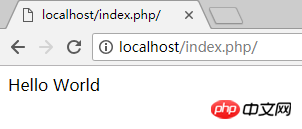
Oh, it turns out it is in the index.php file. It turns out it is in the toolbox. , if you enter localhost in the browser, the index.php file in the WWW directory will be opened by default, allowing us to see hello world. Then some friends will ask, what are the other two files for? , l.php will basically not be used in the future, so we will skip it here. We will mainly talk about the file phpinfo.php. You can understand it from the name. This is a page describing PHP information. Enter localhost/phpinfo in the browser. php, you can see the following information
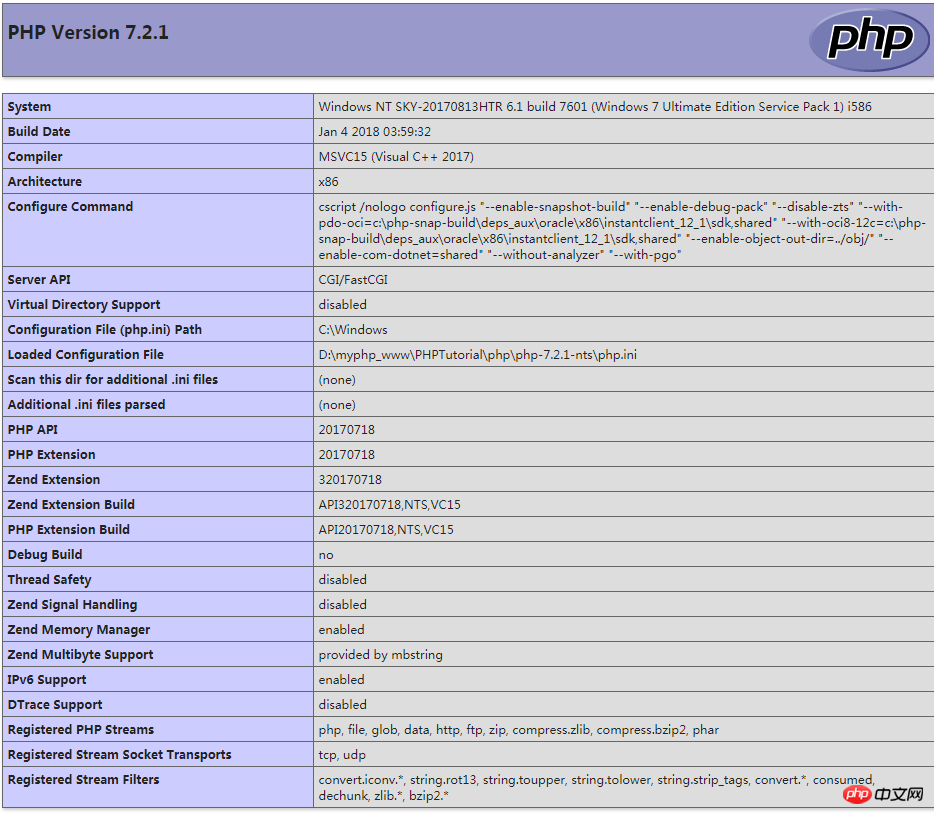
The editor has only intercepted a part here. You can take a closer look. This page mainly inputs the configuration information about the current PHP version, including PHP compilation options, enabled extensions, PHP version, server information and environment variables (if compiled If it is a module), PHP environment variables, operating system version information, path variables, local and main values of configuration options, HTTP headers and PHP authorization information (License). For specific instructions, you may need to go to Baidu for relevant information. To sum up, we have understood how the php toolbox and php coordinate with each other. Then we need to write our own php file and how to operate it. Well, let’s take a look with the editor.
First, create a new file in the WWW directory and name it test.php, as shown below

Open test.php and enter the php code
<?php
echo “hello PHP”;
?>
Click to save, as shown below,
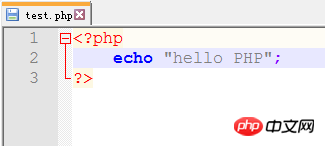
The notepad editor used by the editor, students can choose their favorite editor in the download channel. After saving the file, open the browser and enter localhost/test.php to see what the effect is.
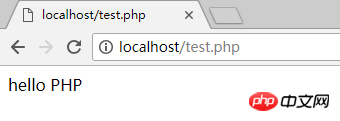
hello PHP appears on the page, indicating that our PHP program has been executed. !
Here, the basic instructions for using the PHP toolbox are over. The above describes the download, installation, debugging and how to run the PHP program. I believe everyone also has a certain understanding of the PHP toolbox. , the PHP toolbox is very powerful, and there are many interesting and fun functions waiting for everyone to explore. Thank you for reading this article so well and patiently. If it is helpful to you, please give me a like and leave~