
Home > Article > Backend Development > How to implement an interactive file browser using Python

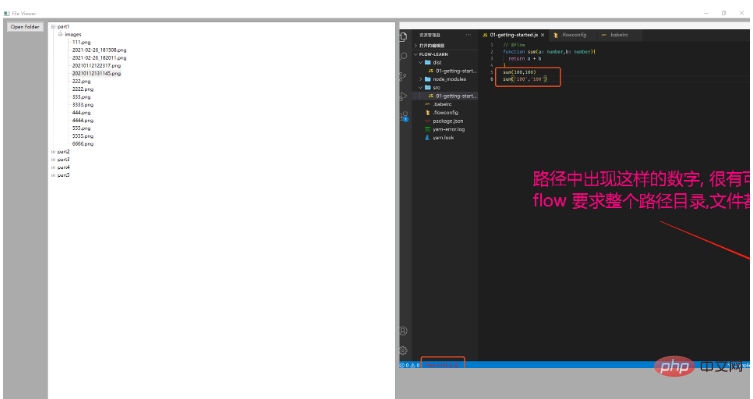
File browser: You can use this code to create a simple file browser, allowing users to browse all files and folders in the specified directory and proceed in a tree structure Selection and navigation.
Image Browser: By limiting the display of image files in the tree structure, this code can be used to create a simple image browser that allows the user to select image files in the tree structure and display them in the preview window. View them in the grid.
File manager: This code can be used as a basic framework to create a complete file manager, allowing users to select files and folders in a tree structure, copy, move, delete, etc. operate.
File Picker: This code can be used to create a file picker dialog box that allows the user to browse all files and folders in a specified directory and select a file or folder as input or output.
Image picker: By limiting the display of only image files in the tree structure, this code can be used to create a picture selector dialog box that allows the user to select an image file as input in the tree structure. or output. "
import wx
import os

class MainFrame(wx.Frame):
    def __init__(self, parent, title):
        wx.Frame.__init__(self, parent, title=title, size=(800, 600))

        # 创建一个垂直布局的主容器,并将其设置为窗体的主布局管理器
        main_sizer = wx.BoxSizer(wx.VERTICAL)
        self.SetSizer(main_sizer)

        # 创建一个水平布局的容器,用于将树状组件和预览窗格放置在同一行
        hbox = wx.BoxSizer(wx.HORIZONTAL)
        main_sizer.Add(hbox, proportion=1, flag=wx.EXPAND|wx.ALL, border=5)

        # 创建一个按钮,用于打开文件夹选择对话框
        button = wx.Button(self, wx.ID_ANY, "Open Folder")
        hbox.Add(button, proportion=0, flag=wx.ALL, border=5)

        # 创建一个树状组件,用于显示指定目录中的所有文件
        self.tree = wx.TreeCtrl(self, style=wx.TR_DEFAULT_STYLE|wx.TR_HIDE_ROOT)
        self.root = self.tree.AddRoot("Root")
        hbox.Add(self.tree, proportion=1, flag=wx.EXPAND|wx.ALL, border=5)

        # 创建一个预览窗格,用于显示选定的图像文件
        self.preview = wx.StaticBitmap(self, wx.ID_ANY, wx.NullBitmap)
        hbox.Add(self.preview, proportion=1, flag=wx.EXPAND|wx.ALL, border=5)

        # 将按钮的单击事件绑定到处理函数self.on_open_folder()上
        button.Bind(wx.EVT_BUTTON, self.on_open_folder)

        # 将树状组件的选中事件绑定到处理函数self.on_tree_select()上
        self.Bind(wx.EVT_TREE_SEL_CHANGED, self.on_tree_select, self.tree)

        # 显示窗体
        self.Centre()
        self.Show(True)

    def create_tree(self, parent, path):
        # 递归地向树状组件中添加指定目录中的所有文件和子目录
        for item in os.listdir(path):
            fullpath = os.path.join(path, item)
            if os.path.isdir(fullpath):
                node = self.tree.AppendItem(parent, item)
                self.create_tree(node, fullpath)
            else:
                ext = os.path.splitext(fullpath)[1].lower()
                if ext in [".jpg", ".jpeg", ".png", ".bmp", ".gif"]:
                    self.tree.AppendItem(parent, item, data=fullpath)

    def on_open_folder(self, event):
        # 处理打开文件夹按钮的单击事件,打开文件夹选择对话框并更新树状组件
        dialog = wx.DirDialog(self, "Select a folder")
        if dialog.ShowModal() == wx.ID_OK:
            self.tree.DeleteChildren(self.root)
            self.create_tree(self.root, dialog.GetPath())
        dialog.Destroy()

    def on_tree_select(self, event):
        # 处理树状组件的选中事件,更新预览窗格中的图像文件
        item = event.GetItem()
        if item:
            filepath = self.tree.GetItemData(item)
            if filepath:
                image = wx.Image(filepath, wx.BITMAP_TYPE_ANY)
                self.preview.SetBitmap(wx.Bitmap(image))

if __name__ == "__main__":
    app = wx.App(False)
    frame = MainFrame(None, "File Viewer")
app.MainLoop()This code is a simple Python program used to display a tree structure containing files and folders, and Preview function after selecting the file. The program uses the wxPython library, which is a Python GUI toolkit based on wxWidgets, allowing Python to easily create cross-platform desktop applications.
The code contains a file called MainFrame The class, which inherits from wx.Frame, is used to create the main form. In the constructor of MainFrame, a vertical layout main container main_sizer is created and set as the main layout manager of the form. Next, create A hbox container with a horizontal layout, place the tree component and the preview pane on the same line, and add the hbox to the main_sizer. Then, create a tree component that displays all files in the specified directory and creates a preview Pane, used to display the selected image file. Finally, bind the selection event of the tree component to the handler function self.on_tree_select() and display the form.
In the MainFrame class, also There are two methods: create_tree and on_tree_select. The create_tree method is used to recursively add all files and subdirectories in the specified directory to the tree component, while adding the file name and the full path of the file to the tree component. The on_tree_select method is used to Handle the selection event of the tree component and update the image file in the preview pane. When the user selects a file in the tree component, the program will get the full path of the file and use the wx.Image class in the wxPython library to load the image, and then Display it in the preview pane.
Finally, the program uses the wx.App class in the wxPython library to create an application instance app, and uses the MainFrame class to create a main form frame, and then calls the app's MainLoop () method enters the event loop and waits for the user's operation. When the user closes the form, the application exits.
The above is the detailed content of How to implement an interactive file browser using Python. For more information, please follow other related articles on the PHP Chinese website!