
Home > Article > Backend Development > Using Python to process pictures to achieve pixel access in images

This article mainly introduces the use of Python to process images to achieve pixel access in images. It has certain reference value. Now I share it with you. Friends in need can refer to some of the previous examples
, we all use Image.open() to open an image, and then directly operate on the PIL object. It's okay if it's just a simple operation, but it's more difficult if it's a little more complicated. Therefore, usually after we load the image, we convert the image into a matrix to perform more complex operations.
Use numpy library and scipy library to perform various data operations and scientific calculations in python. We can install these two libraries directly through pip
pip install numpy
pip install scipy
In the future, as long as we perform digital image processing in python, we need to import these packages:
from PIL import Image
import numpy as np
import matplotlib.pyplot as plt
Open the image and convert it into a matrix, and display:
from PIL import Image
import numpy as np
import matplotlib.pyplot as plt
img=np.array(Image.open('d:/lena.jpg')) #打开图像并转化为数字矩阵
plt.figure("dog")
plt.imshow(img)
plt.axis('off')
plt.show()
Calling numpy The array() function can convert a PIL object into an array object.
To view image information, you can use the following method:
print img.shape
print img.dtype
print img.size
print type(img)
If it is an RGB image, then after converting it to an array, it becomes an A three-dimensional matrix of rows*cols*channels, therefore, we can use img[i,j,k] to access pixel values.
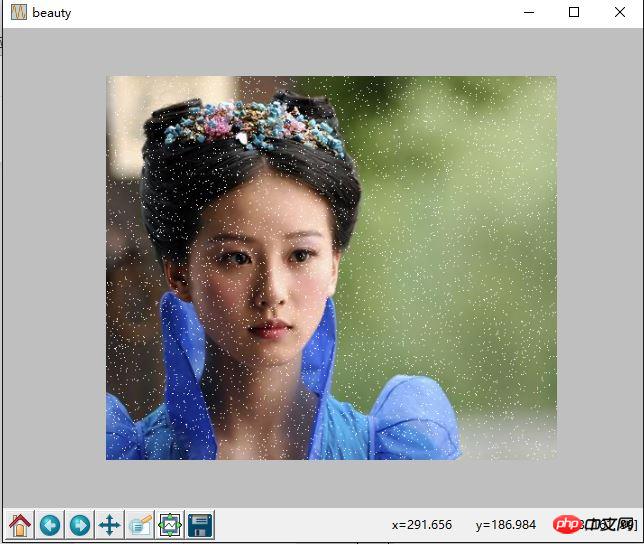
Example 1: Open the picture and randomly add some salt and pepper noise
from PIL import Image
import numpy as np
import matplotlib.pyplot as plt
img=np.array(Image.open('d:/ex.jpg'))

#随机生成5000个椒盐
rows,cols,dims=img.shape
for i in range(5000):
  x=np.random.randint(0,rows)
  y=np.random.randint(0,cols)
  img[x,y,:]=255

plt.figure("beauty")
plt.imshow(img)
plt.axis('off')
plt.show()
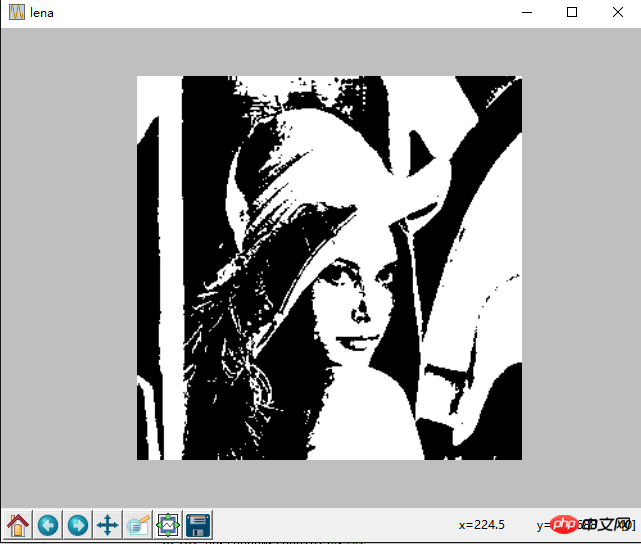
Example 2: Lena image is binarized, and the pixel value greater than 128 becomes 1, otherwise it becomes 0
from PIL import Image
import numpy as np
import matplotlib.pyplot as plt
img=np.array(Image.open('d:/pic/lena.jpg').convert('L'))

rows,cols=img.shape
for i in range(rows):
  for j in range(cols):
    if (img[i,j]<=128):
      img[i,j]=0
    else:
      img[i,j]=1

plt.figure("lena")
plt.imshow(img,cmap='gray')
plt.axis('off')
plt.show()
If you want to To operate on multiple pixels, you can use array slicing to access. The slicing method returns the pixel values of the array accessed at specified intervals. Here are some examples about grayscale images:
img[i,:] = im[j,:] # 将第 j 行的数值赋值给第 i 行
img[:,i] = 100 # 将第 i 列的所有数值设为 100
img[:100,:50].sum() # 计算前 100 行、前 50 列所有数值的和
img[50:100,50:100] # 50~100 行,50~100 列(不包括第 100 行和第 100 列)
img[i].mean() # 第 i 行所有数值的平均值
img[:,-1] # 最后一列
img[-2,:] (or im[-2]) # 倒数第二行
Related recommendations:
Python method of processing Excel xlrd introduce
The above is the detailed content of Using Python to process pictures to achieve pixel access in images. For more information, please follow other related articles on the PHP Chinese website!